
Hardware
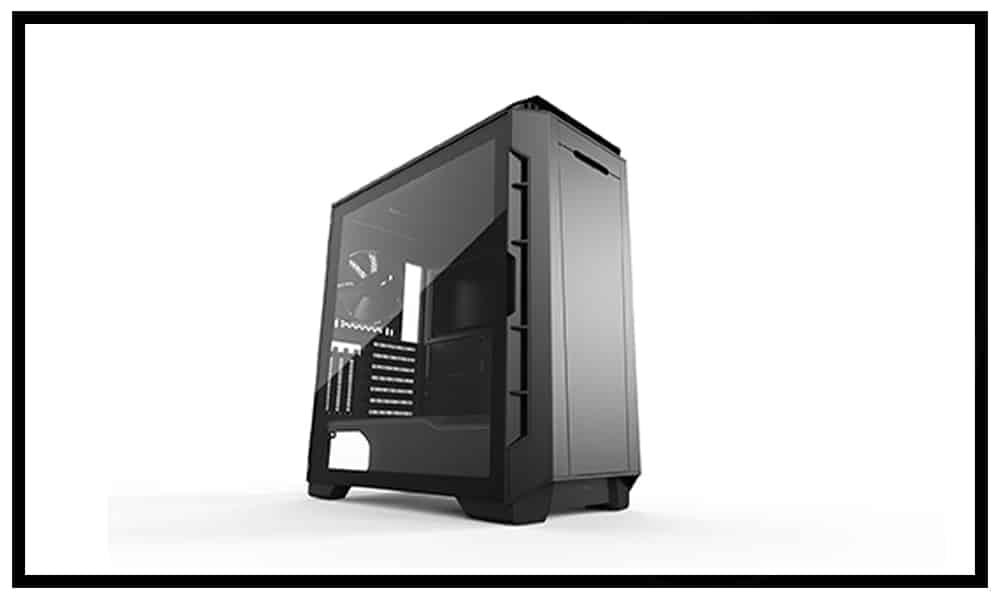
Phanteks Eclipse P600S Case Review
Introduction
There are many factors when choosing the right case for your build. One of these considerations is whether you want a case designed to be silent or a case that has excellent cooling performance. Well, with Phanteks latest addition, the Eclipse P600S, you may not need to choose. The P600S is designed with soundproofing panels and Phanteks’ new high airflow fabric and can provide you with the best of both worlds with both silent and high airflow configurations. Some of the other notable features of the P600S include magnetic hinged side panels, magnetic front/top panels and a full-length PSU shroud. Even with all of these premium features, the Eclipse P600S still comes in at an affordable MSRP of $149.99.
We would like to thank Phanteks for sending us the Eclipse P600S to review.
Phanteks’ Take on the Eclipse P600S
The Eclipse P600S is designed to bring you the best of two worlds: a hybrid forged between silent and high-performance chassis. Find the optimal configuration in any situation by switching between quiet or performance mode. Designed with effective soundproofing panels and Phanteks’ new high airflow fabric, the Eclipse P600S offers the full potential of two opposites, minimum noise, and maximum airflow.
Features & Specifications
Notable Features:
- Sound dampening foam
- Custom fabric mesh
- Full- length PSU shroud
- Magnetic hinged side panels
Technical Specifications:
| CASE SPECIFICATIONS | ||
| Dimension (WxHxD) | 240 mm x 520 mm x 510 mm | |
| (9.45 in x 20.5 in x 20.1 in) | ||
| Form Factor | Mid-Tower | |
| Materials | Powder coated steel chassis | |
| Sound Dampening Panels | ||
| Tempered glass side panel | ||
| MB Support | E-ATX, ATX, Micro-ATX, Mini ITX | |
| Front I/O | Power button, 2x USB 3.0, Microphone, | |
| Headphone, Reset Button, | ||
| USB 3.1 GEN 2 Type-C | ||
| Side Window | Yes, Tempered glass | |
| PCI SLOTS & DRIVE BAYS | ||
| PCI slots | 7x | |
| Internal 3.5” | 10x (4 included) | |
| Internal 2.5” | 3x (3 included) | |
| FAN | 120 MM | 140 MM |
| Front | 3x | 3x (2 installed) |
| Top | 3x | 2x |
| Rear | 1x | 1x (1 installed) |
| RADIATOR | 120 MM | 140 MM |
| Front | Up to 360 | Up to 420 |
| Top | Up to 360 | Up to 280 |
| Rear | 120 | 140 |
| INCLUDED ACCESSORIES | ||
| Premium Fan 140mm | 3x (installed) | |
| Universal Fan Hub | 1x (installed) | |
| 3.5” Stackable HDD Bracket | 4x | |
| Vertical GPU Mount | 1x | |
| Accessory Bag | 1x | |
| GPU Anti-Sag Bracket | 1x | |
| Airflow Cover | 1x | |
| Toolbox | 1x | |
| CLEARANCE | ||
| E-ATX Motherboard width | 280mm (11.1 in) | |
| CPU Cooler Clearance | 190 mm (7.48 in) | |
| GPU Clearance | 435 mm (17.24 in) | |
| Front Radiatior Clearance | 95 mm (3.74 in) | |
| Top Radiator Clearance | 65 mm (2.56 in) | |
| SUPPORT | ||
| Warranty | 5 Years | |
Packaging & Unboxing
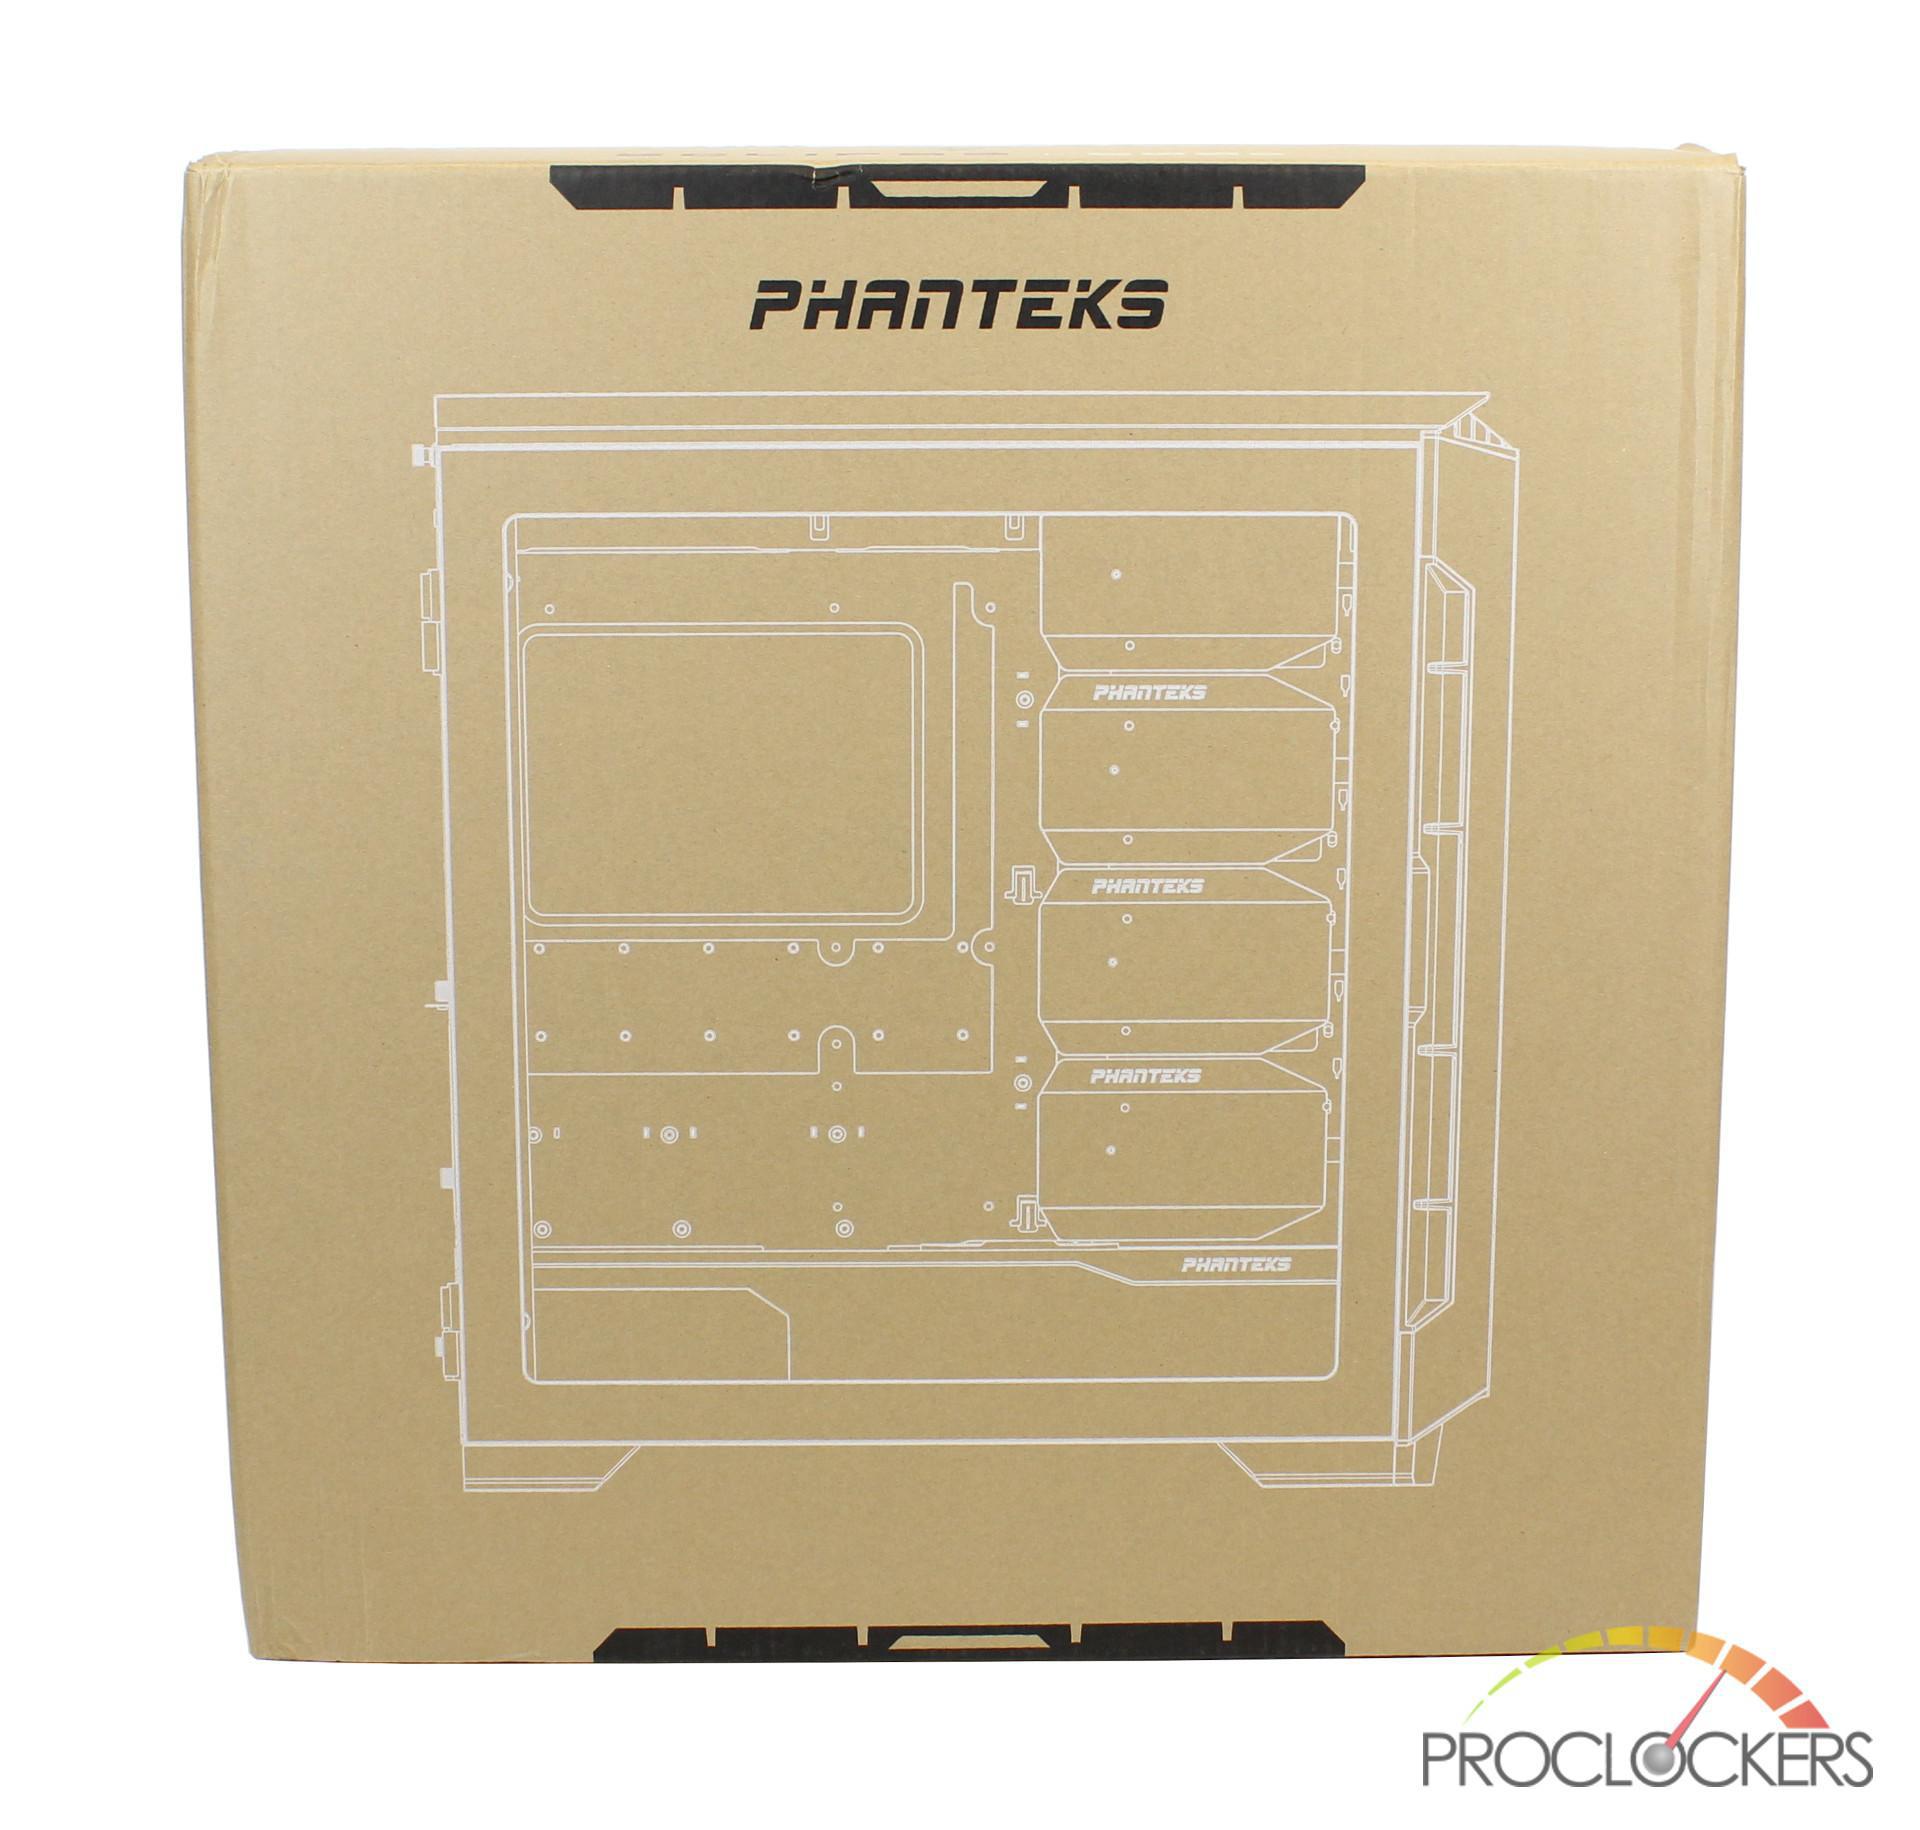
The Eclipse P600S arrives in a brown box with black and white accents. On the front of the box, it denotes that it contains the Eclipse P600S with the P600S writing in white. On the right side, there is also a partial white outline drawing of the case which may give us a hint that it might be the white model of the P600S.

Moving to the other side of the box is another white line drawing, but this time of its internal layout.
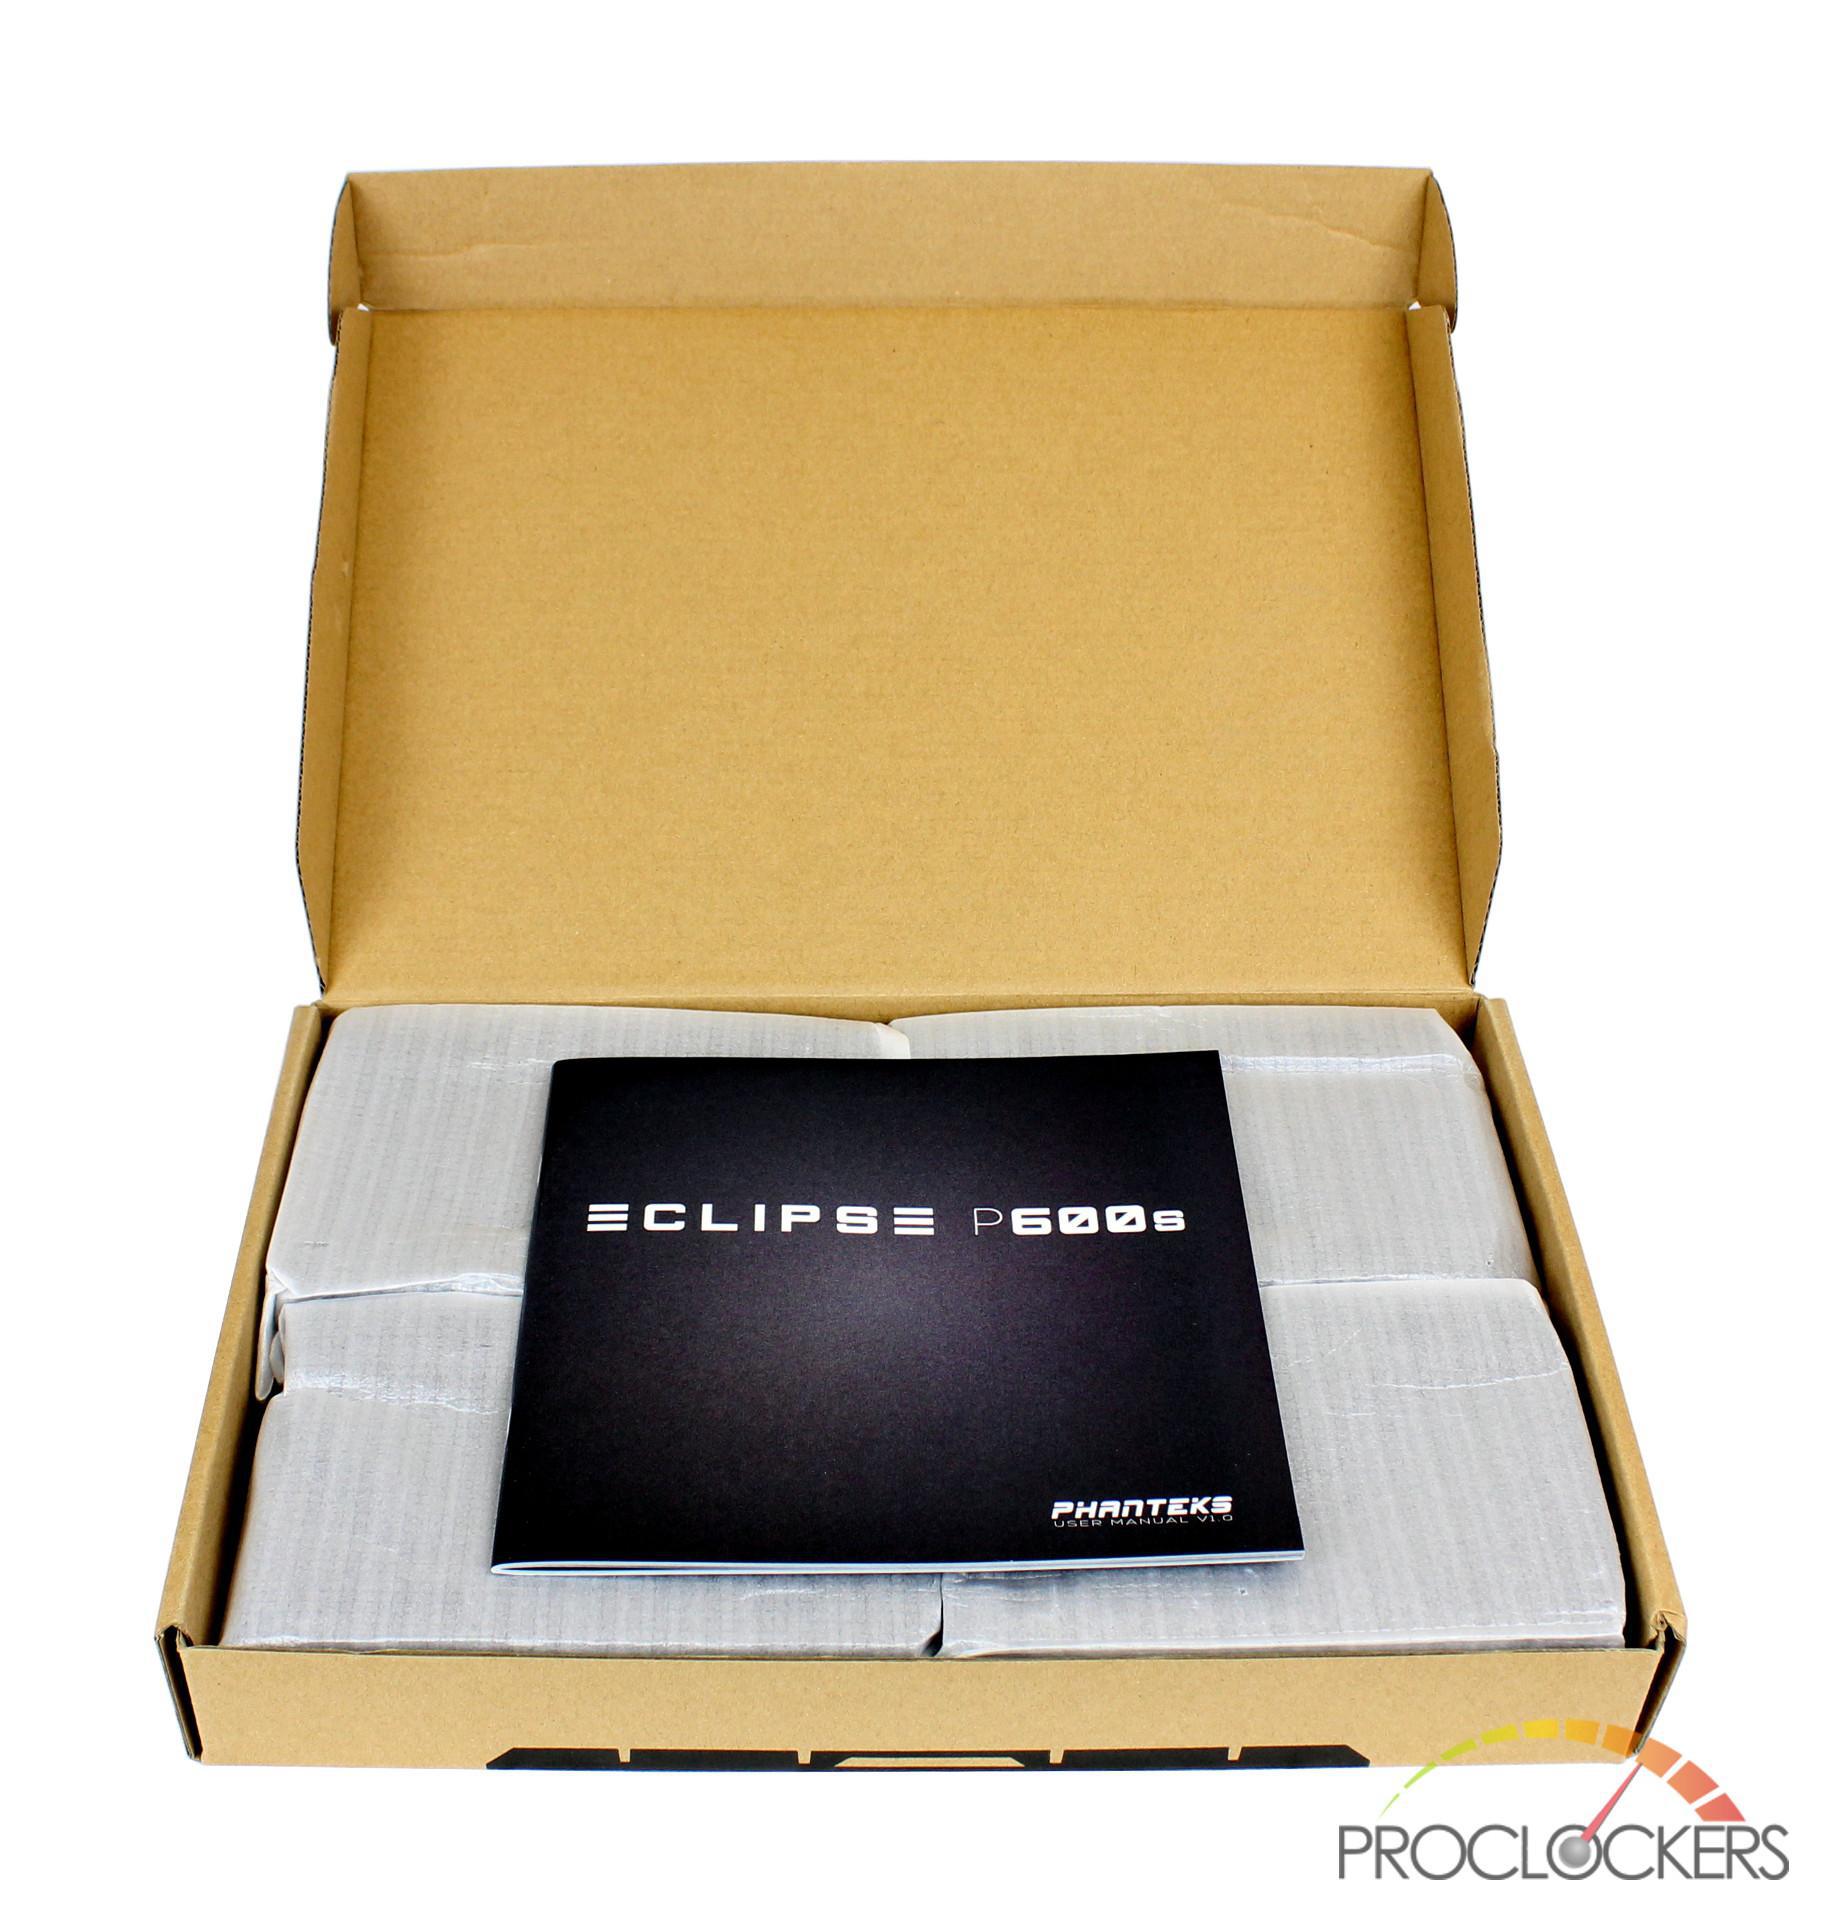
Opening the box reveals an accessory kit that Phanteks is known to include in their higher-end chassis.
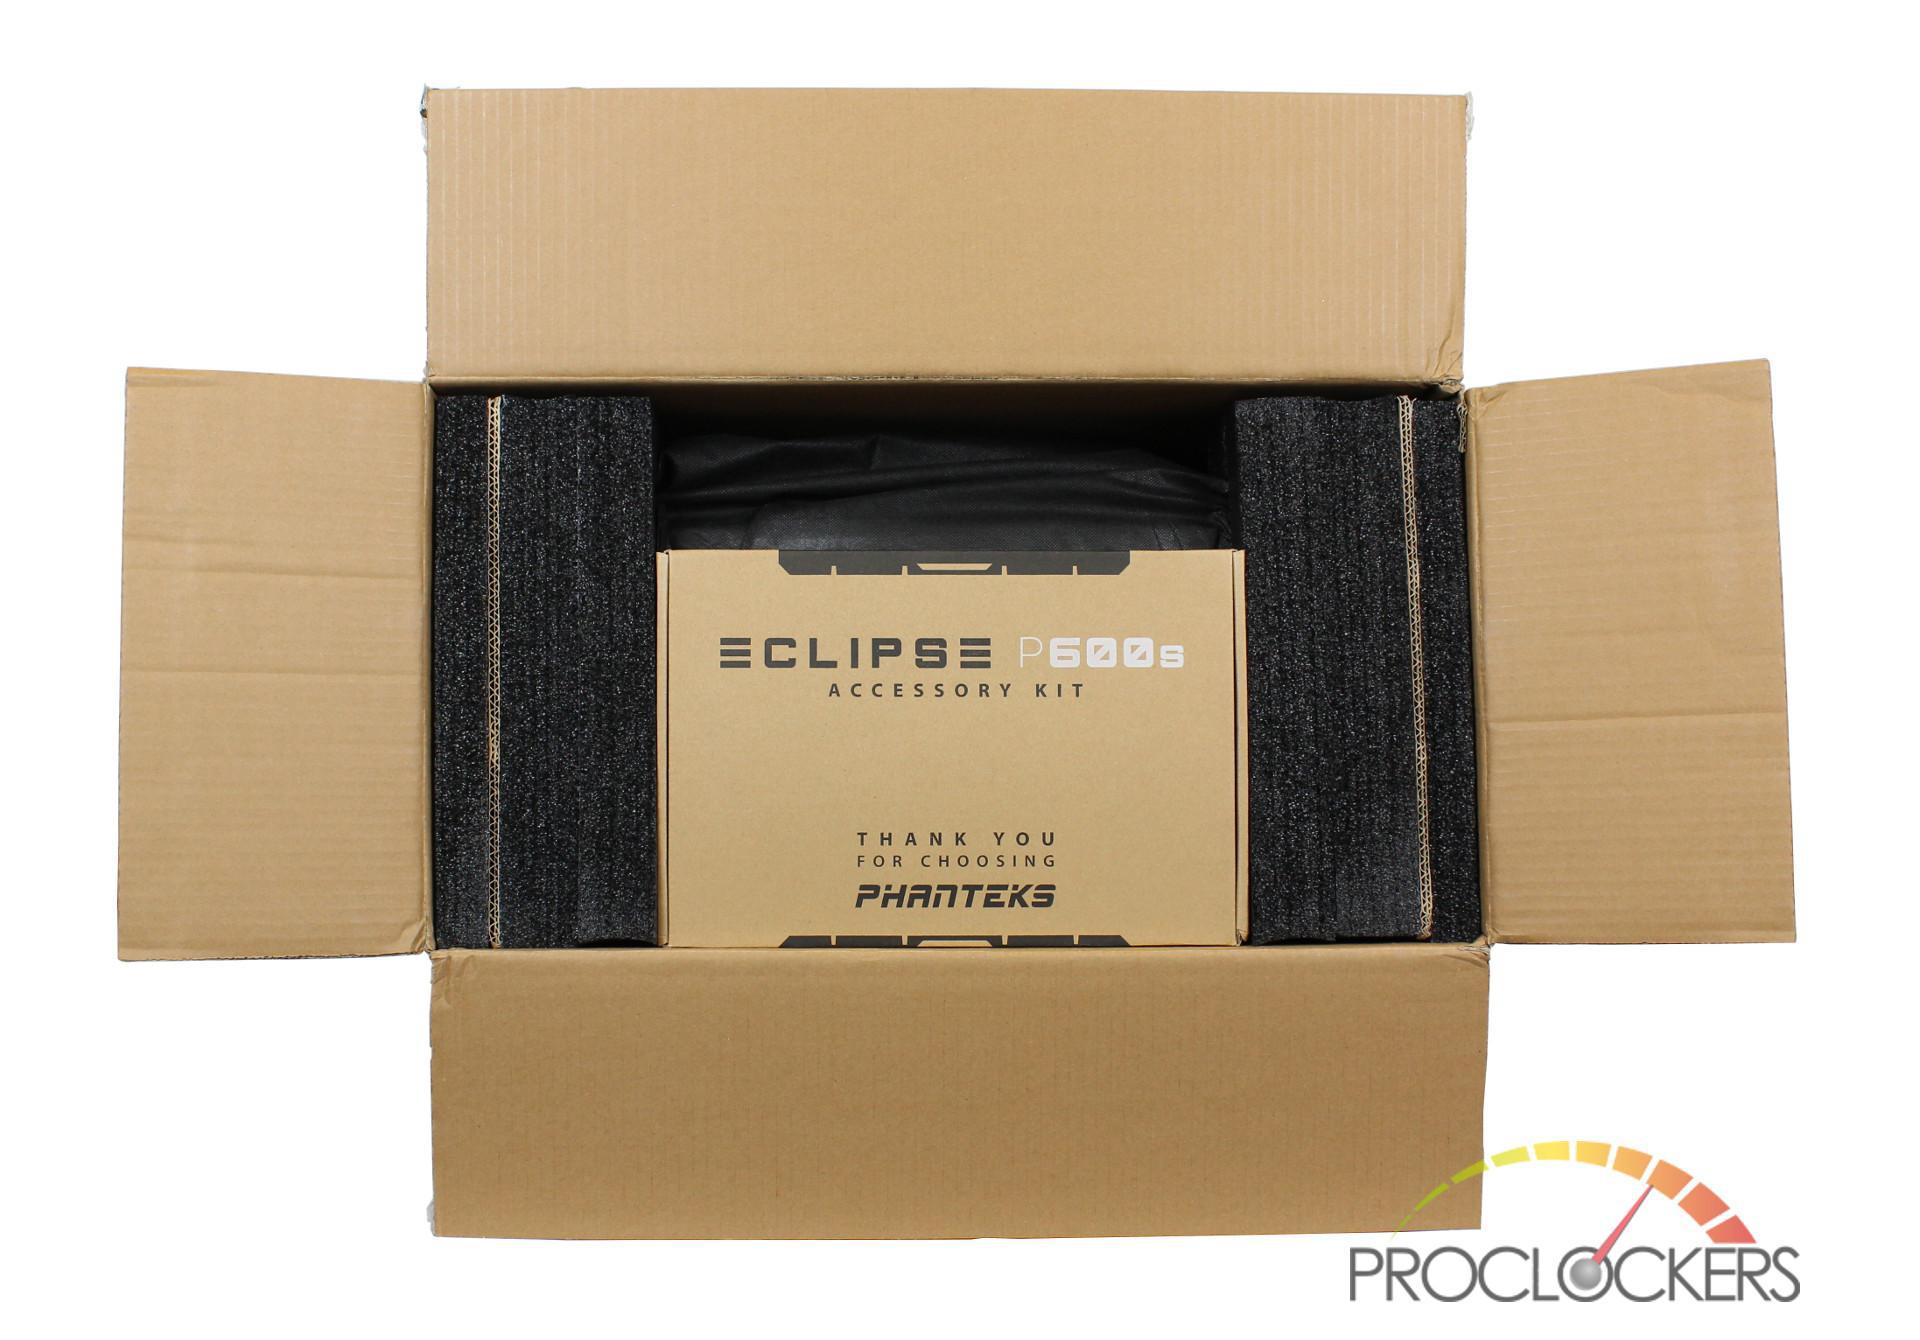
Removing the P600S from the box, it is protected by 2 foam panels with the case itself wrapped in a black fabric bag.
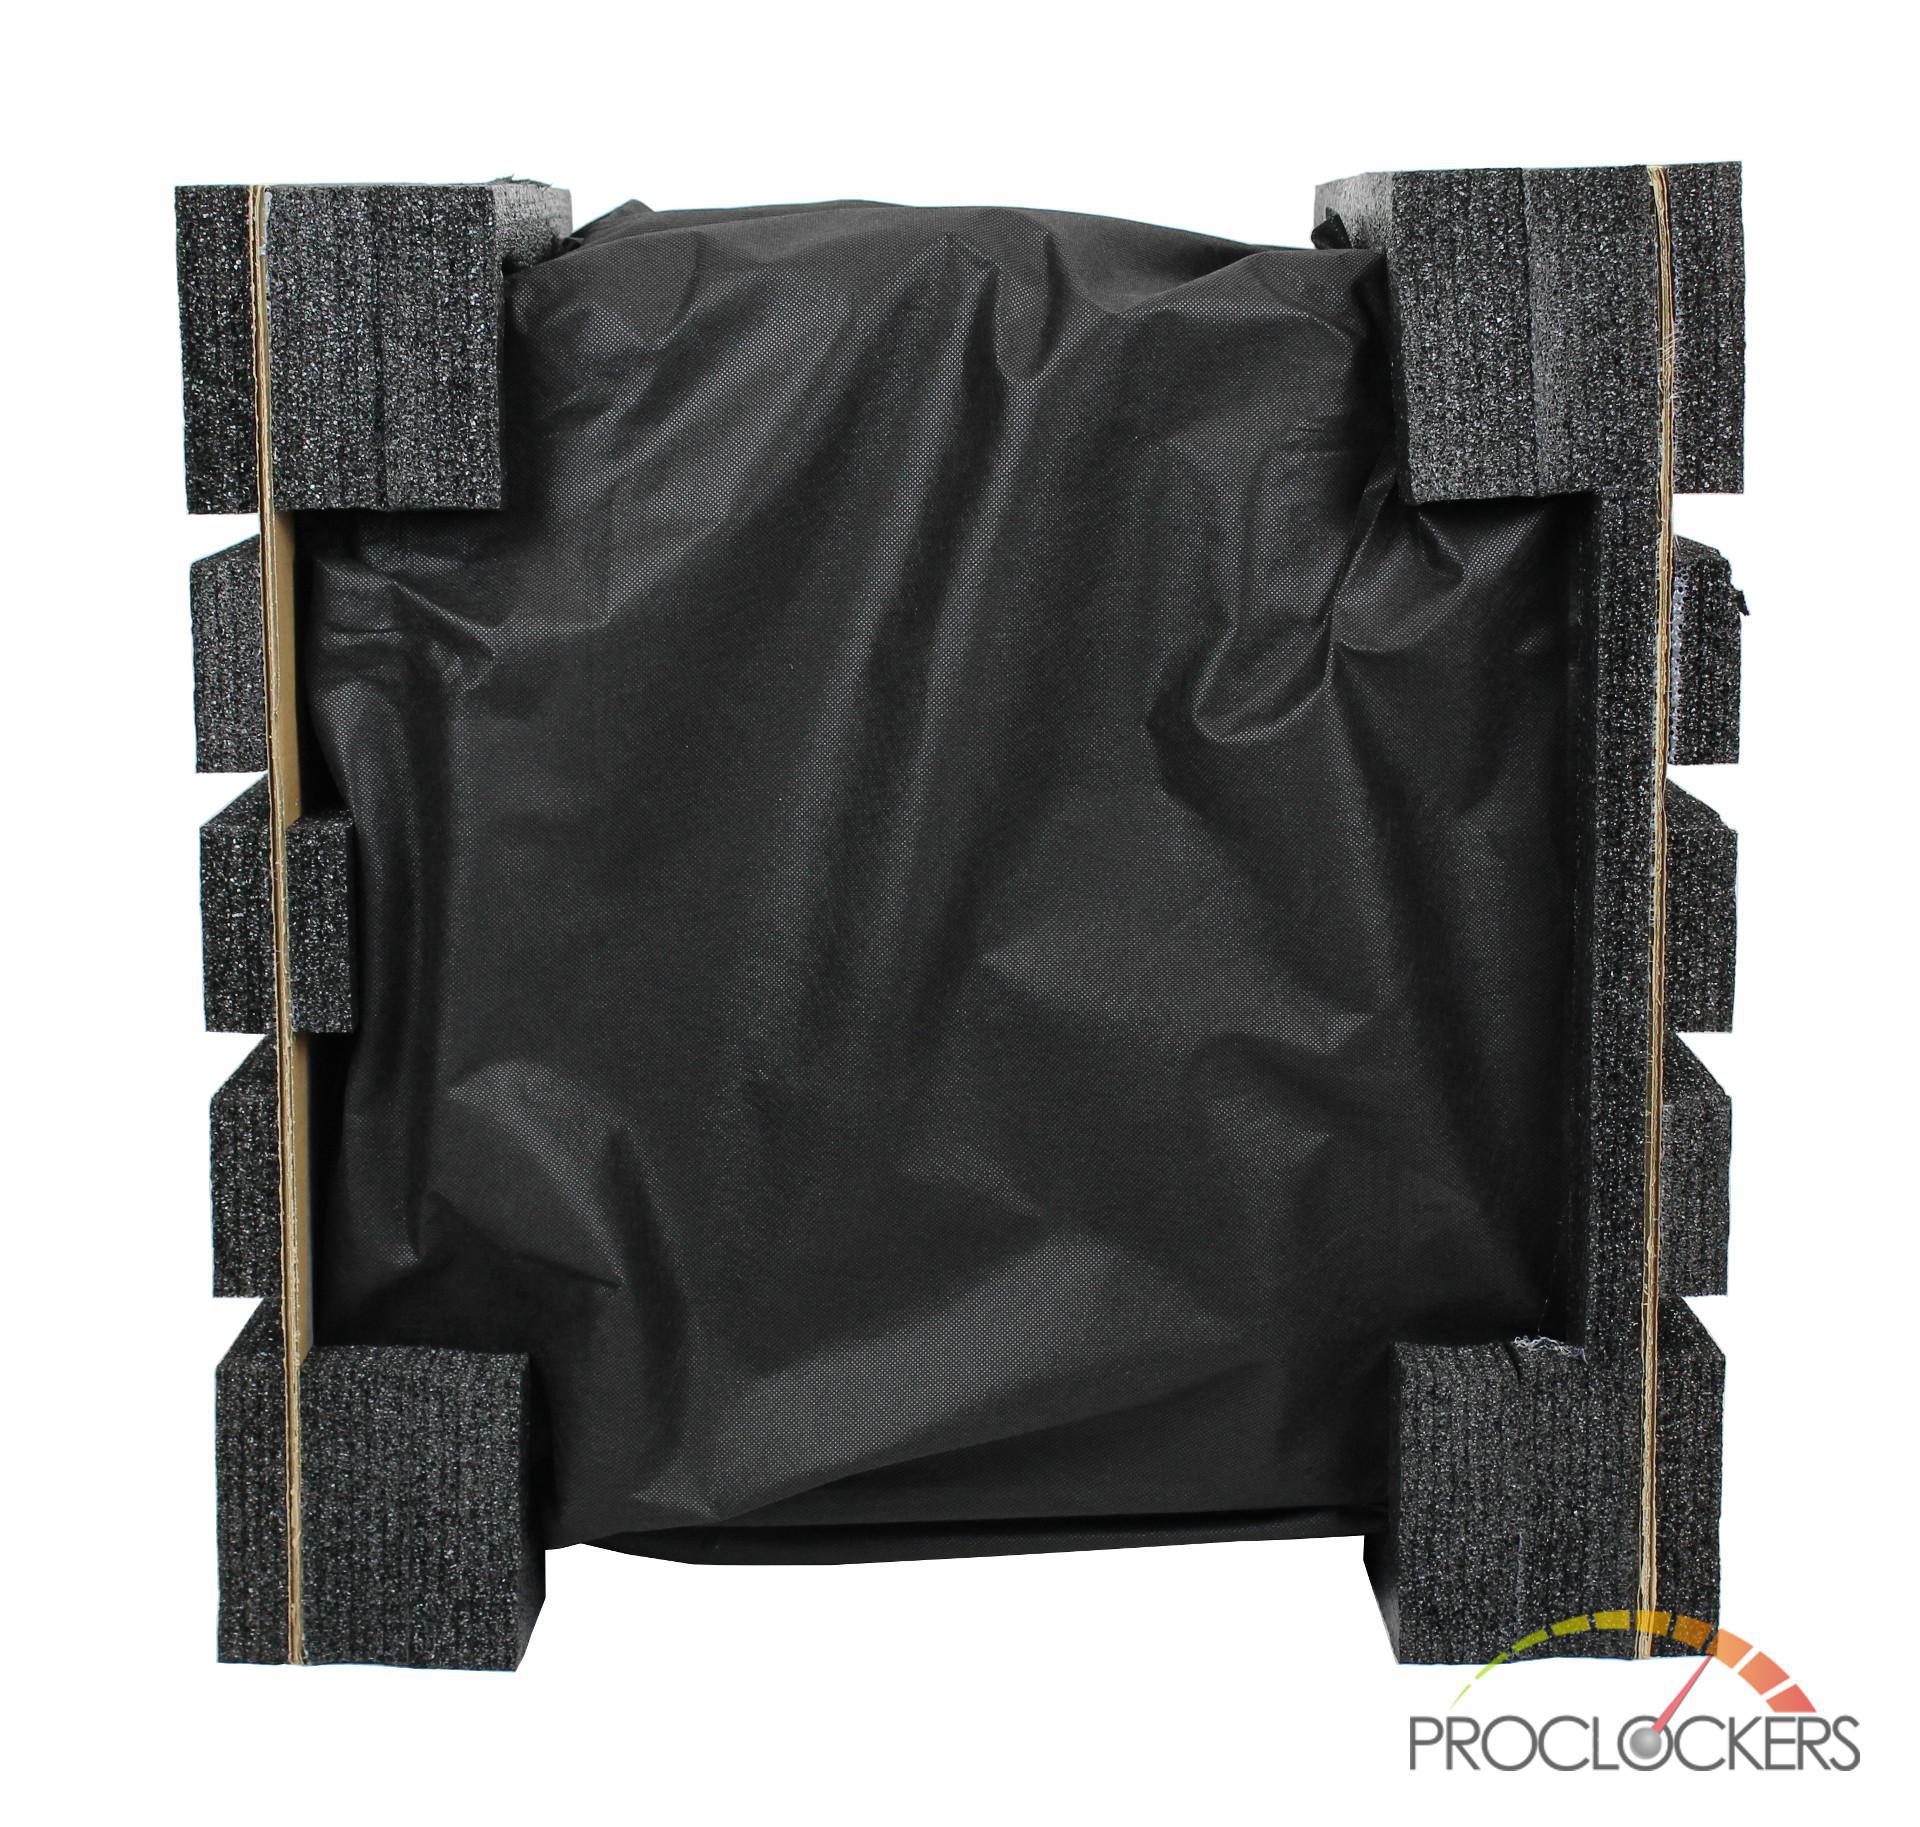
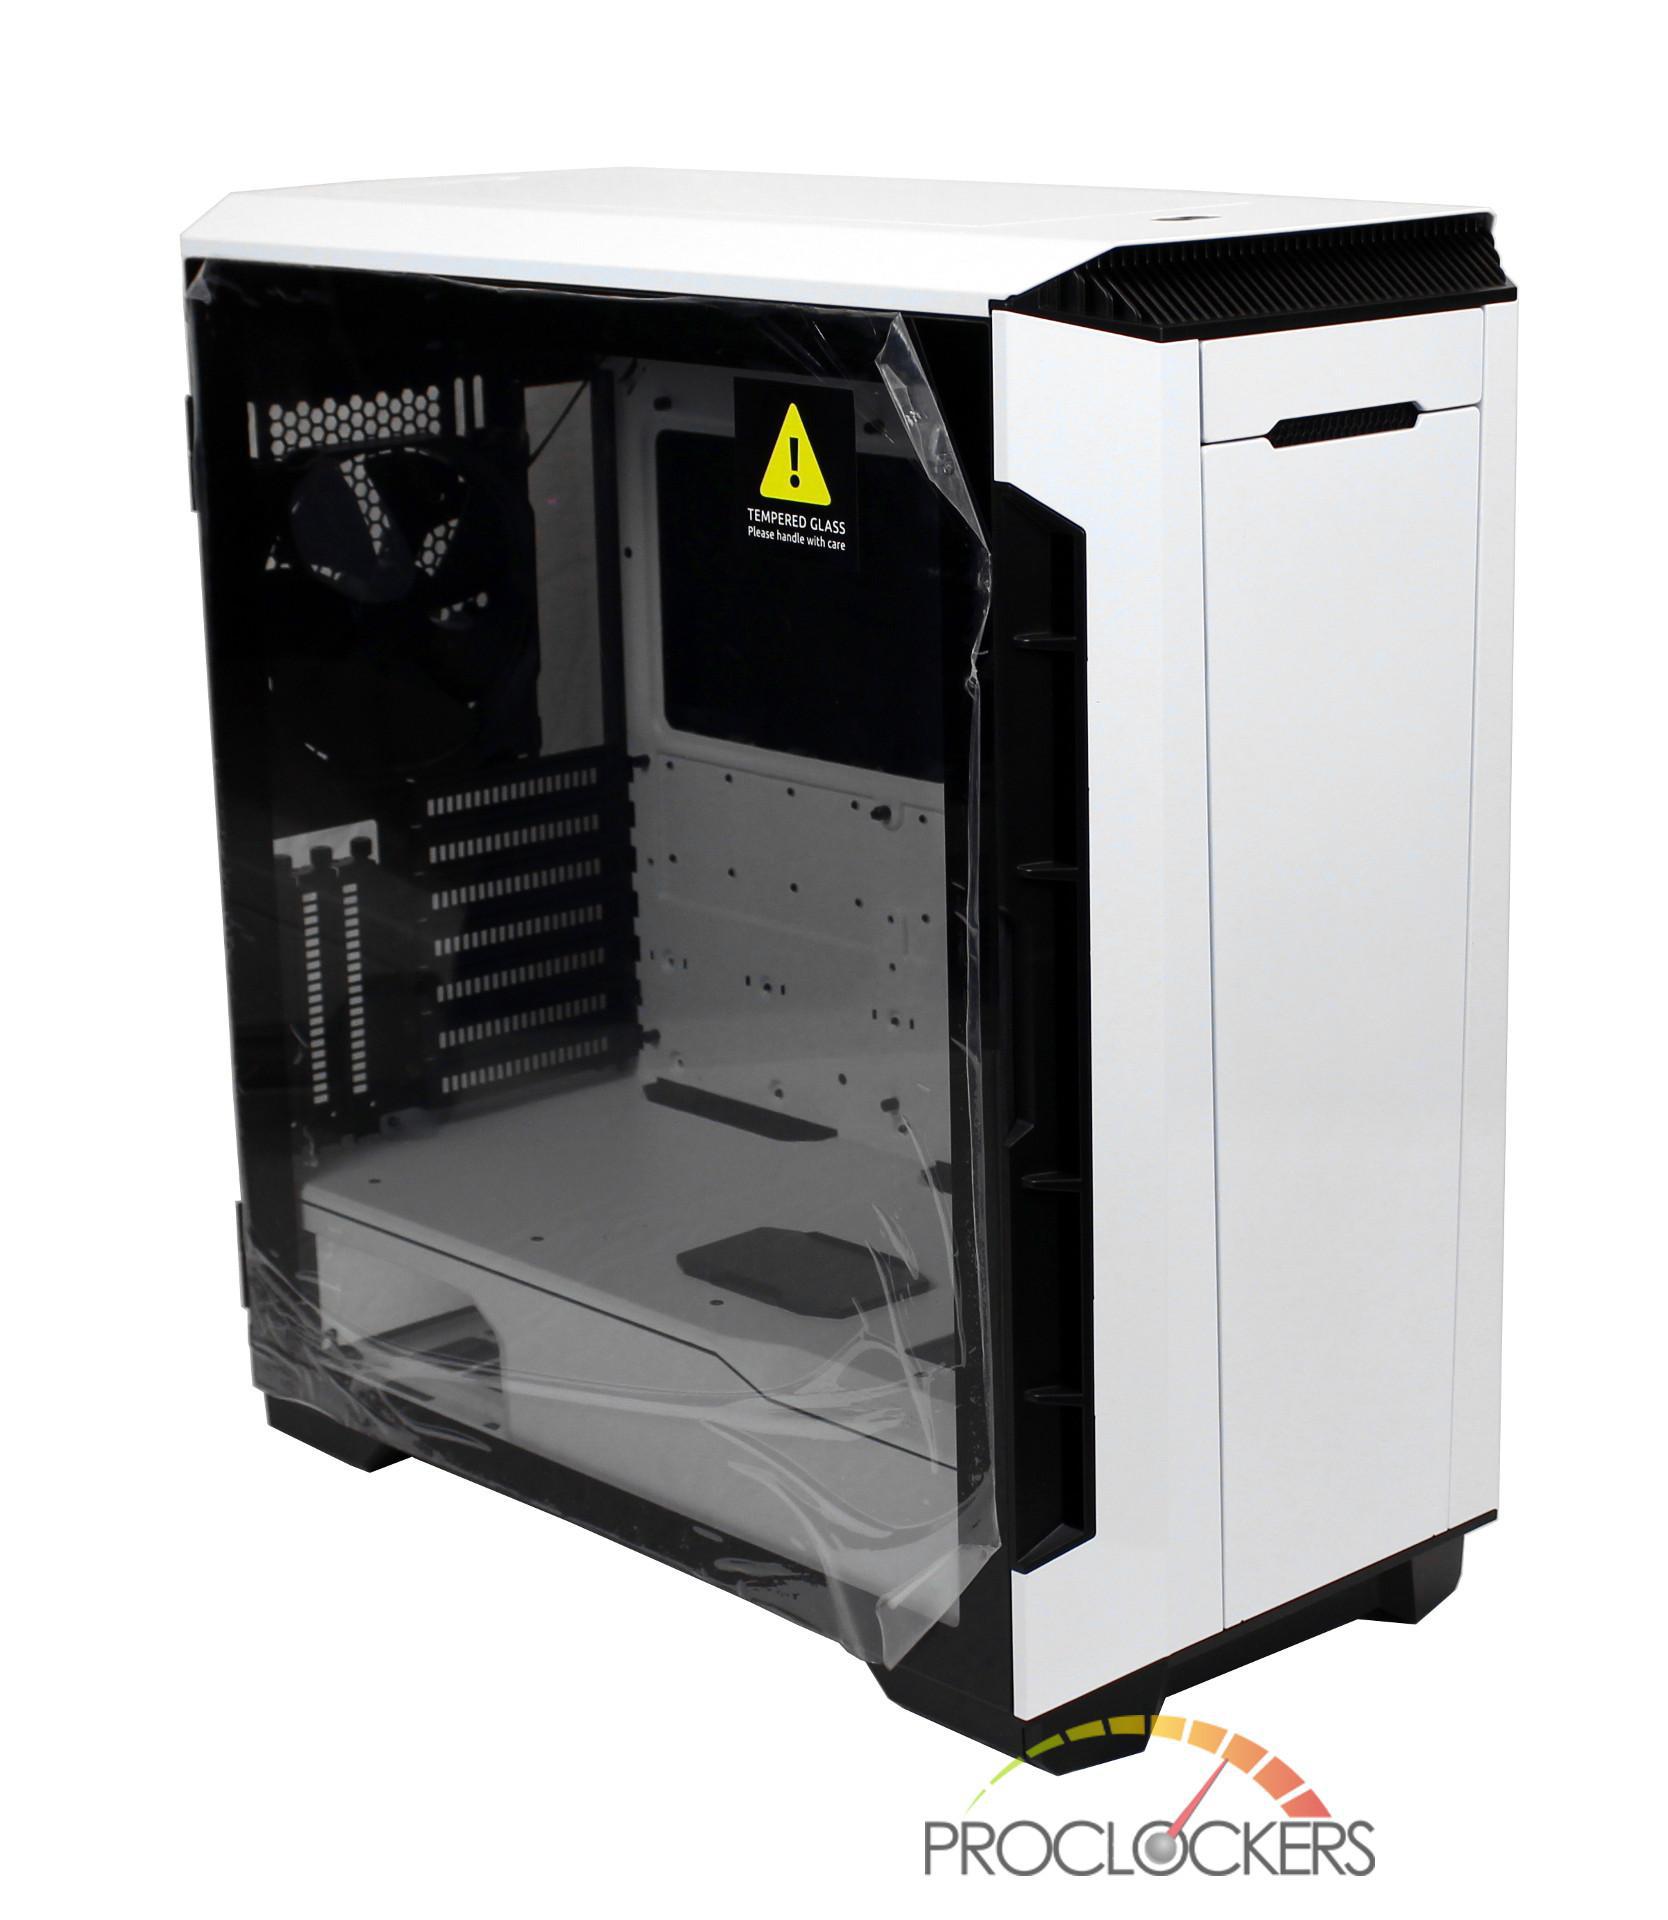
Removing the rest of the packaging from the P600S, we can see it is indeed the white model of the case. All that is left before we start building is removing the plastic film from the tempered glass side panel.
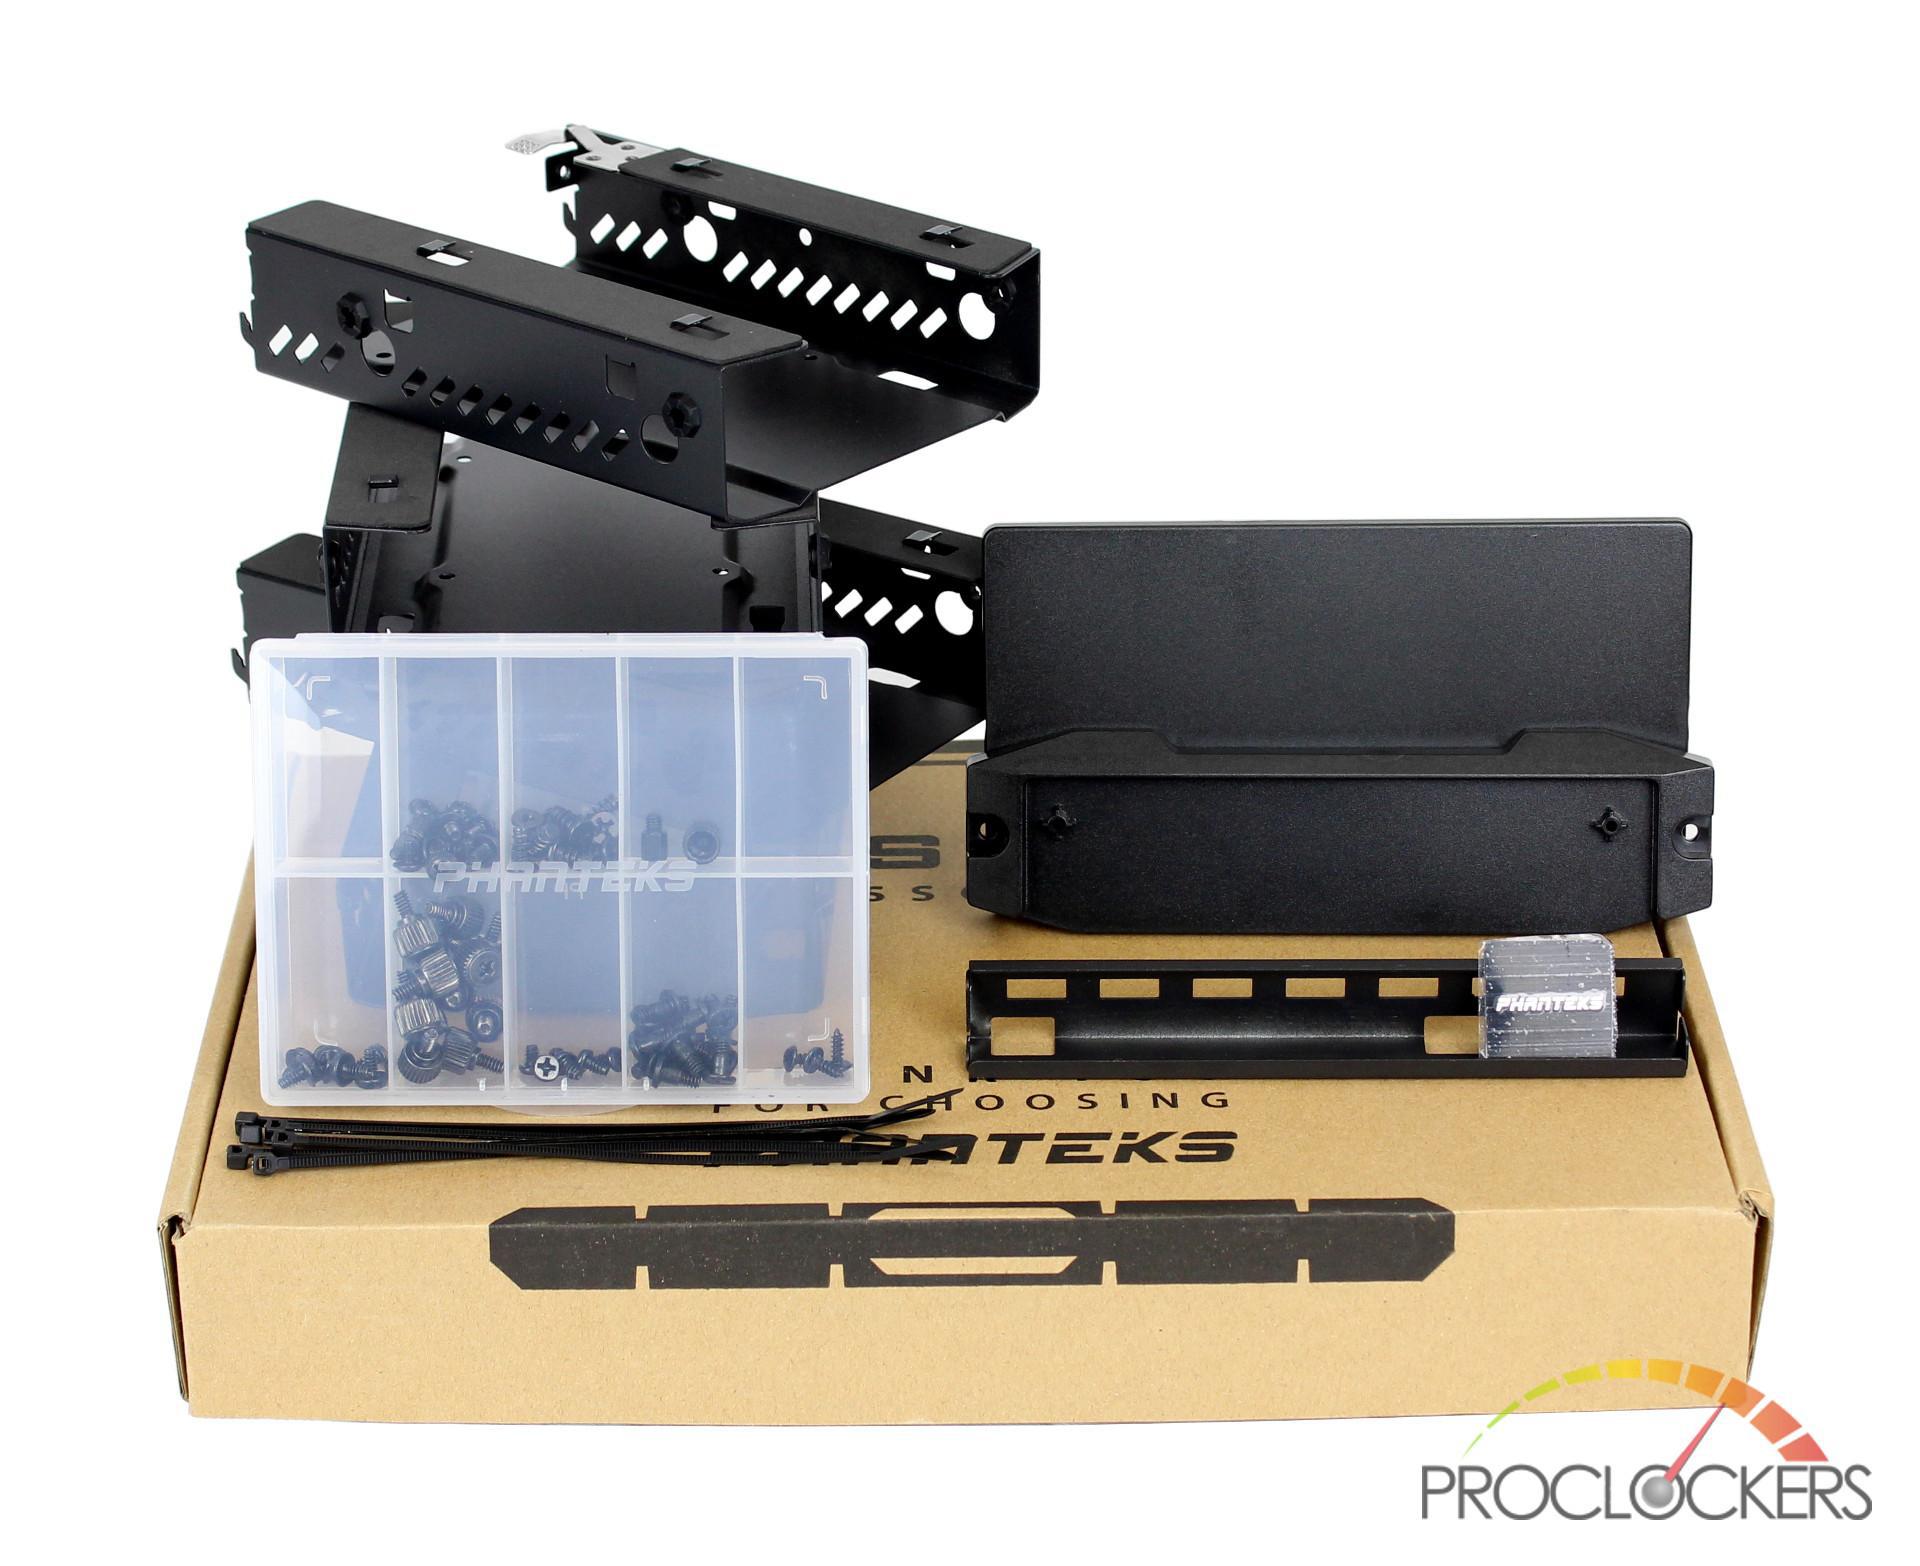
Opening the included accessory box reveals a lot of extras for your P600S. Below is a list of everything that Phanteks has included:
- P600S User Guide
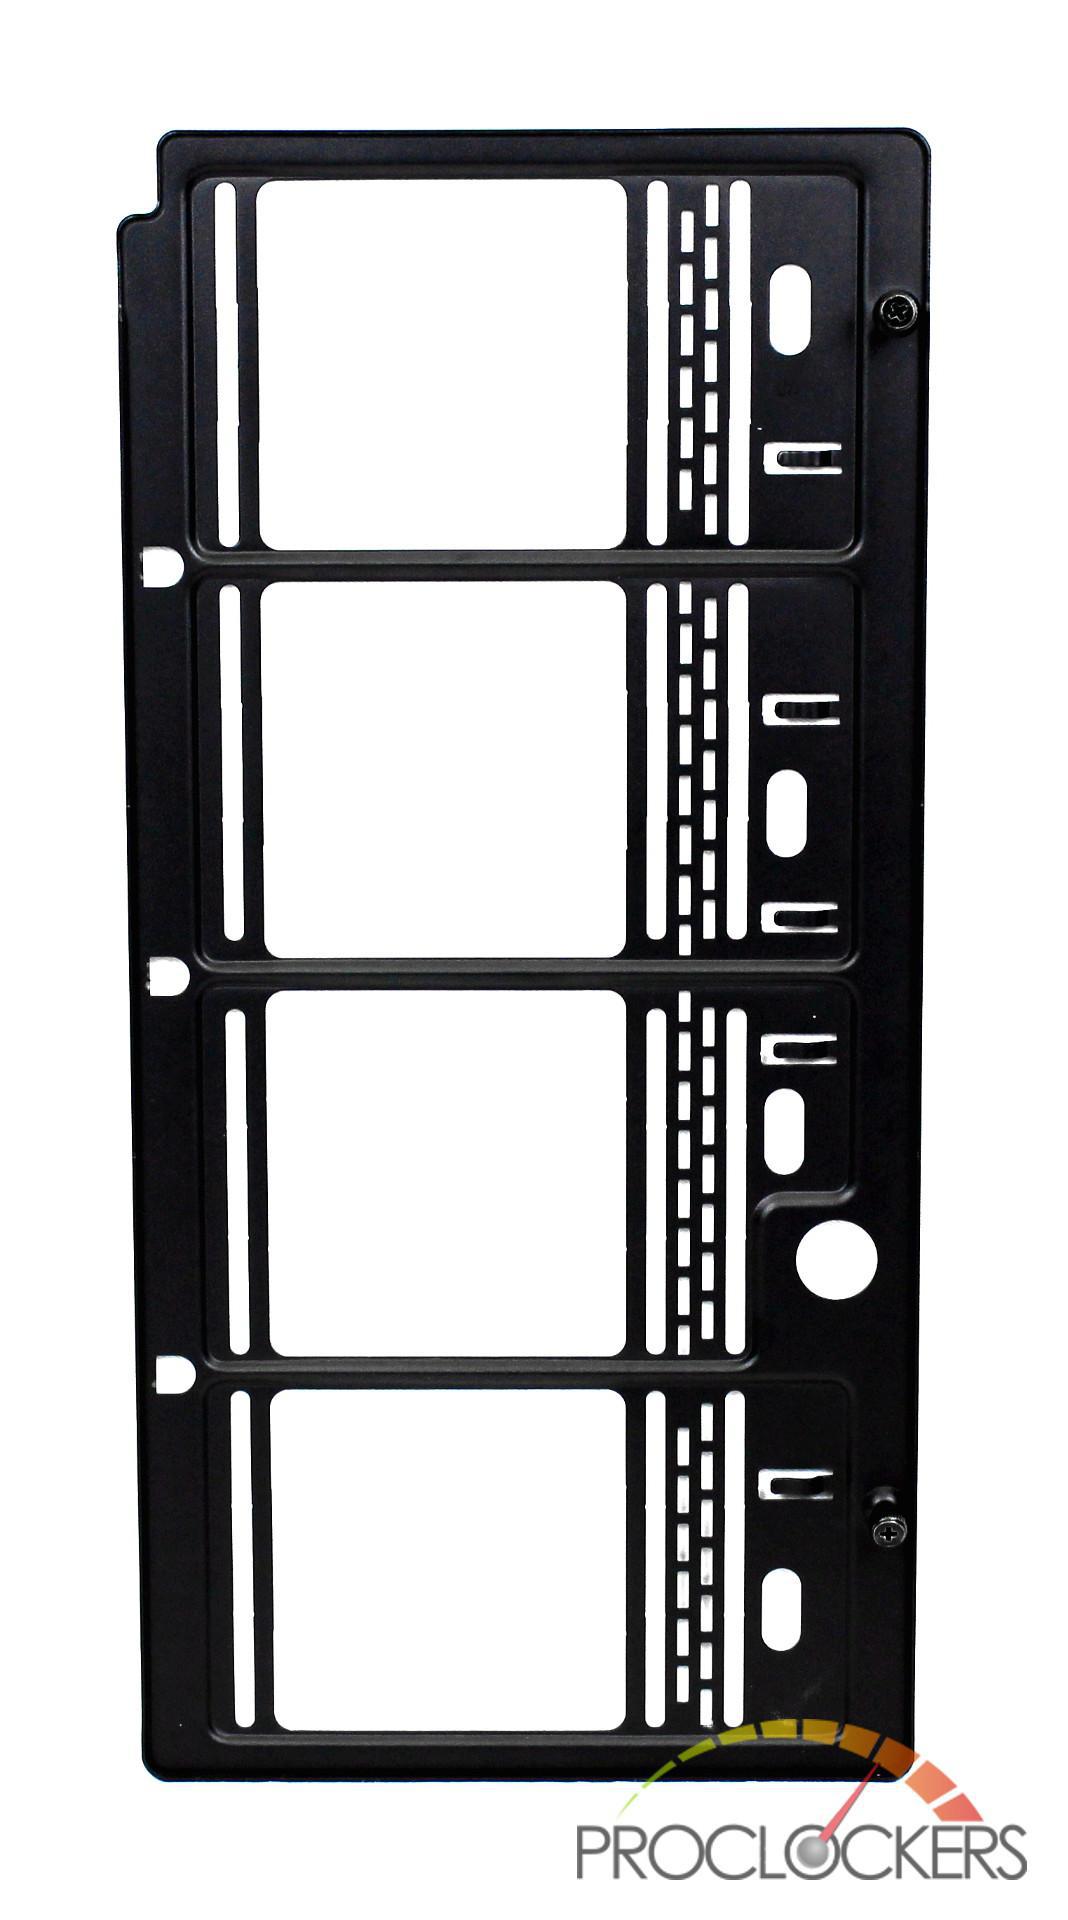
- 4 x 3.5” Stackable HDD Brackets
- Vertical GPU Mount
- GPU Anti-Sag Bracket
- Airflow Cover
- Toolbox – Which includes various mounting hardware
- Zip ties
- Phanteks Case Badge
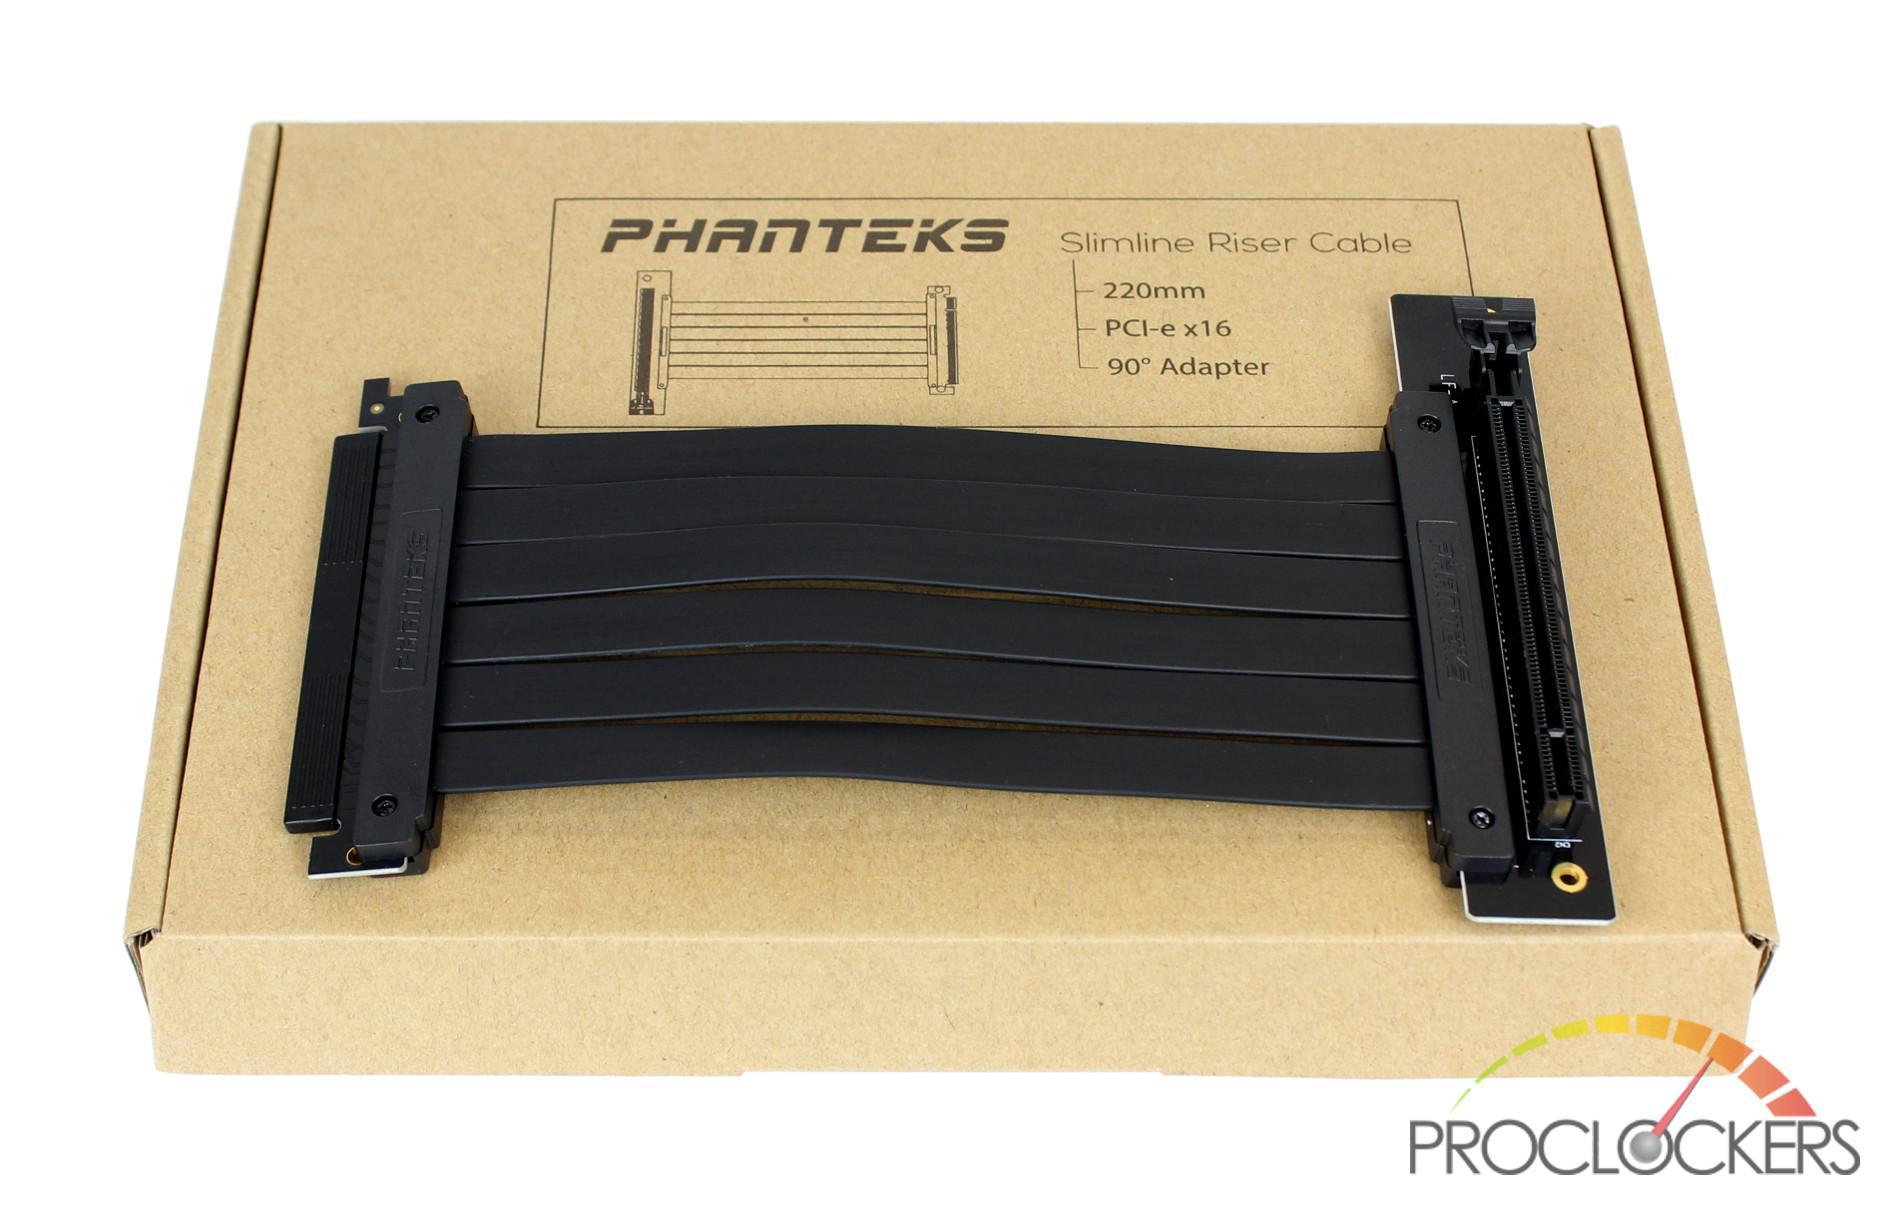
Also included in my review sample was a Phanteks riser cable which can be purchased separately.
A Closer Look: Exterior
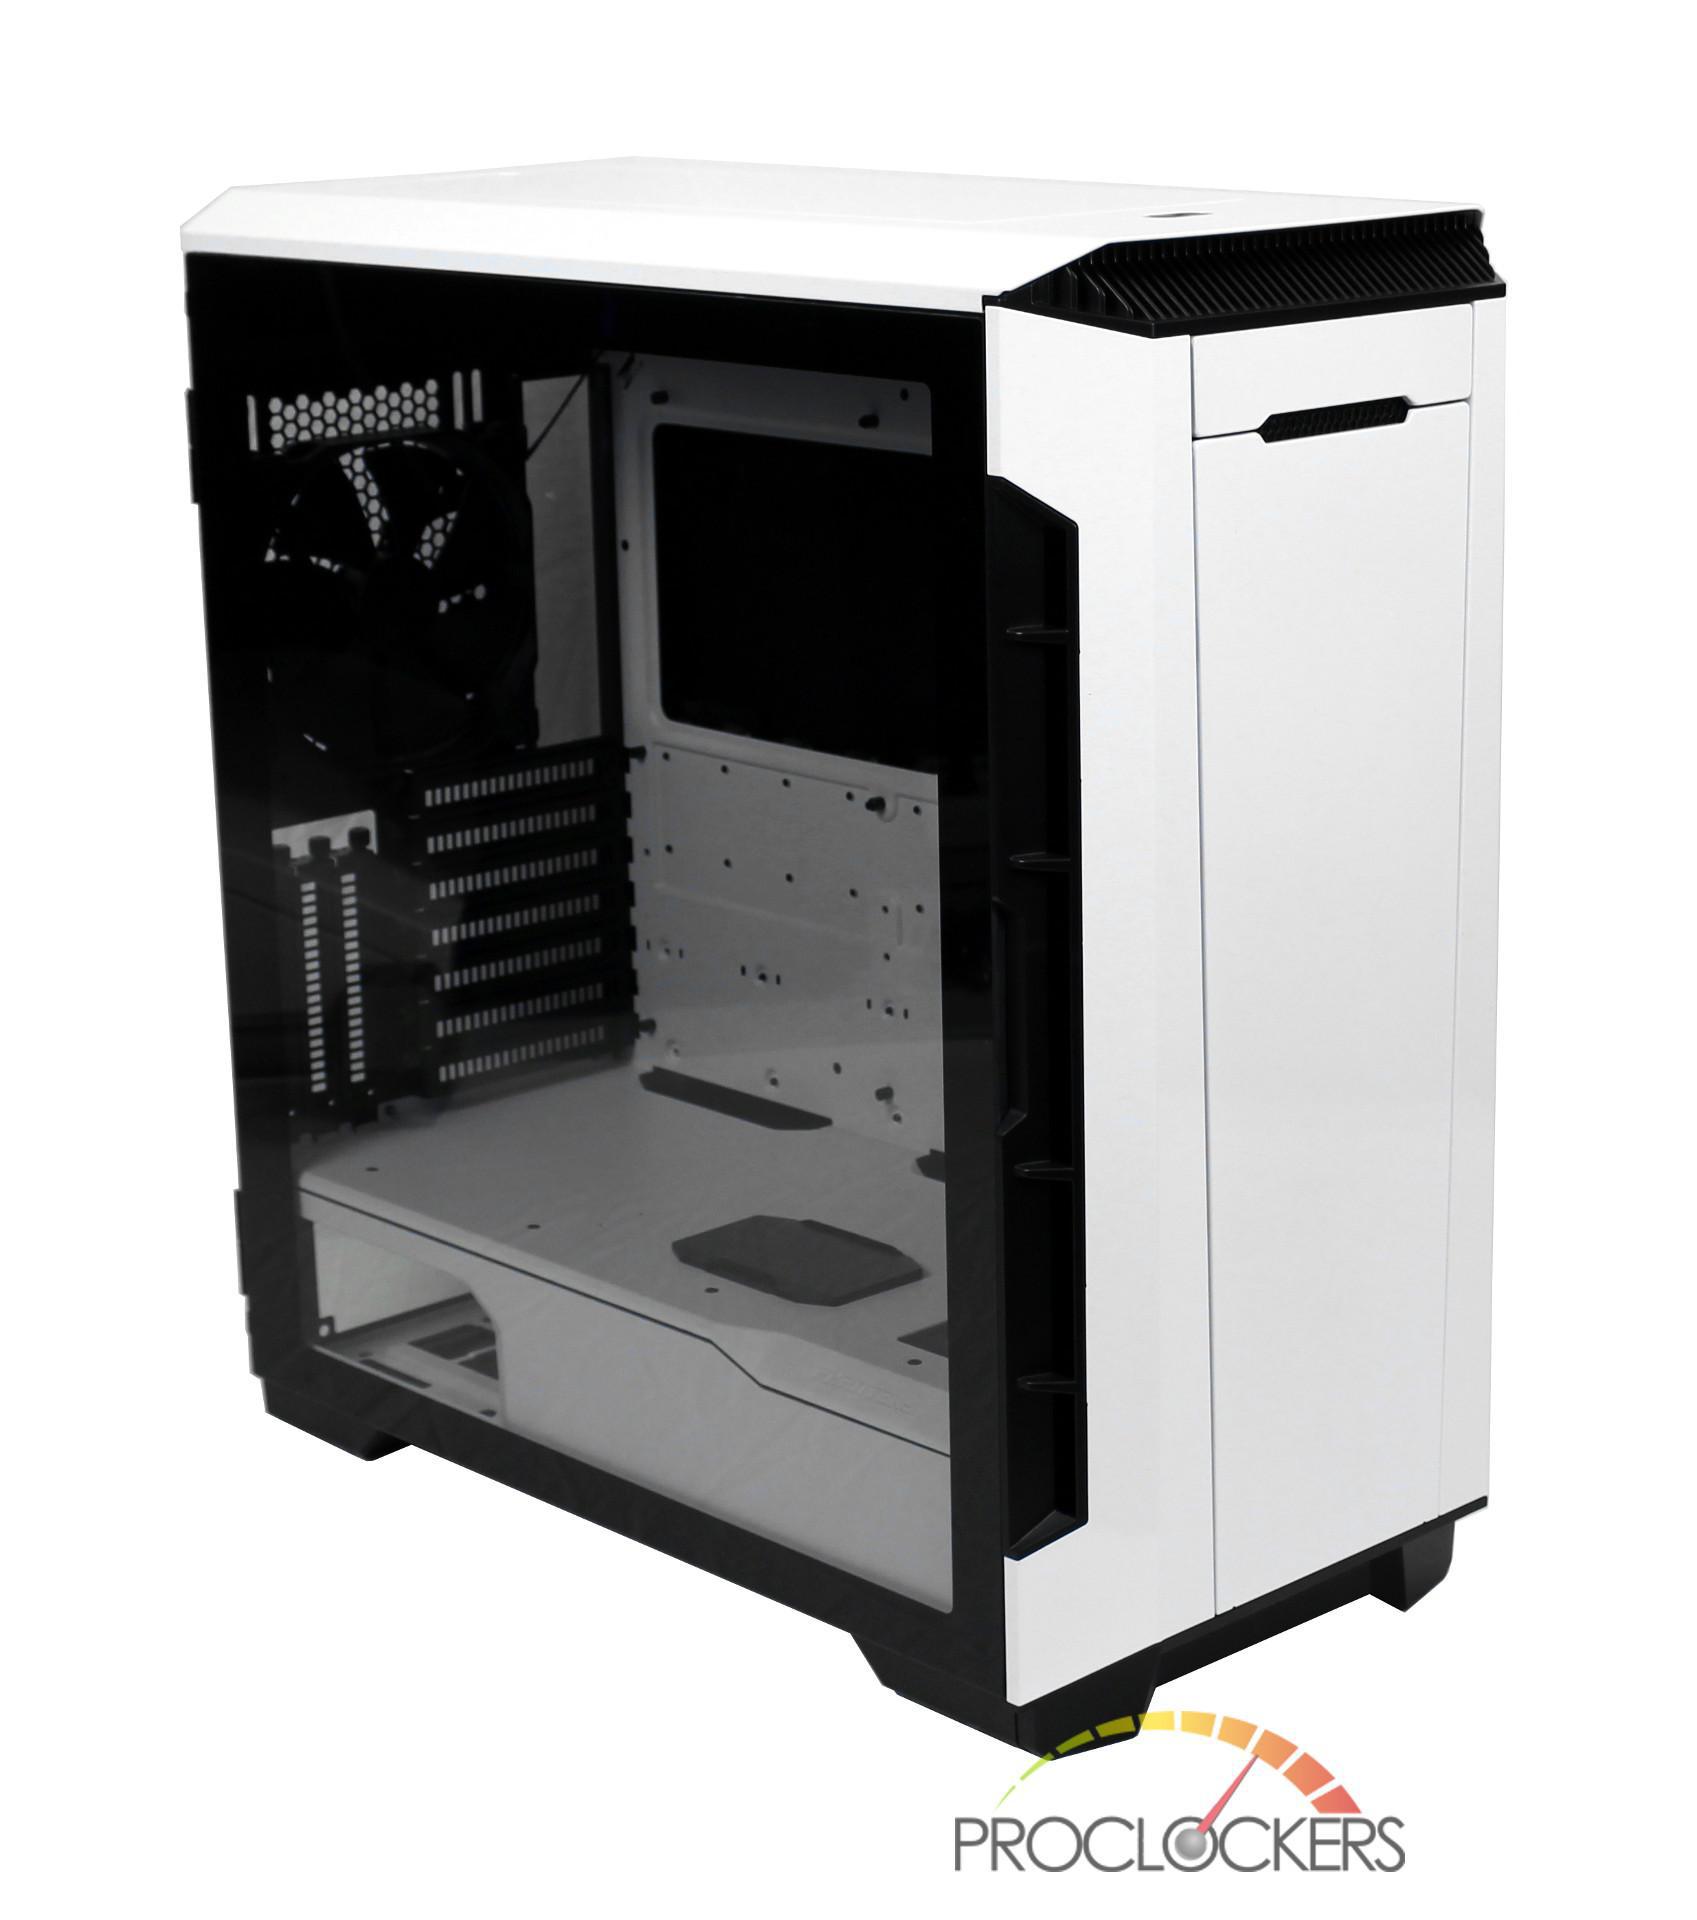
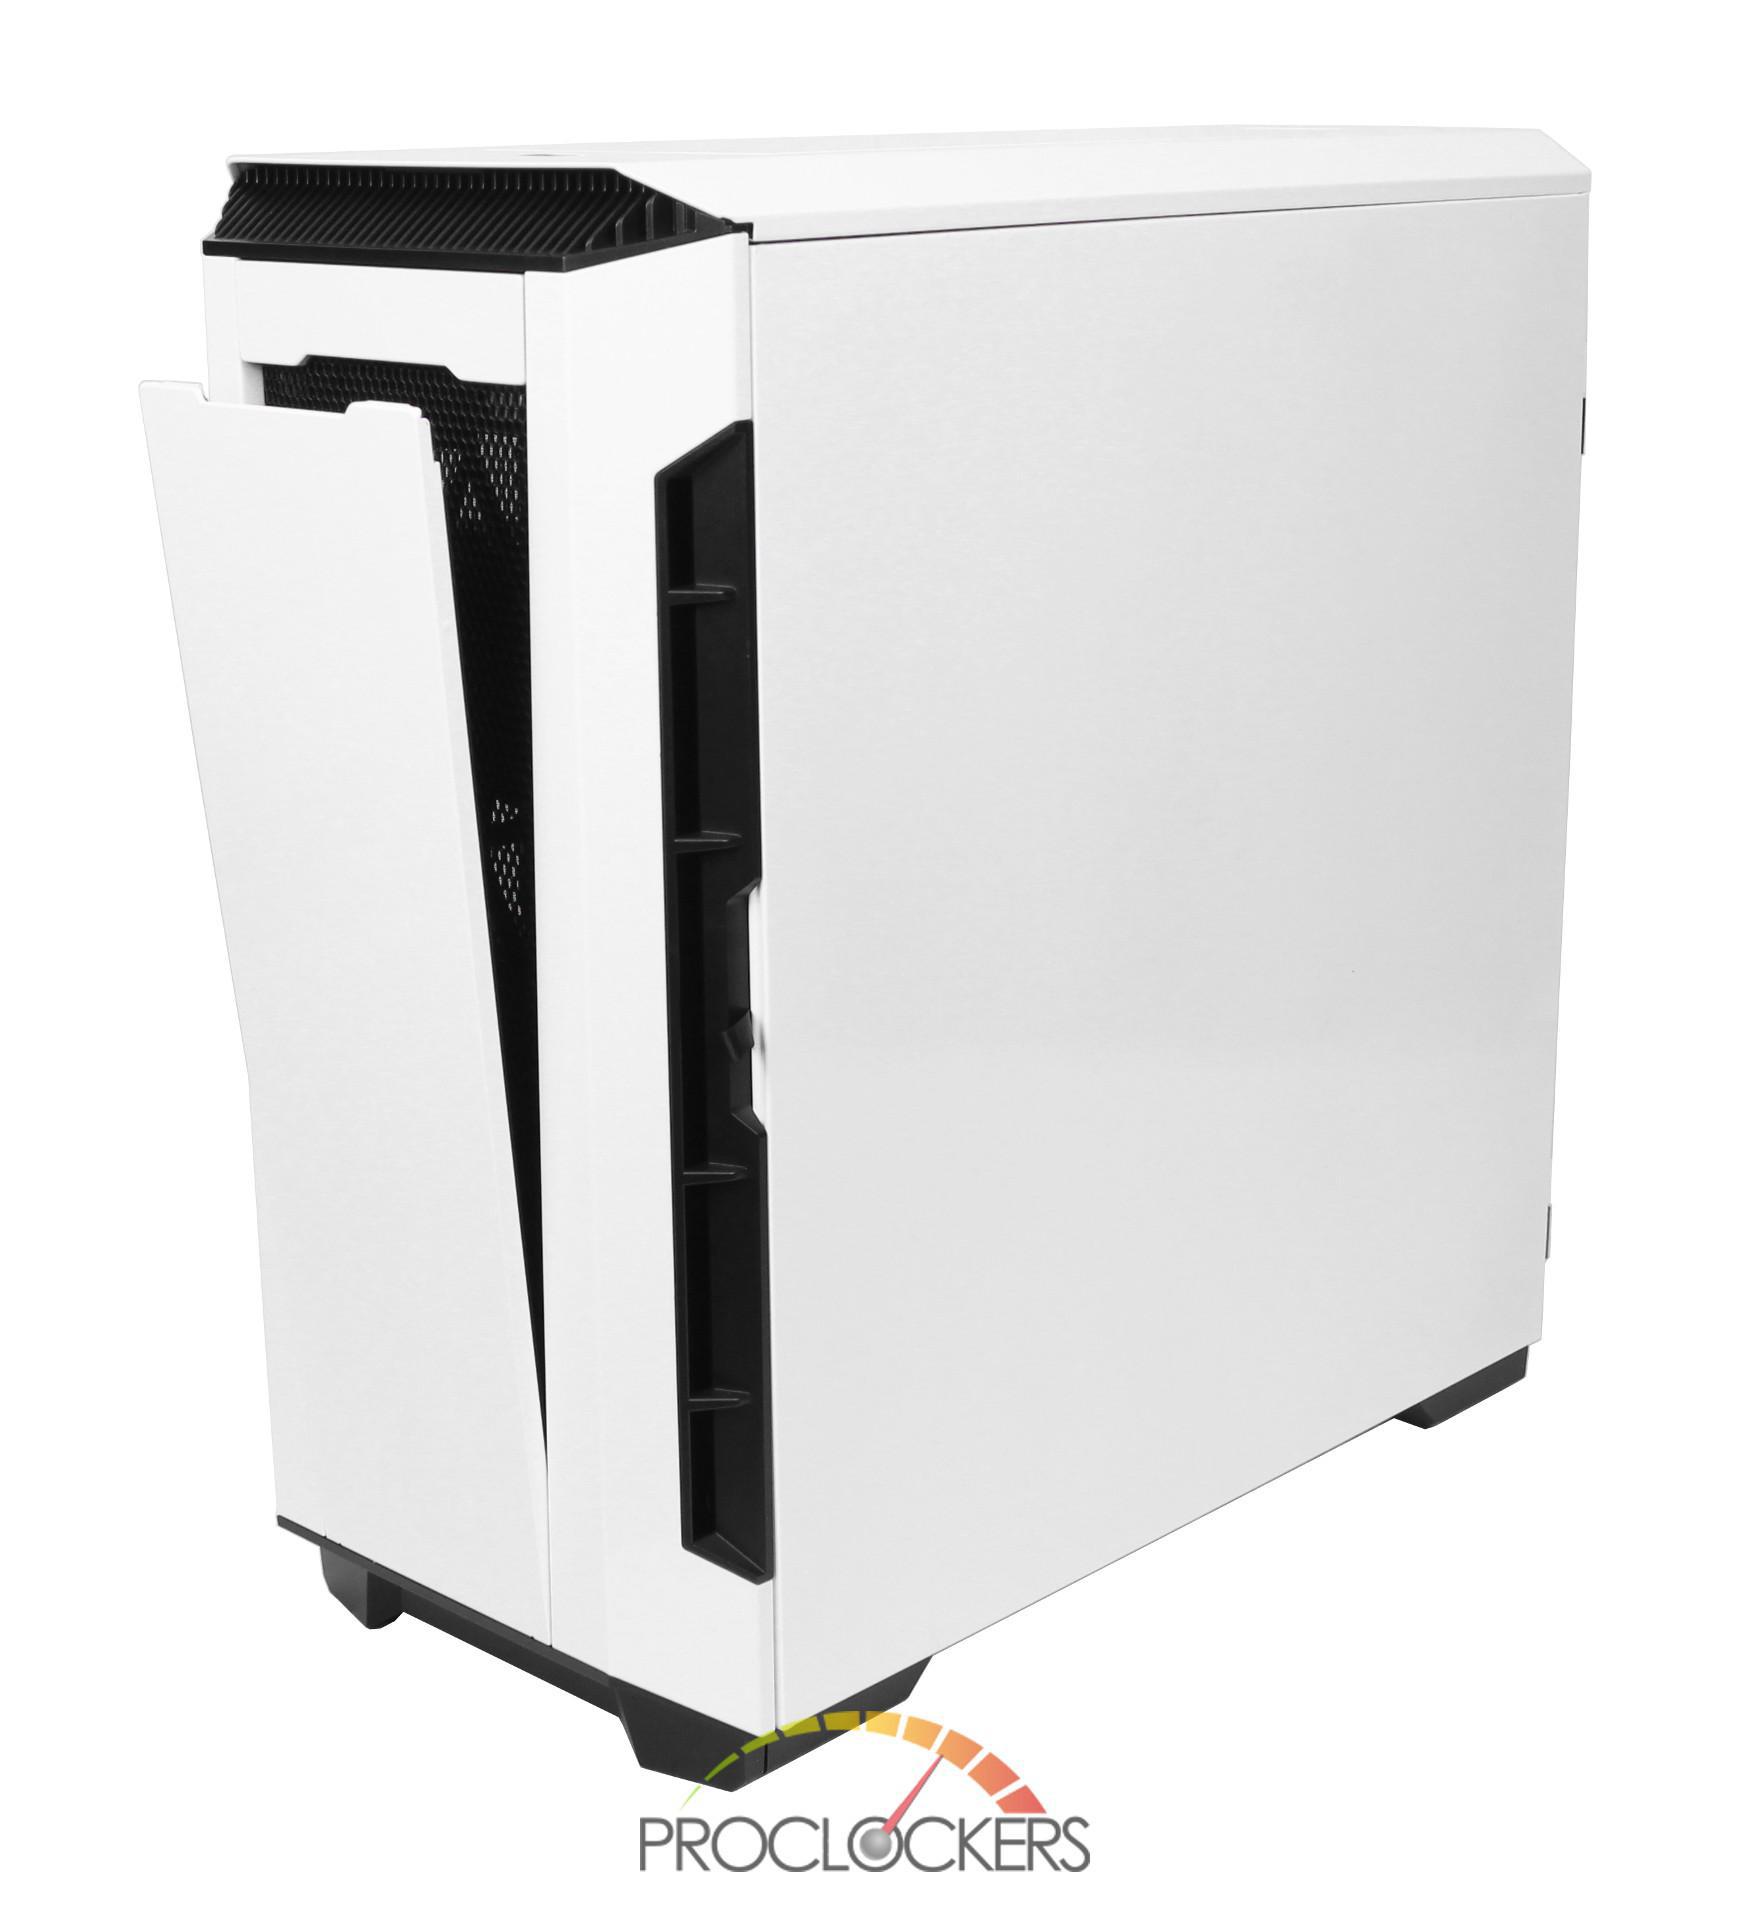
Now that the Eclipse P600S is fully removed from its packaging we can take a closer look at the chassis. The first thing that really caught our eye was the glossy white finish that encompasses the whole case. Looking at the tempered glass side panel you will notice that there are no thumb screws holding it in place. This is because the tempered glass panel itself is secured to the case with two magnets and is hinged at the back. When you’re ready to start your build, you can remove the tempered glass just by pulling it off the hinge. Once removed you will notice it has 4 strips of foam on each side which probably helps with minimizing the noise and provides some cushioning when closing the panel.
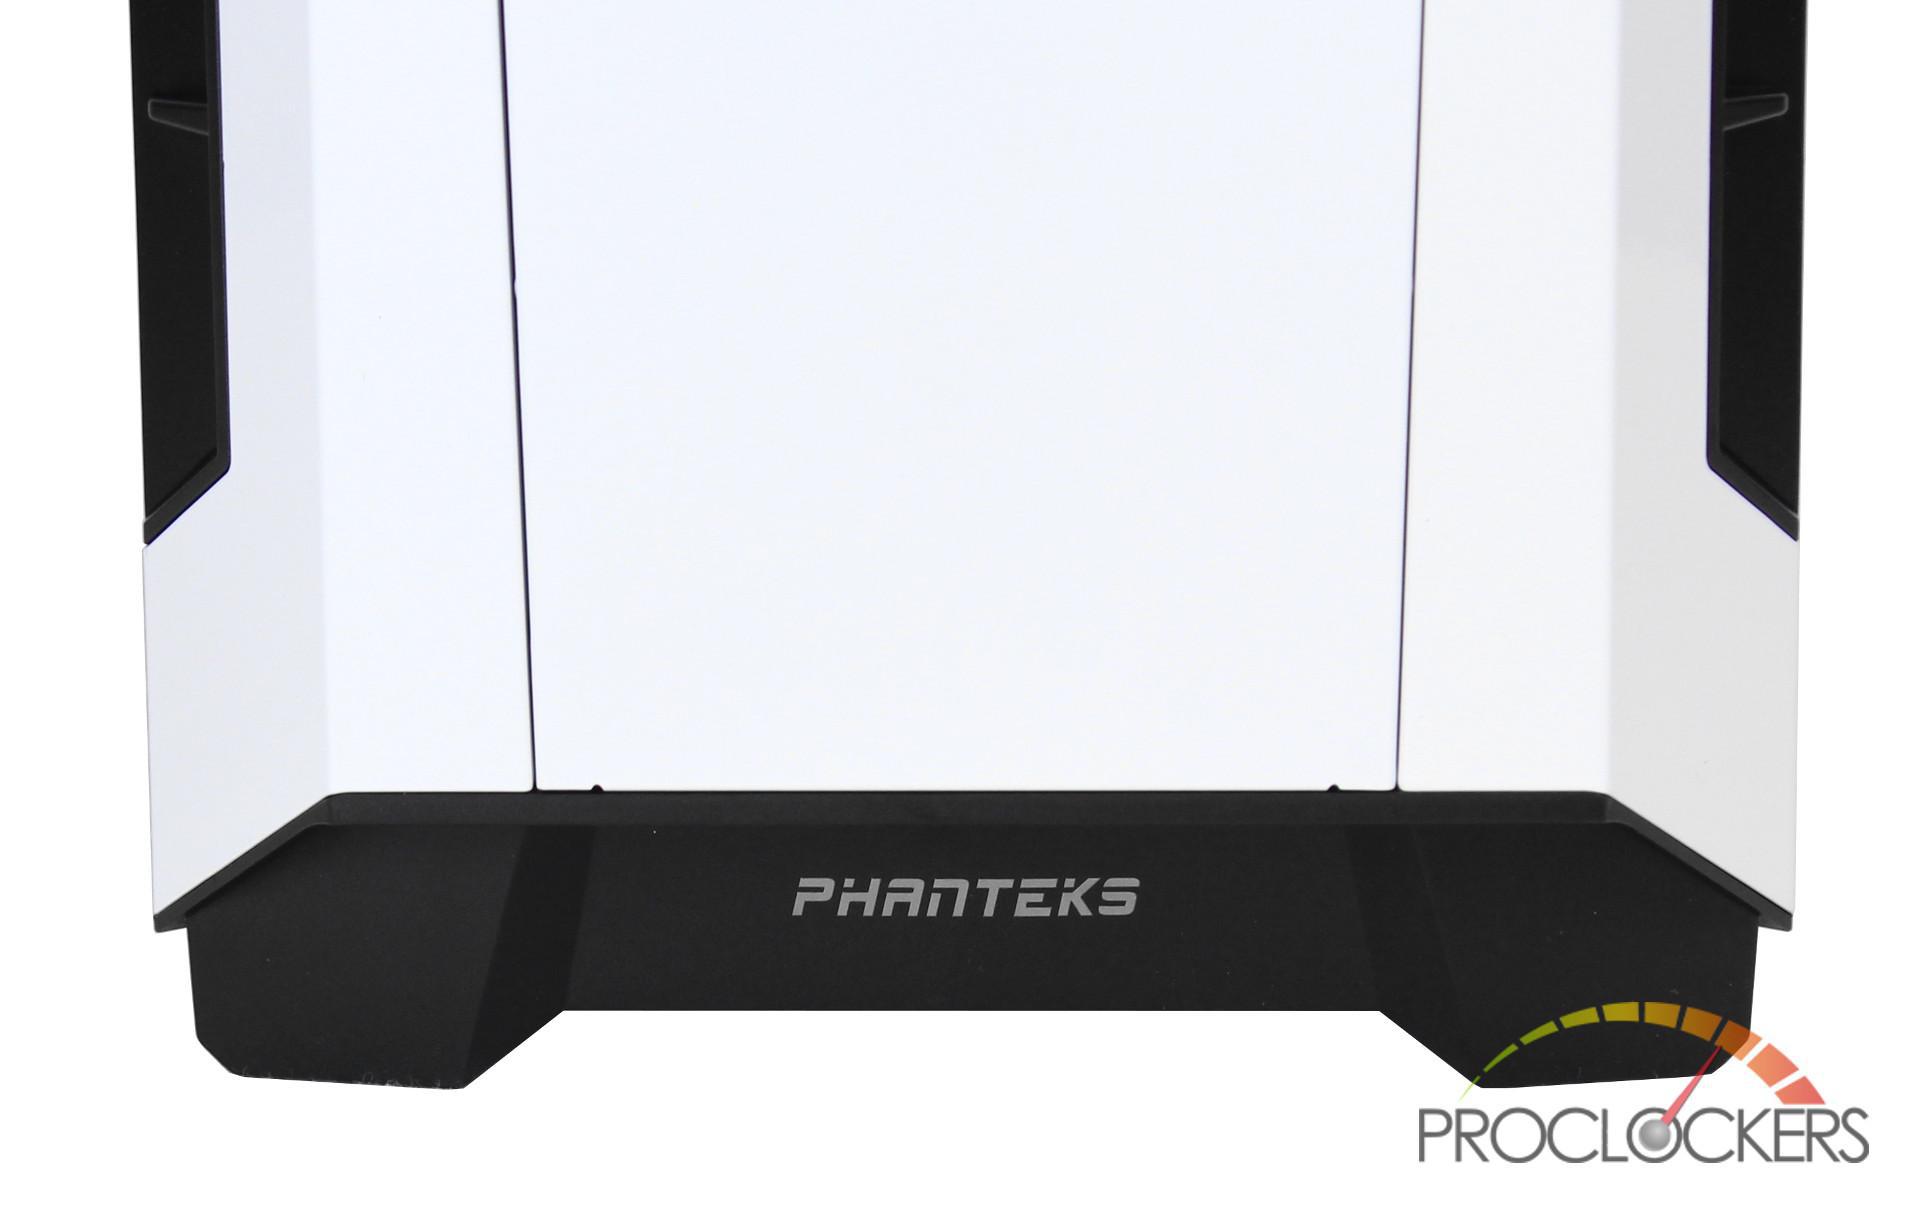
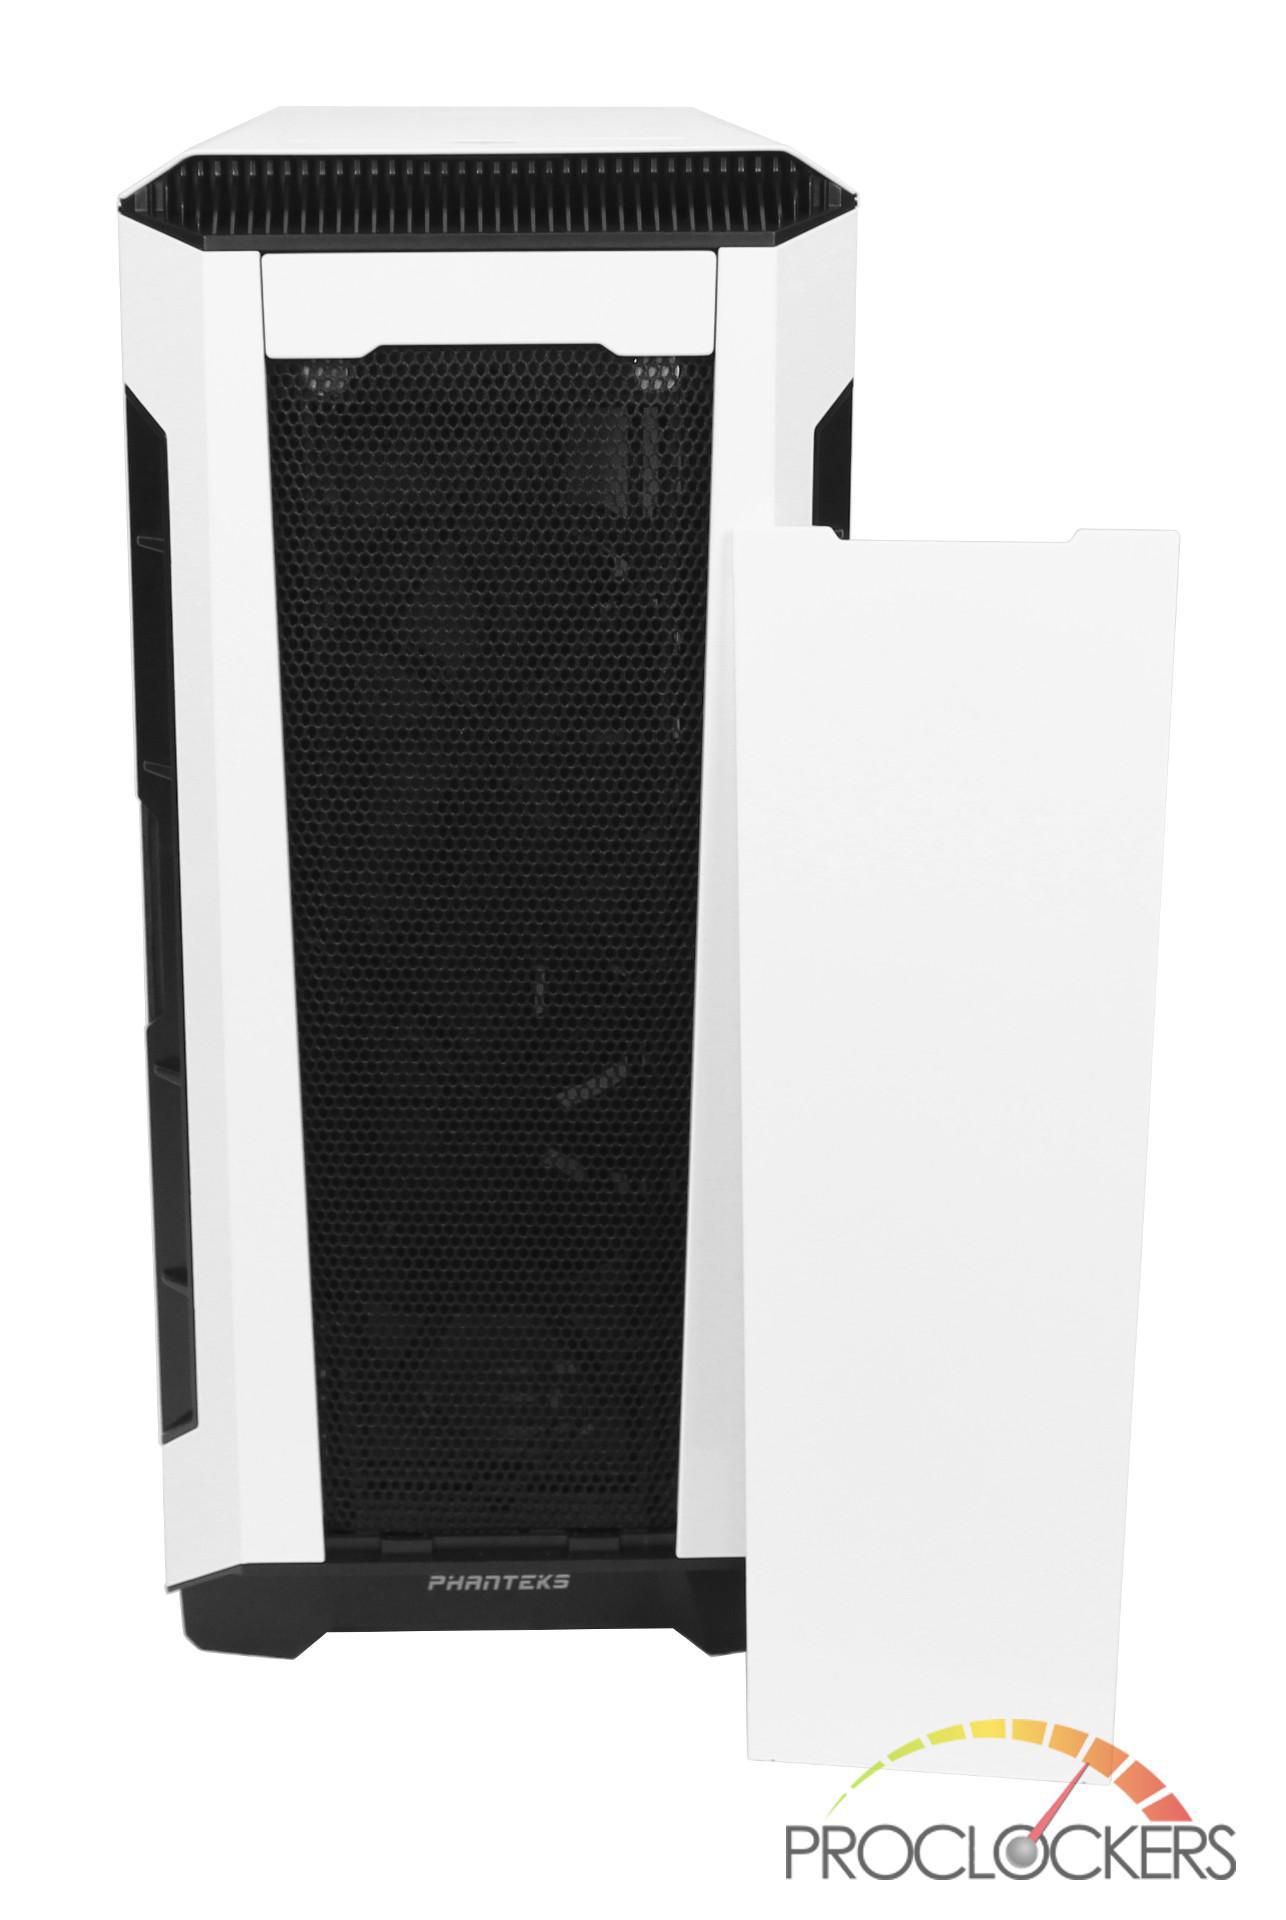
The front of the P600S consists of a removable magnetic panel, black vents on both sides and a hidden I/O panel. Near the bottom, there is also some subtle branding with “Phanteks” written in silver letters.
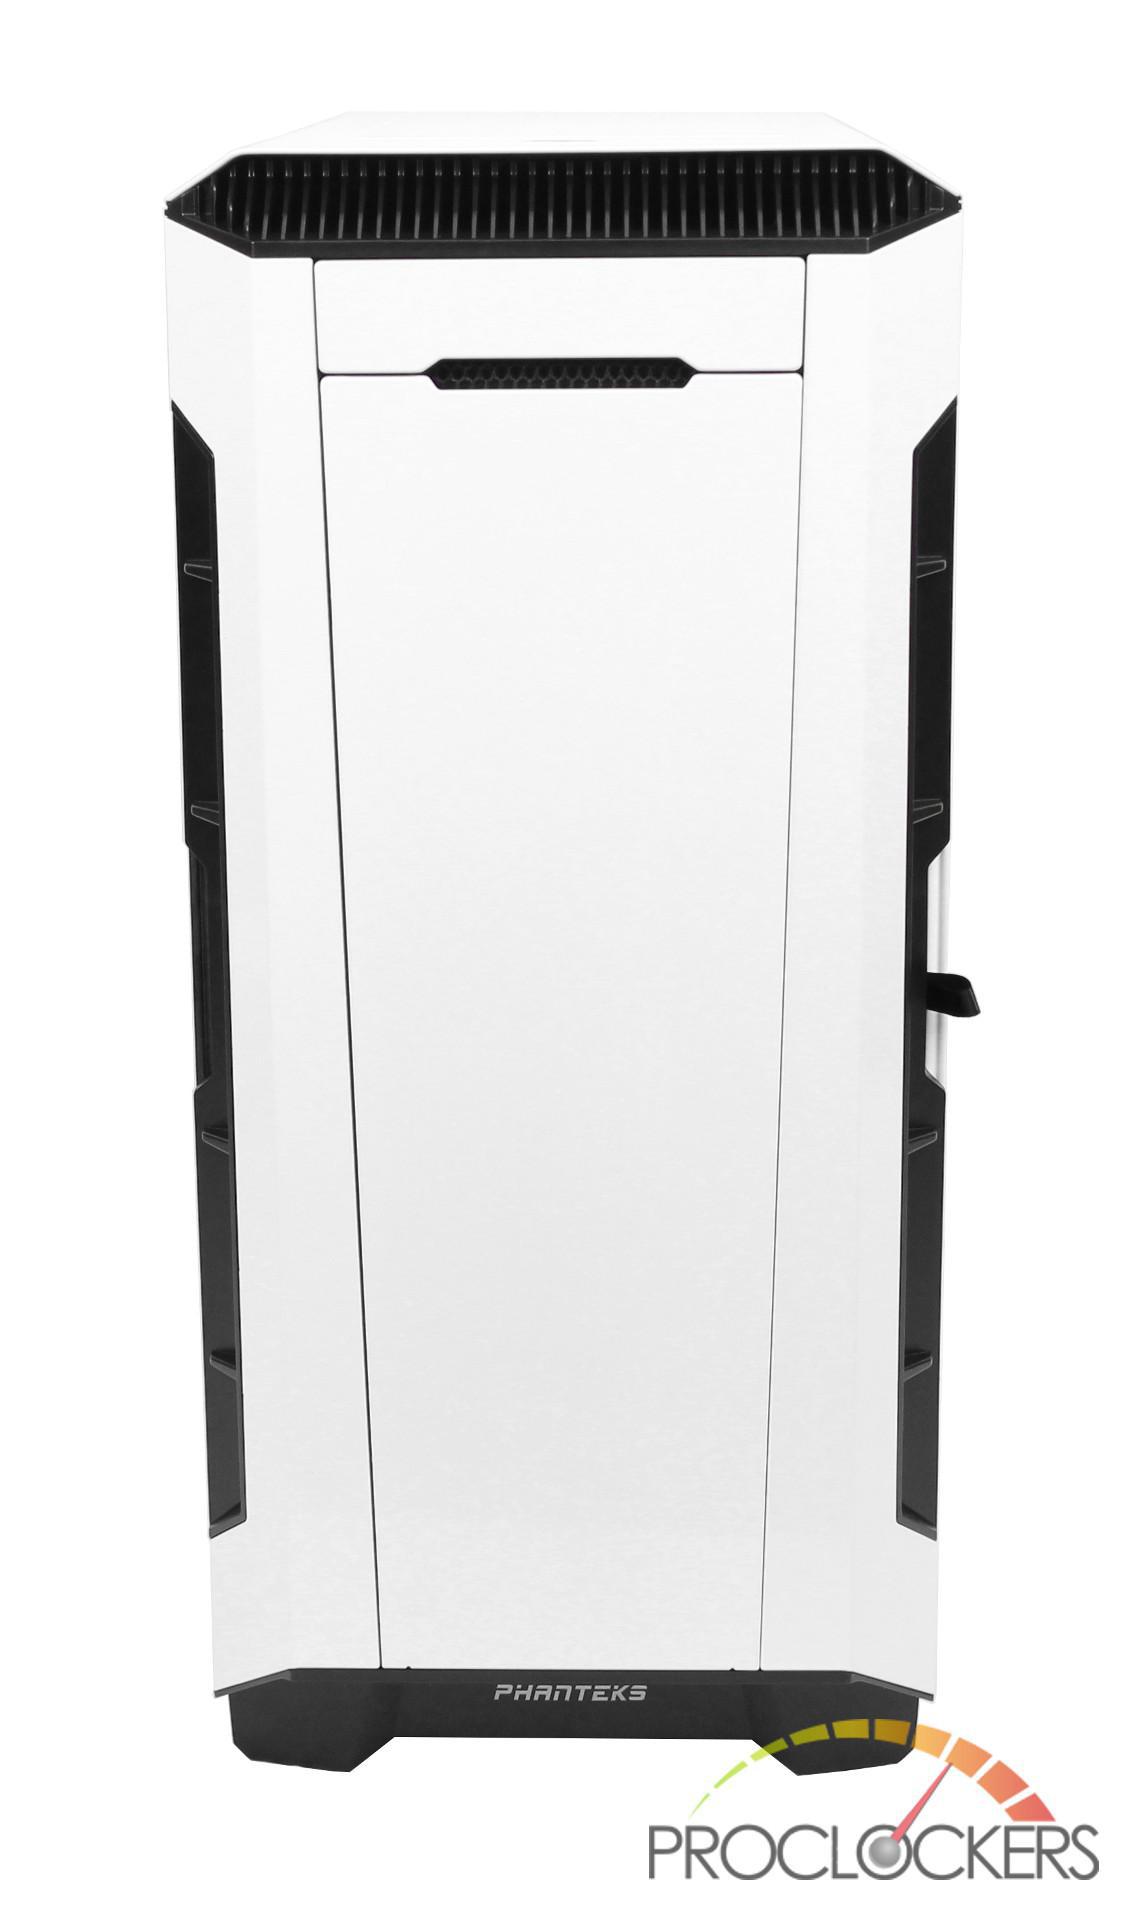
The magnetic panel has three different configurations which include fully closed, slightly open, and totally removed. Leaving the panel fully attached to the case should provide near silent operation. The other configurations are designed for higher airflow while sacrificing some of the soundproofing that it provides.
The back of the panel it is equipped with sound dampening foam which prevents sound from exiting from the front of the case.

If you choose to remove the panel, the inside filter is made of a fabric mesh rather than the normal metal mesh seen in other cases. This fabric mesh is designed to give you better cooling performance as it is much less restrictive providing upwards of 90% airflow.
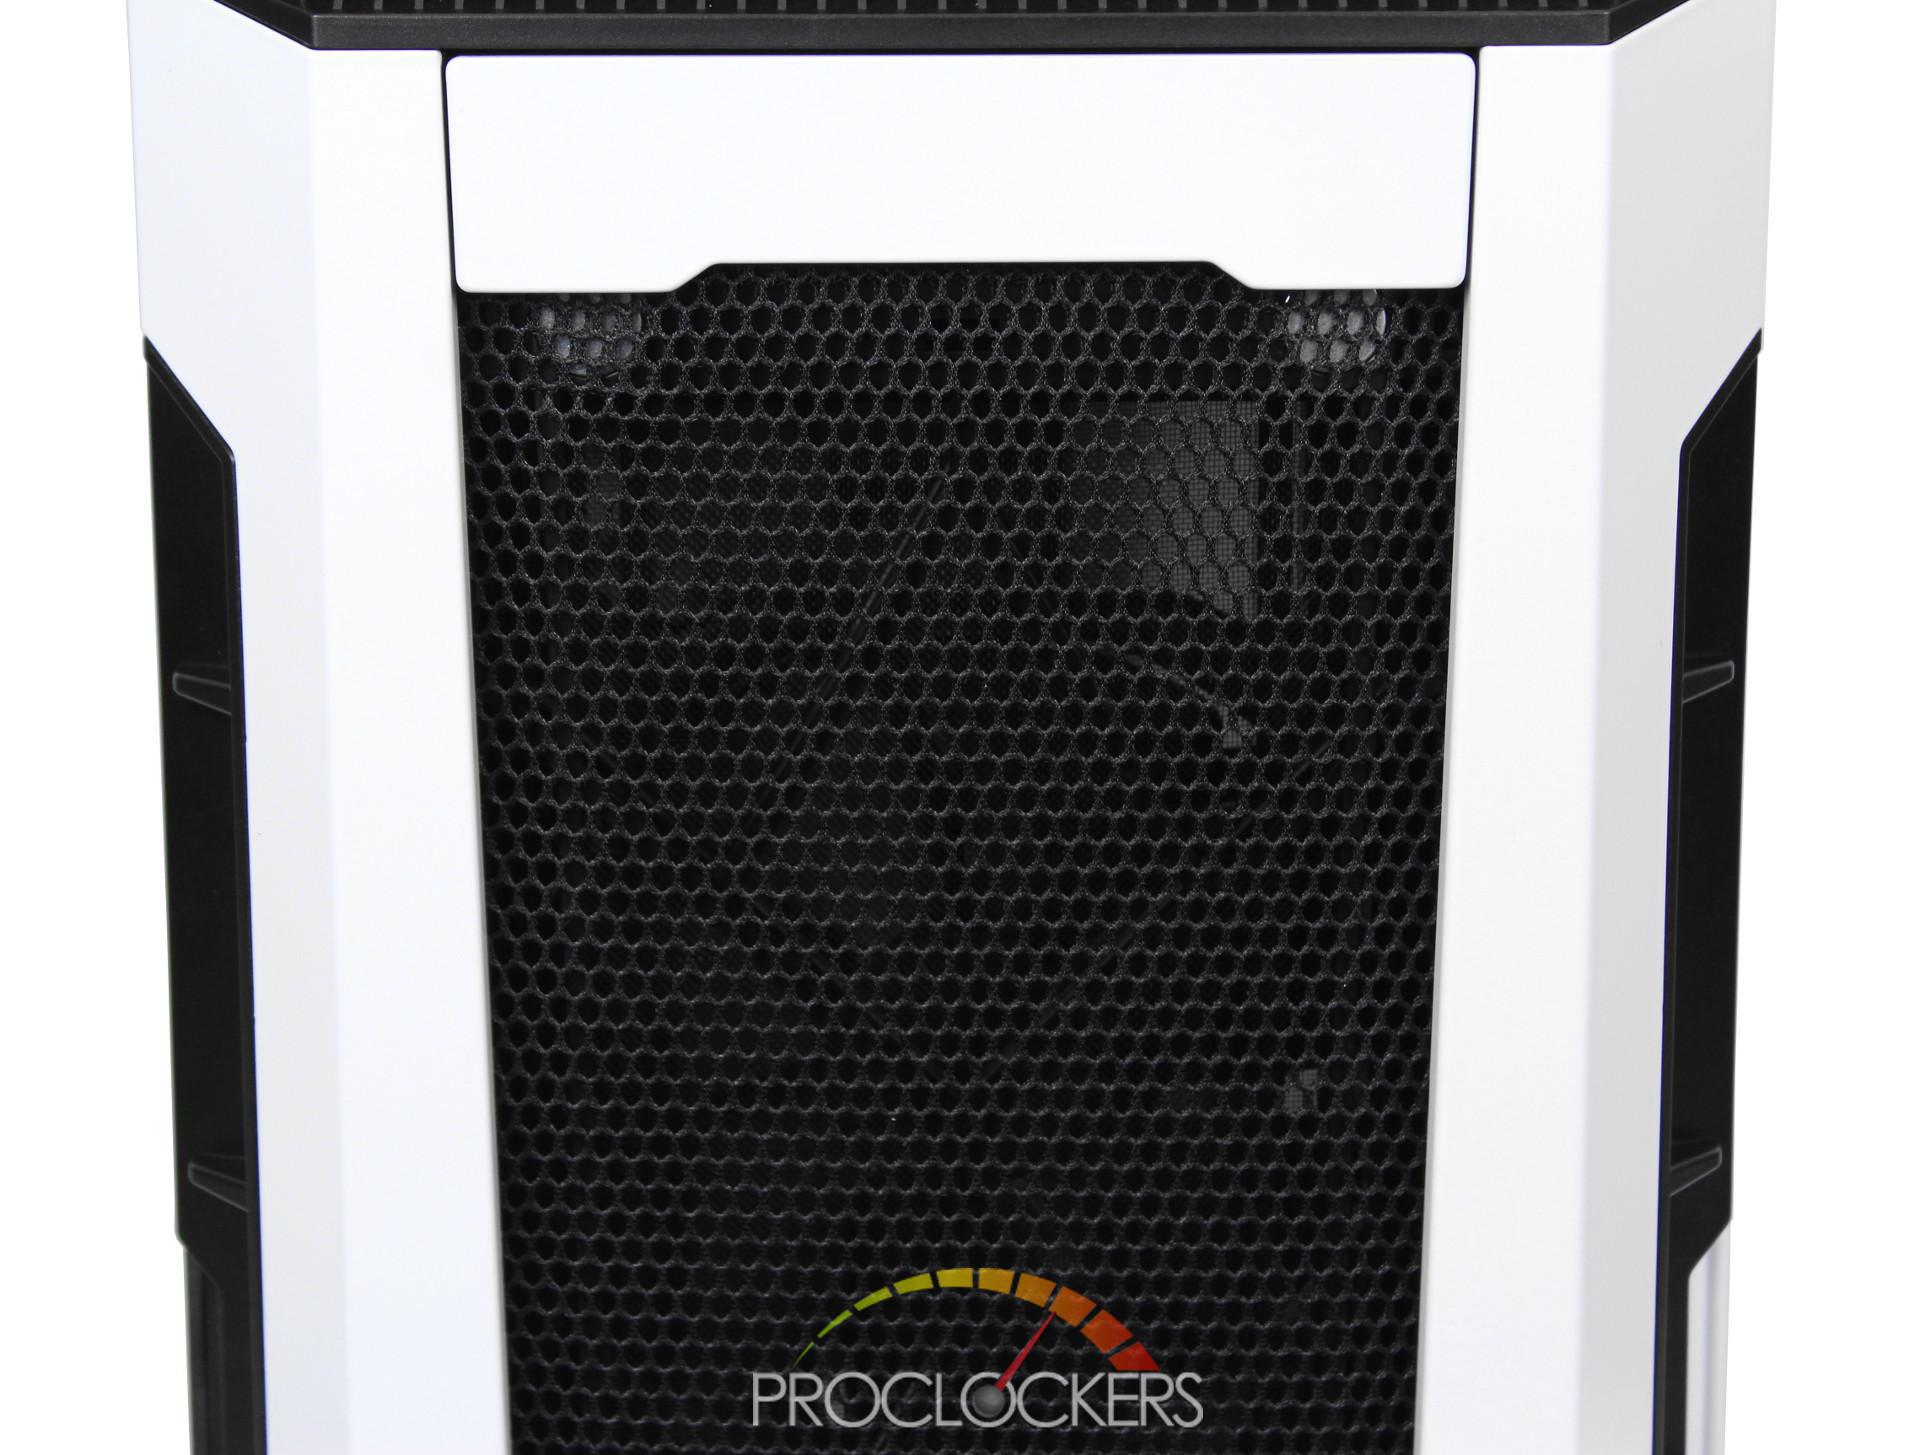
Cleaning this new fabric mesh is simple as the whole front panel can be removed by pulling it off from the bottom of the case. If you water cool in the P600S, you will be pleased to see Phanteks has included an easy to access drain port near the bottom of the case. We personally really like this addition and wished more cases would do the same.
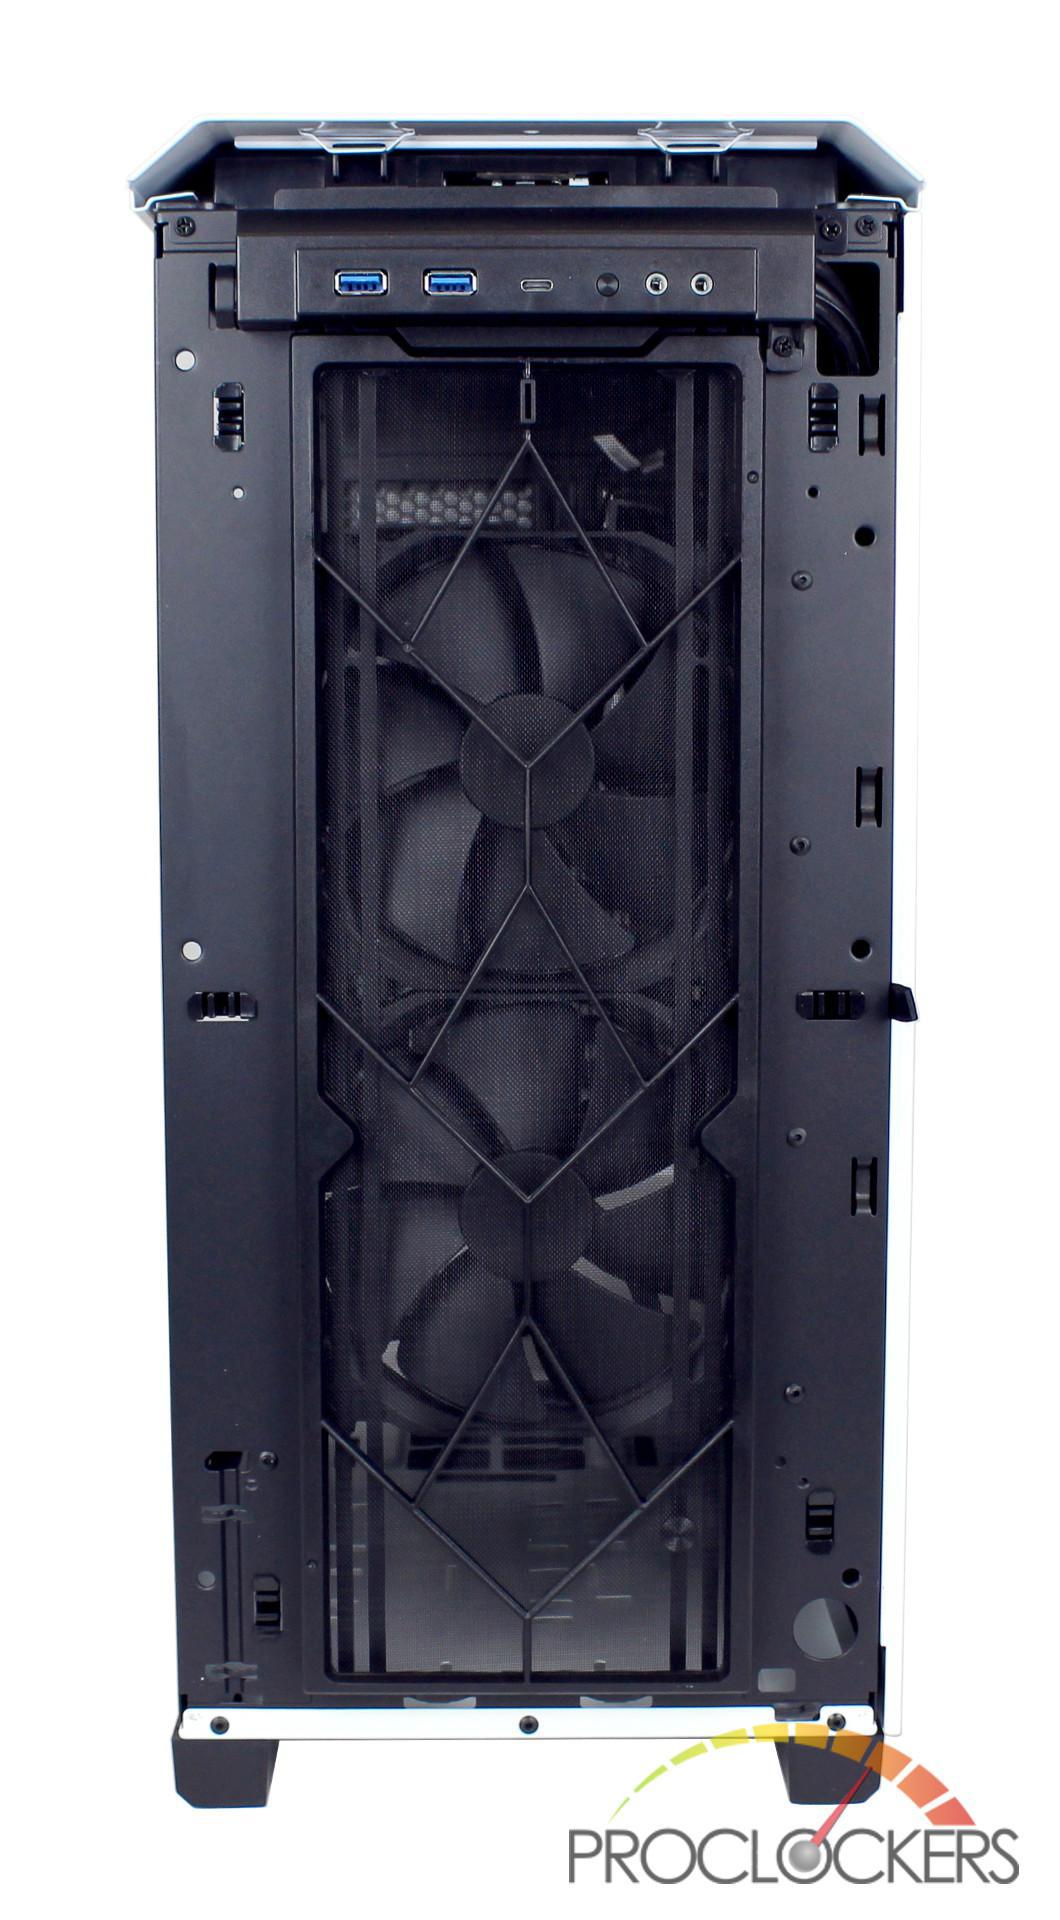
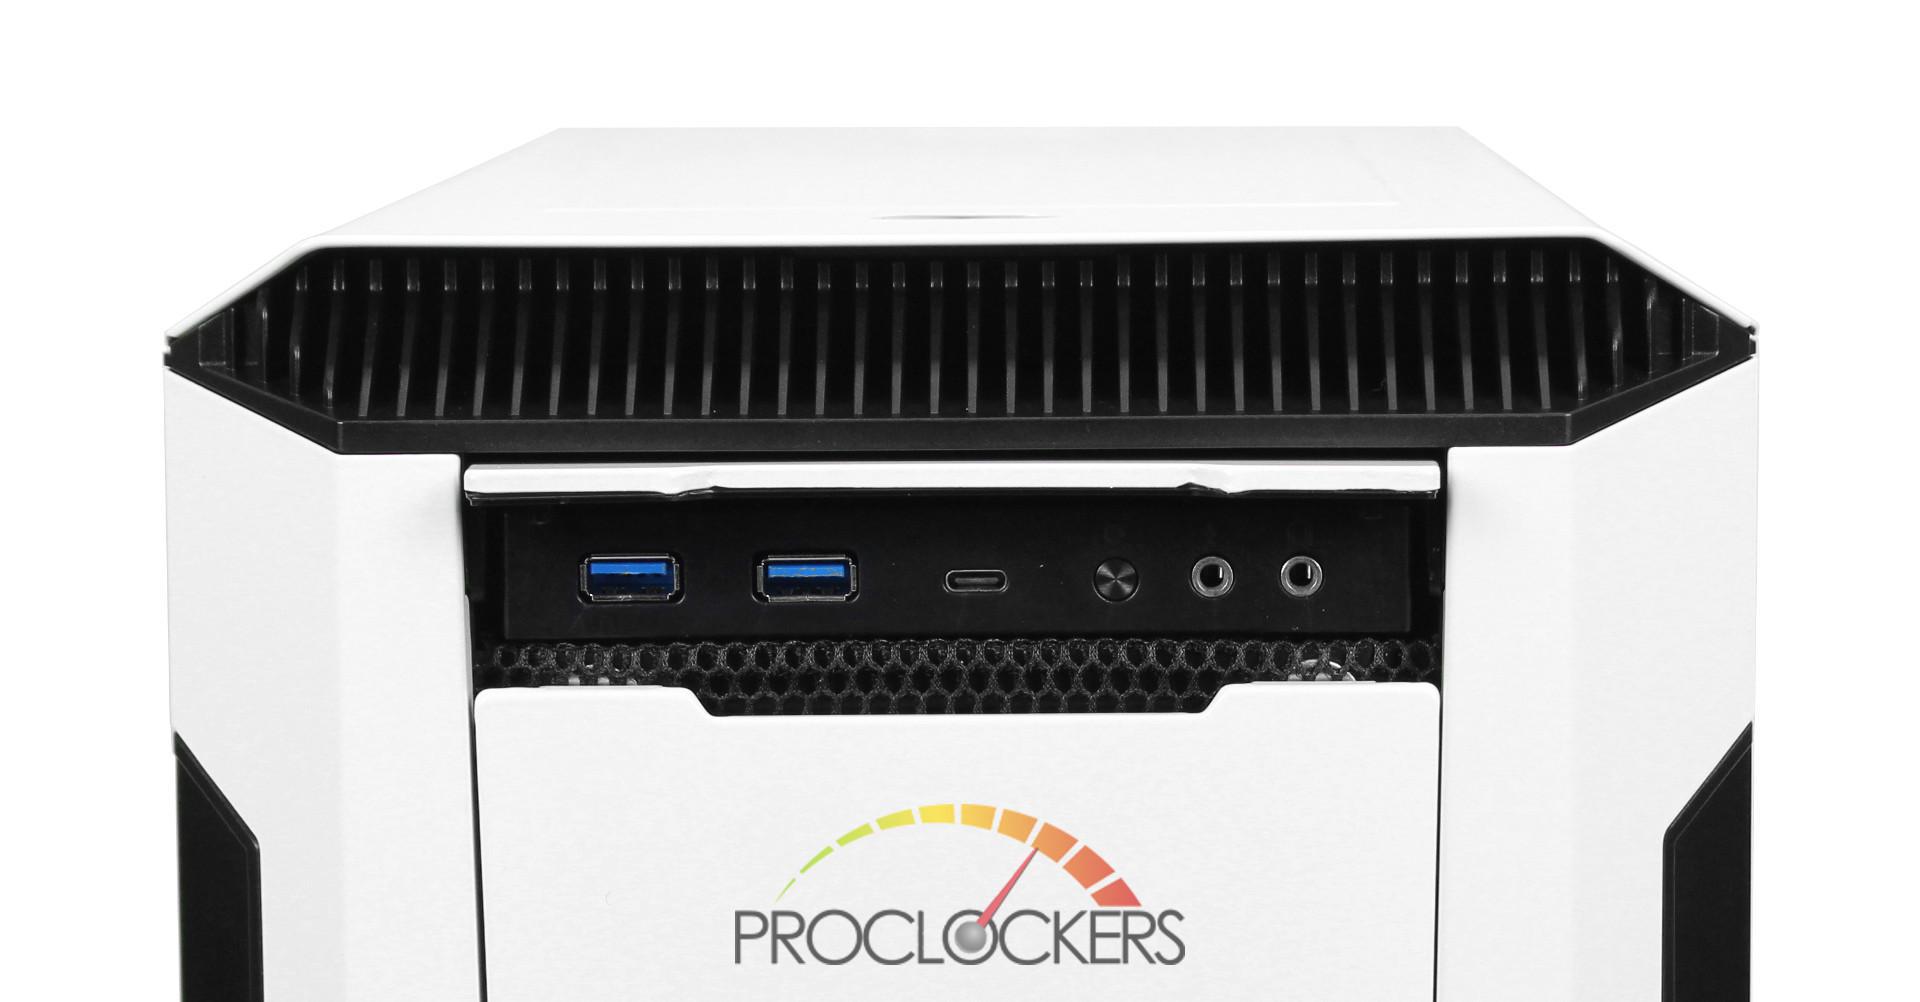
Flipping open the smaller panel at the top reveals the P600S I/O. The case’s I/O consists of two USB 3.0 ports, a single USB Type-C port, reset button, and two 3.5mm audio/microphone jacks.
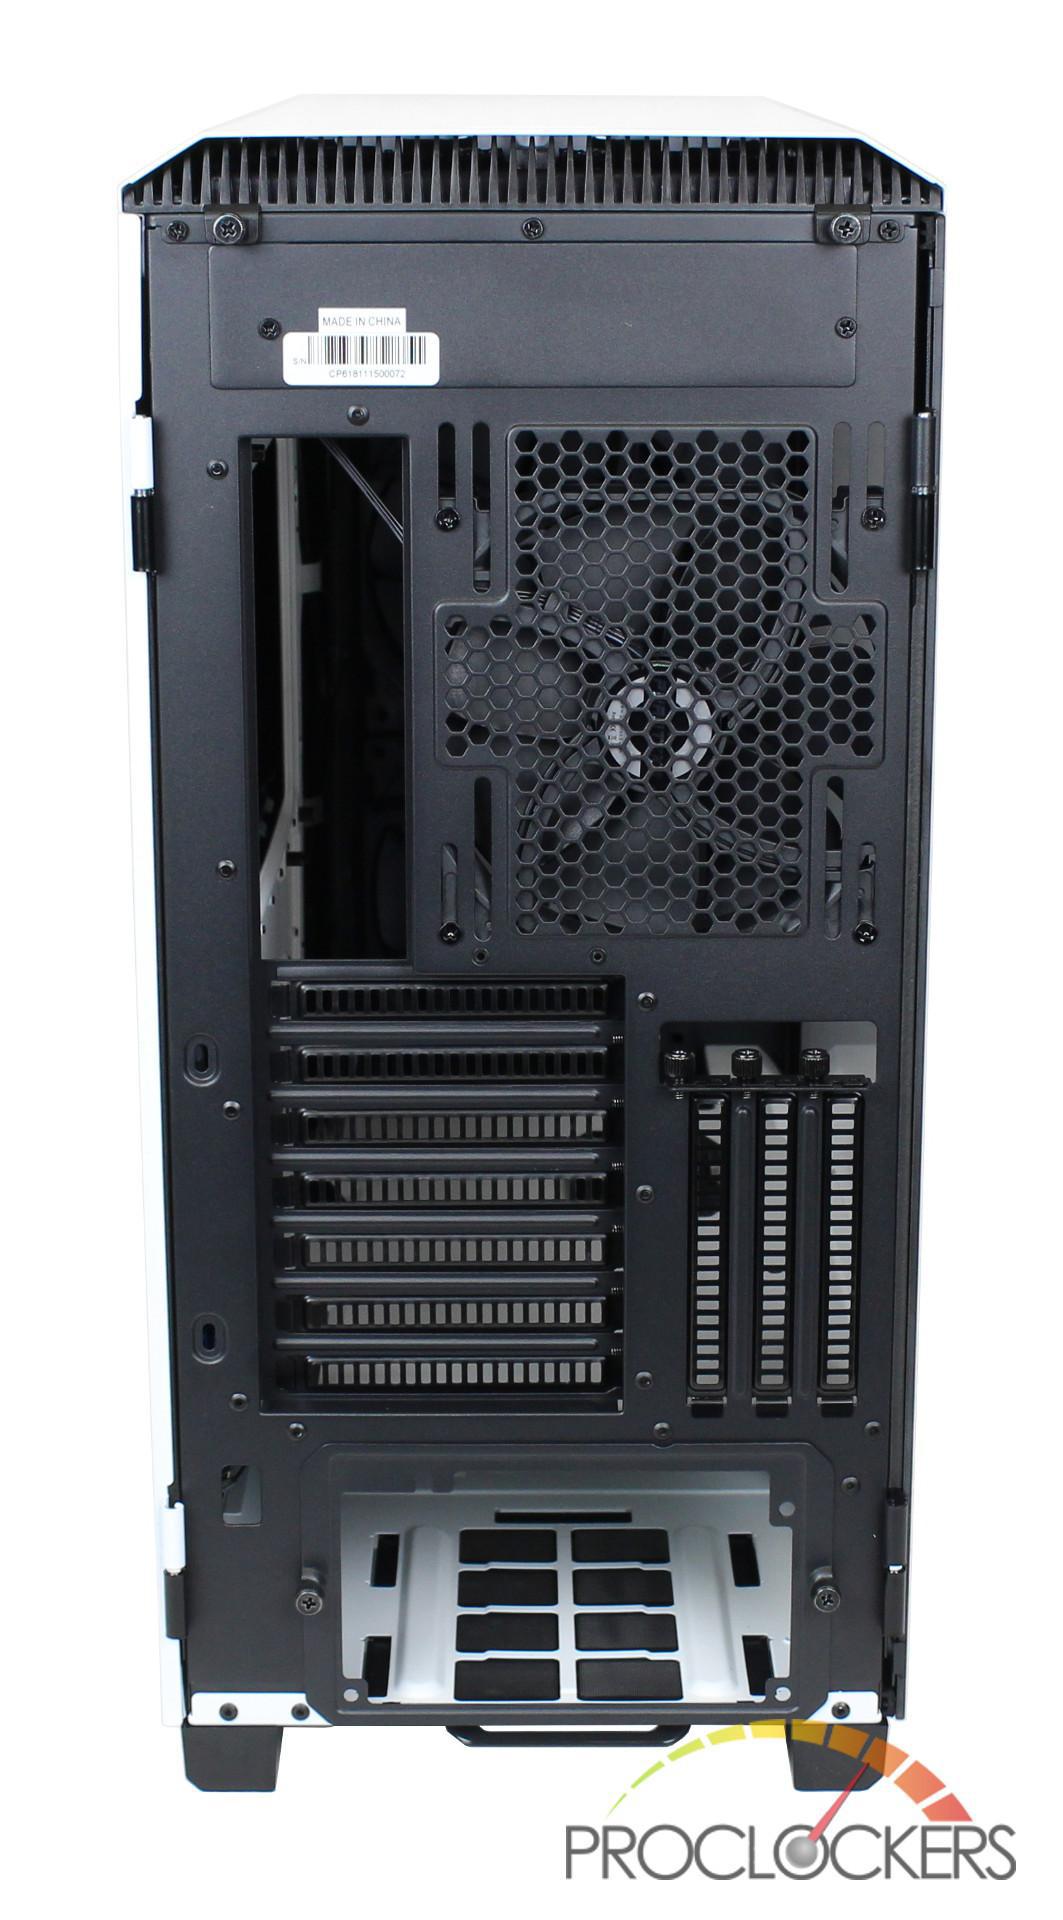
Moving to the back of the P600S, you have the common motherboard I/O cutout as well as 7 expansion slots. To the right side of the case, there are also 3 more expansion slots for if you wish to vertically mount your GPU. To the bottom, we have the PSU cutout panel with the two thumb screws holding them in place. We love this design choice as it makes it that much easier to install a PSU into the case. Looking to the top of the case you have two more thumb screws that hold the top panel as a small plate covering a secondary I/O cutout. This cutout would be used if you purchased the ITX kit which allows you to install a secondary system into the P600S chassis.
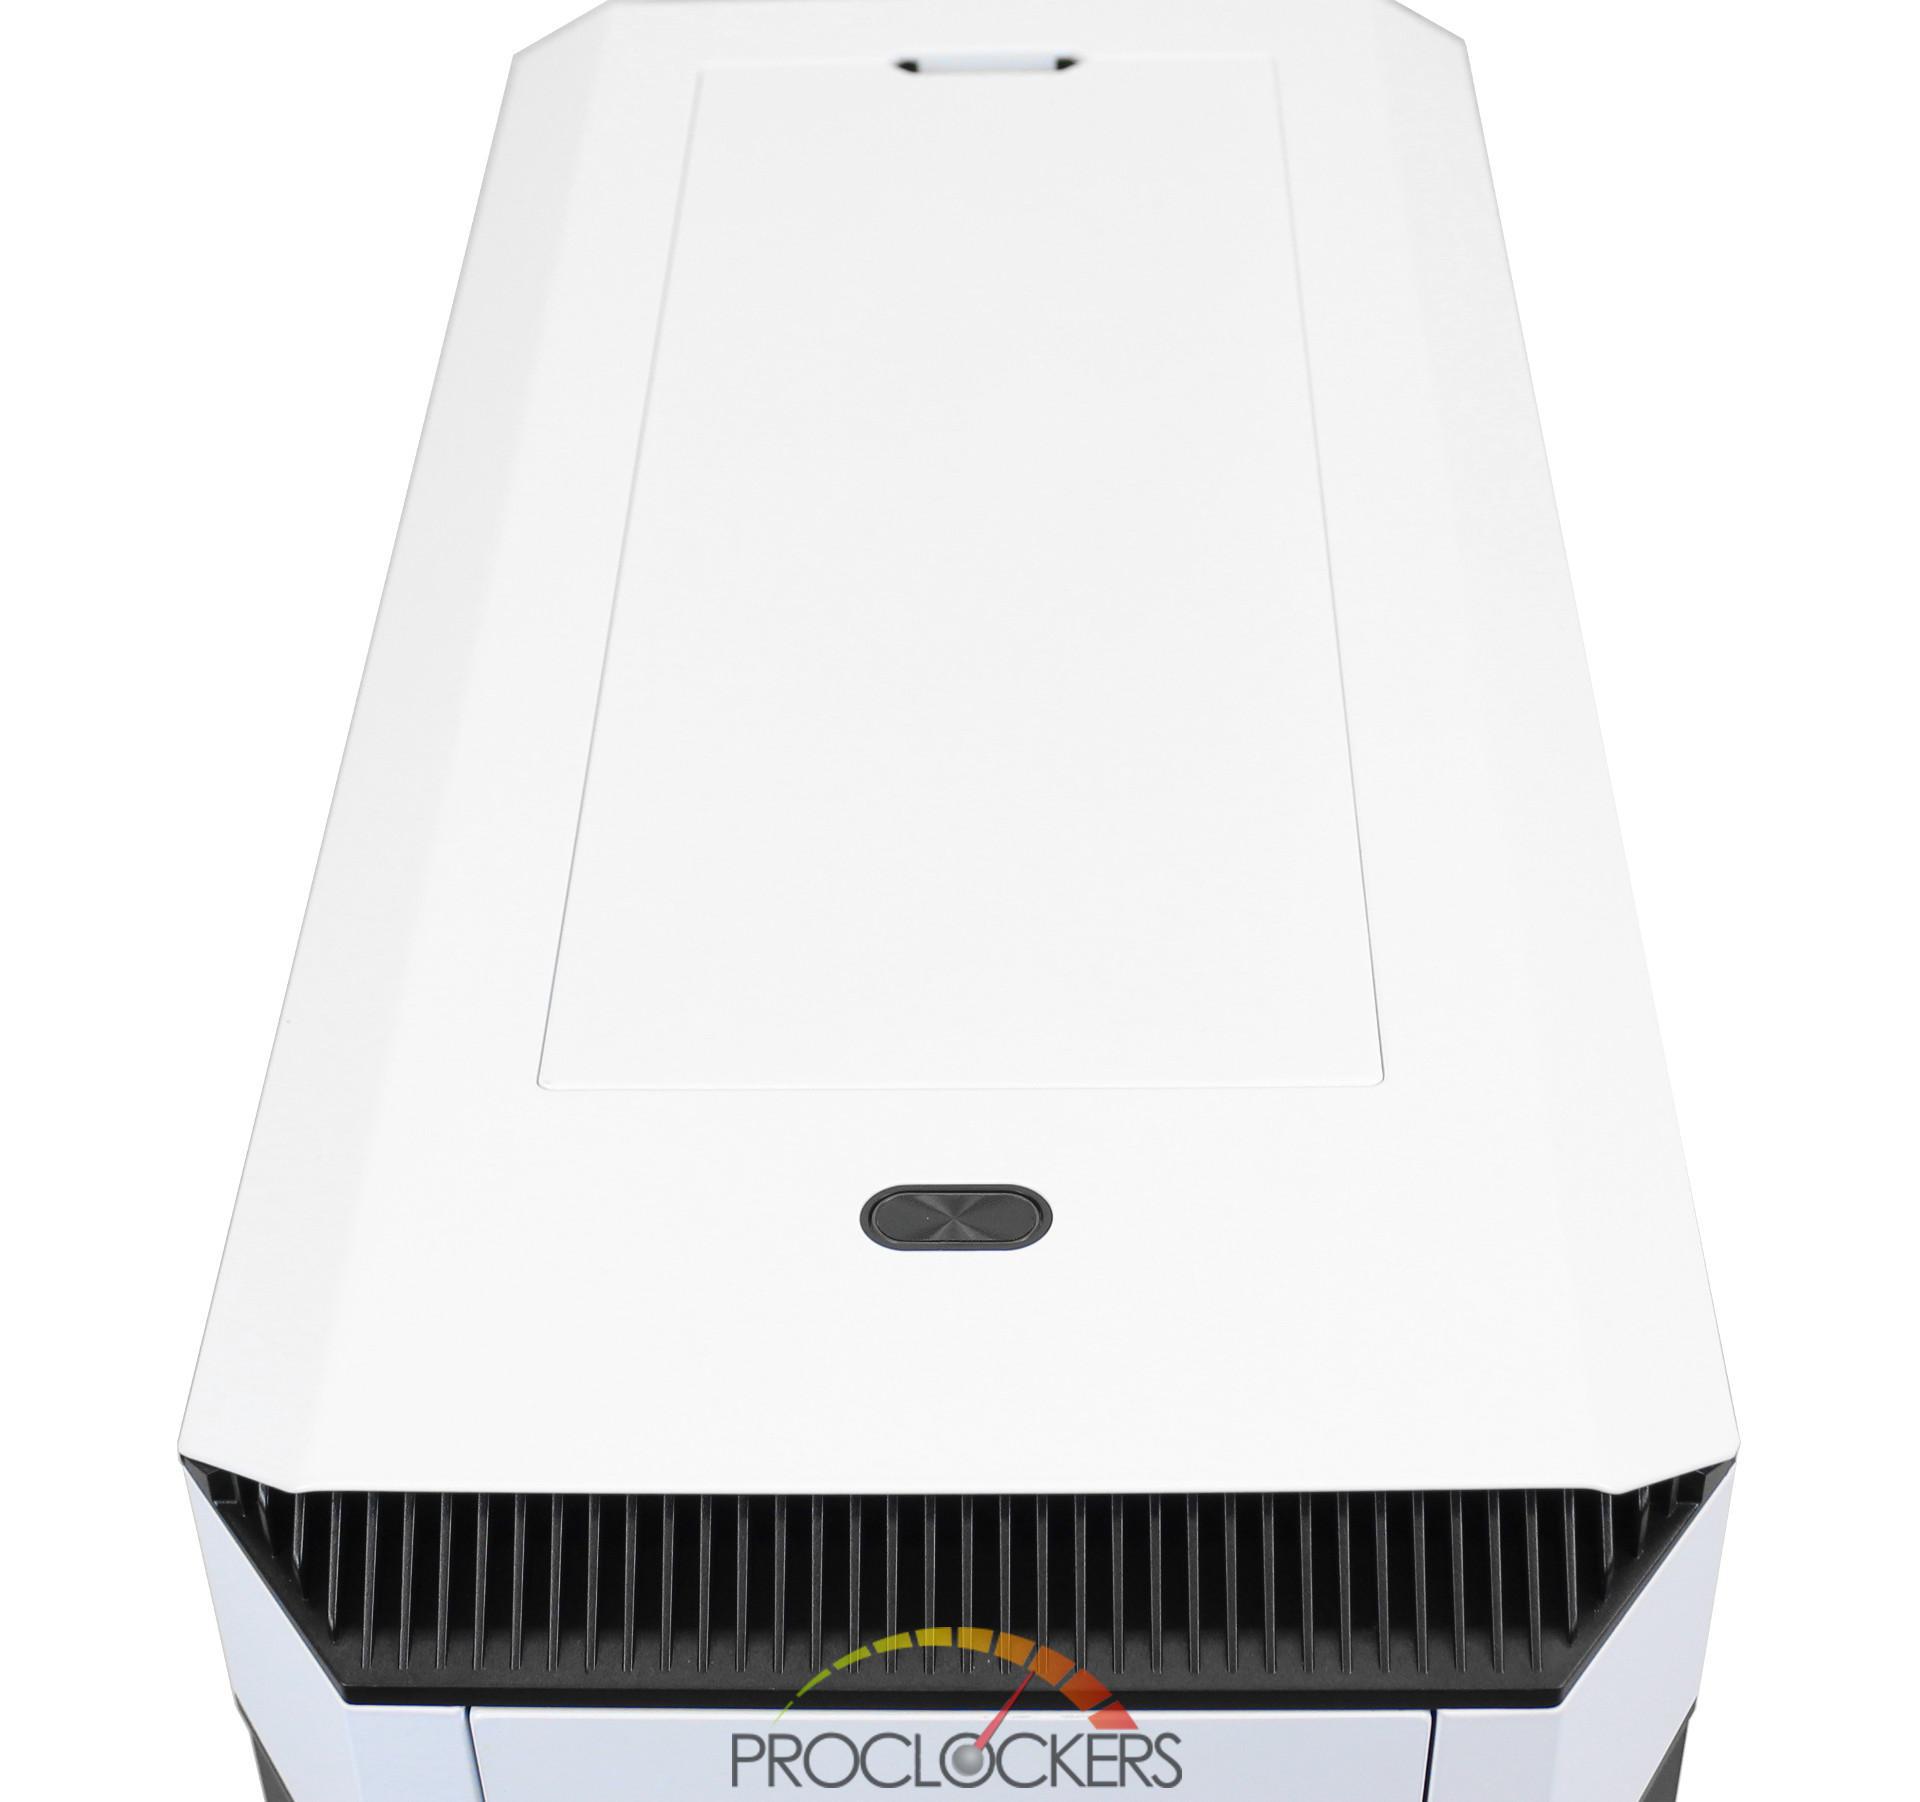
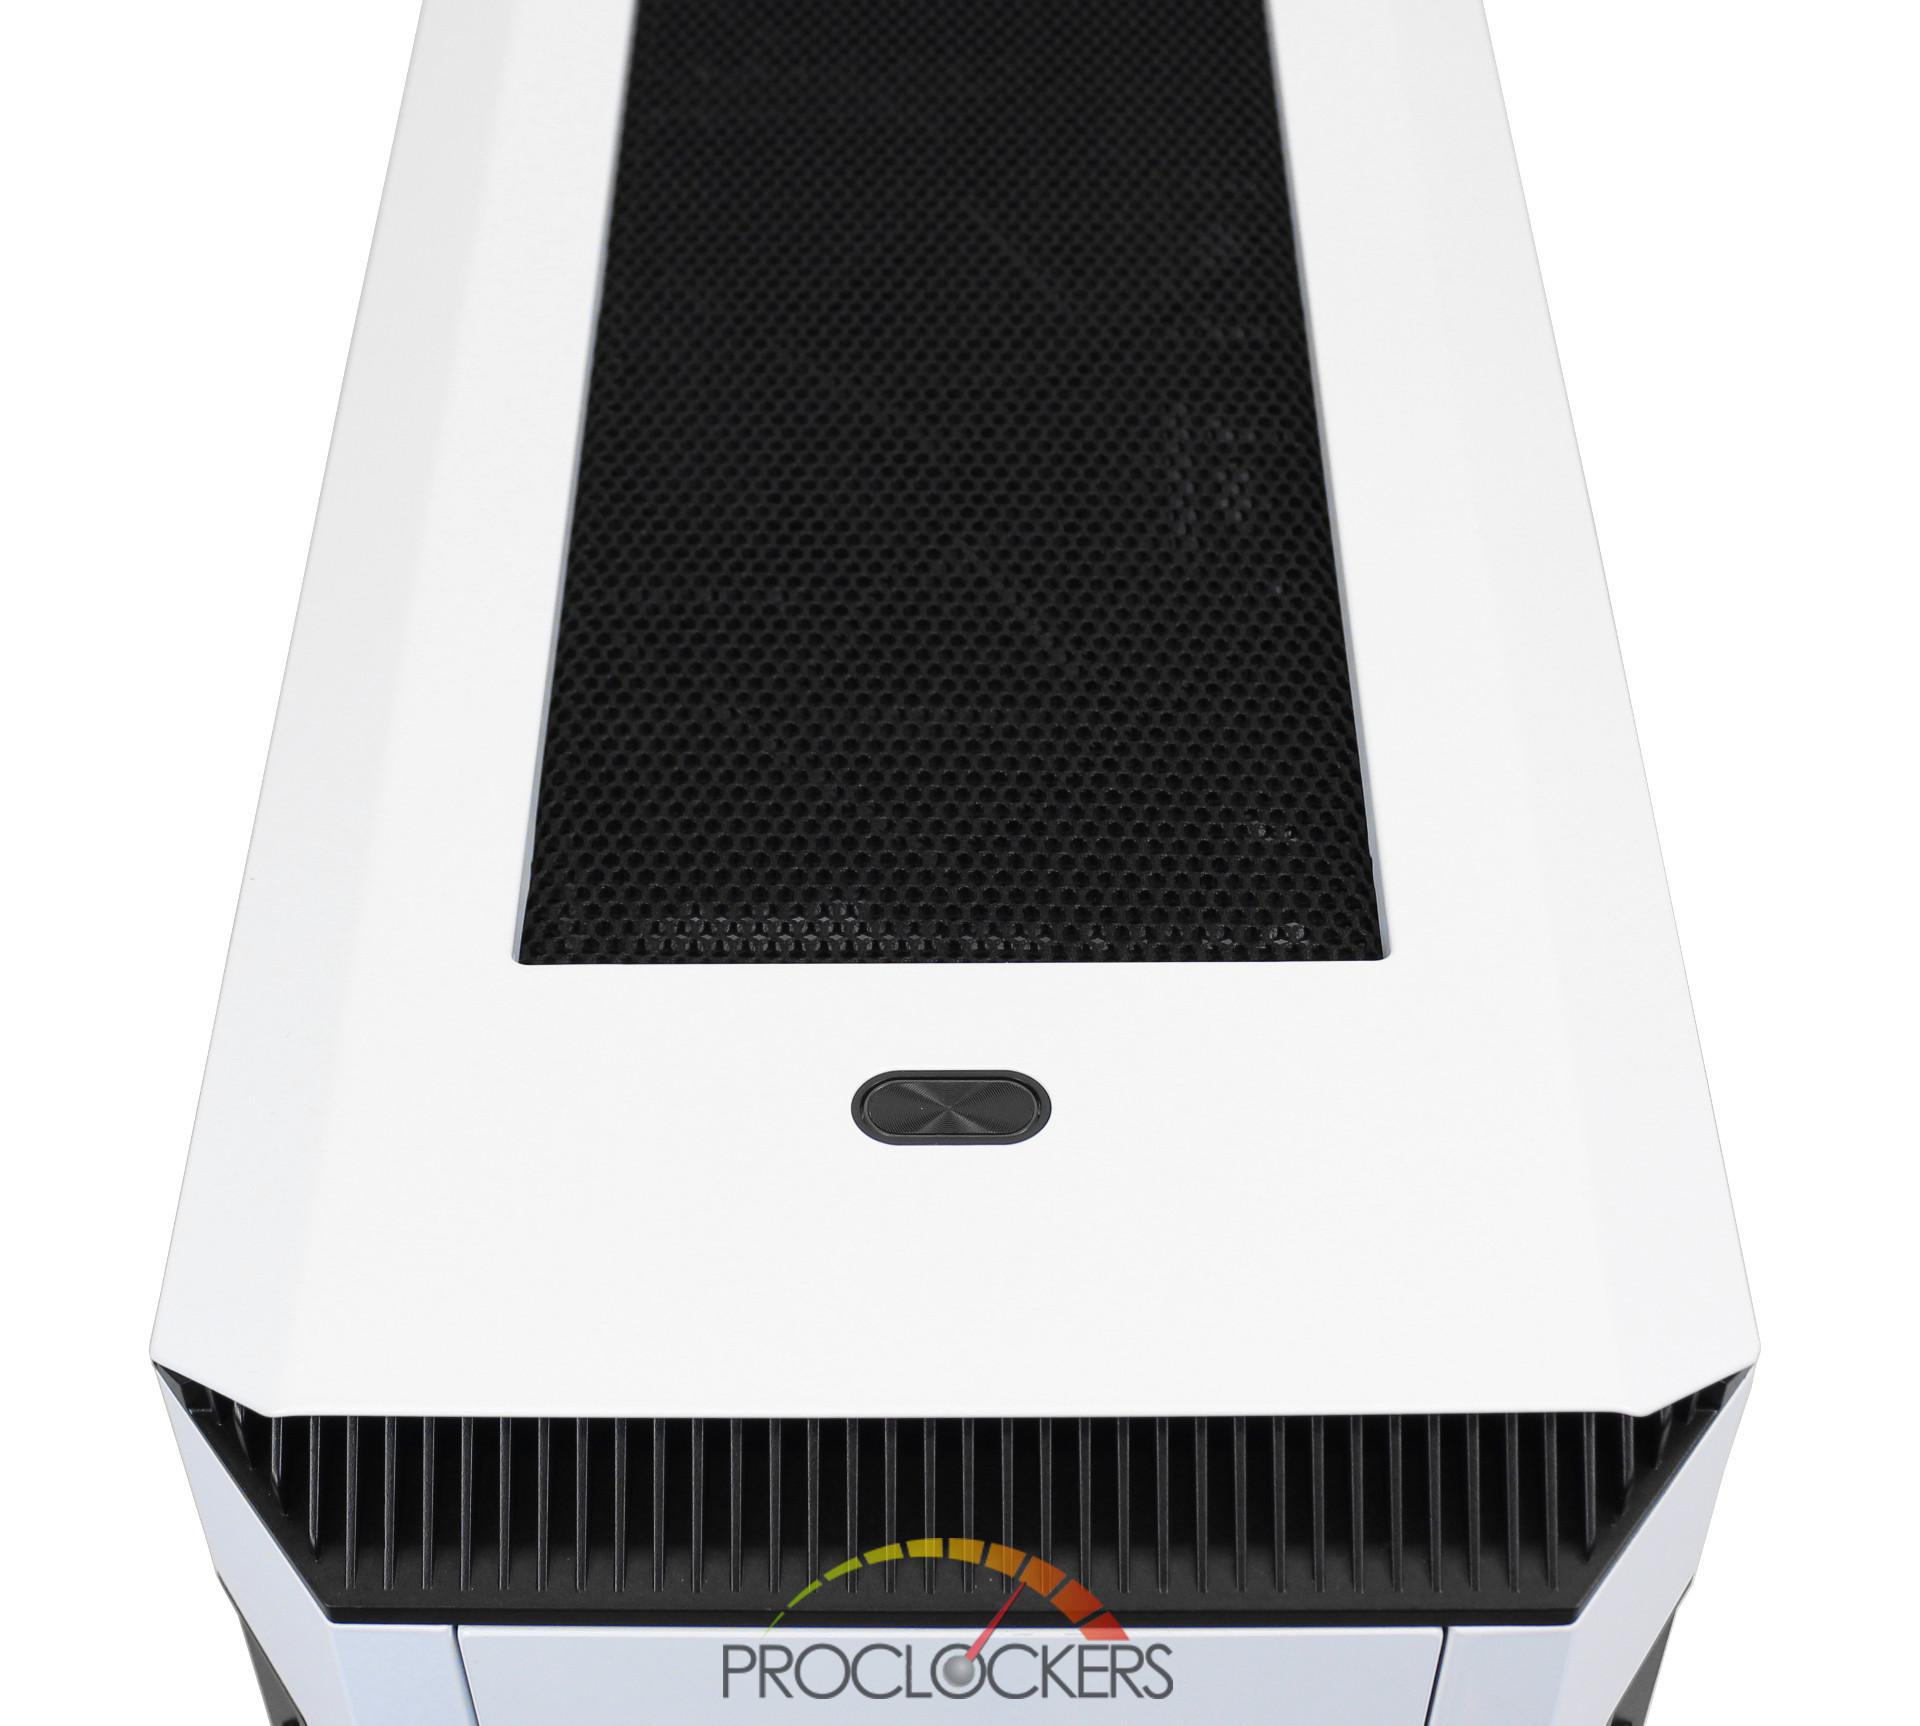
On top of the case, there is a single black power button with an LED edge which will illuminate when the system is powered on.
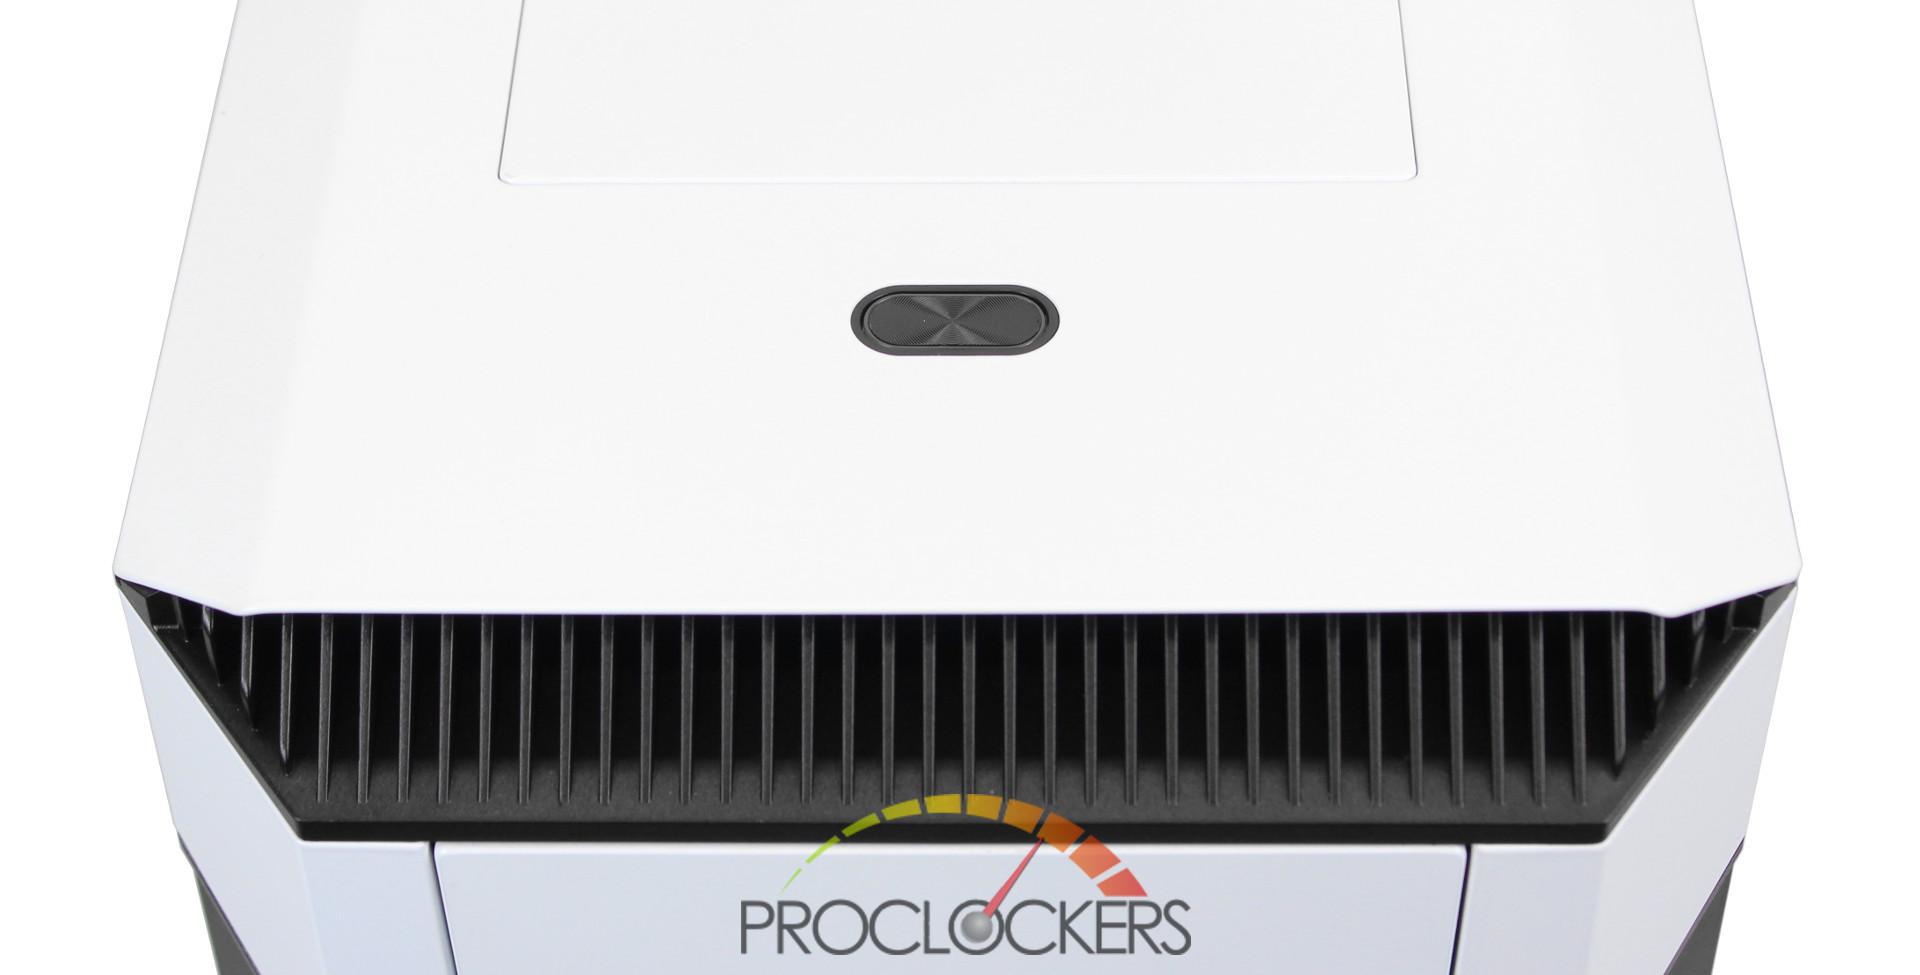
Like the front of the case, you have a second magnetically attached panel with a fabric mesh underneath. The top panel also includes the same sound dampening form to ensure silent operation when the top panel is left on.
When installing fans and/or radiators to the top of the P600S it can easily be done by removing the top panel which reveals a removable steel plate. Removing the top panel can be done by loosening the 2 thumb screws at the back of the case and sliding the panel off. The steel plate is removed in similar fashion with the thumb screws to the right.

Once the plate has been removed, you can go ahead and install up to 3 x 120mm fans and/or up to a 360mm radiator. Depending on your configuration you can also install the included Airflow cover on the front of the back slot to prevent hot air from circulating. A nice addition to the top plate is the included fill port located on the lower right side. This is perfect for someone wanting to do a water cooled build in the P600S.
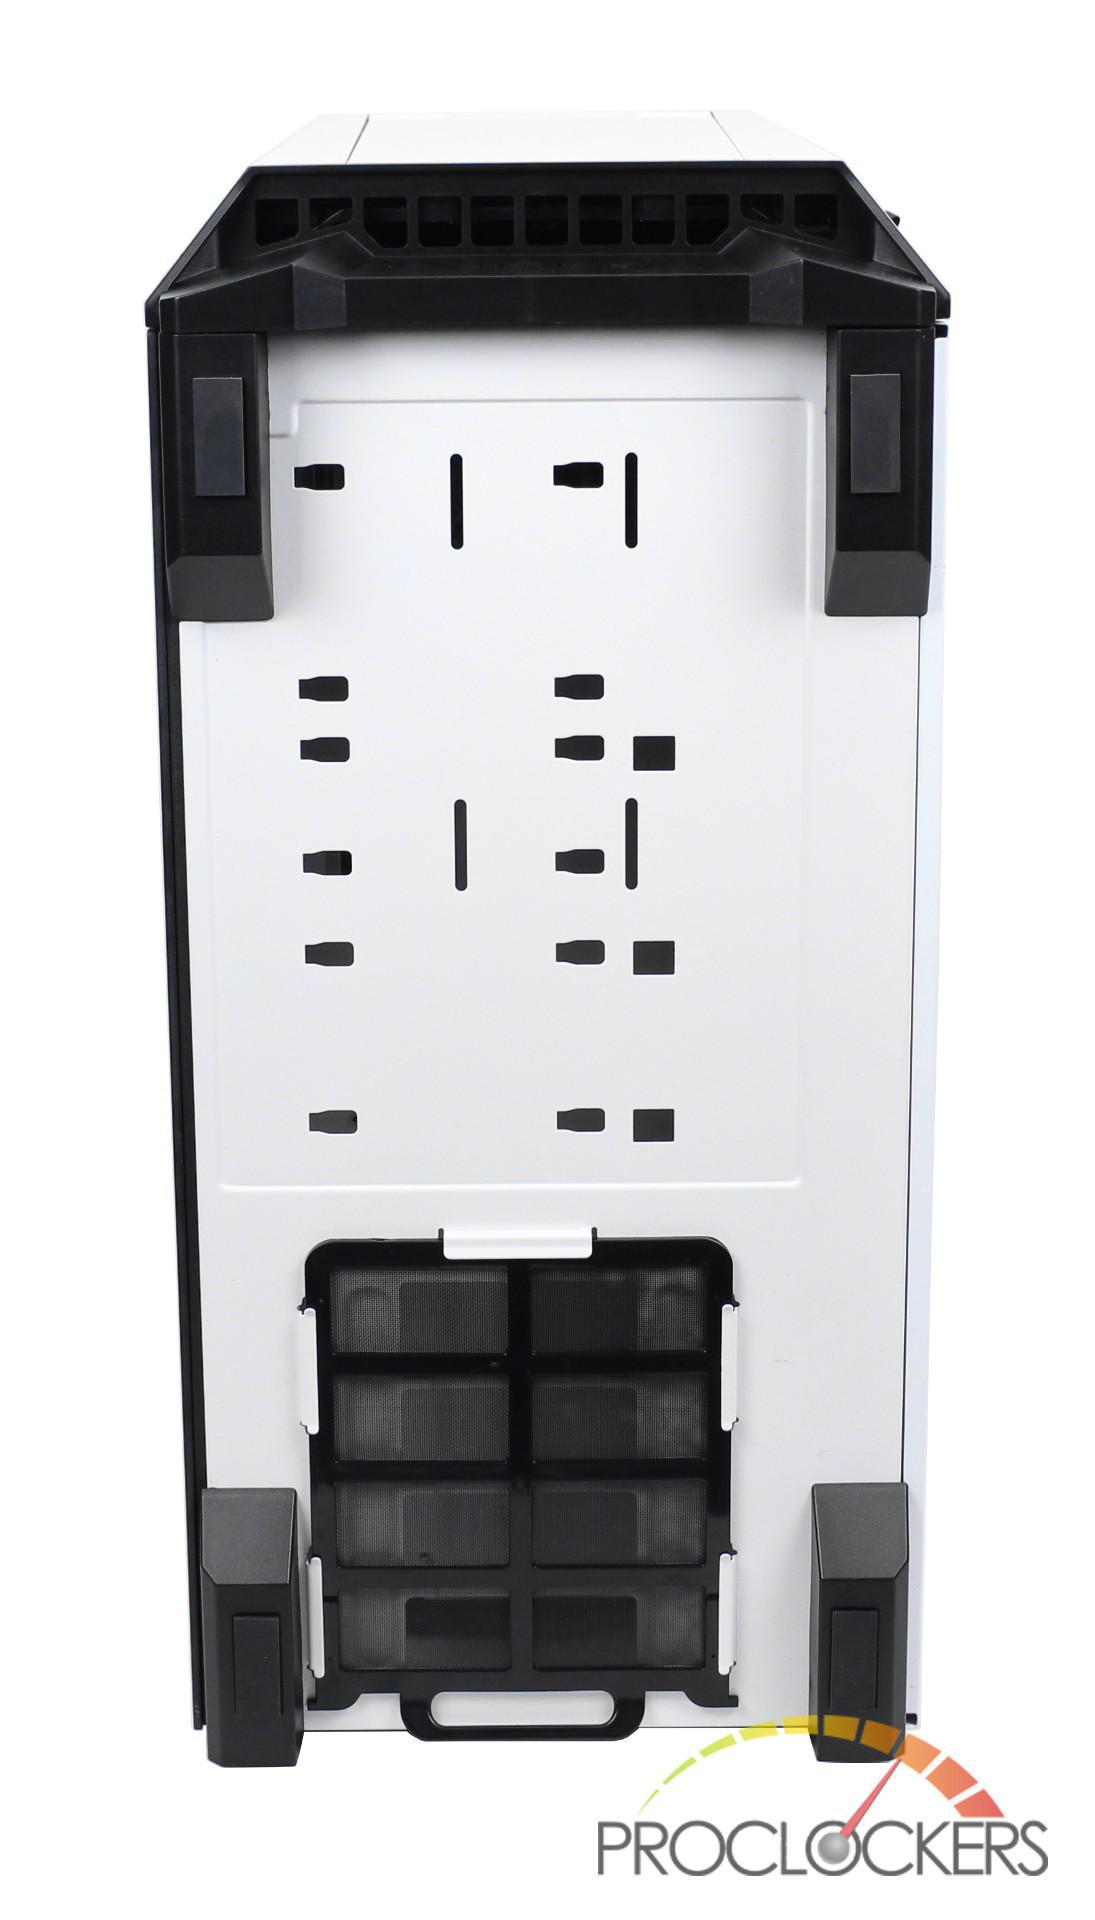
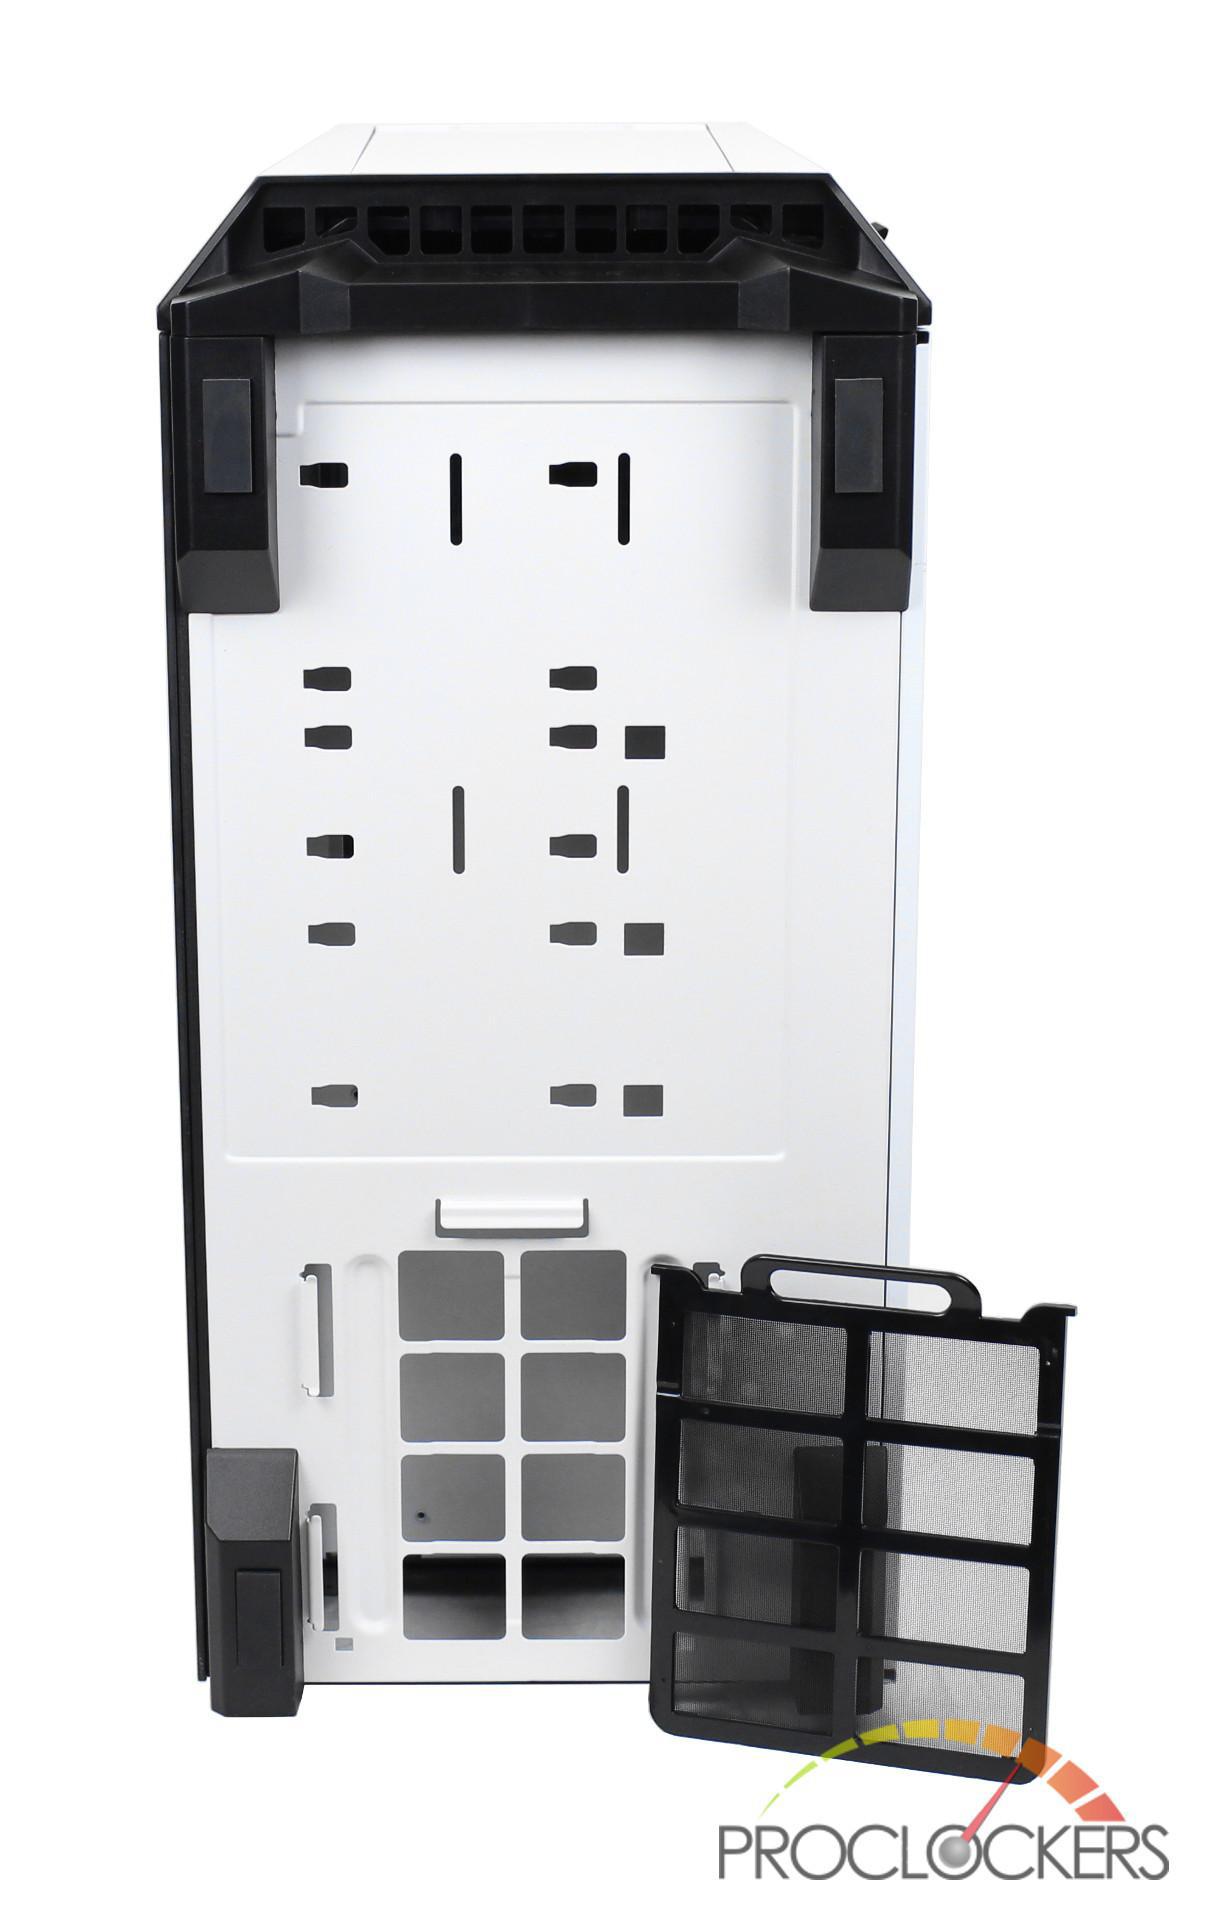
Going to the bottom of the case, it includes four rubberized feet with a removable PSU intake filter.
A Closer Look: Interior
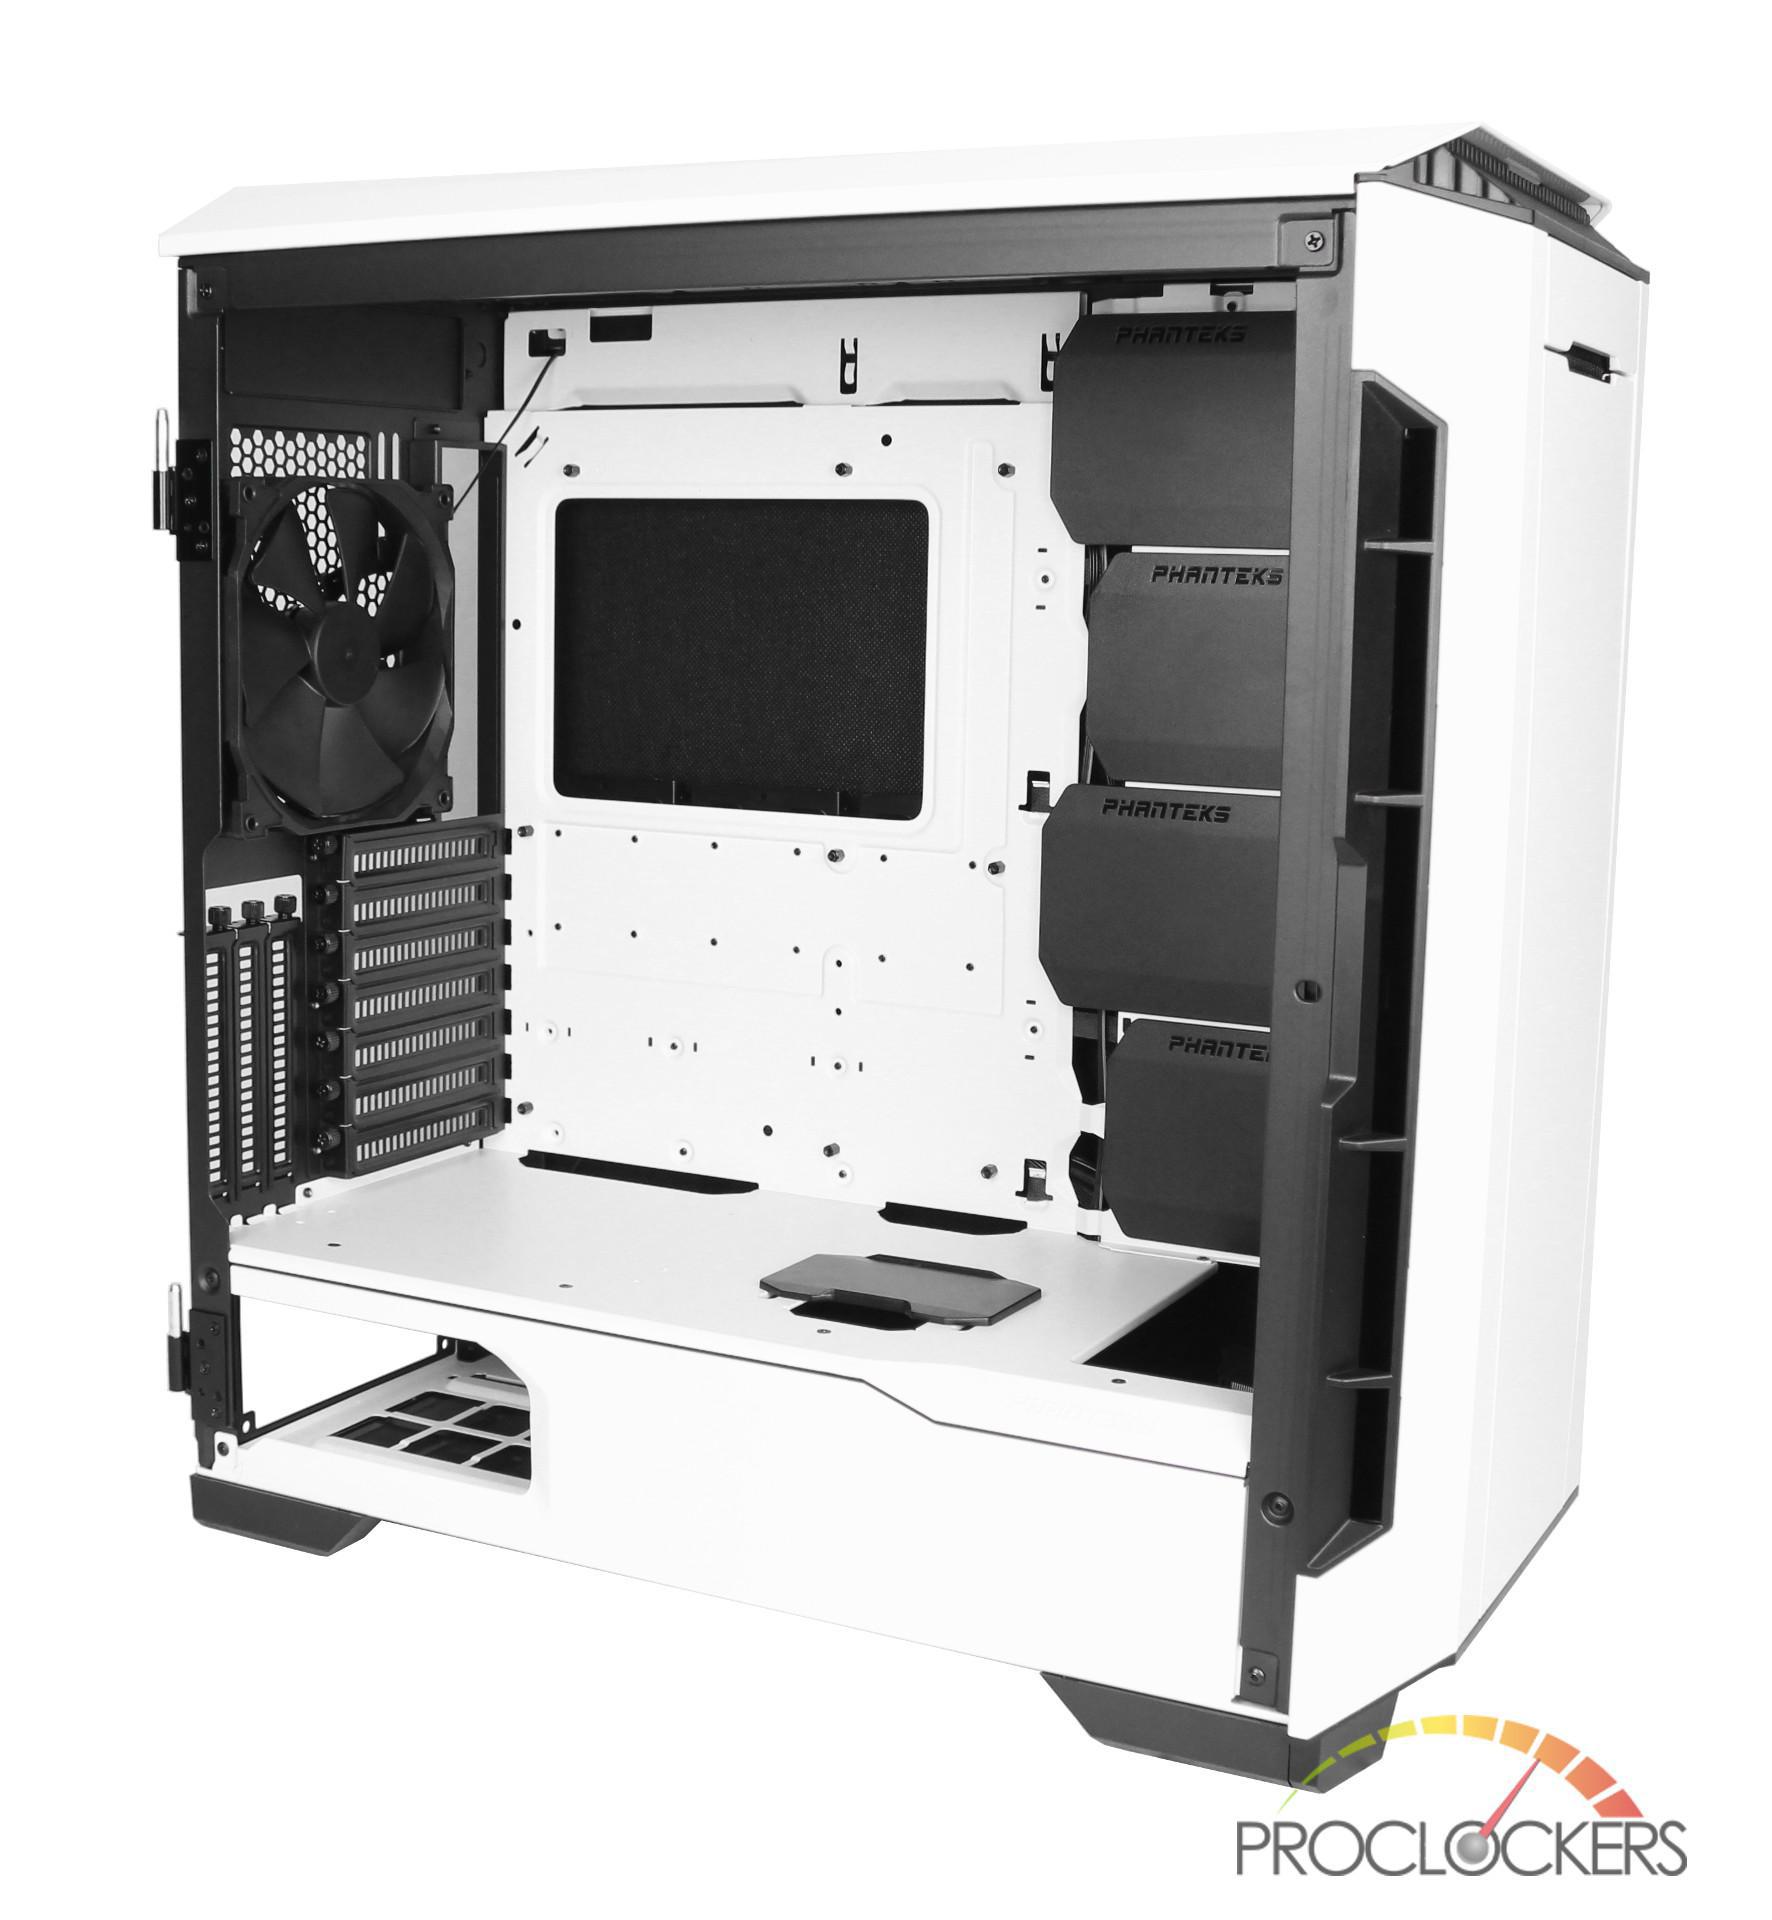
The white with black accents seen on the exterior of the chassis continues on the inside. It’s nice to see that the Eclipse P600S includes a full-length PSU shroud as well as plenty of room to work with. If you have worked with many mid-tower cases, you can see that the P600S has a lot of extra room above the motherboard tray. This probably was done to give you room to install an ITX system in the roof of the case, but if you did go with a single system it should give you enough room for a push/pull 360mm radiator setup.
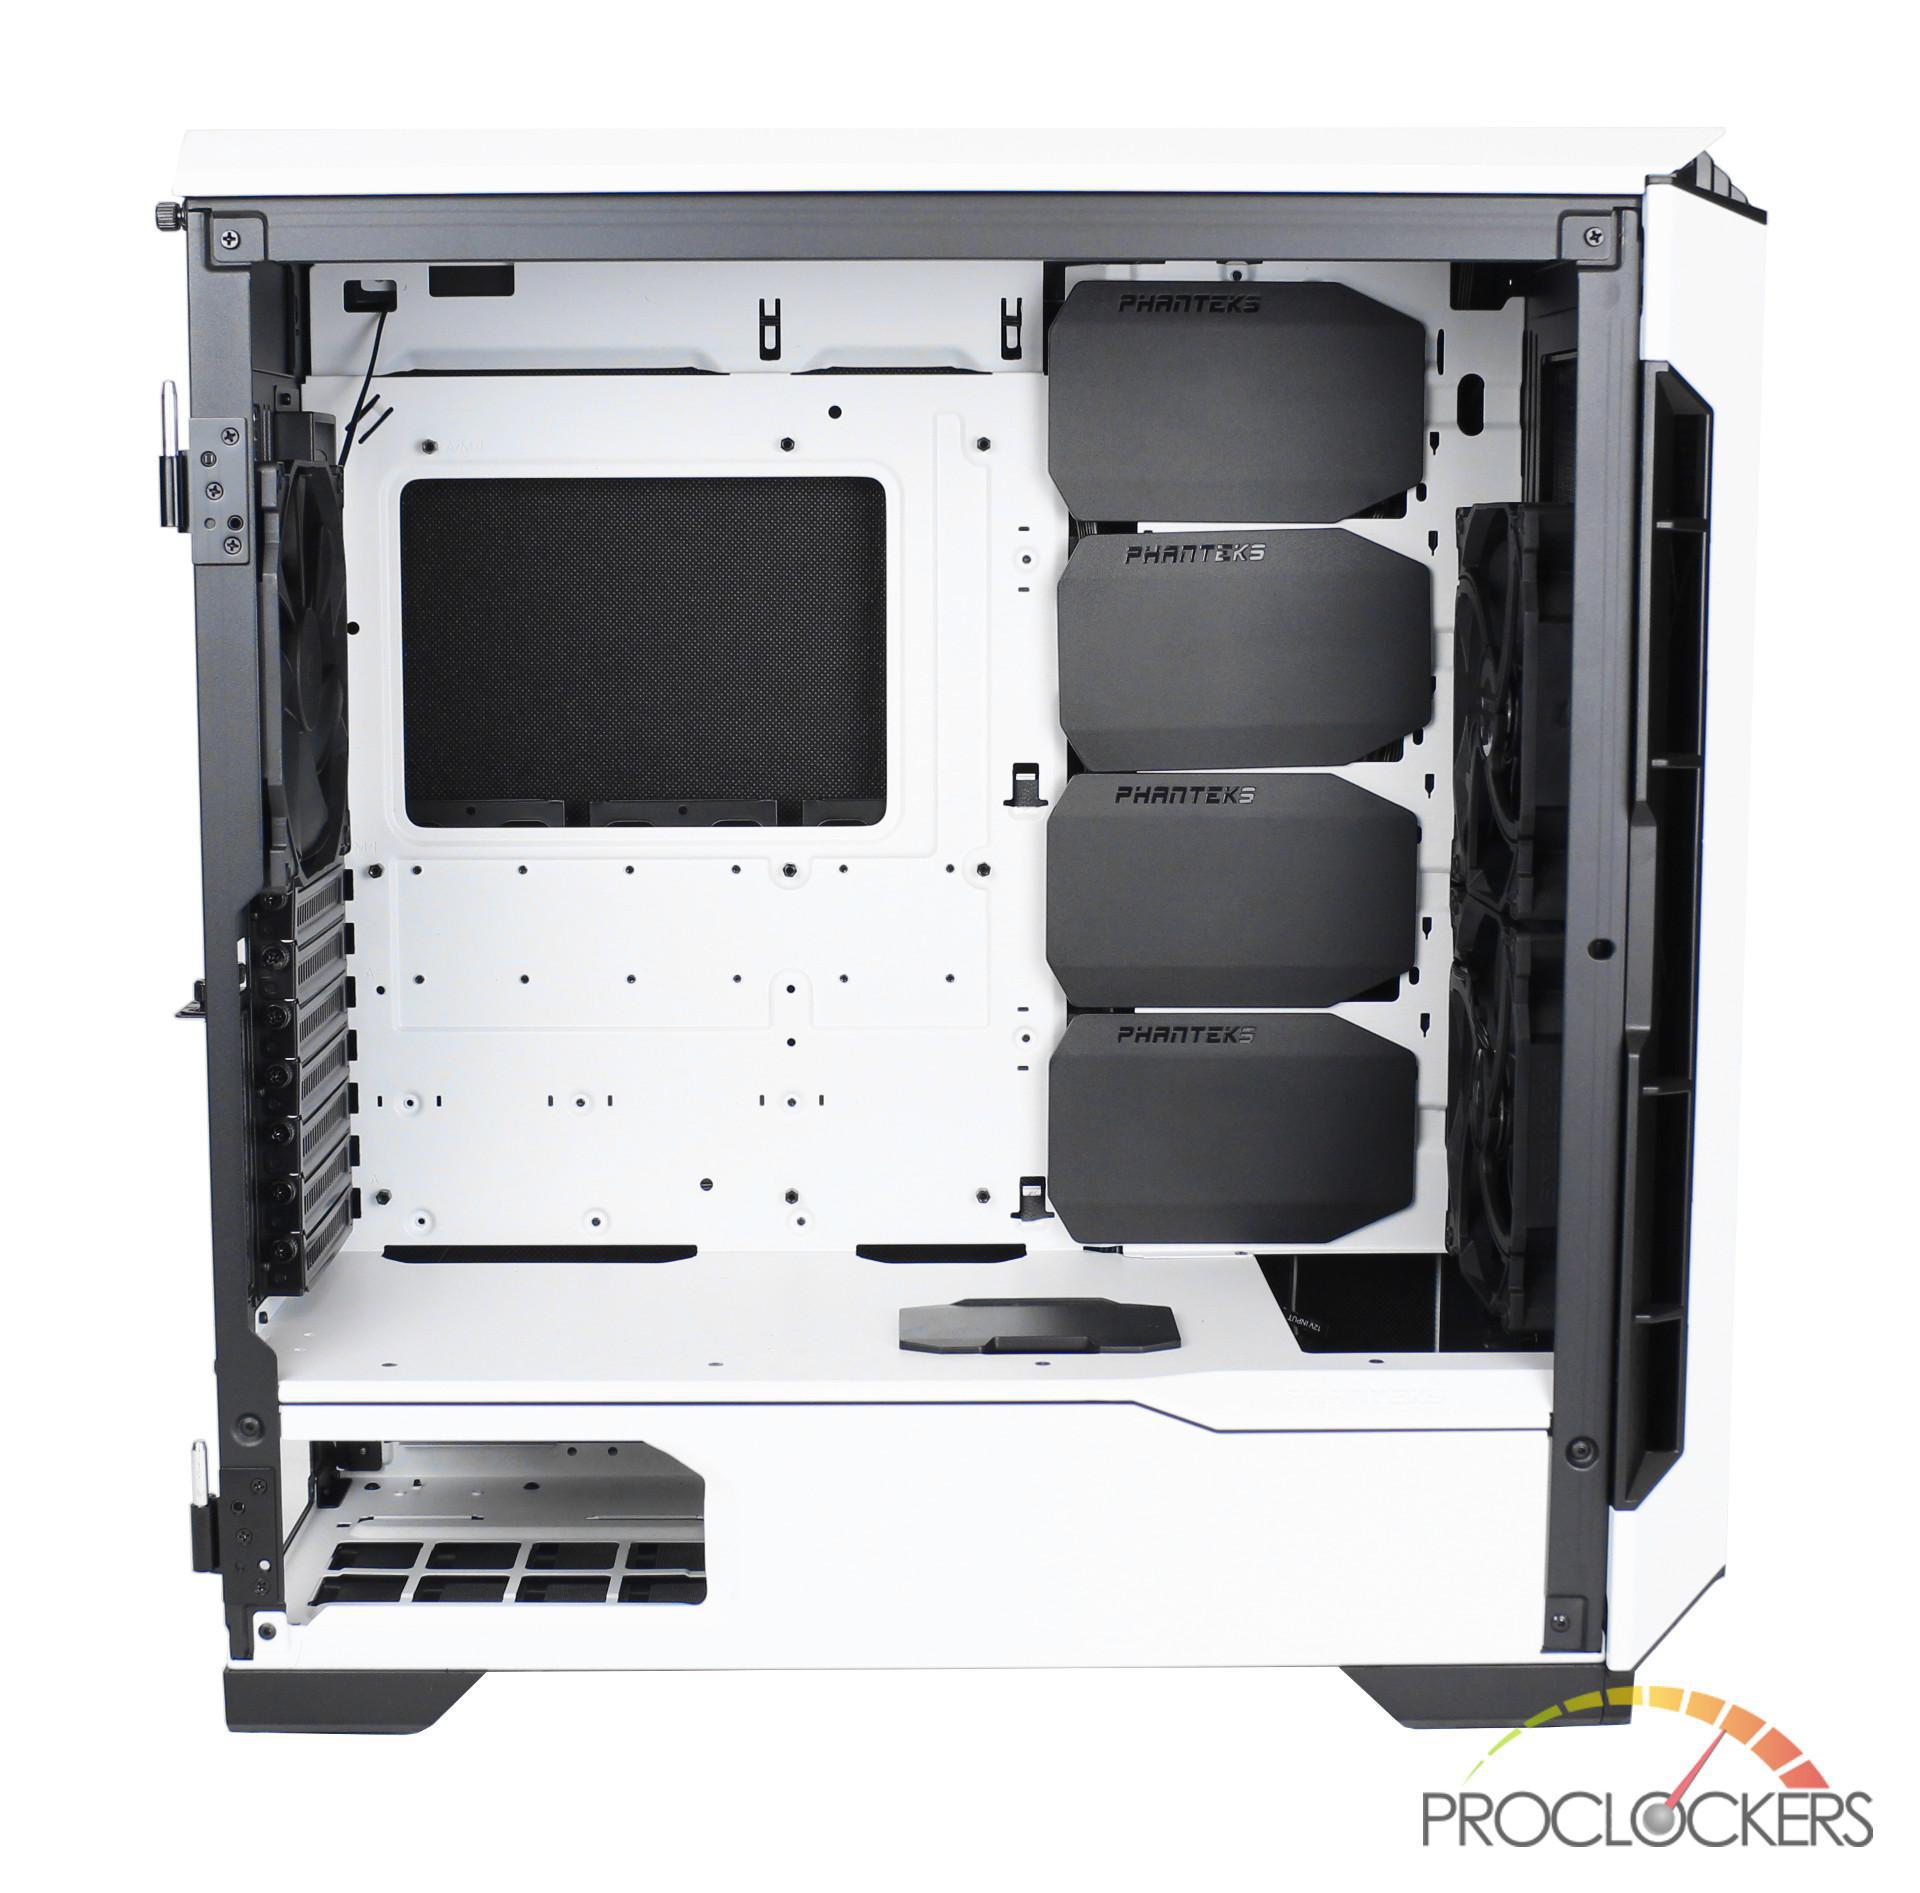
Phanteks has also done away with the plastic grommets and went with a plastic sliding panel instead. Personally, I much prefer the look of these panels over the traditional grommet, but did wish they were done in steel or aluminum matching the rest of the P600S accessories.
Looking down to the PSU shroud, you have multiple cable cutouts near the back for your motherboard wire as well as a covered cutout for your GPU. Toward the front of the case is a generous cutout giving you room for a push/pull configuration is you wish.
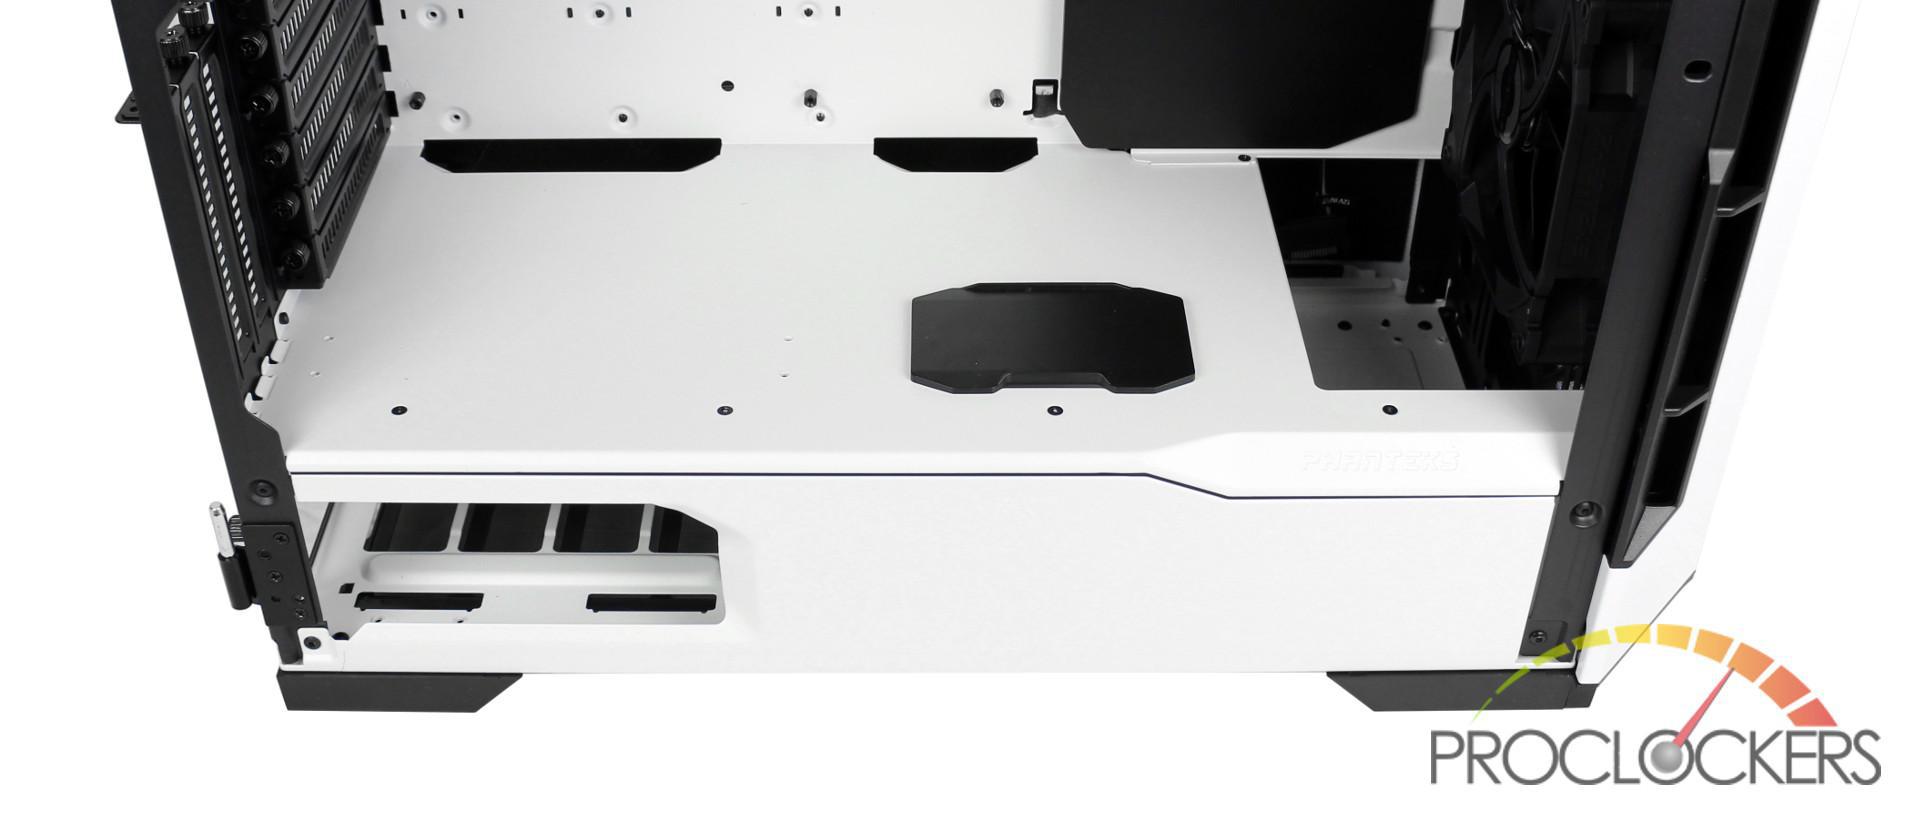
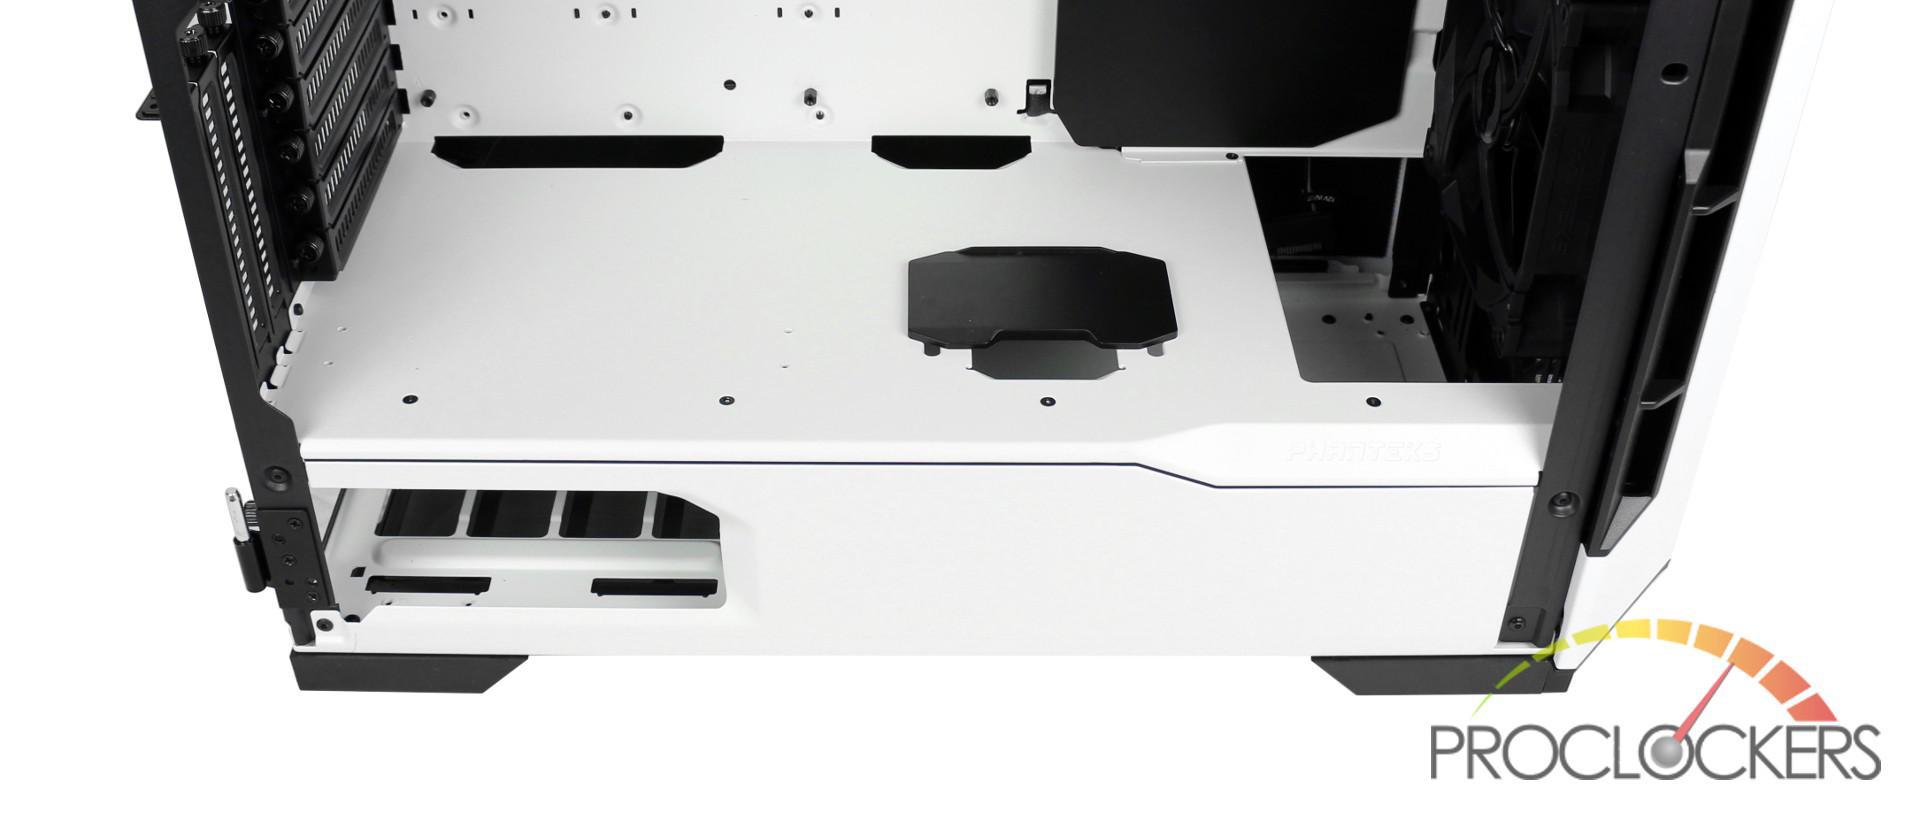
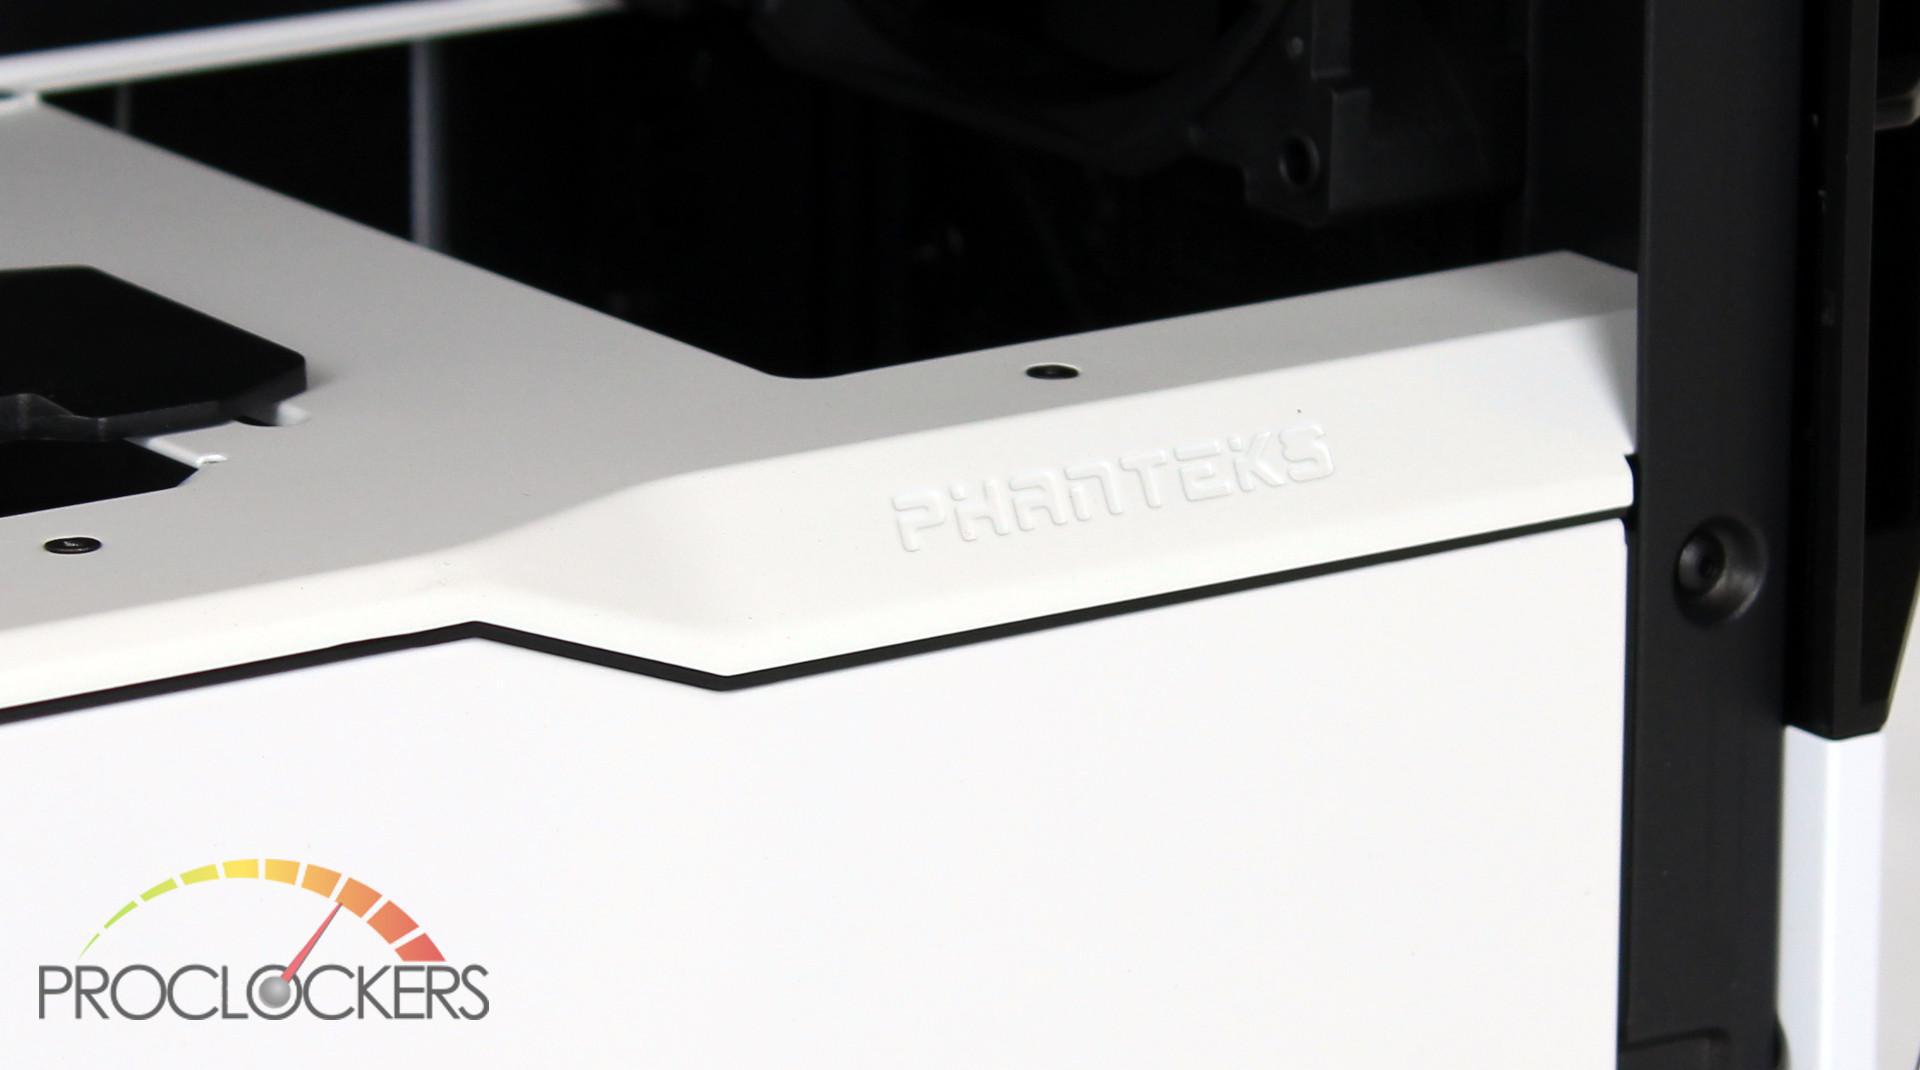
Also, near the front of the shroud is a beveled edge which has been inscribed with “Phanteks”. Its aesthetic additions like this one really gives the case some personality.
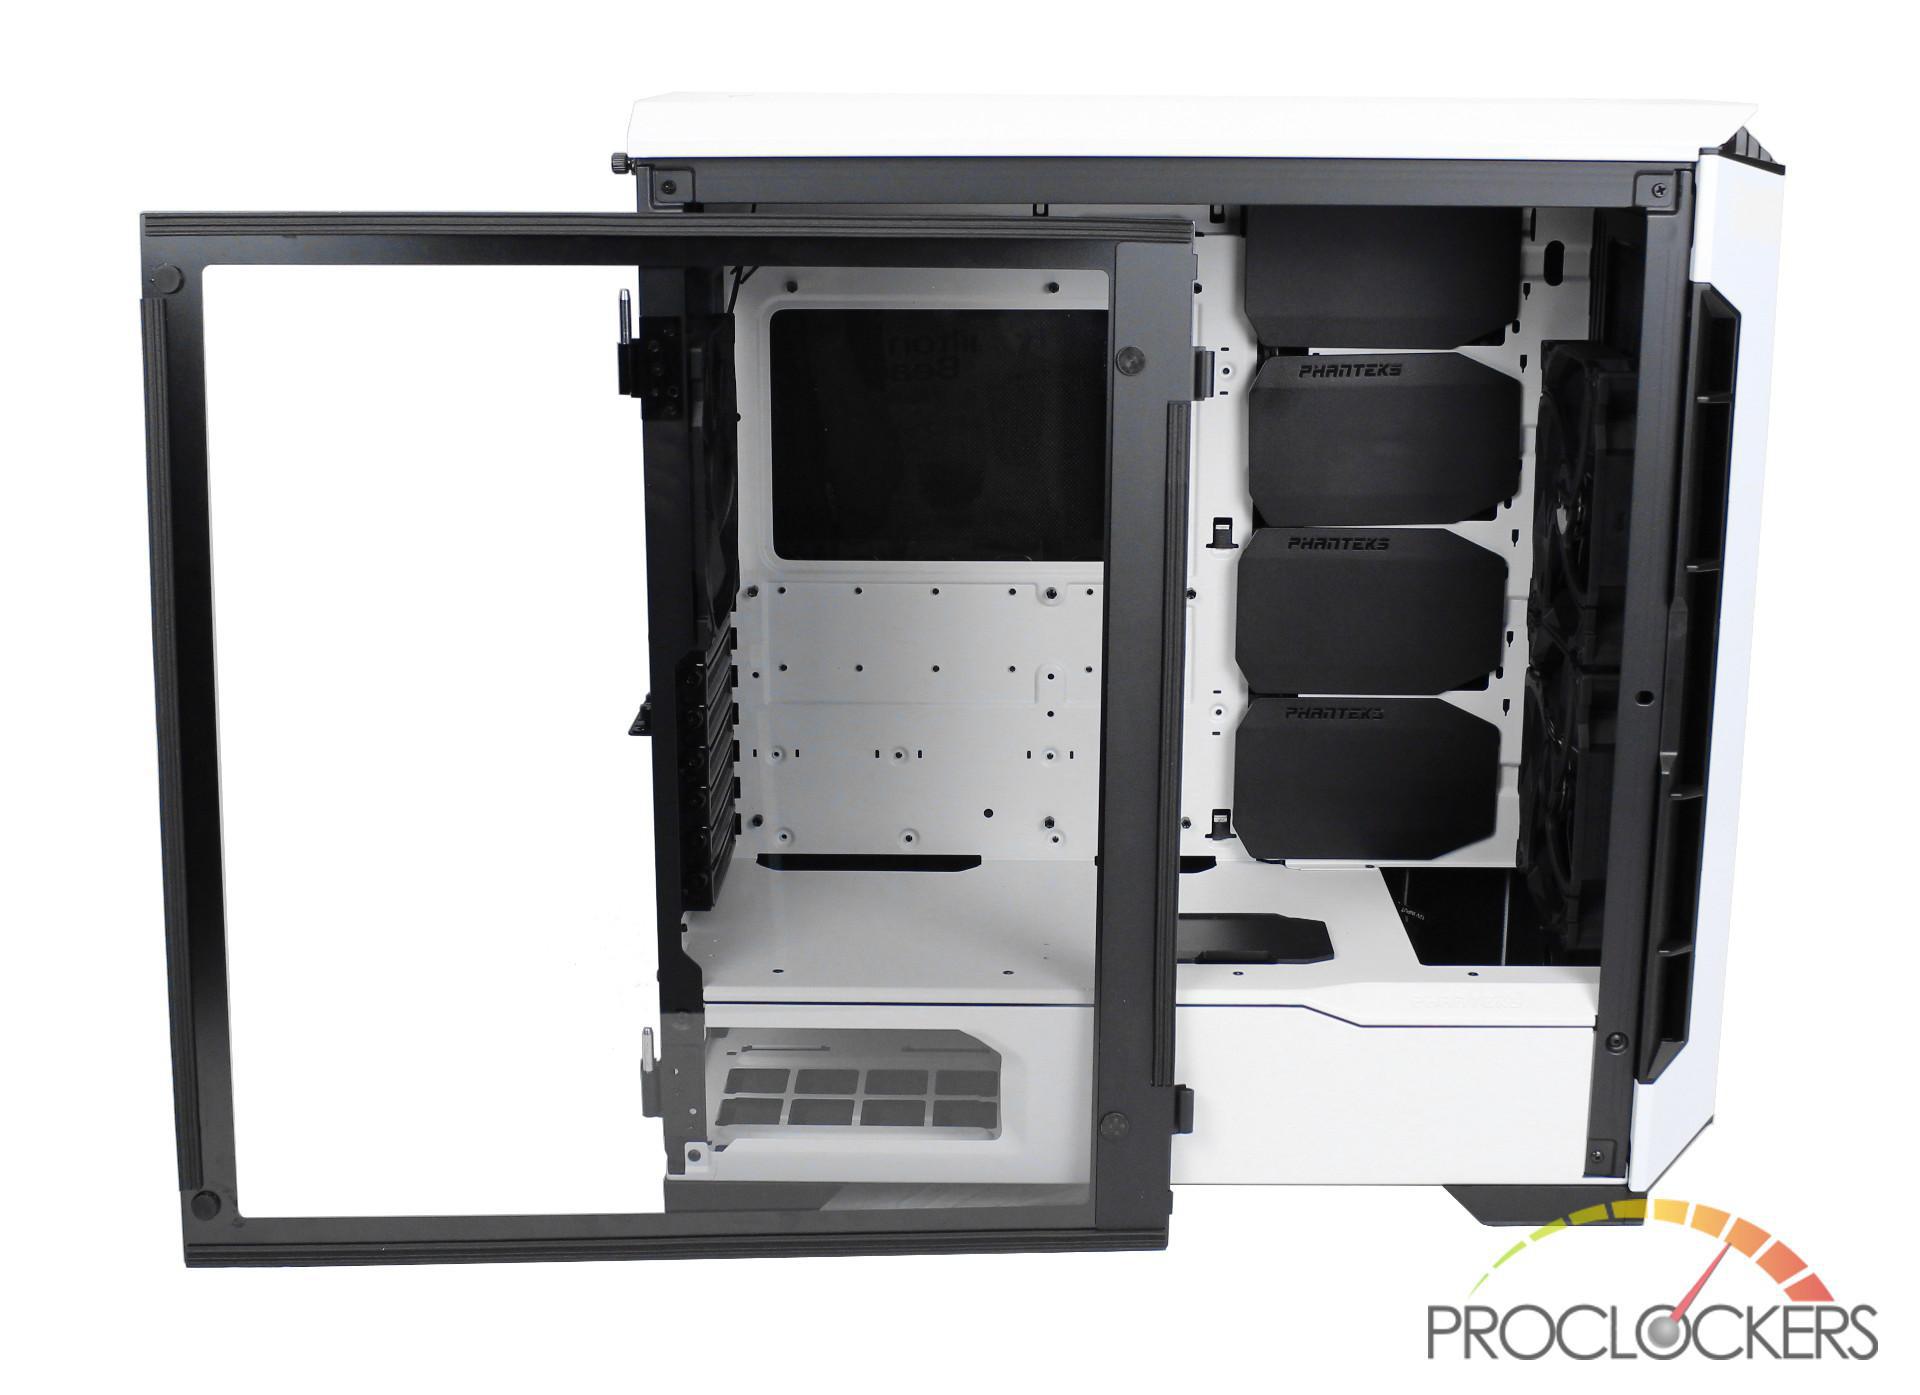
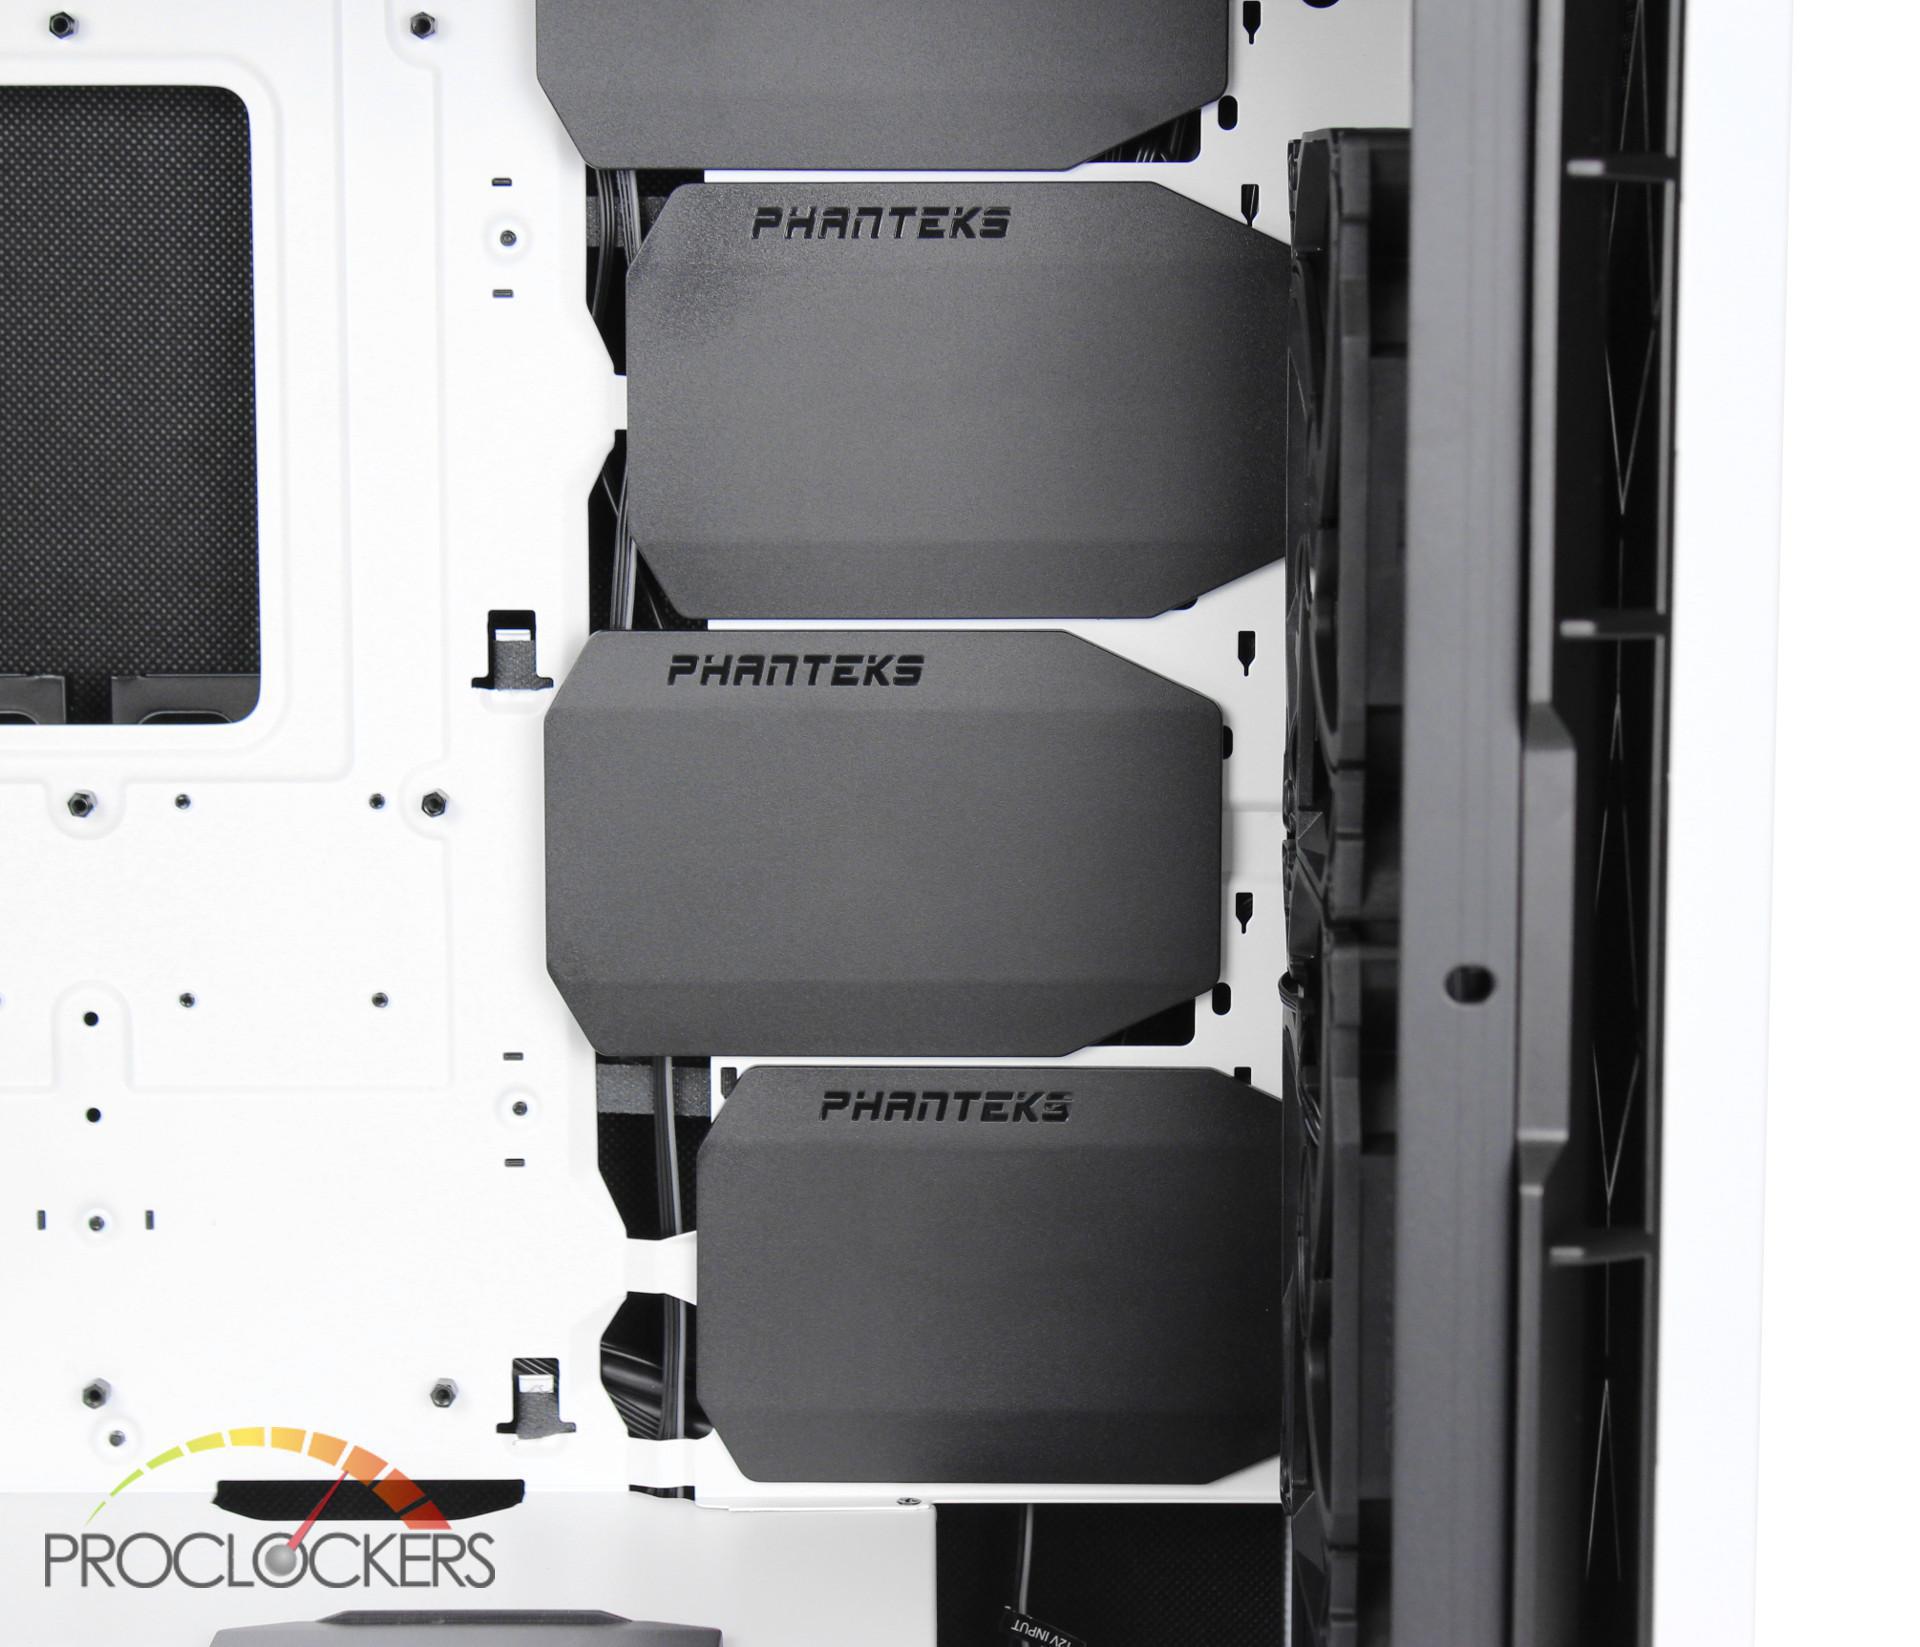
The front of the P600S comes with two pre-installed premium 140mm fans but does have room for a third. This also gives you the option to install up to a 420mm radiator in the front of the case.

The back of the P600S also comes with a pre-installed premium 140mm fan.
Going to the back of the P600S, like the front of the case, it also has a magnetic removable hinged panel. This solid steel panel includes sound dampening foam as well as a ribbon near the front to easily open the panel.
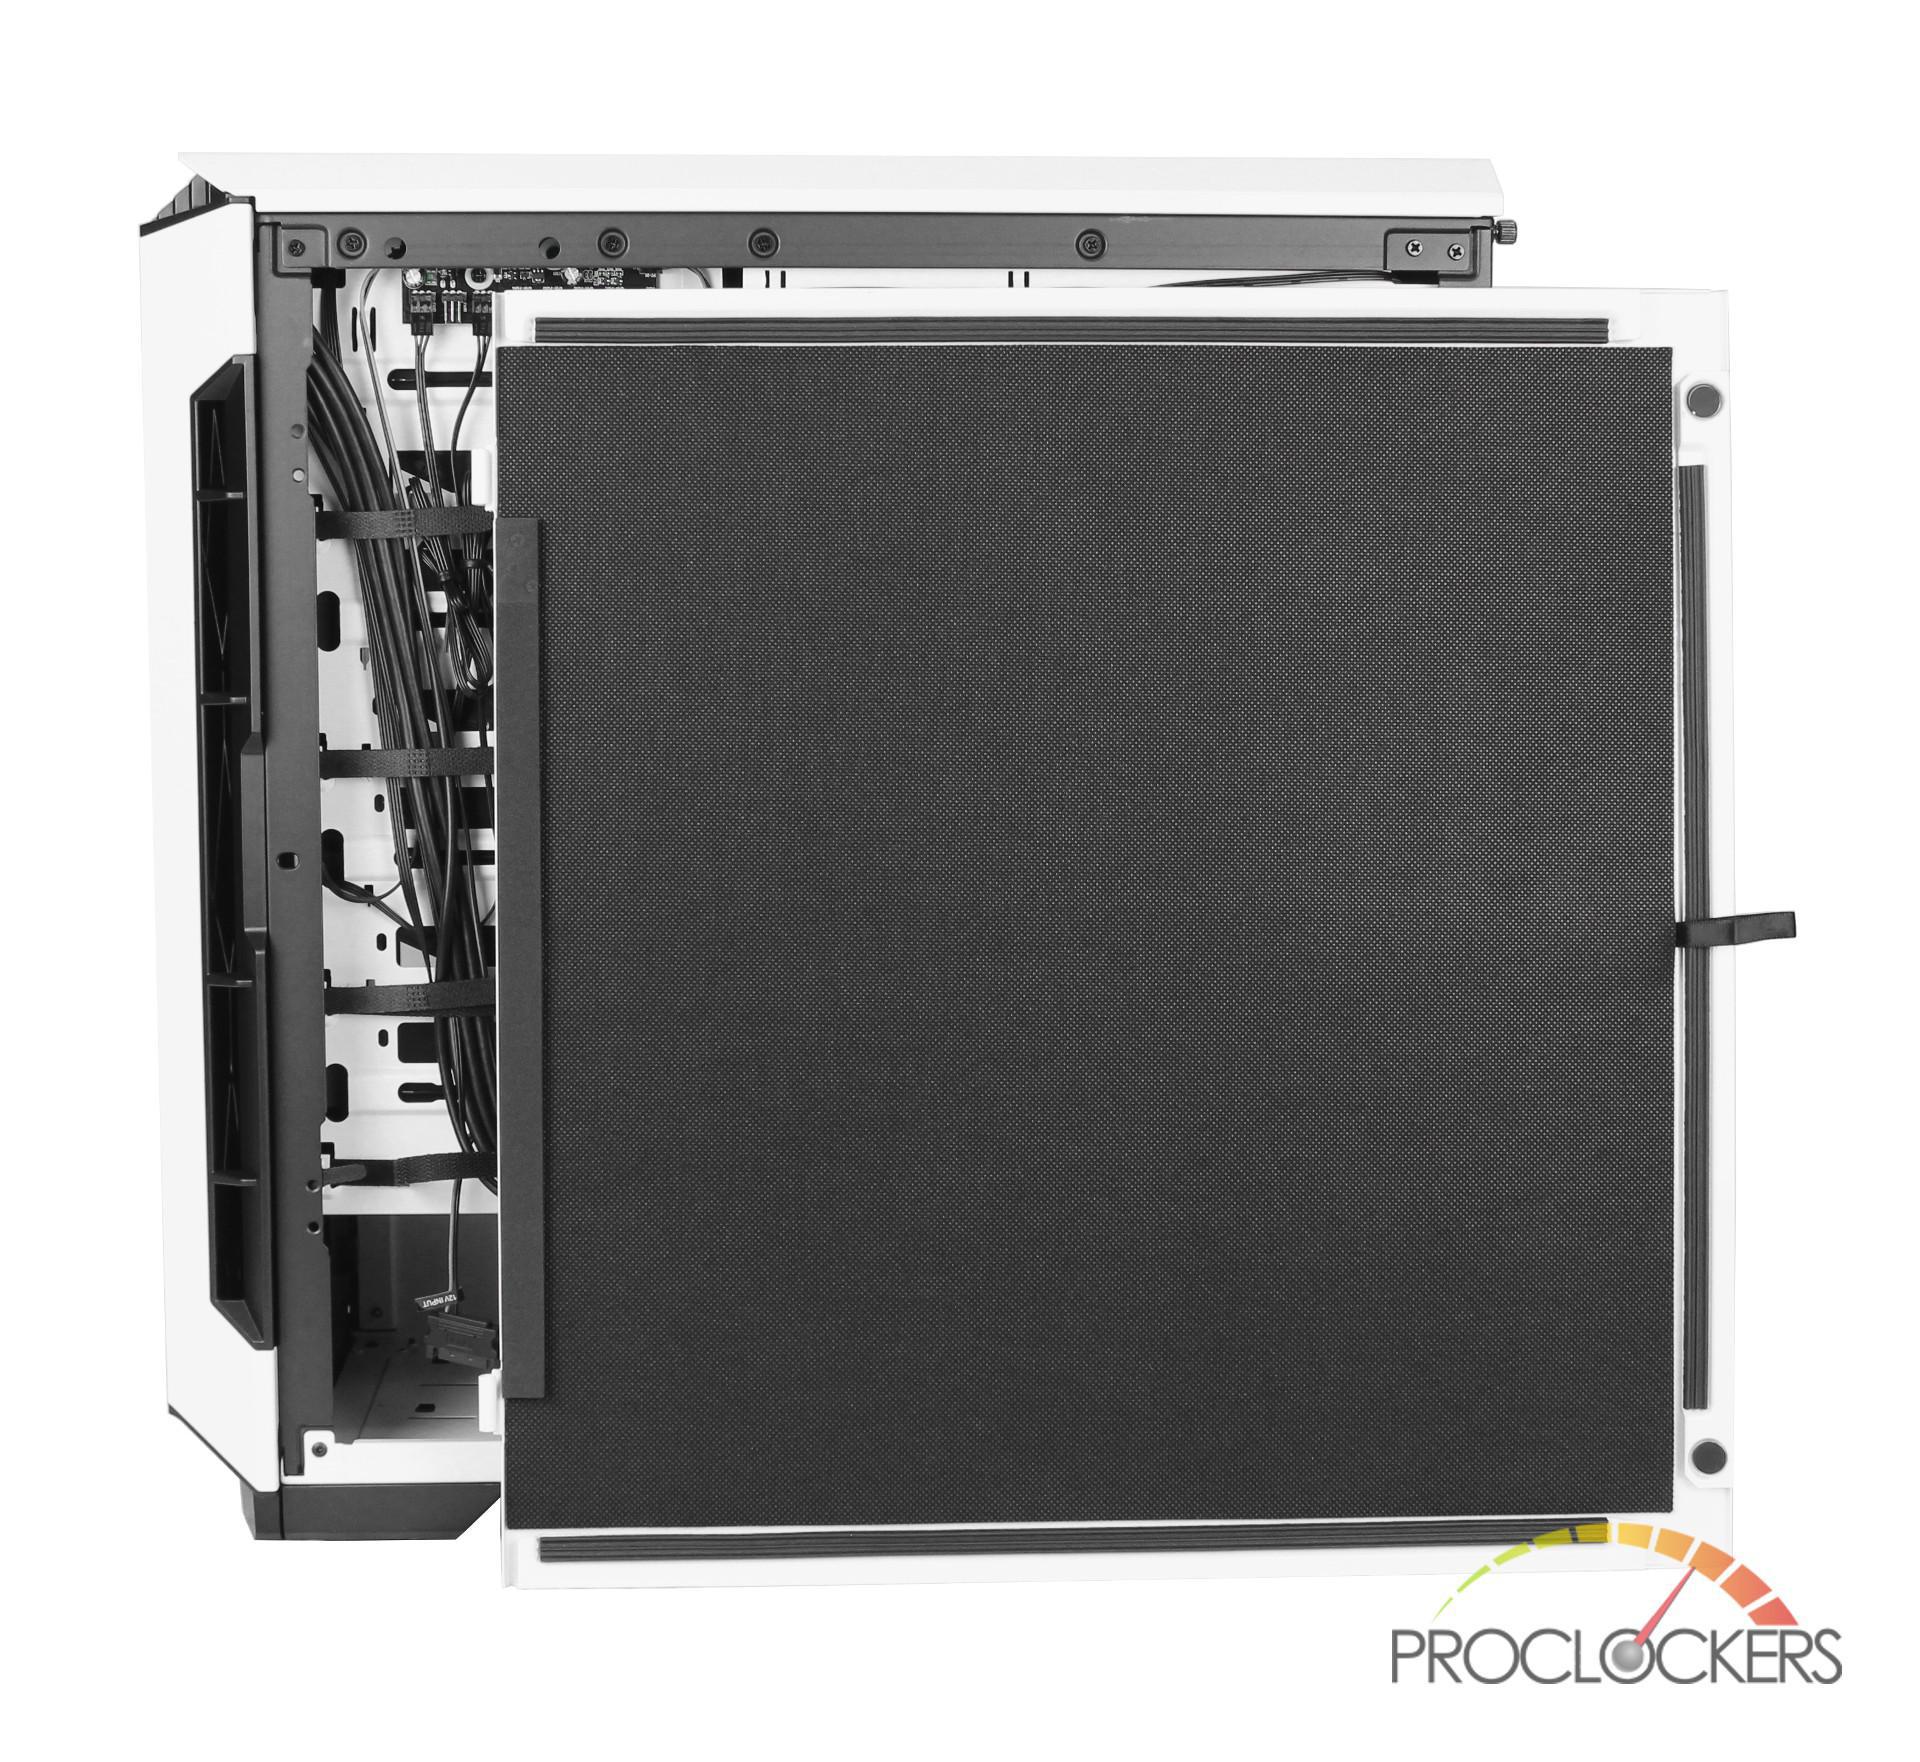
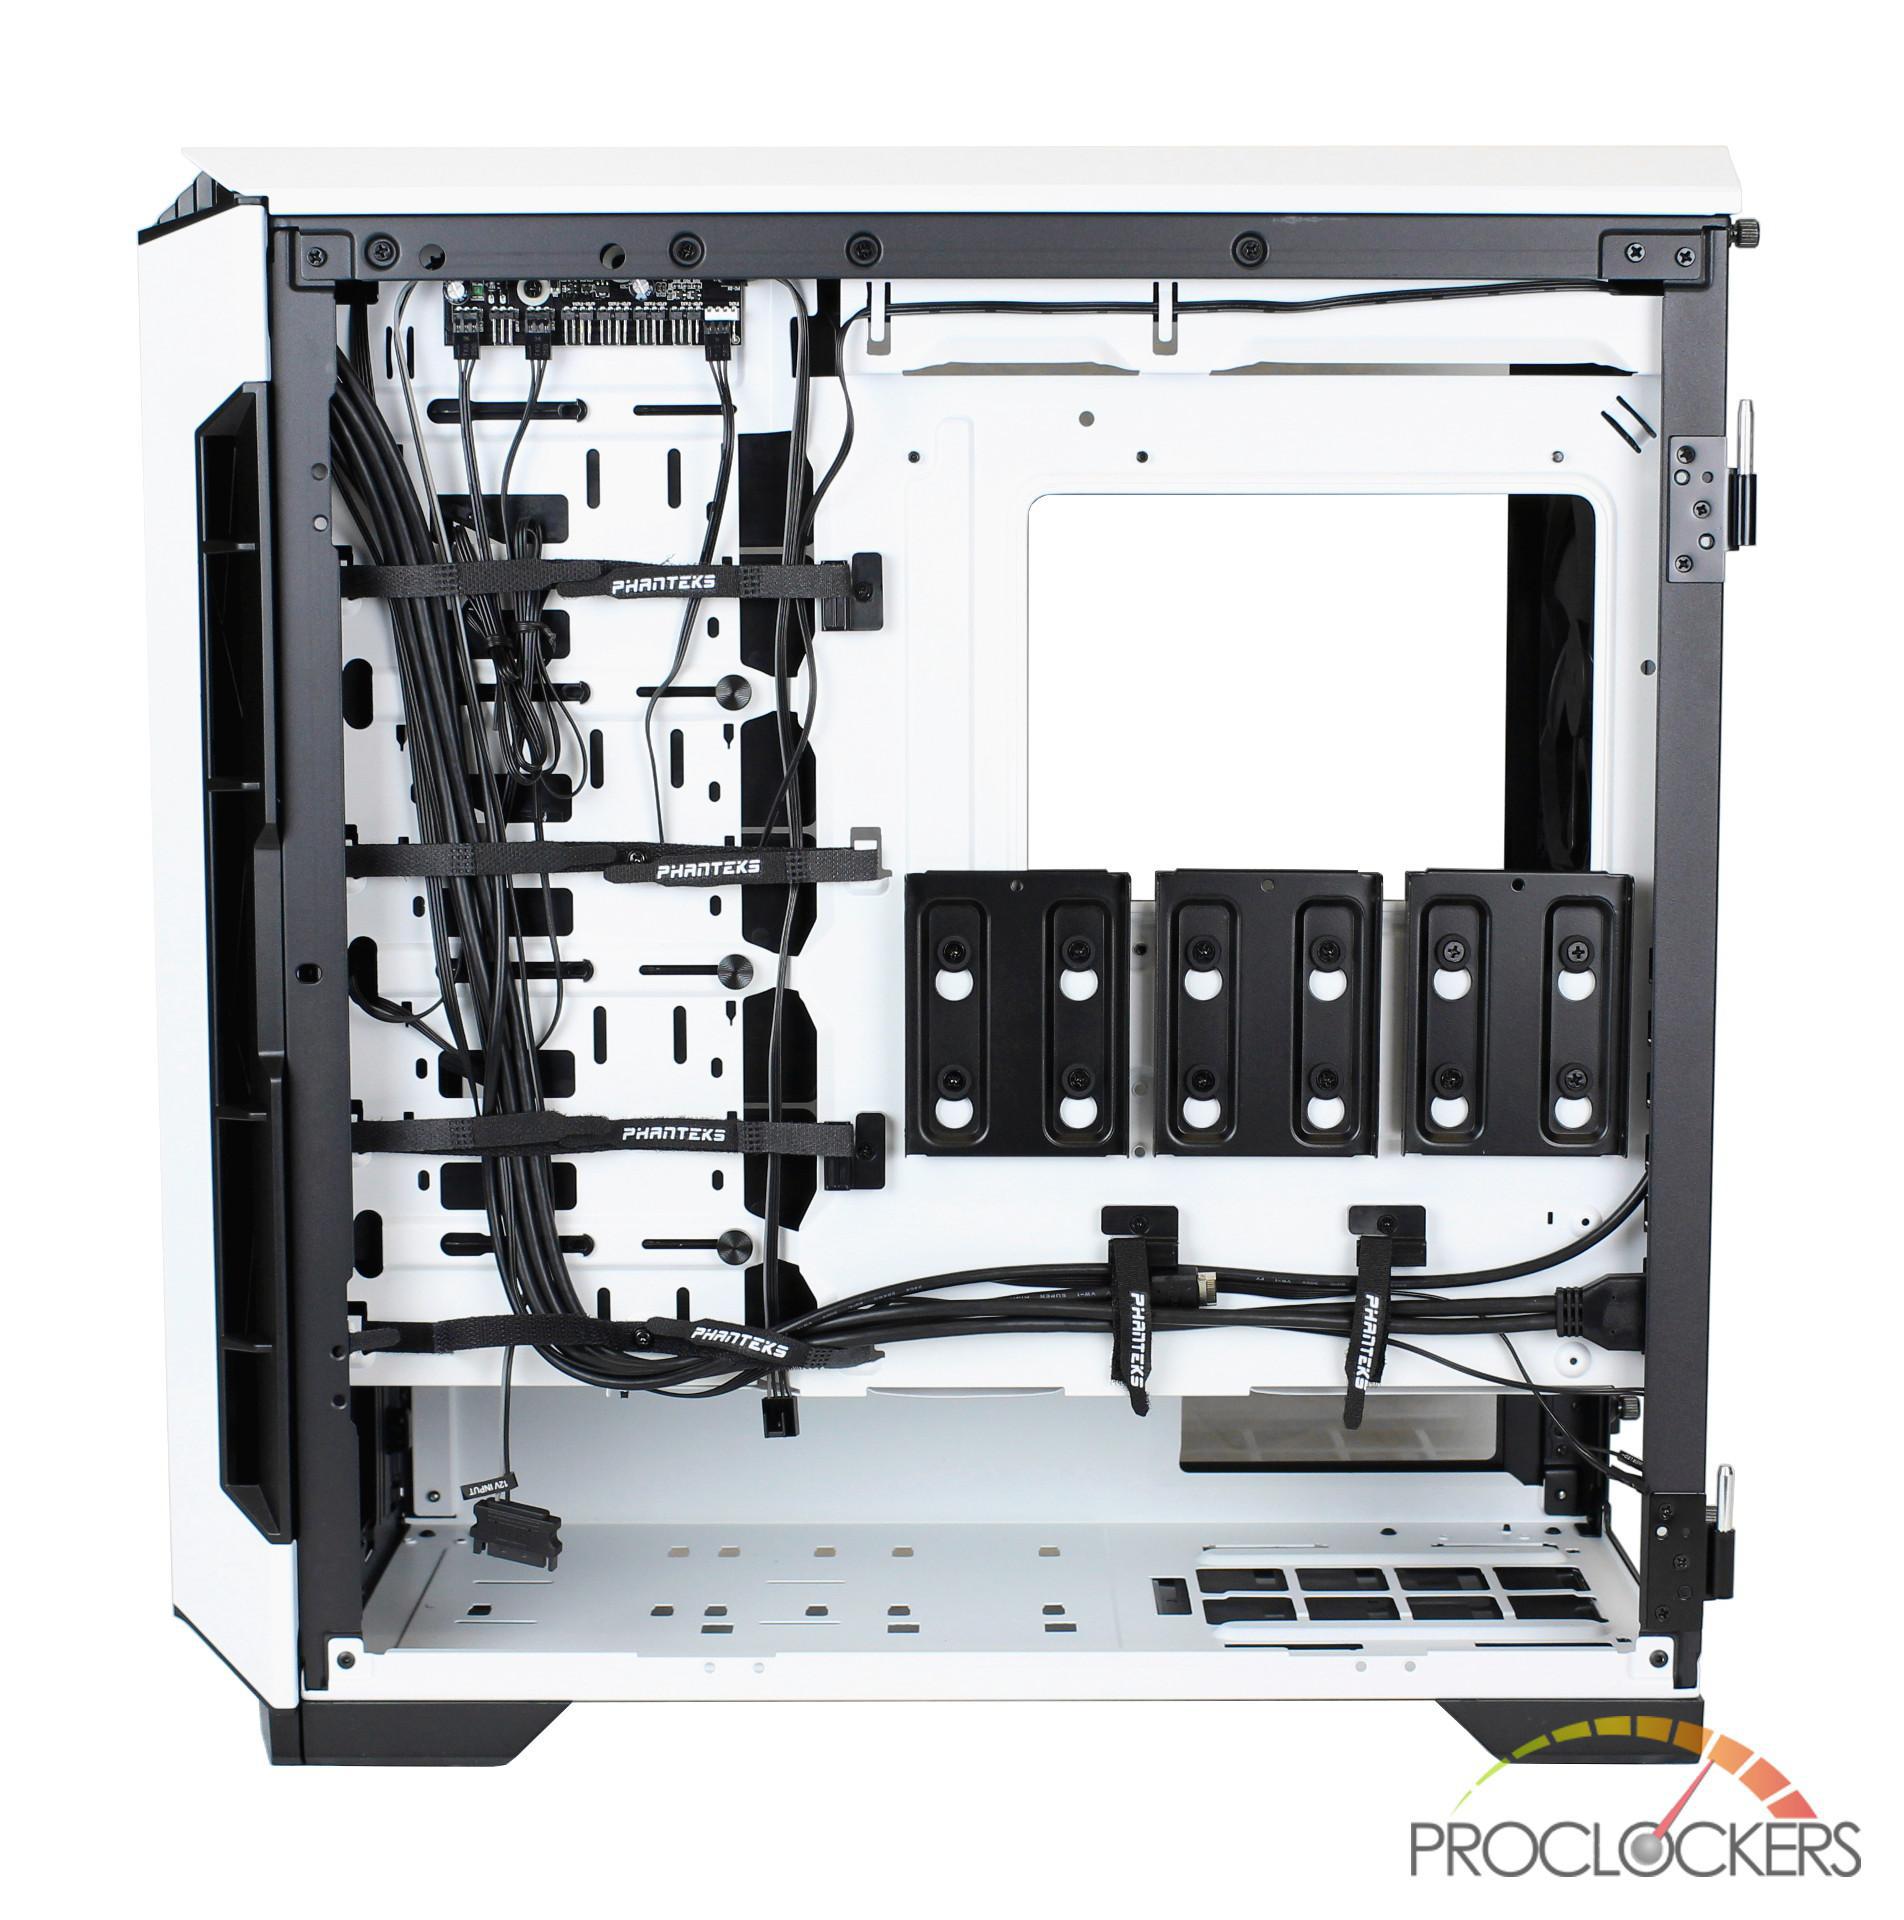
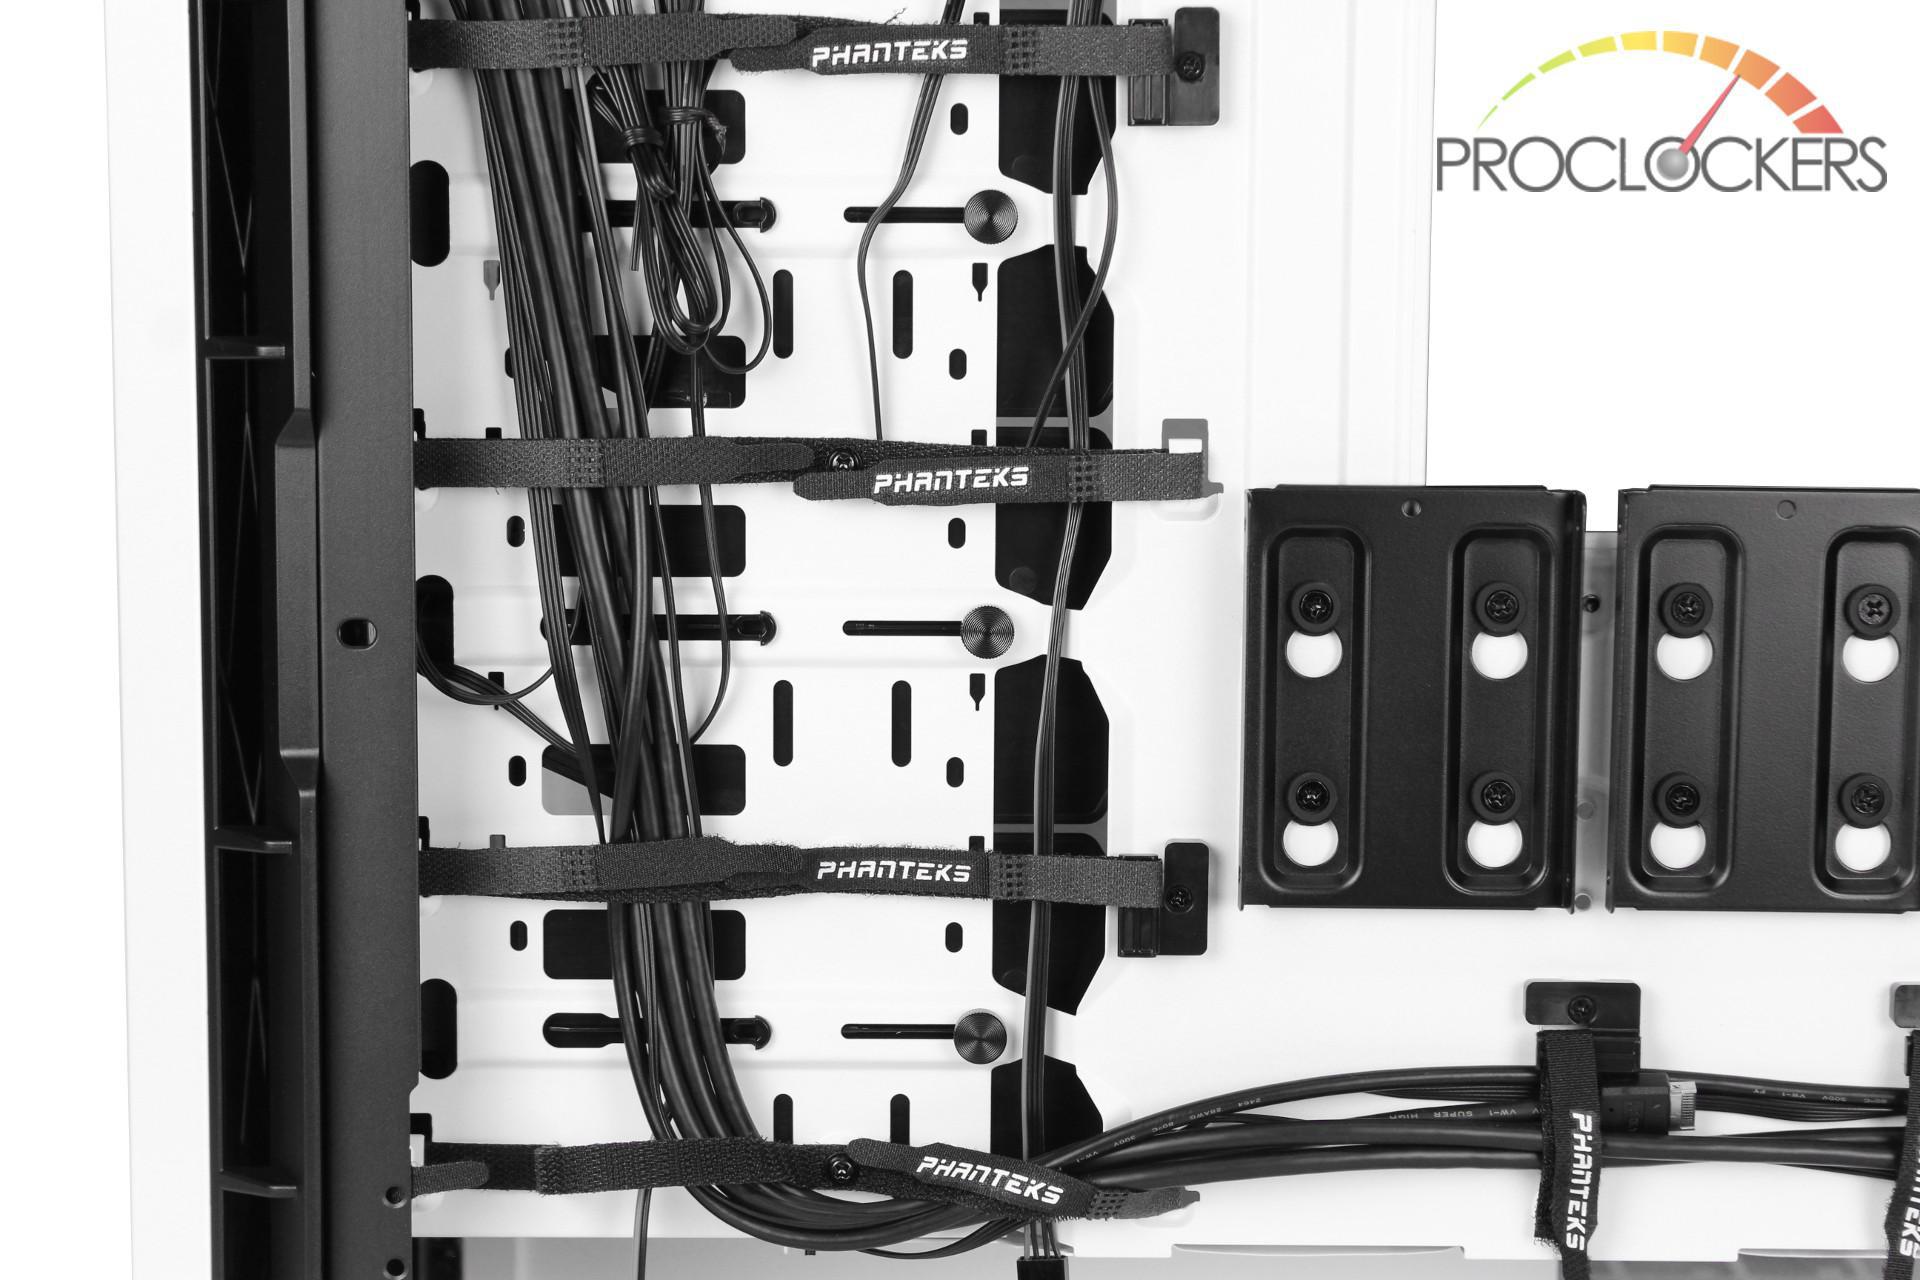
If you’re a fan of cable management you will absolutely love the back of the P600S. Phanteks has included many tiedown points on the left and bottom of the case which all include Phanteks branded Velcro straps. Phanteks also provides three 2.5” drive brackets which are located below the motherboard cutout.
The left side has 2 useable cable channels which are held in place with double looped Velcro strips.
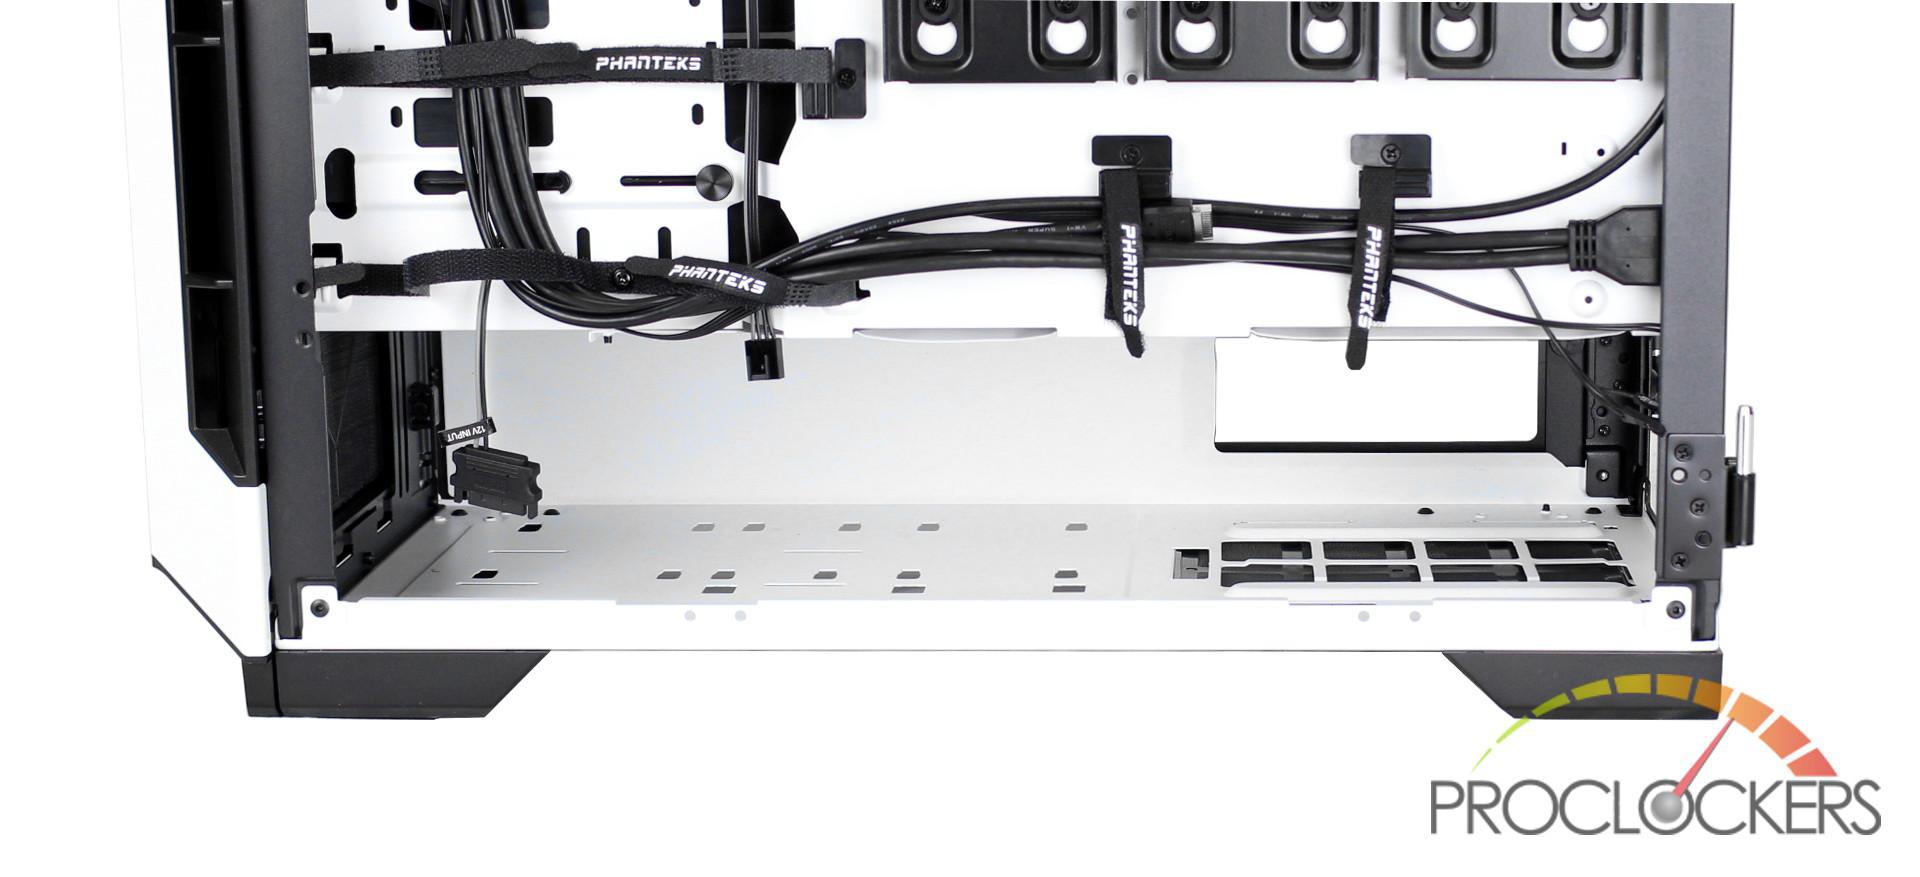
By default, the PSU shroud is free of all obstructions and provide plenty of room to tuck away your cables. If you did have some 3.5” drives you wished to install, you can use the included stackable trays and install them in the back half of the shroud.
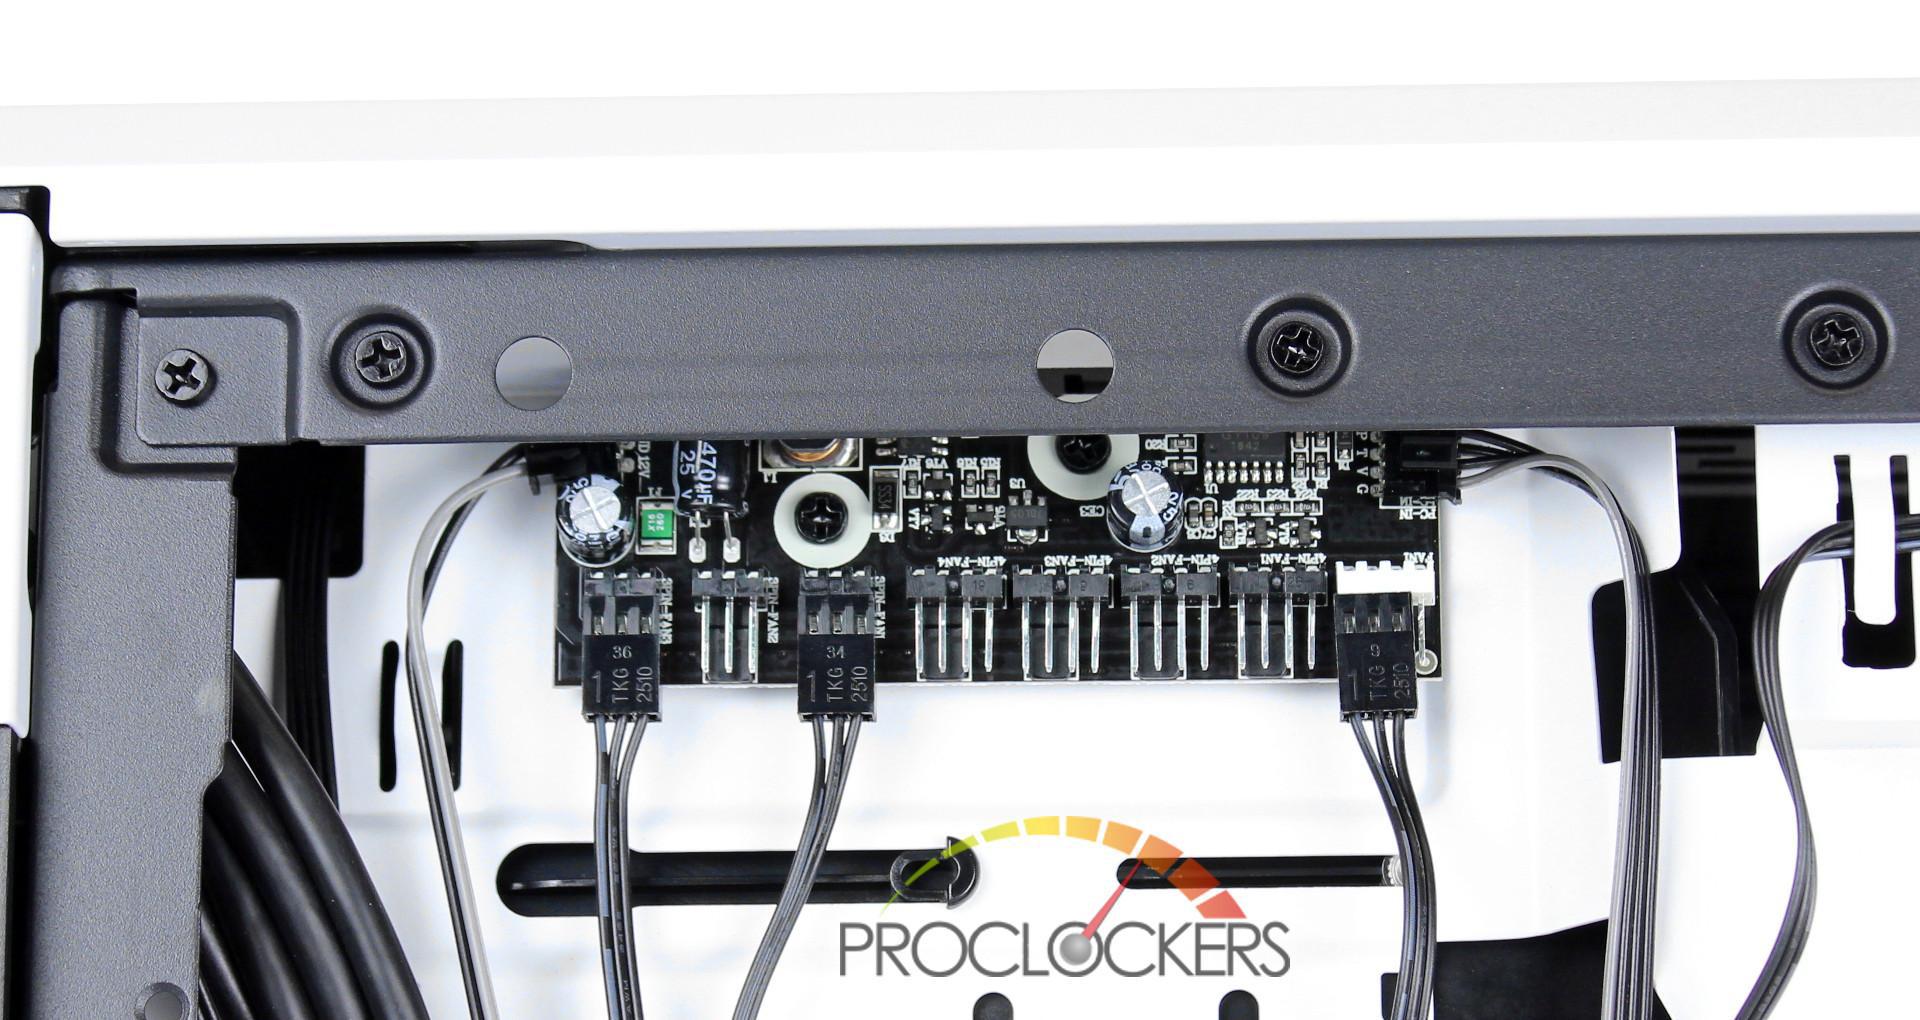
At the top of the P600S is the included Phanteks fan controller which has support for up to 3 x 3 pin fans and 5 x 4 pin PWM fans. You can expand the number of fans using splitters as long as the total power doesn’t exceed 4A.
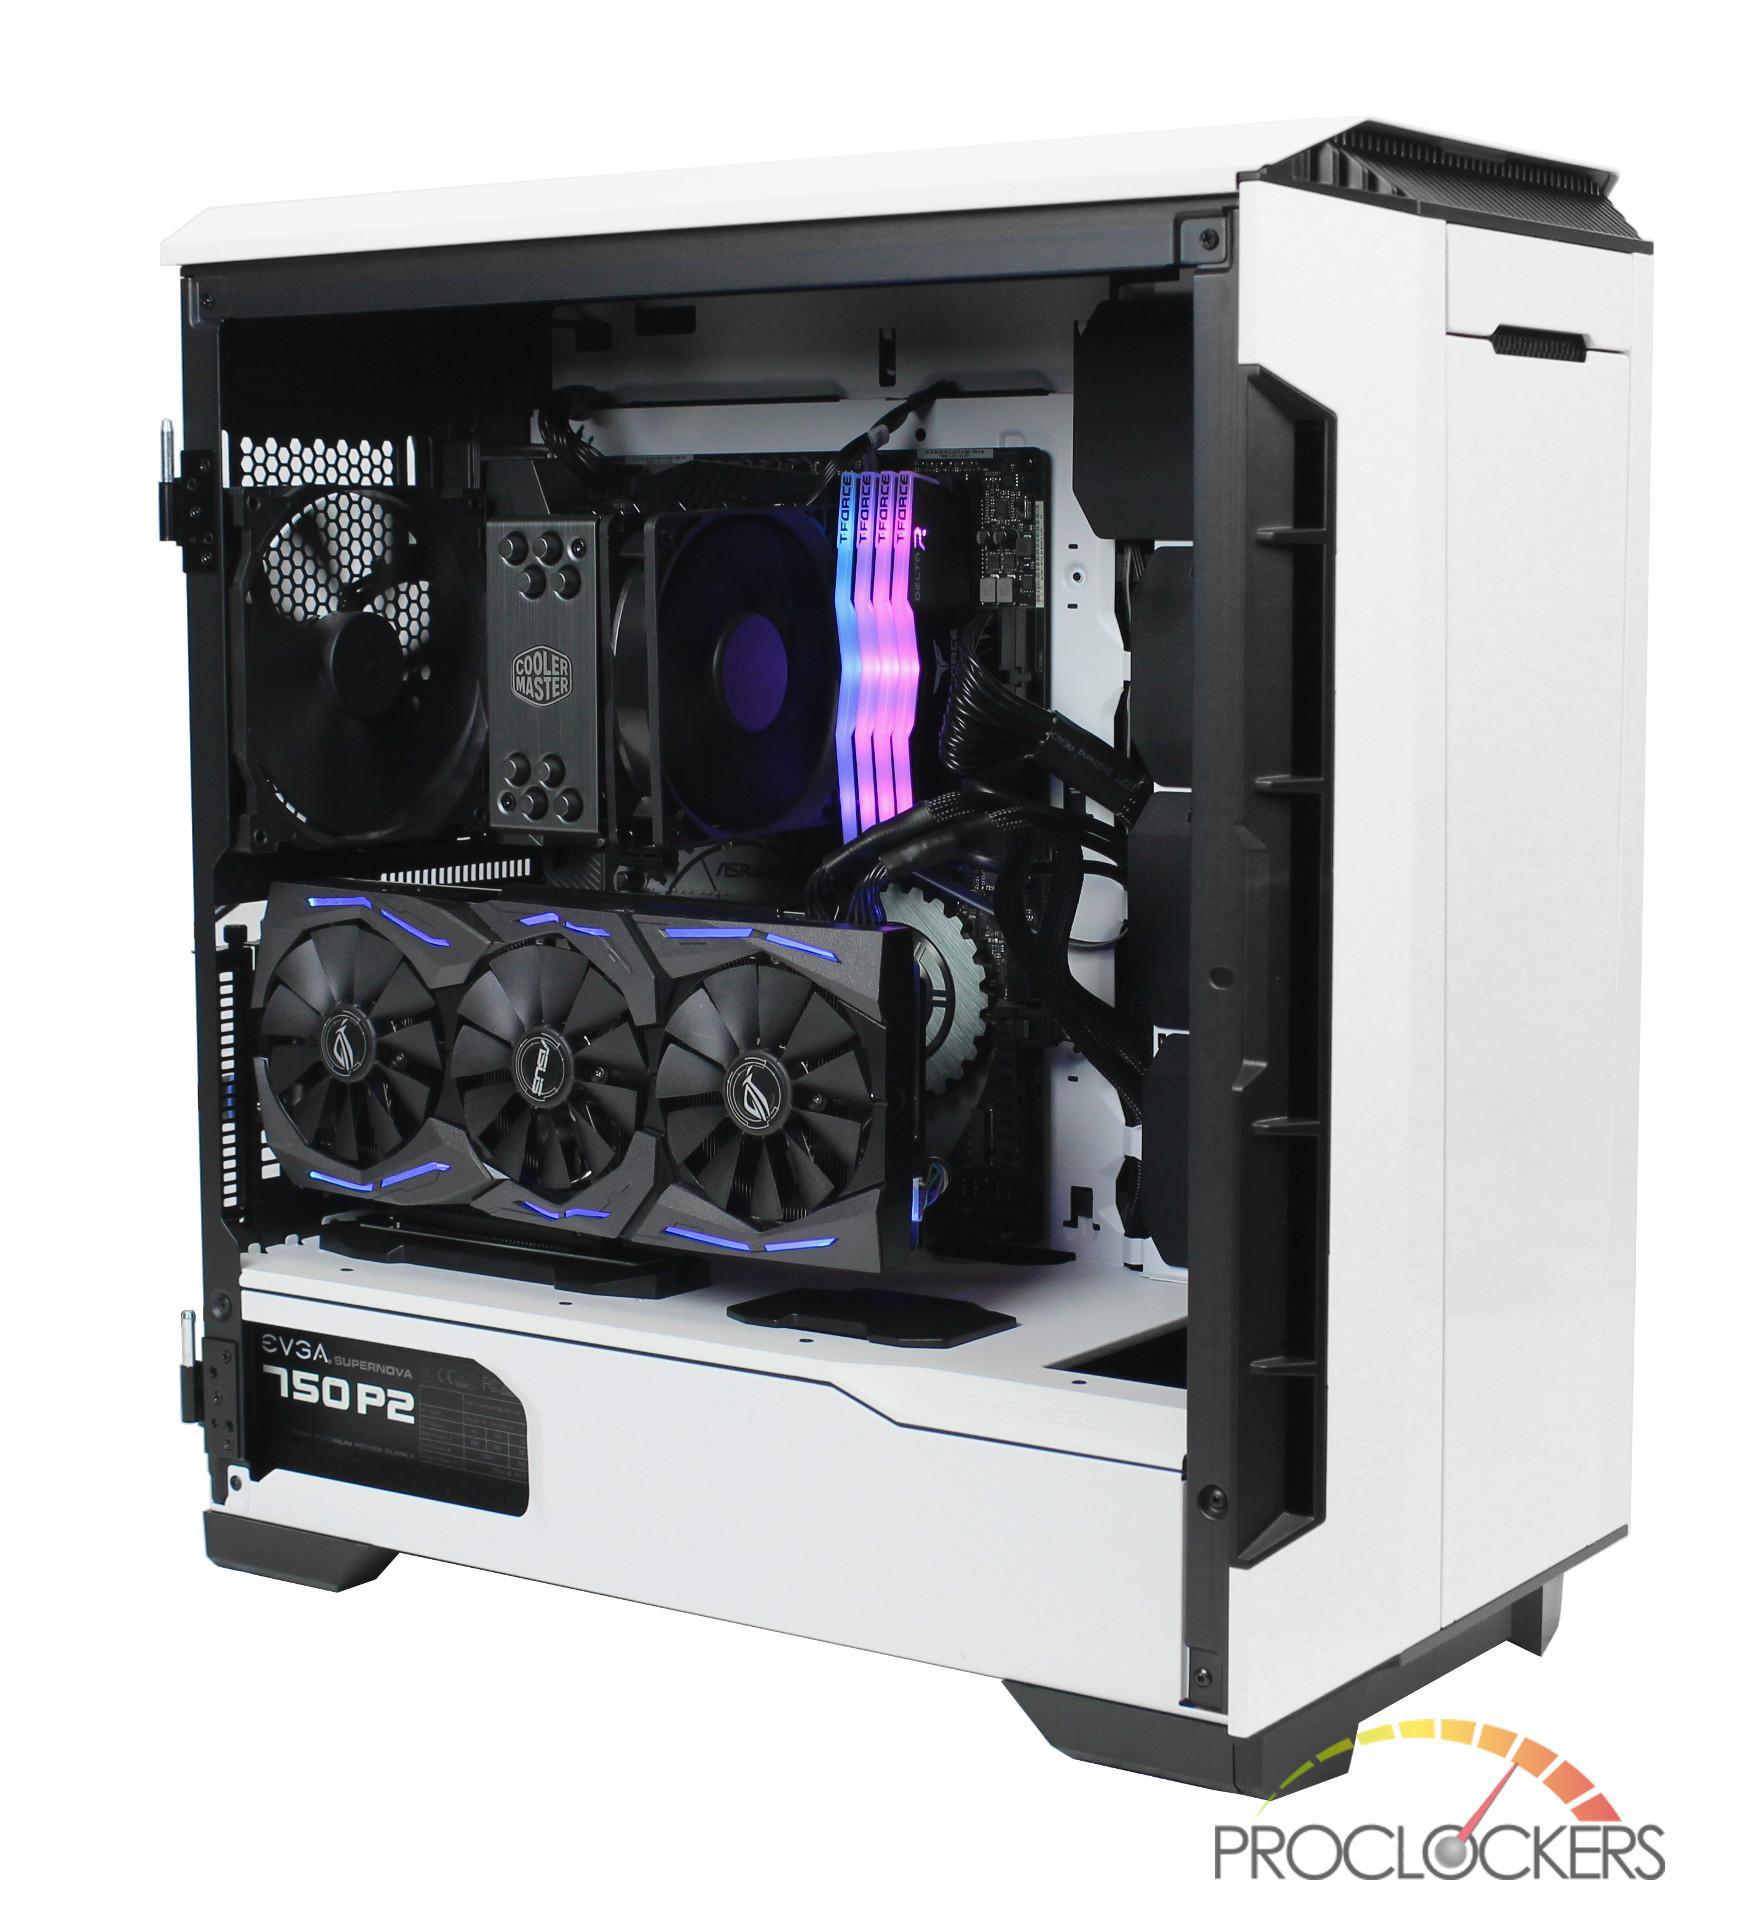
System Build and Installation
Below is a list of the hardware included in this build:
- ASRock Z370 Tachi Motherboard
- Intel 8700K Processor
- 4 x 4GB Team Group T-Force Delta RGB Ram
- ASUS STRIX RTX 2060 GPU
- Cooler Master 212 Hyper Black Edition Cooler
- EVGA 750W P2 PSU
Recently, I have done a lot of mid-tower builds, but I must say this one has been my favorite by far. Personally, I couldn’t find a single flaw in the Eclipse P600S. It had extremely well-placed cutouts, an amazing amount of room to work with, and aesthetically it just looks stunning. In addition to it looking great, it is also very well constructed and feels more like a $200+ case as opposed to one priced at $150. It was truly effortless to create a clean build in the P600S with the help of features like the cutout sliders and motherboard cutout above/below the motherboard. Some of my favorite features of the case are the vertical GPU mount, removable side panels, and the fact the all the panels are magnetically attached.


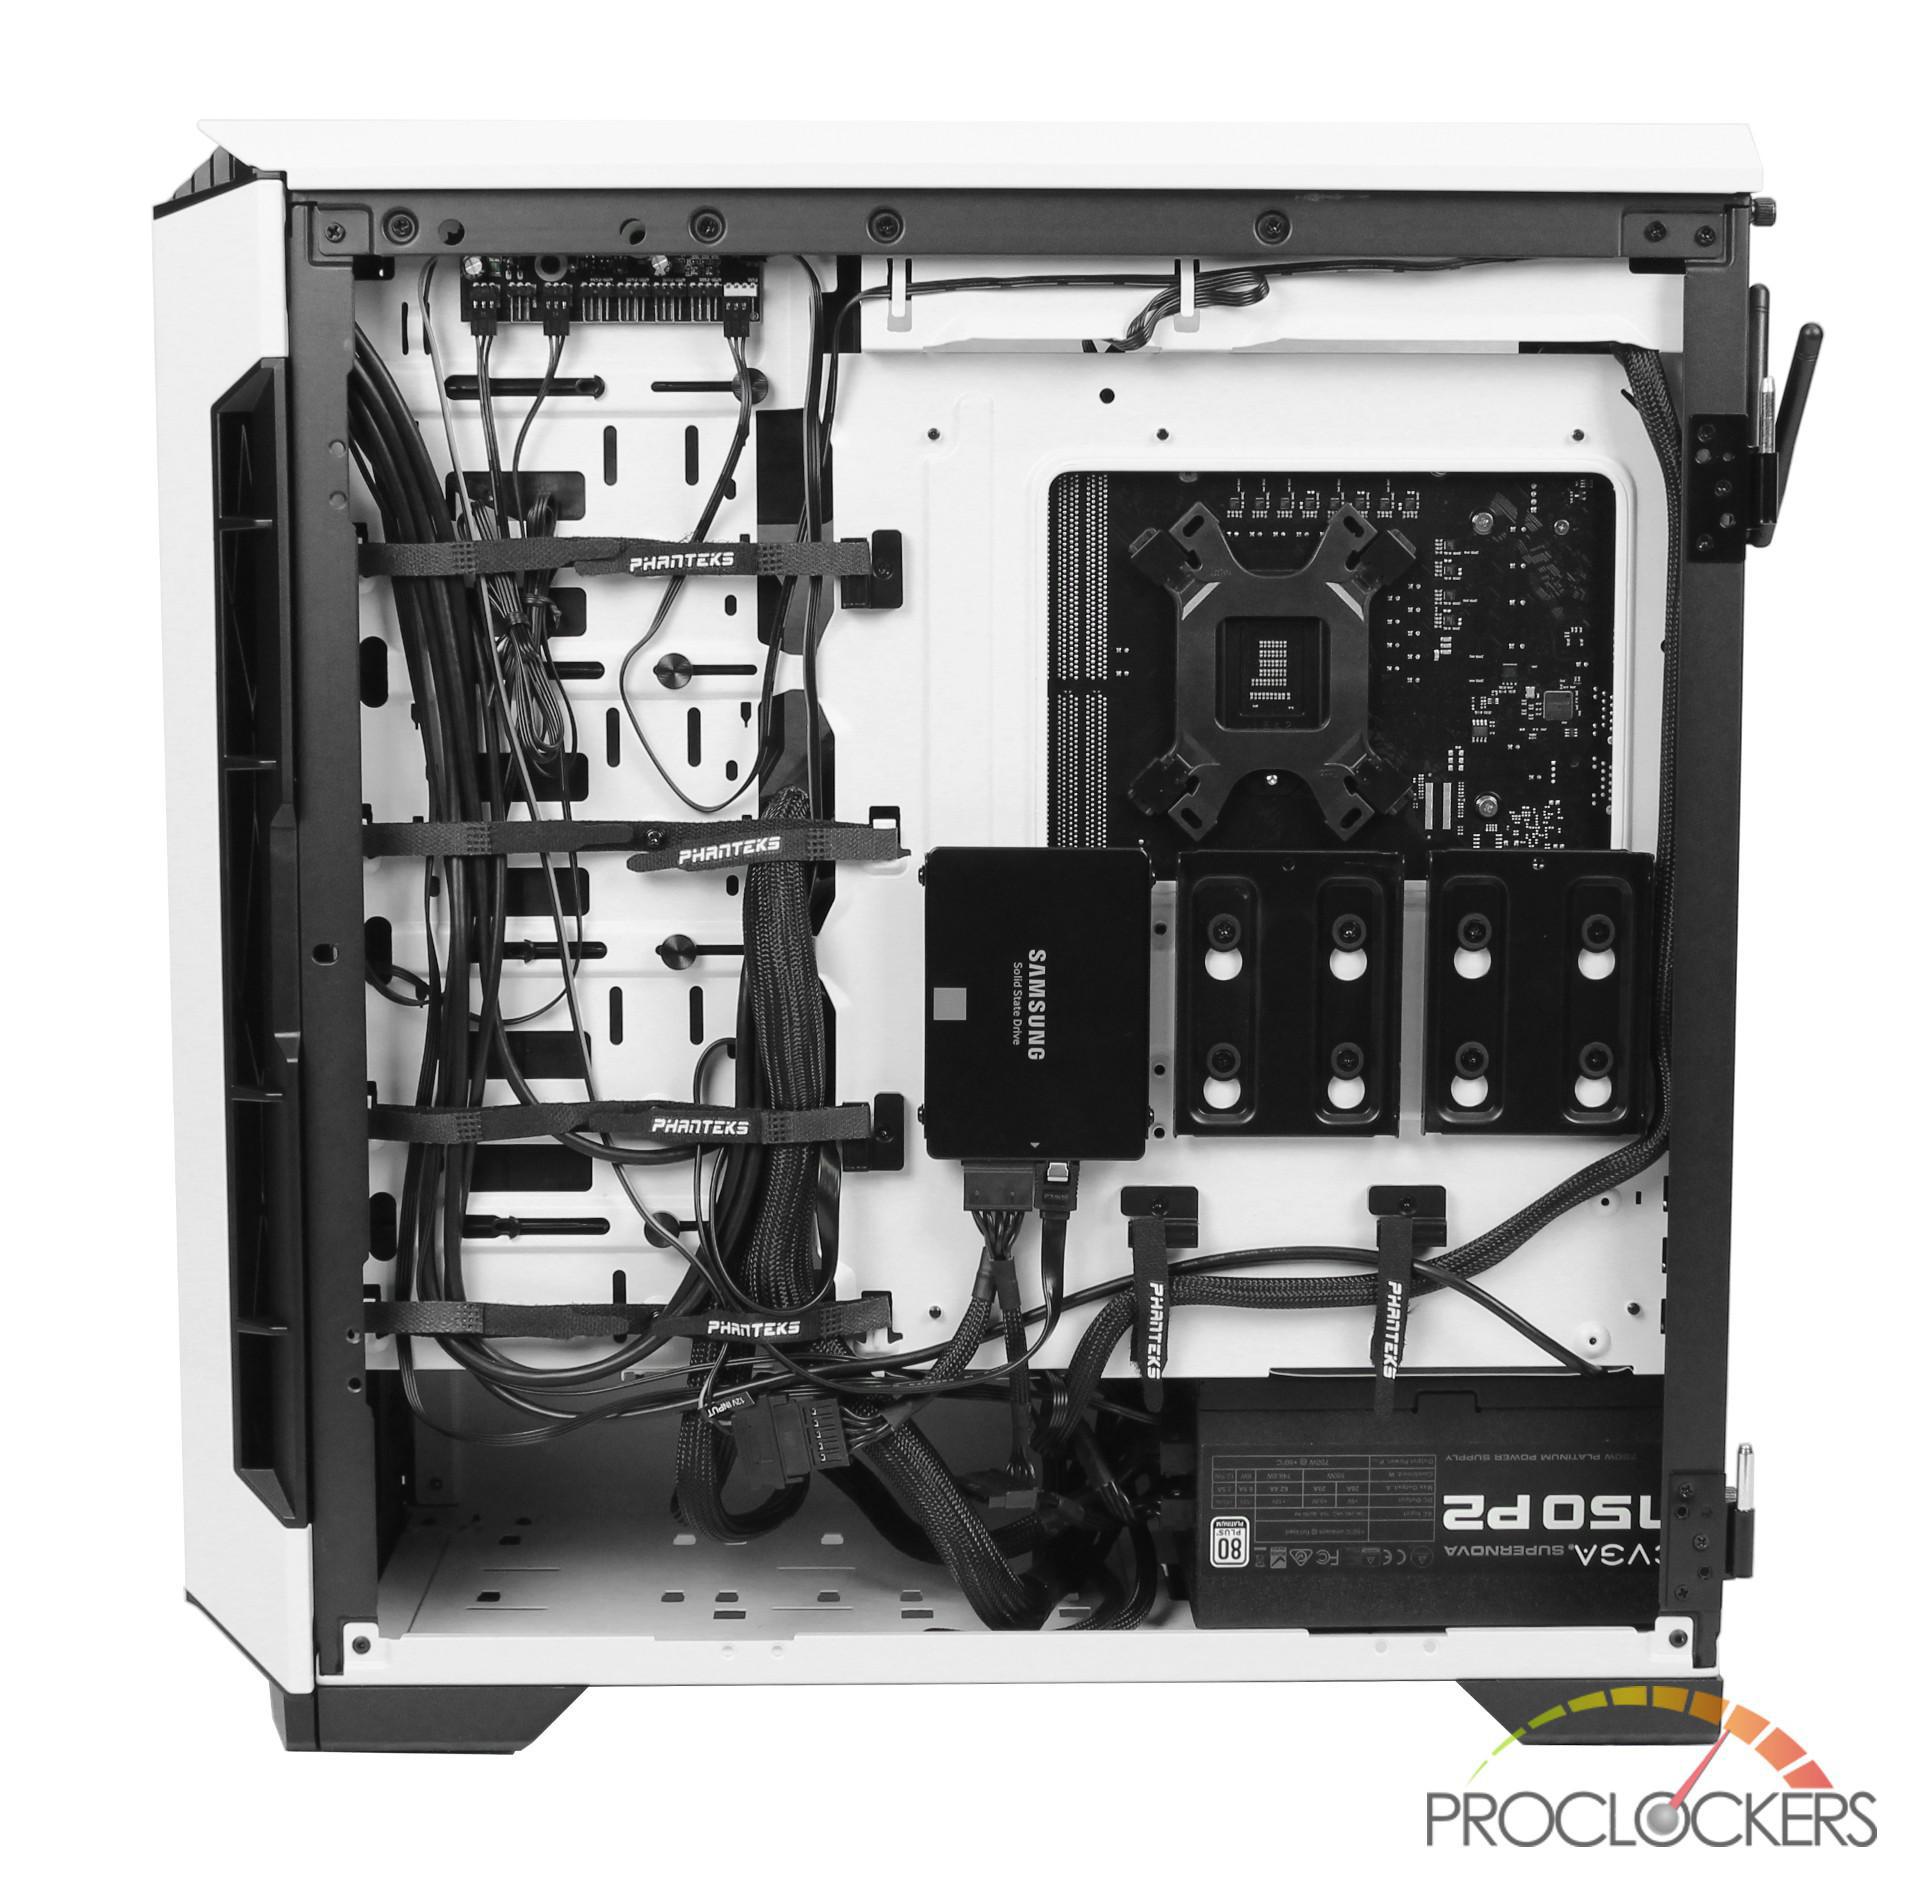
Out of all the cases I have worked with over the years, the P600S has the best out of the box cable management I have seen. Thanks to all the included Velcro straps and tiedown points I was able to keep the back nice a tidy even with my bulking EVGA stock cables. I really liked that Phanteks included straps on the majority of the tiedown points so I didn’t have to resort to zip ties. This makes it much easier to add/rearrange cables in the future and just looks much better in my opinion. Another huge plus is the included fan controller which should easily handle any fans you decide to add to your build.
Final Thoughts & Conclusion
This was the third Phanteks case I have built in and like the others, the Eclipse P600S continues to bring great design coupled with excellent quality. After looking over the case and I completed my build, I could not find a single flaw with the P600S. It’s an extremely well-designed case that is extremely versatile, whether you are doing a duel system, air cooled or water cooled builds. The P600S can accommodate each perfectly.
While doing my build, I was amazed by the amount of room it had, especially for a mid-tower. Another huge plus for me was the amount of included tie-down points and straps in the back of the case. This allowed me to keep my cable extremely clean at the back of the case and thanks to the well-placed cutouts, it was easy to create a clean build.
Some of my favorite features of the P600S include the magnetic side panels, the choice to either run a silent/performance configuration and cloth mesh. I really hope in the future that Phanteks releases some custom colored fabric mesh so you could further customize your build.
I really can’t say enough about the Eclipse P600S, and regardless of the type of build you’re doing, the P600S has something to offer.
Amazing job, Phanteks!


The 25 Best Anime Cats, Ranked
What are the best anime cats? Cats are something you either love with every fiber of your being or vehemently...


The 25 Best Anime Teachers, Ranked
Who are the best anime teachers? With high school being such a prevalent setting in anime, it makes sense that...


The 25 Best Orange Hair Anime Girls, Ranked
Who are the best orange hair anime girls? Orange hair is interesting in anime because it can either be a...