
Hardware
Cooler Master MasterBox NR400 Case Review
Introduction
With the recent surge in high-end mITX and mATX motherboards, builders are moving to more compact cases.
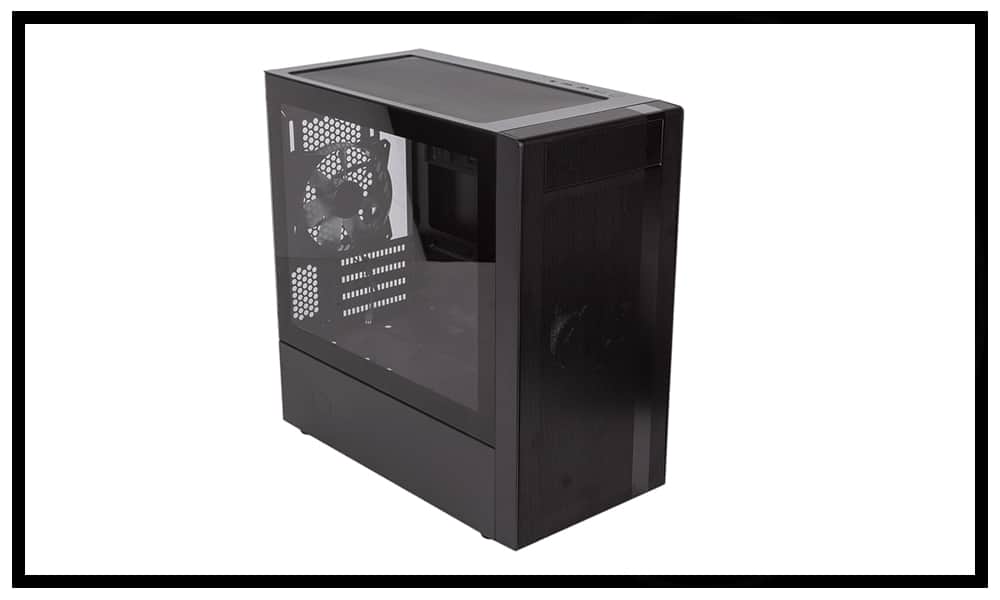
Generally, the trade-off between full-sized ATX and mATX cases is less room for cooling solutions resulting in higher system temperatures. Cooler Master’s new case, the NR400, offers a compact chassis that has been designed with cooling performance in mind. The NR400’s body consists of all-steel construction, a mesh front panel, and a removable magnetic dust filter on the top, and also has the option for one 5.25” drive bay up front.
Despite its smaller form factor, the NR400 has ample room cooling hardware with it supporting a 280mm radiator up top, 280mm up front, and 120mm at the back. The NR400 is also gentle on your wallet coming in at an MSRP of only $59.99.
We would like to thank Cooler Master for sending us the NR600 to review.
About Cooler Master
Back in 1992, when the internet was in its early stages and CPUs were measured in MHz rather than GHz, a company called ORYX was born.
ORYX later became Cooler Master, which we know the company as today. Started by a rogue product manager who had no funding and no support except a single administrative secretary, he set out to create, innovate and improve products for the PC industry. Starting with its first product, a Socket 7 CPU heat sink in 1993, its product line has since grown to Cases, Peripherals, Fans, and much more. Over the past 25+ years they brought many advancements and firsts to the PC industry (such as the first all copper heat sink) and today, they continue to innovate by bringing new and exciting products to market.
Features & Specifications
Notable Features:
- Minimalistic mesh design
- Flush tempered glass side panel
- With/Without ODD support
Technical Specifications:
| Product Number | MCB-NR400-KG5N-S00 | MCB-NR400-KGNN-S00 | |
| Product Name | MasterBox NR400 with ODD | MasterBox NR400 without ODD | |
| Exterior Color | Black | ||
| Body | Steel, Plastic | ||
| Windowed Side Panel | Tempered Glass | ||
| Dimensions (LxWxH) | 411mm x 210mm x 411mm | ||
| Motherboard Support | Mini-ITX, Micro-ATX | ||
| Expansion Slots | 4 | ||
| Drive Bays | 5.25″ | 1 | N/A |
| 3.5” HDD | 4 | 3 | |
| 2.5” SSD | 4 | 4 | |
| I/O Panel | USB Ports | USB 3.0 x 2 | |
| Audio In / Out | 1x 3.5mm Headset Jack (Audio+Mic) | ||
| Pre-installed Fan(s) | Front | 120mm x 1 | 120mm x 1 |
| Rear | 120mm x 1 | 120mm x 1 | |
| Fan Support | Front | 120mm x2 / 140mm x2 | 120mm x3 / 140mm x2 |
| Top | 120mm x1 / 140mm x1 | 120mm x2 / 140mm x2 | |
| Rear | 120mm x 1 | ||
| Radiator Support | Front | 120/140/240 /(280mm may interfere with HDD mounted below ODD) | 120/140/240/280mm |
| Top | 120mm | 120/240mm | |
| Rear | 120mm | 120mm | |
| Clearances | CPU Cooler | 166mm | |
| Power Supply | 325mm max (w/o front radiator & HDD cage) | ||
| 140mm (HDD cage in backmost position) | |||
| Graphics Card | 346mm | ||
| Cable Routing | Behind MB Tray | 22mm | |
| Dust Filters | Top, Bottom | ||
| Power Supply Support | Bottom Mount, ATX PS2 | ||
Packaging & Unboxing
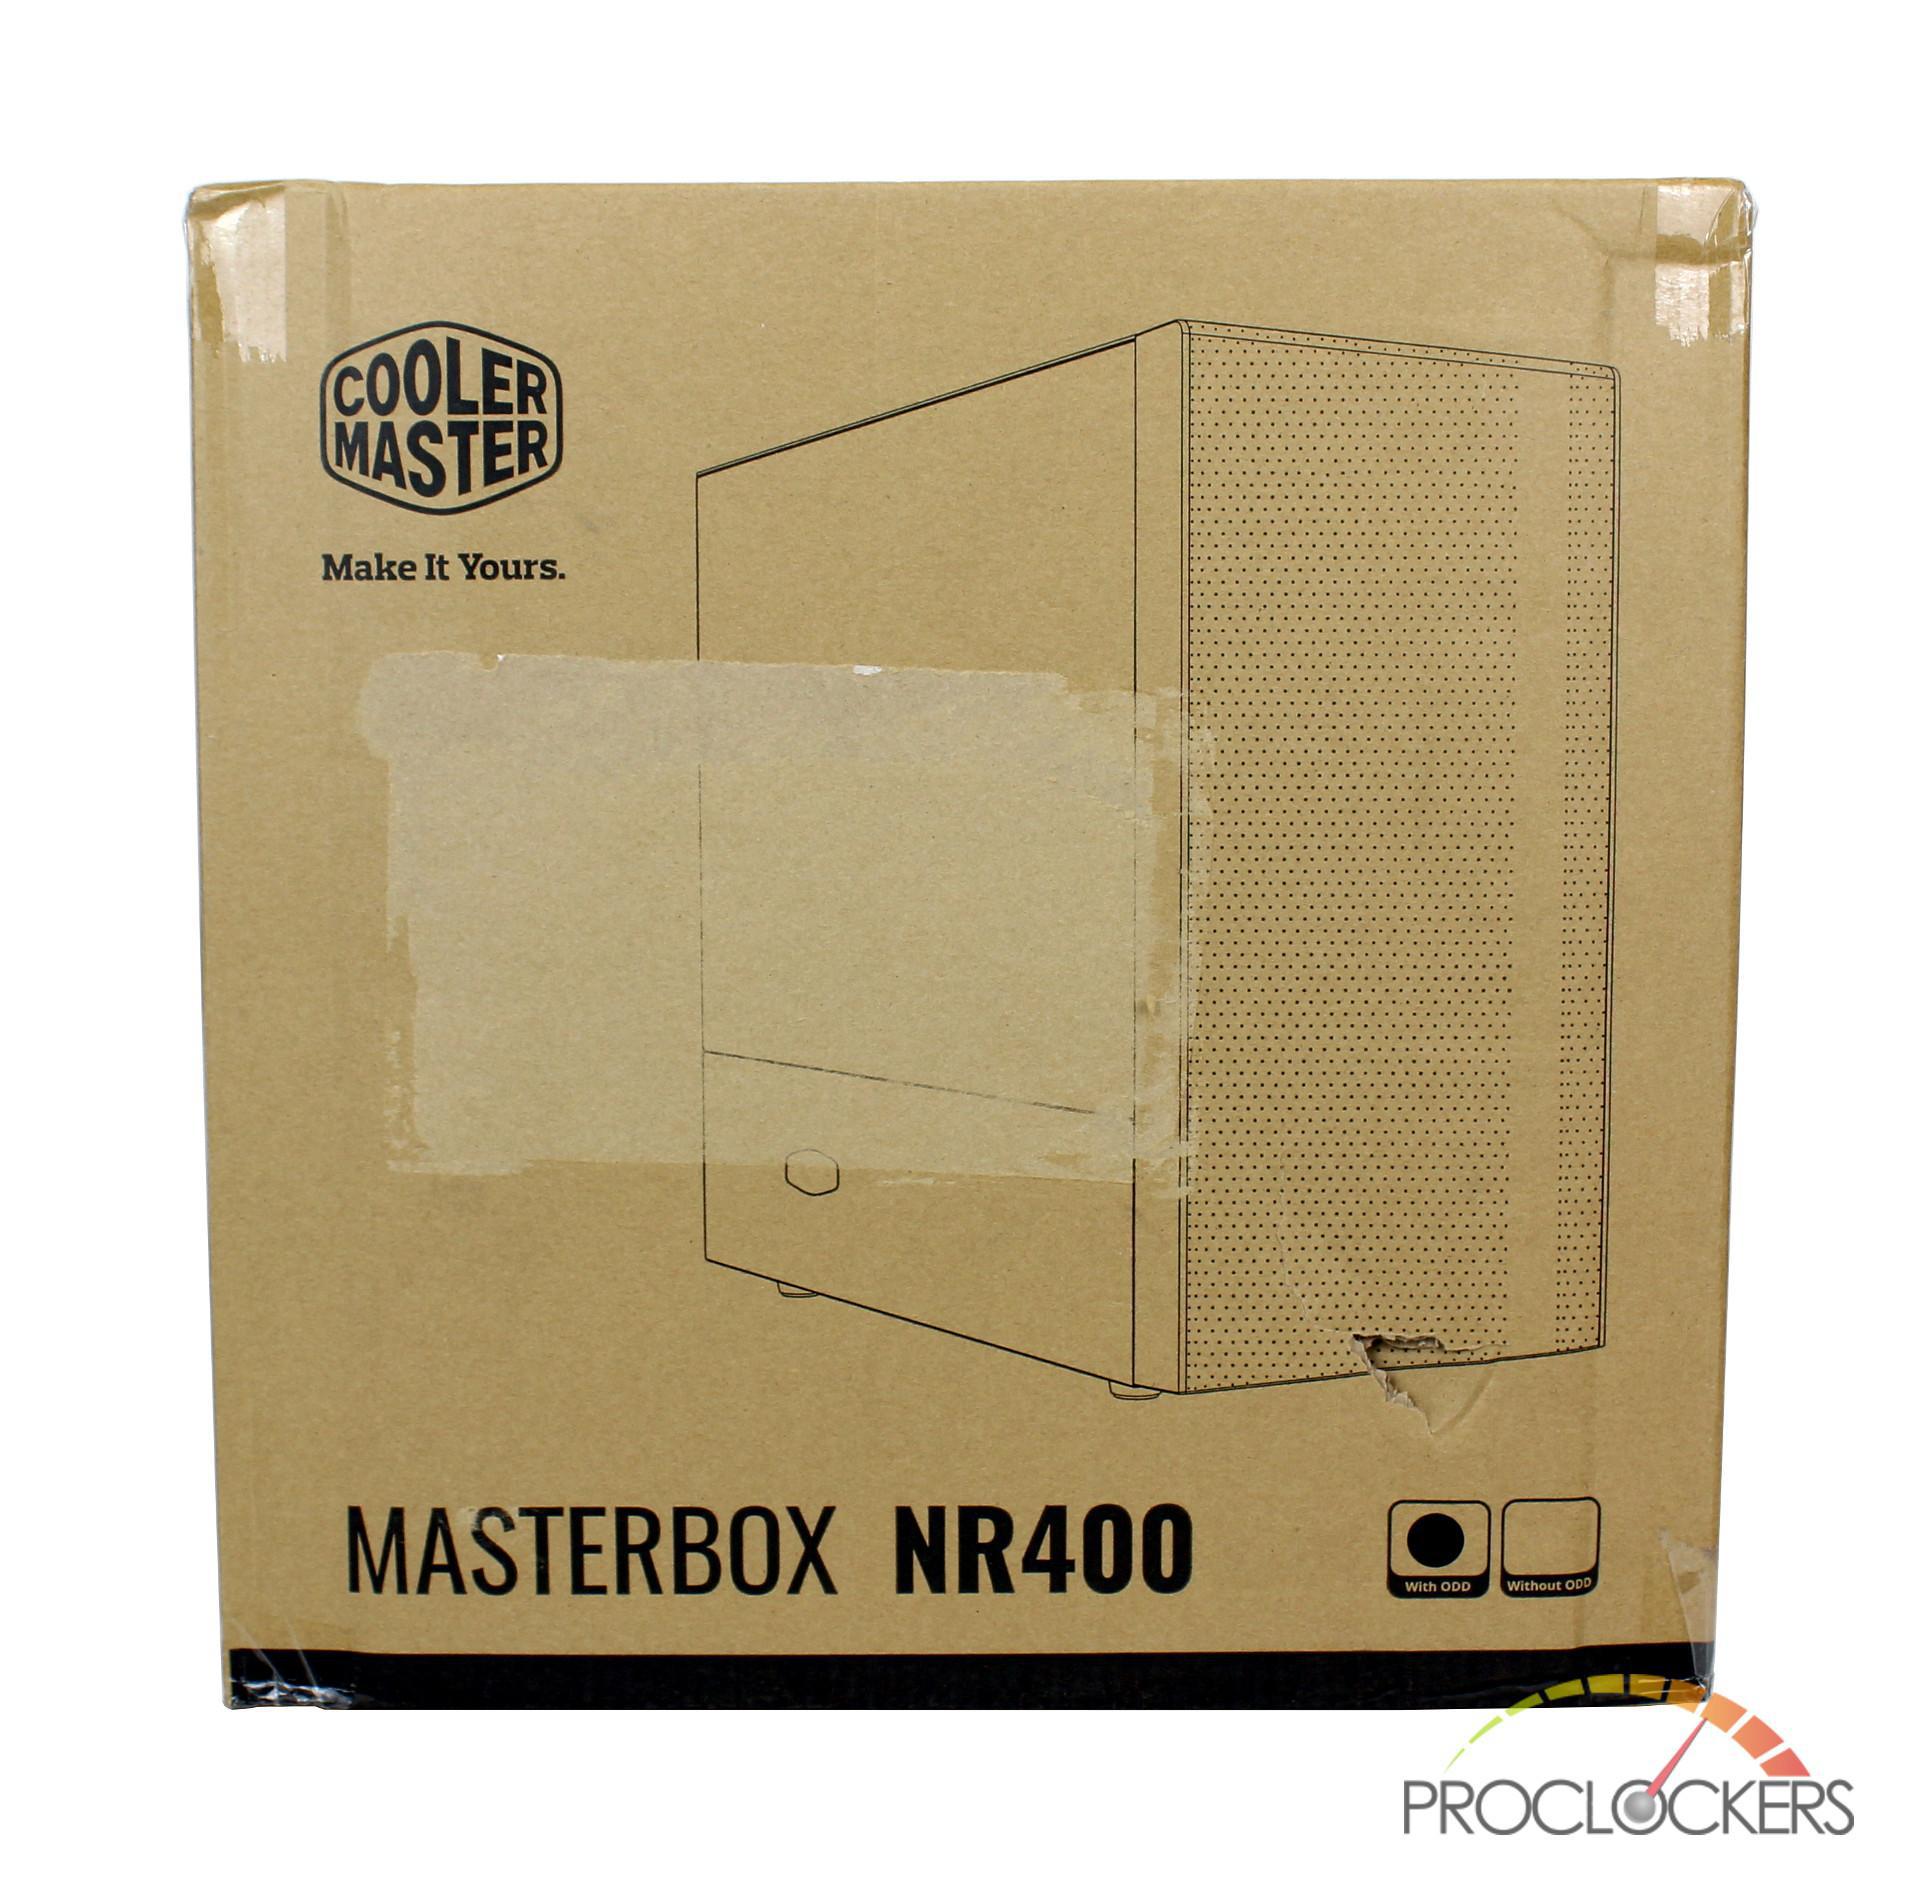
Cooler Master’s MasterBox NR400 arrives in a brown cardboard box with the familiar lined profile shot of the case. Even though the photo is of an NR400 without an optical drive bay, you will notice in the lower right-hand corner our sample does contain one.
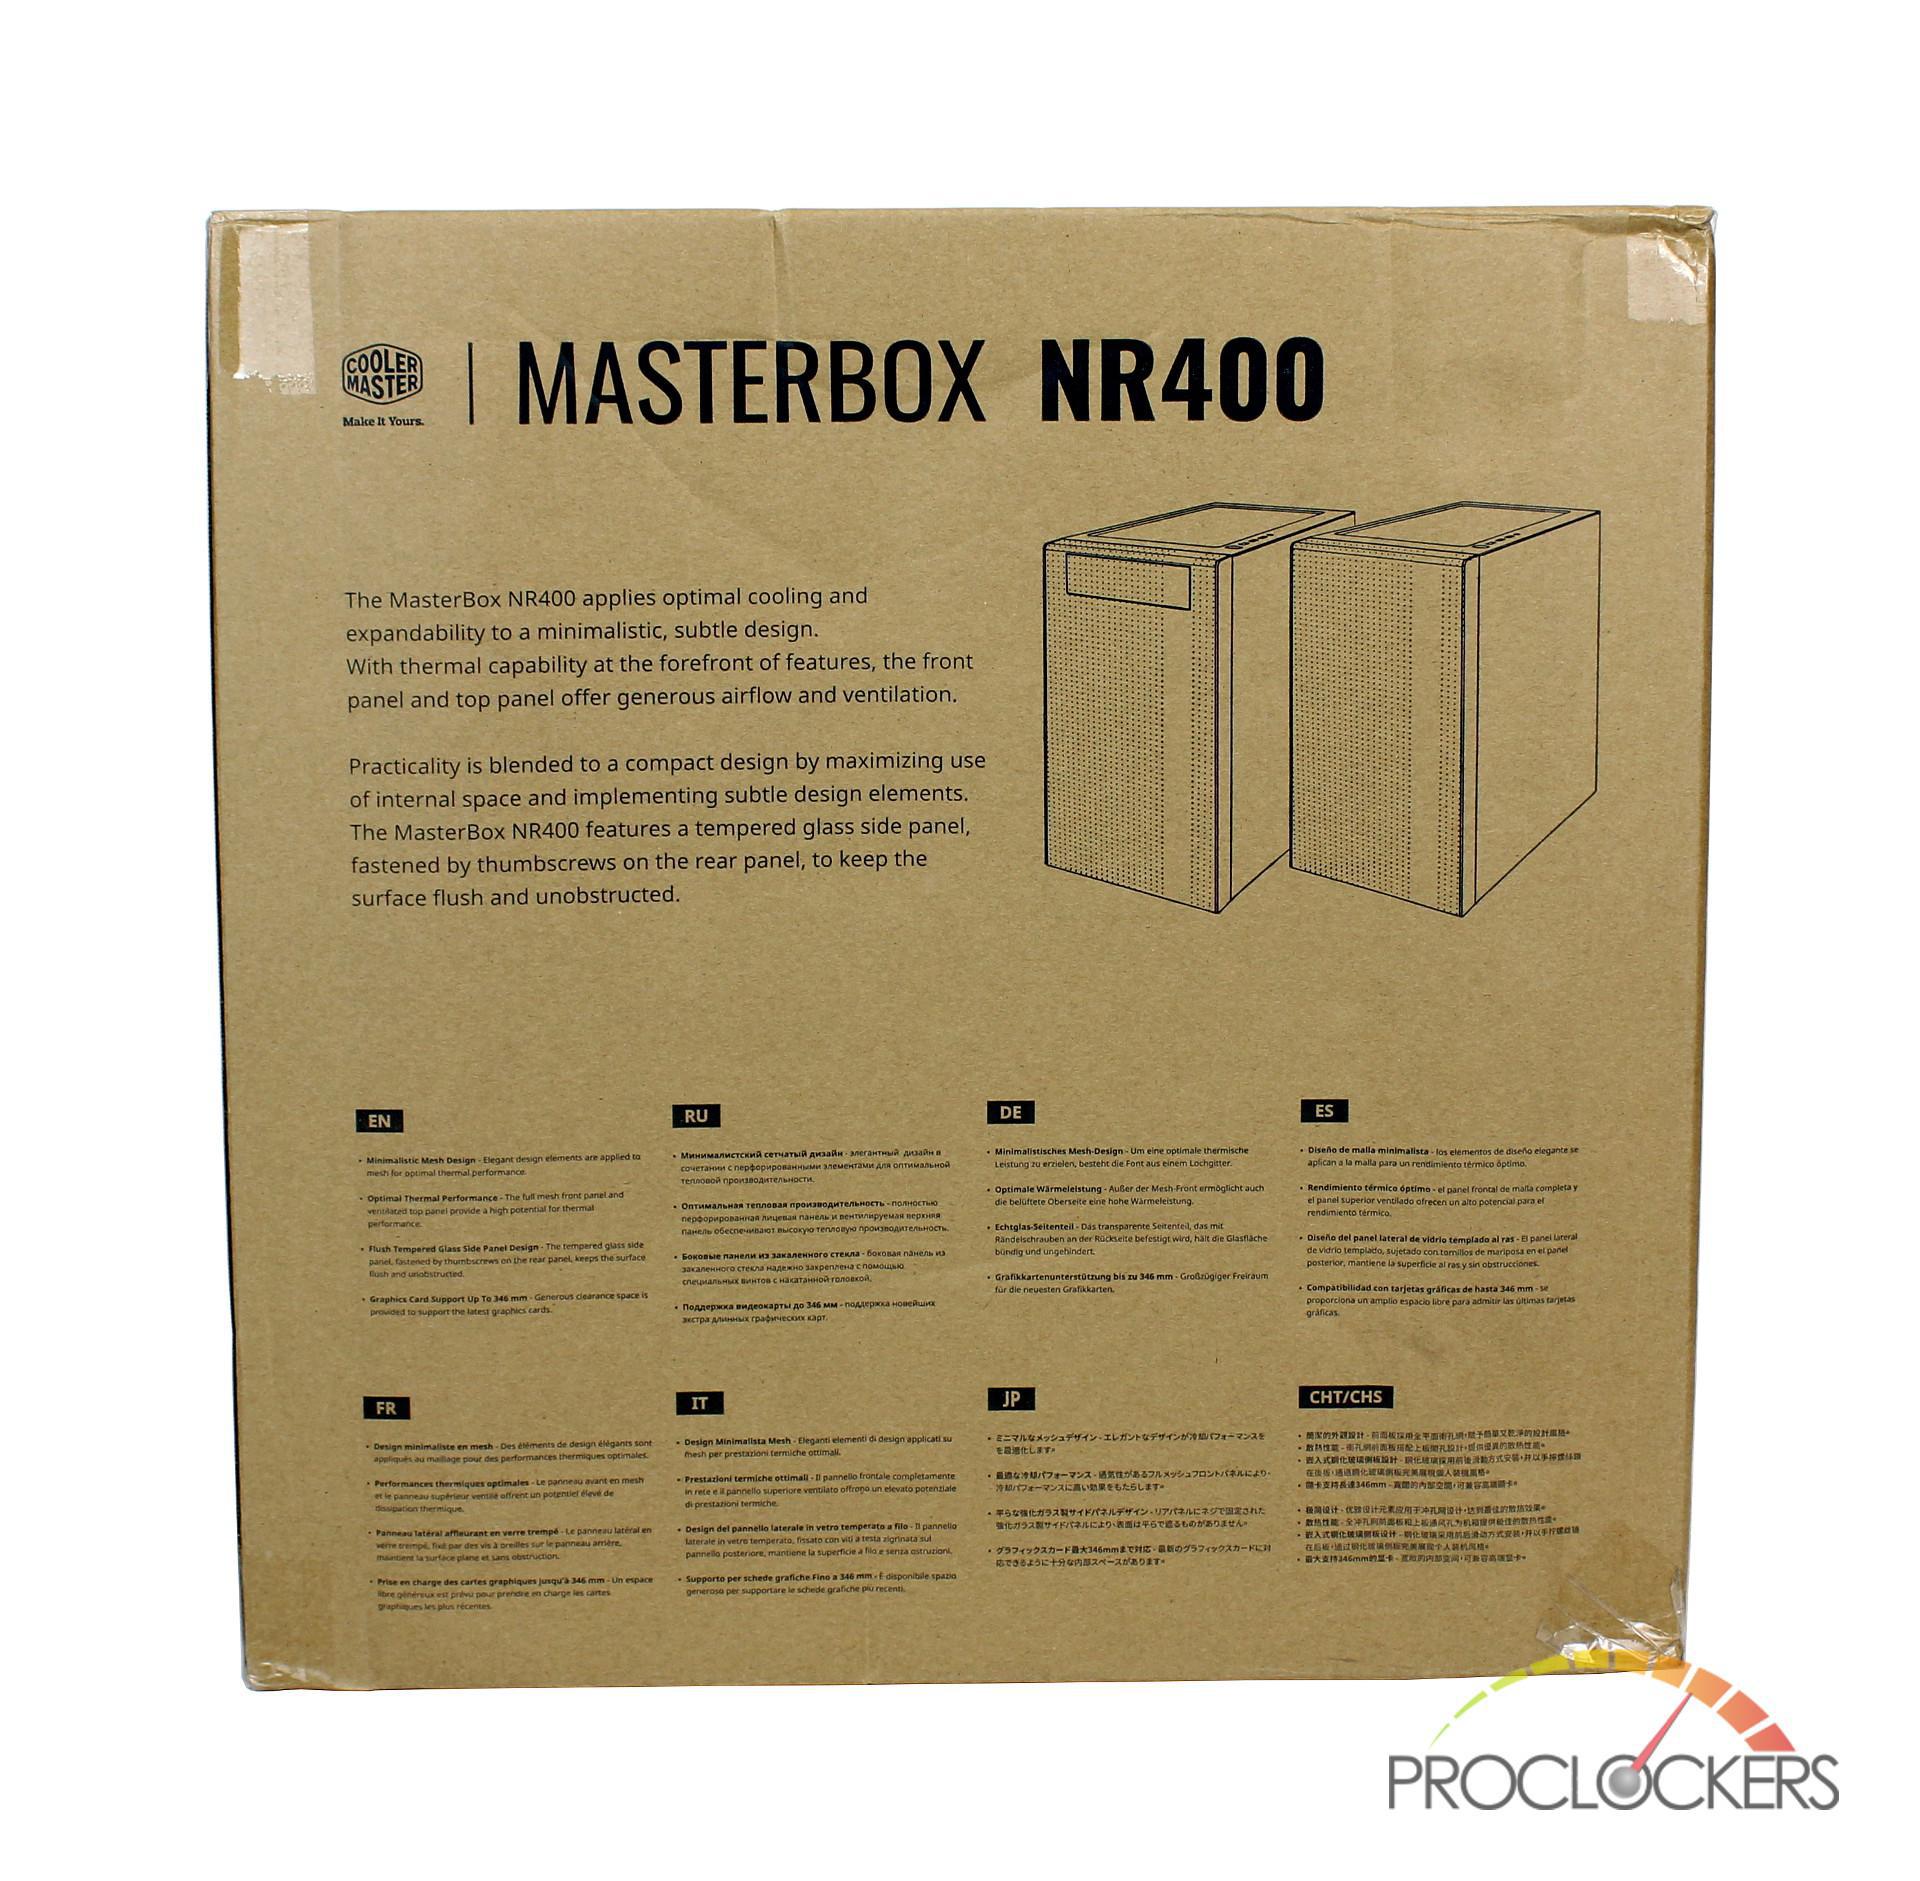
On the back of the box, there are shots of both versions of the NR400 on the right side with a description of the case and some of its features on the left. Included at the bottom is a more complete feature list in 8 different languages.
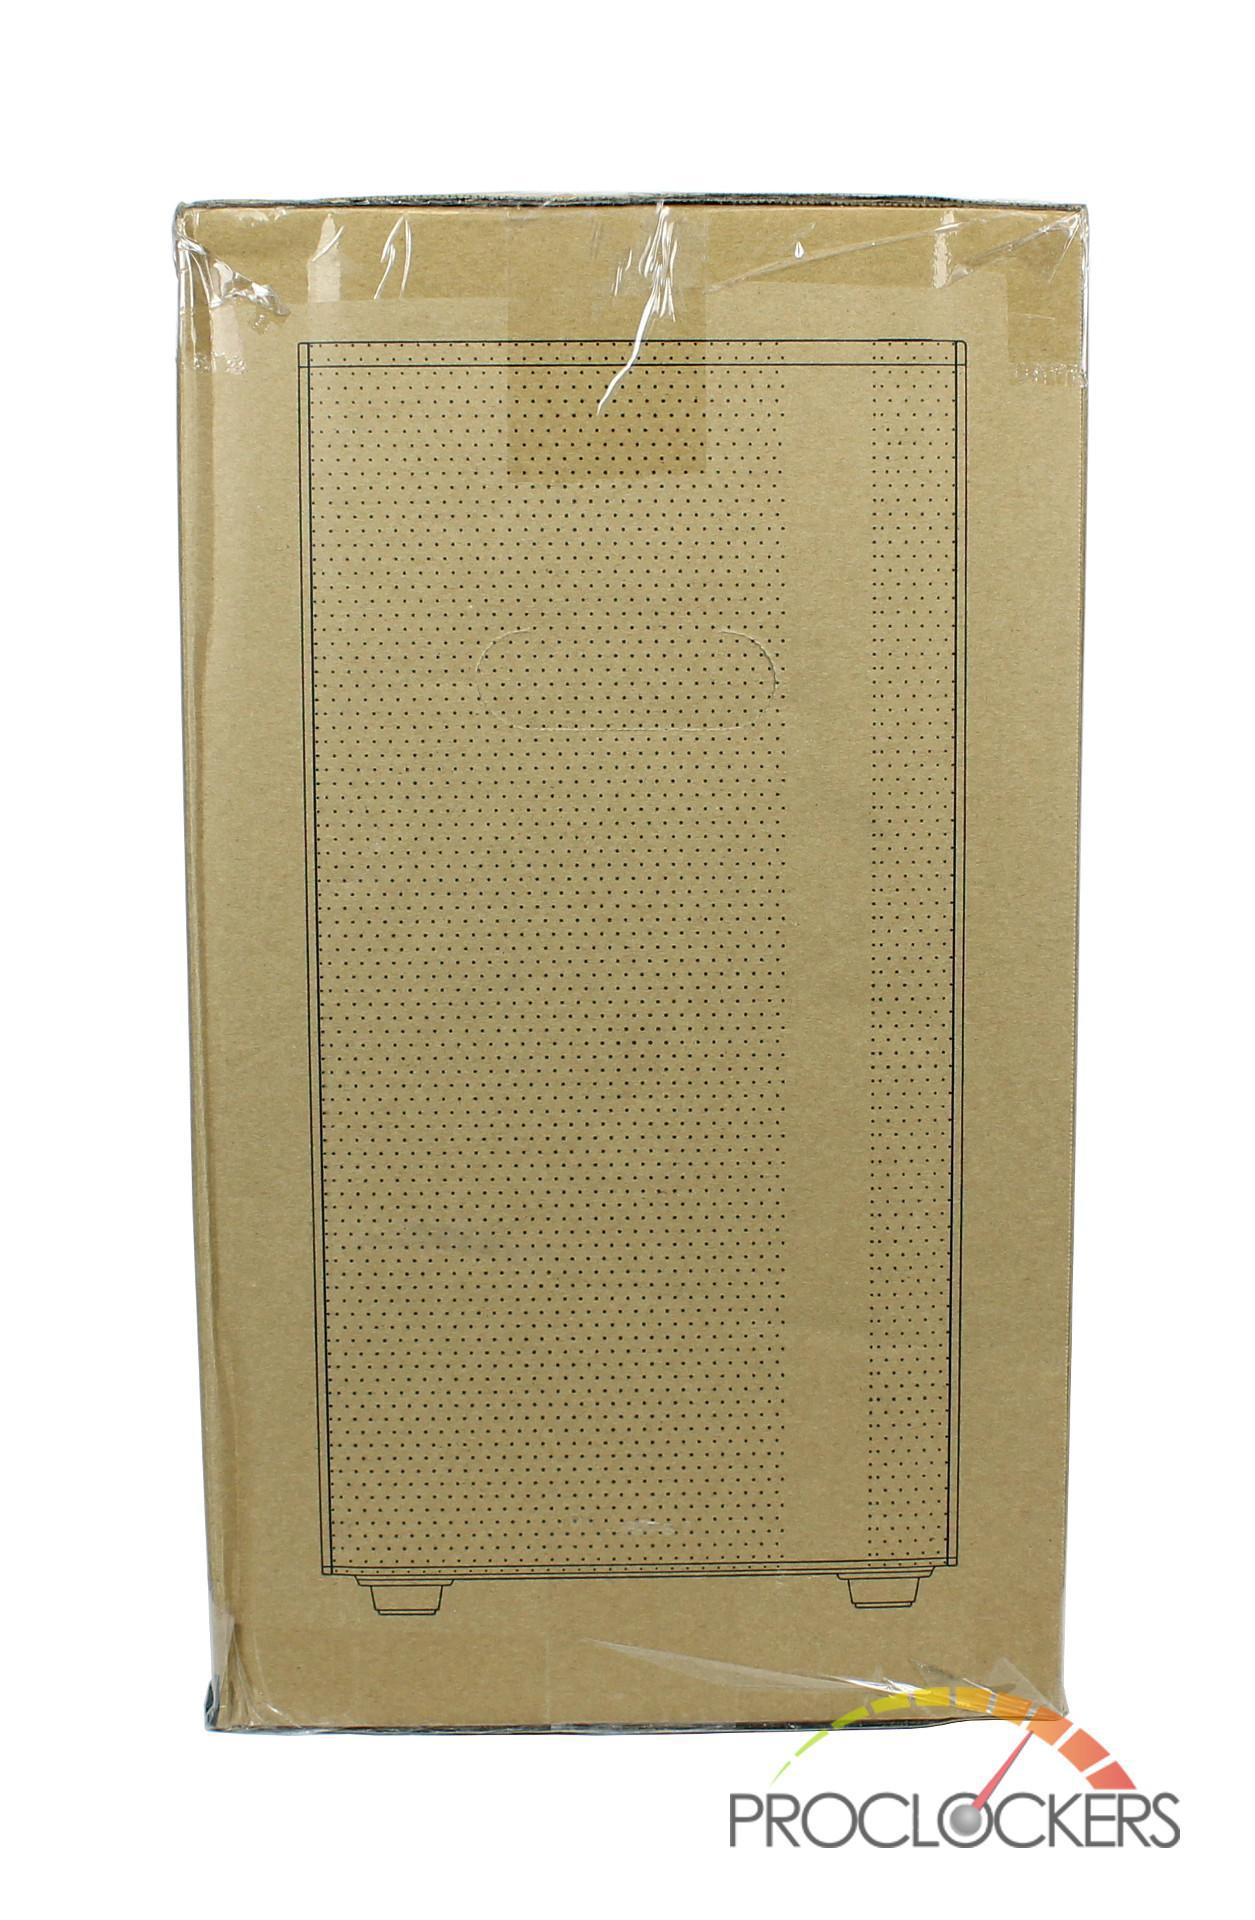
On one of the sides of the box is a front view of the non-ODD version of the case with the other side listing the specifications of the NR400.

When you remove the NR400 from its original box, you will notice it is encased in Styrofoam at both ends with a plastic bag cover the entire case.
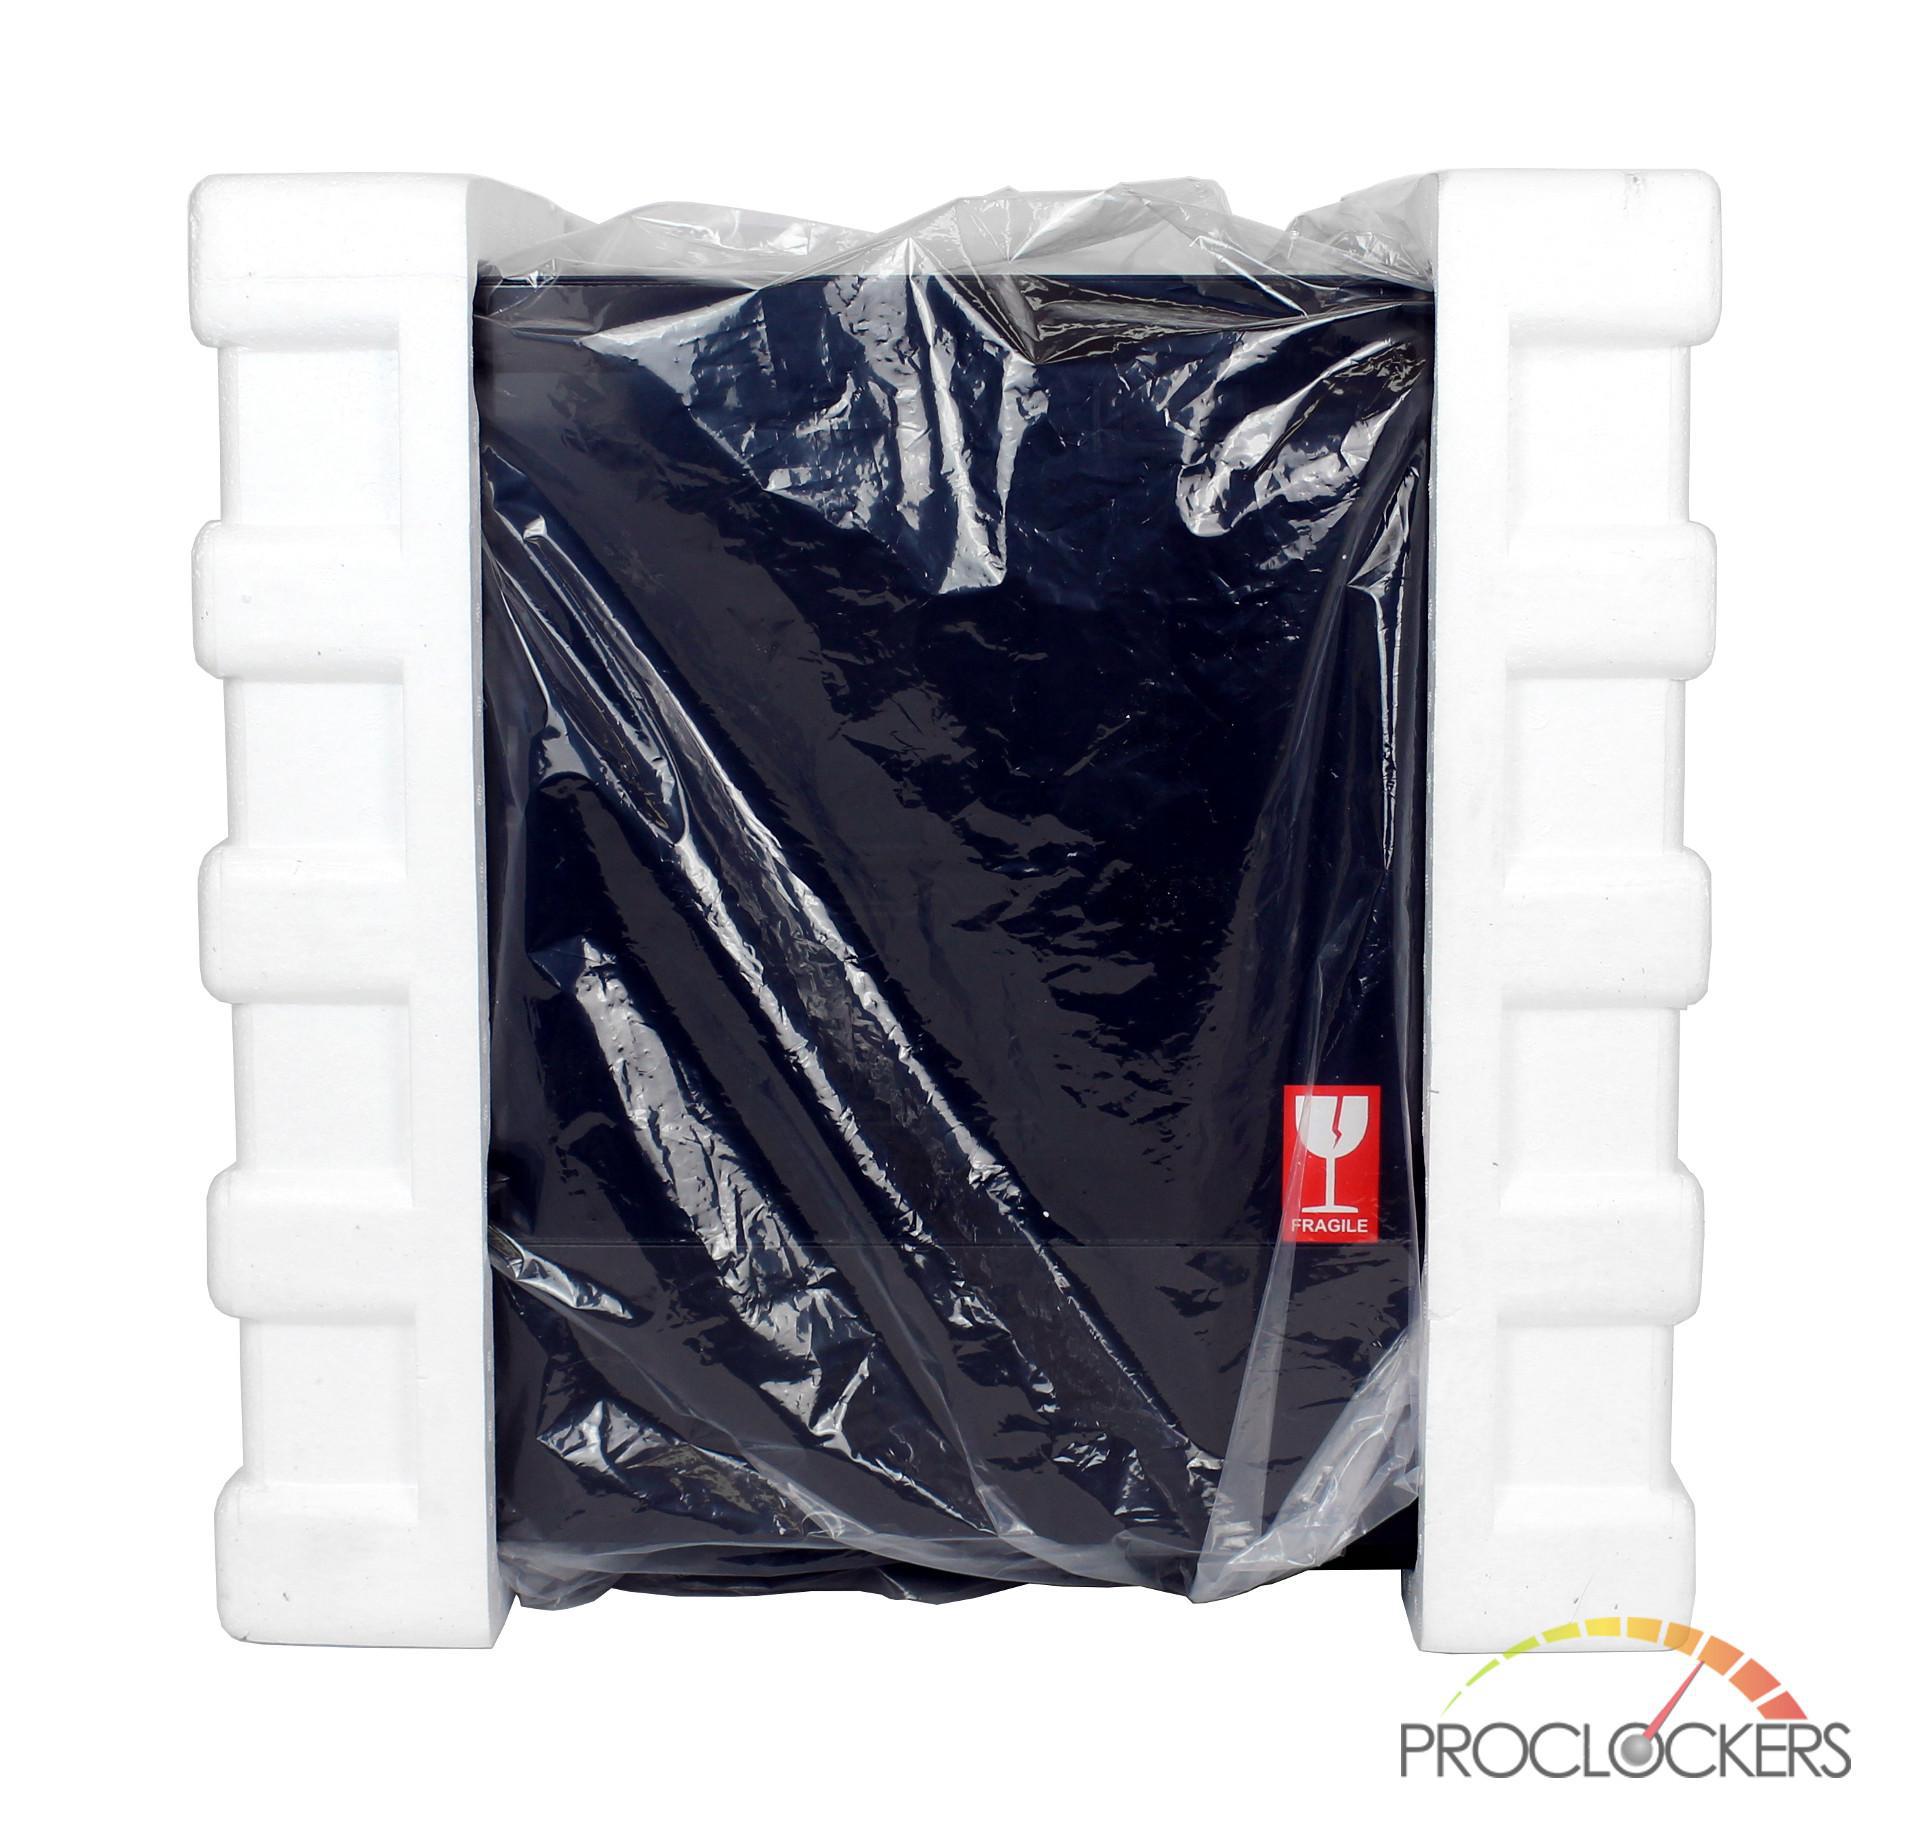
With all the packaging removed, all that is left before starting your build is removing the protective film from the tempered glass side panel.

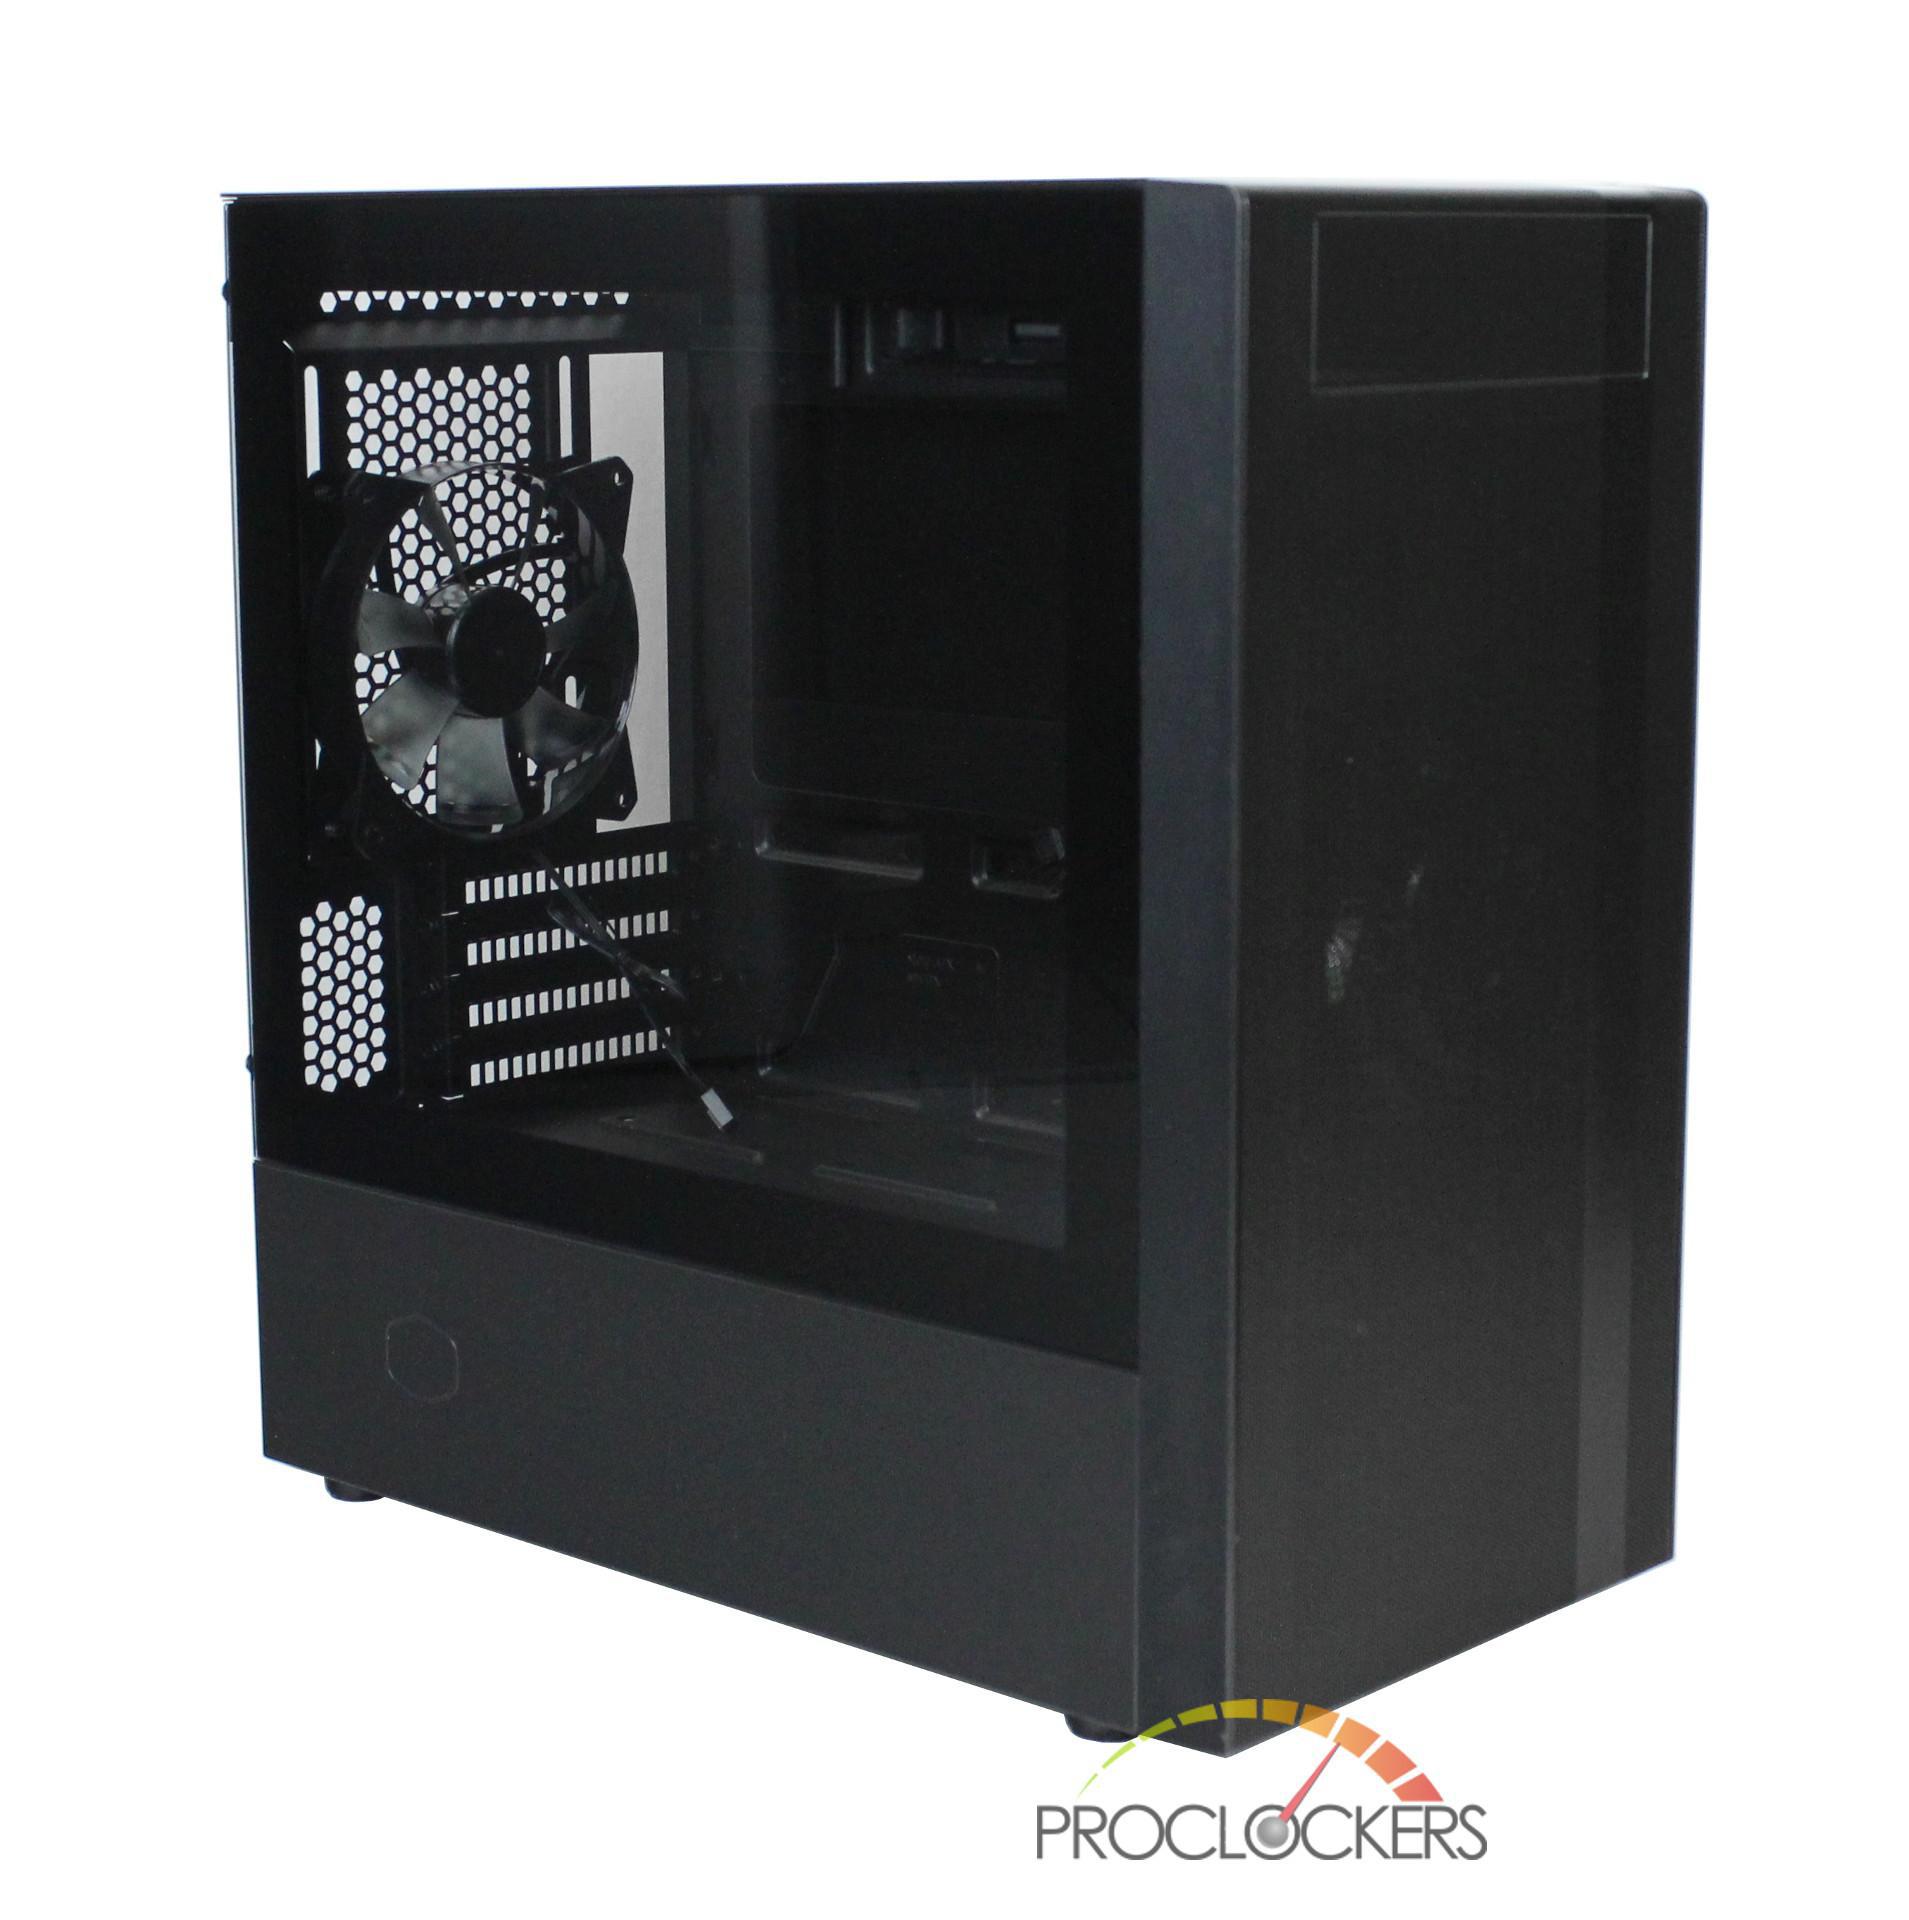
A Closer Look: Exterior
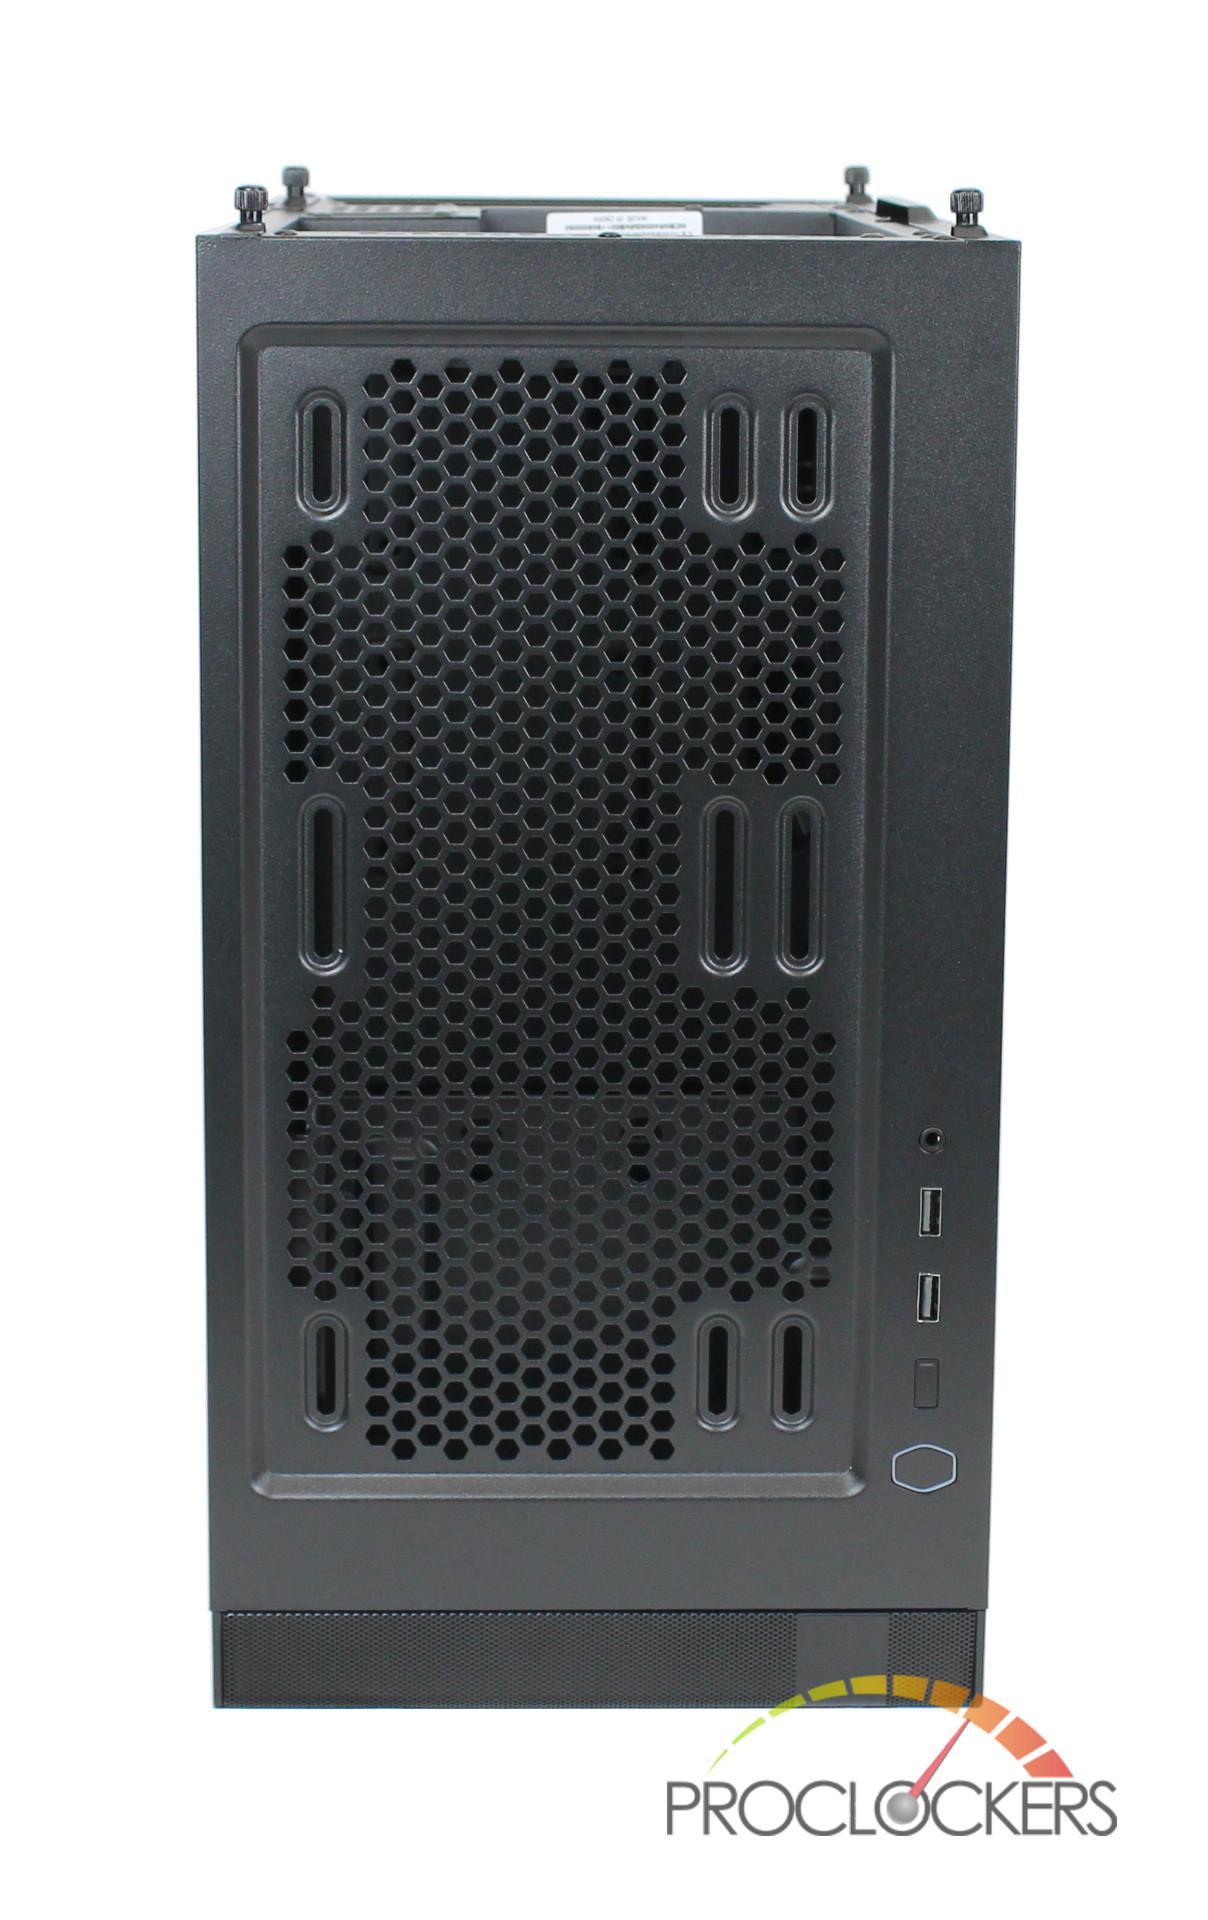
Now that the NR400 is unboxed, we get our first in-depth look at the case. Looking at the side tempered glass panels of the NR400 Cooler Master, we notice that Cooler Master has done away with the side mounted thumb screws and moved them to the back of the case. The tempered glass panel is also mounted flush with the case which provides a nice clean look. The entire front of the case is comprised of steel mesh with one single line going up the right side of the case. With our version of the NR400, there is also a subtle cutout with a mesh insert for a single optical disk drive.
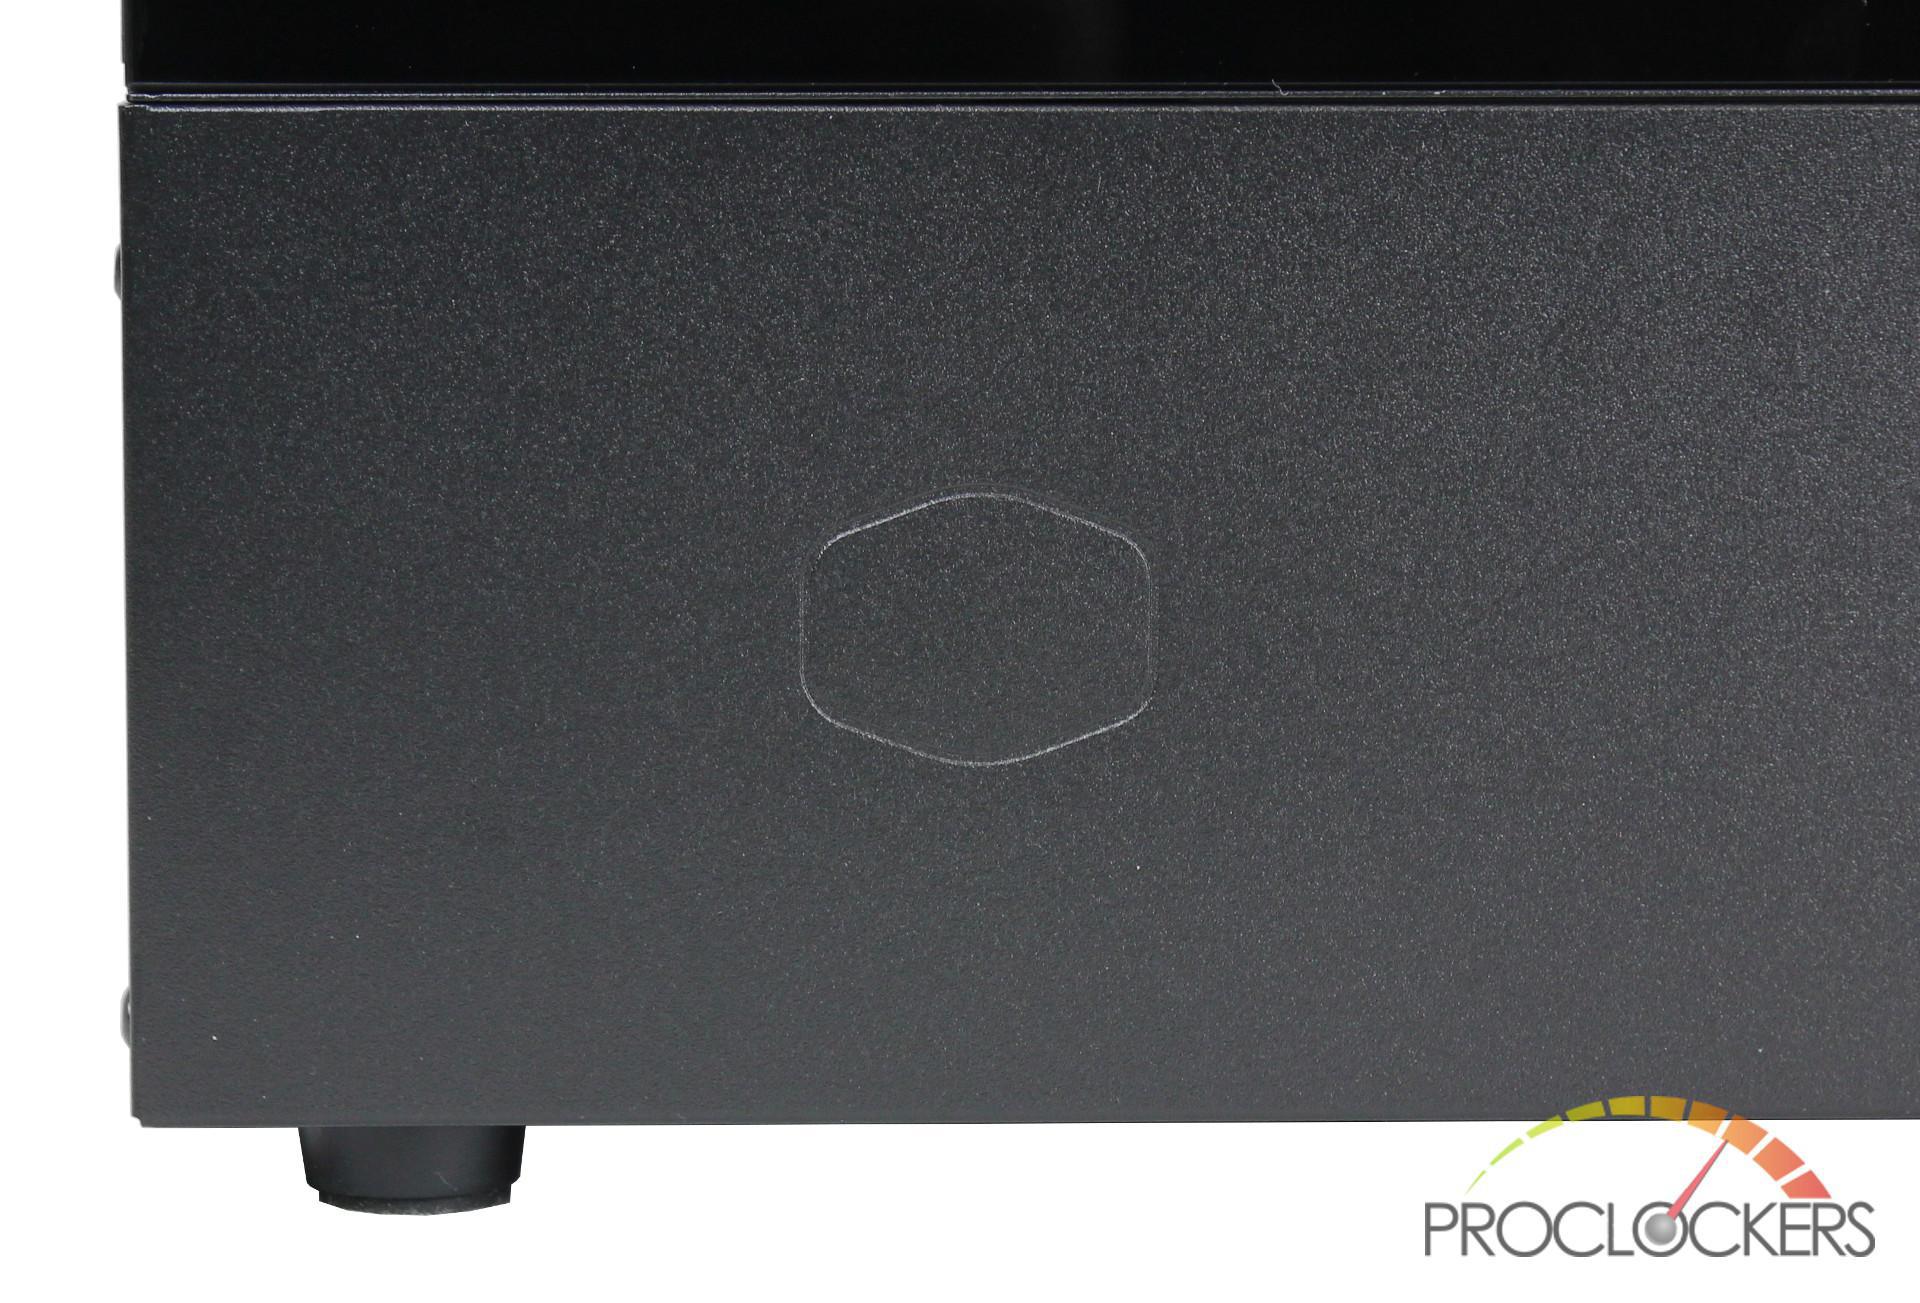
On the left corner below, the tempered glass is an ever so faint outline of the Cooler Master logo. I really do love the stealth branding Cooler Master employs as it doesn’t distract from the product’s look.
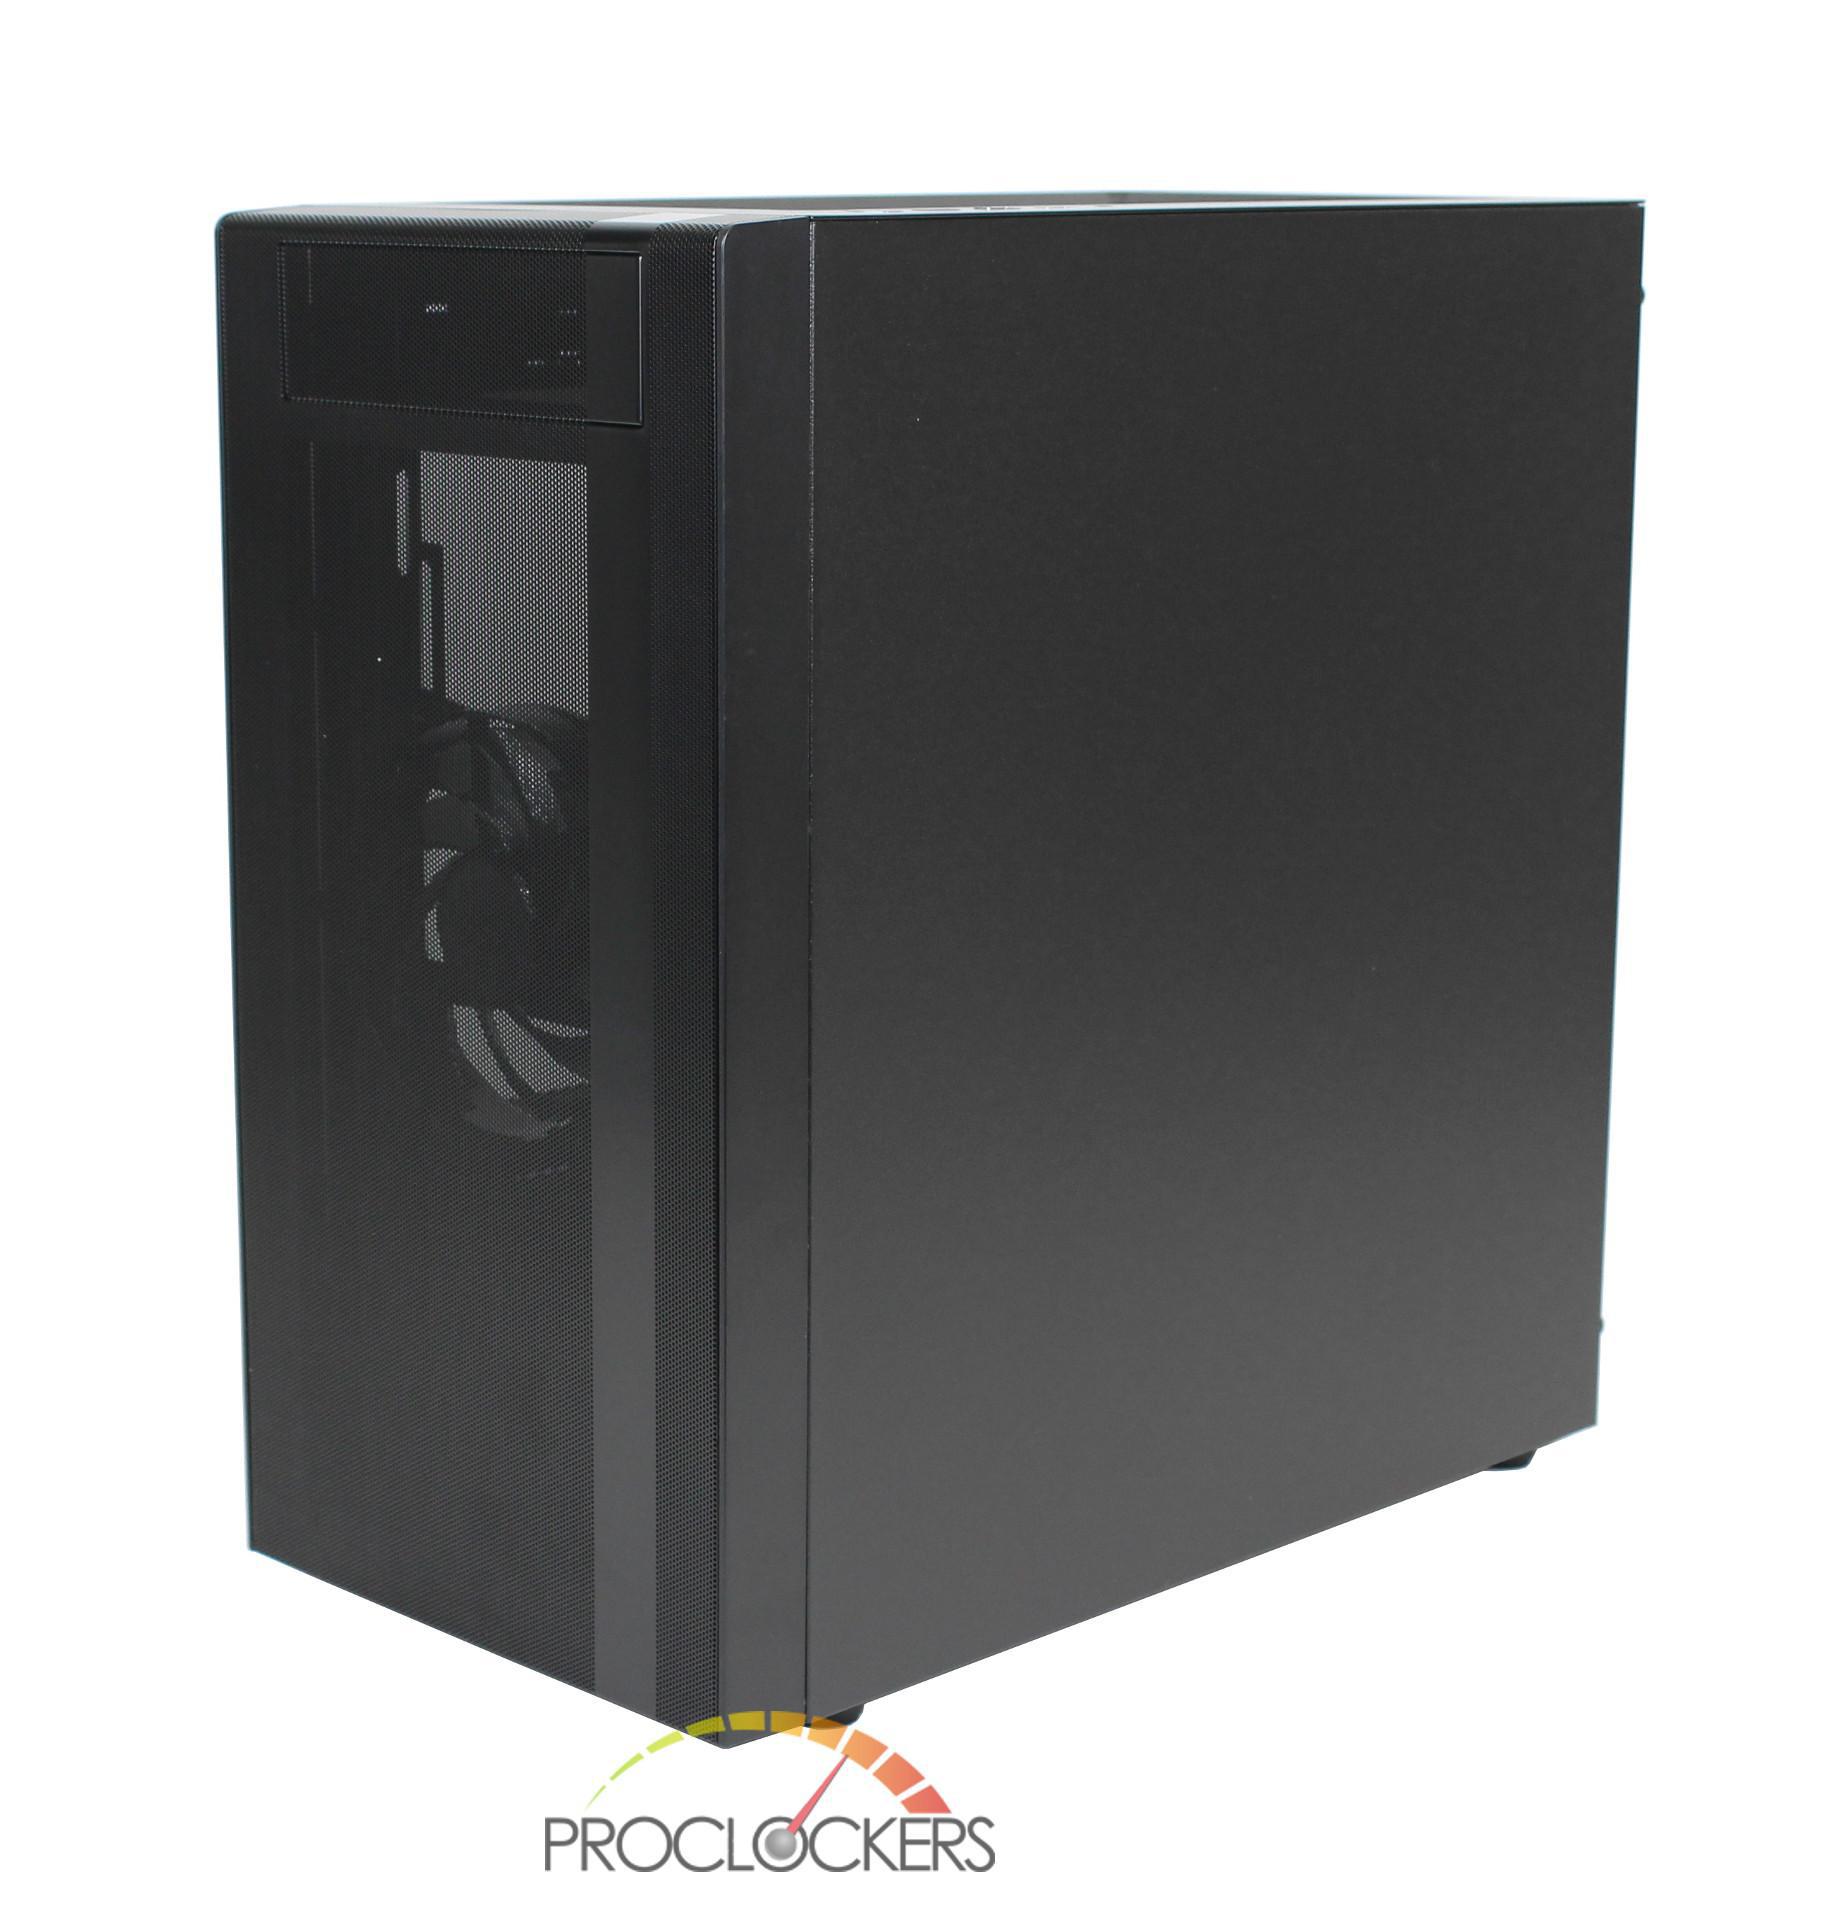
Moving to the opposite side of the N400 is a steel panel which is attached via 2 thumb screws on the back.
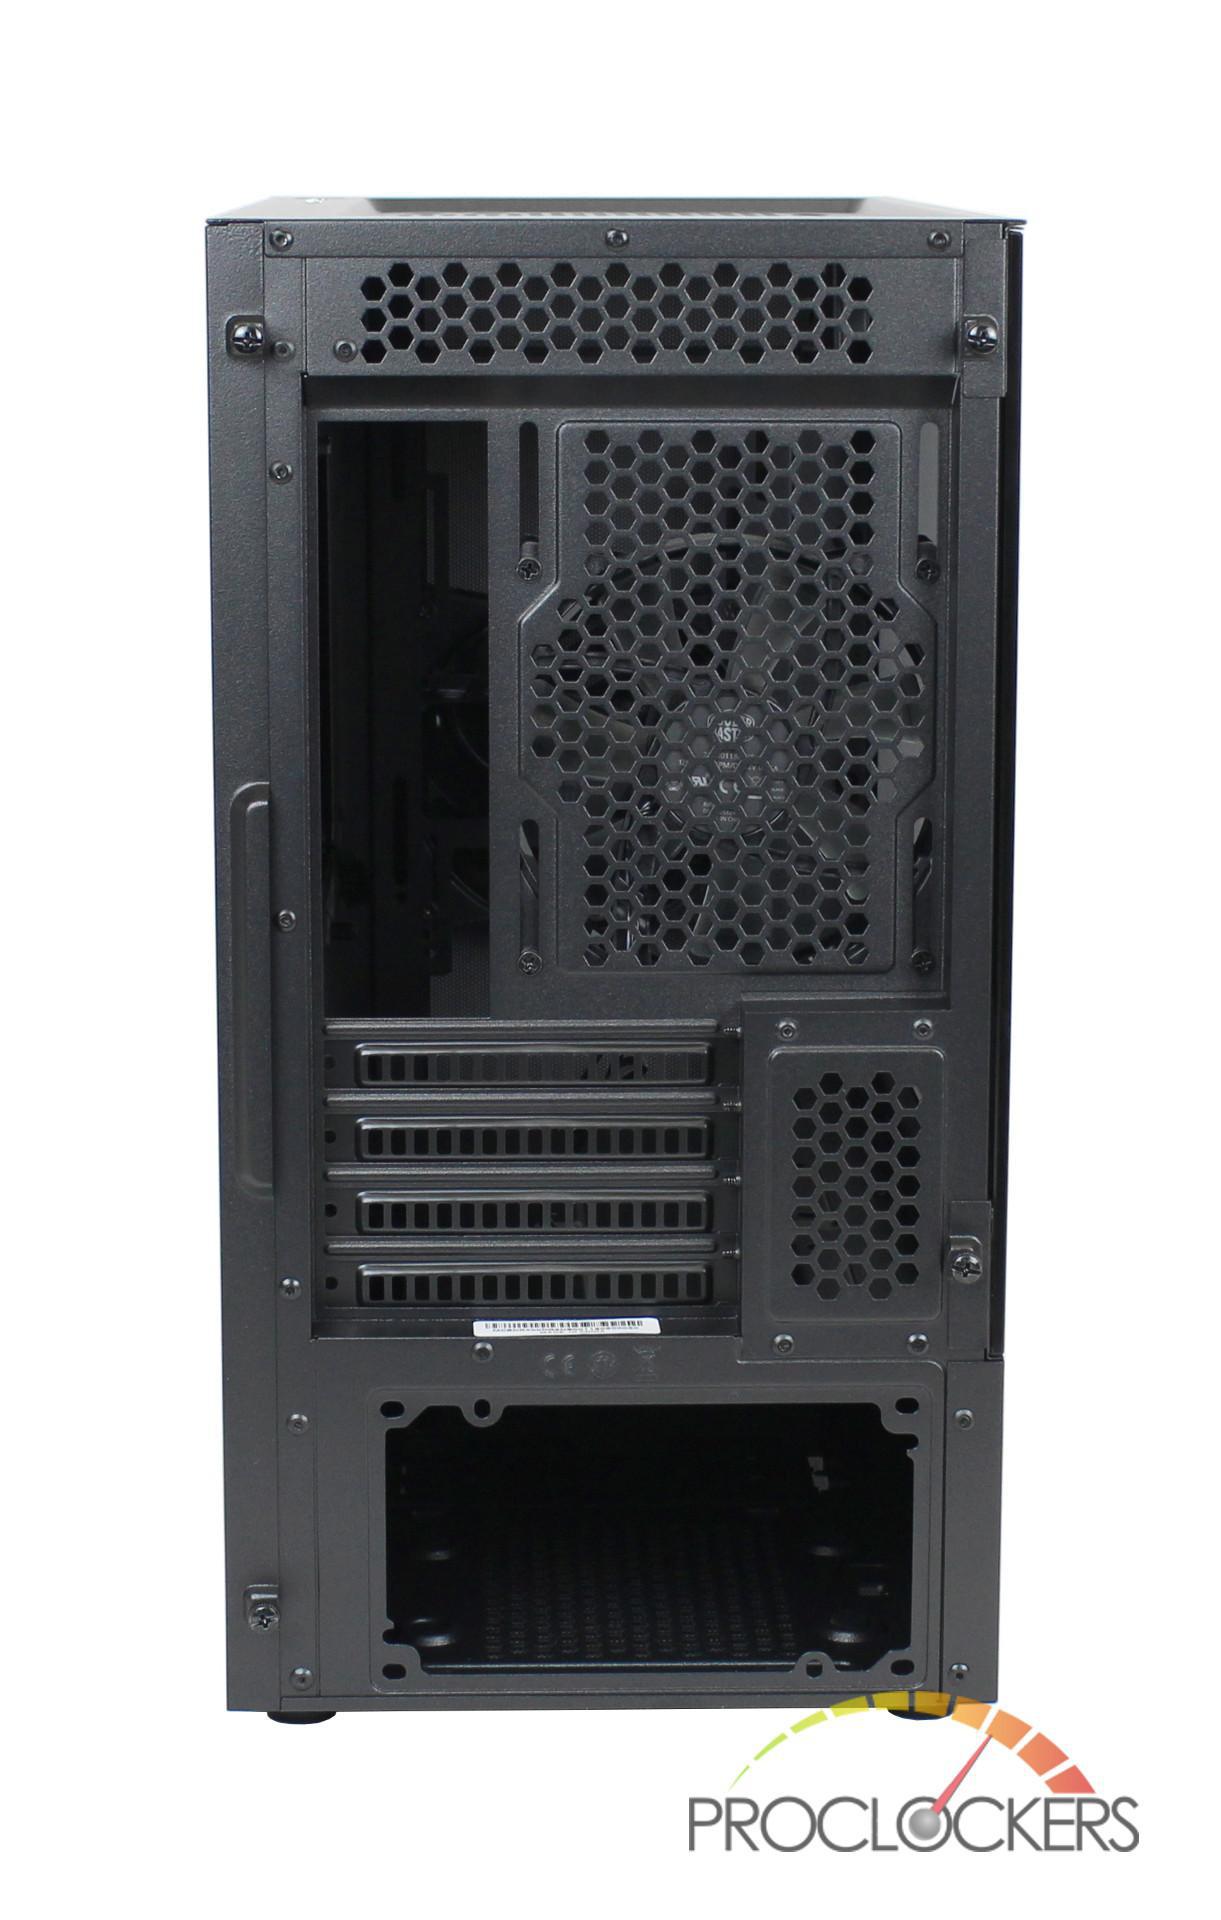
The back of the NR400 has your normal I/O cutout and contains 4 PCIe slots which screw in from inside the case. The PSU cutout at the bottom is offset to the right giving some extra room for cable management behind the motherboard tray.
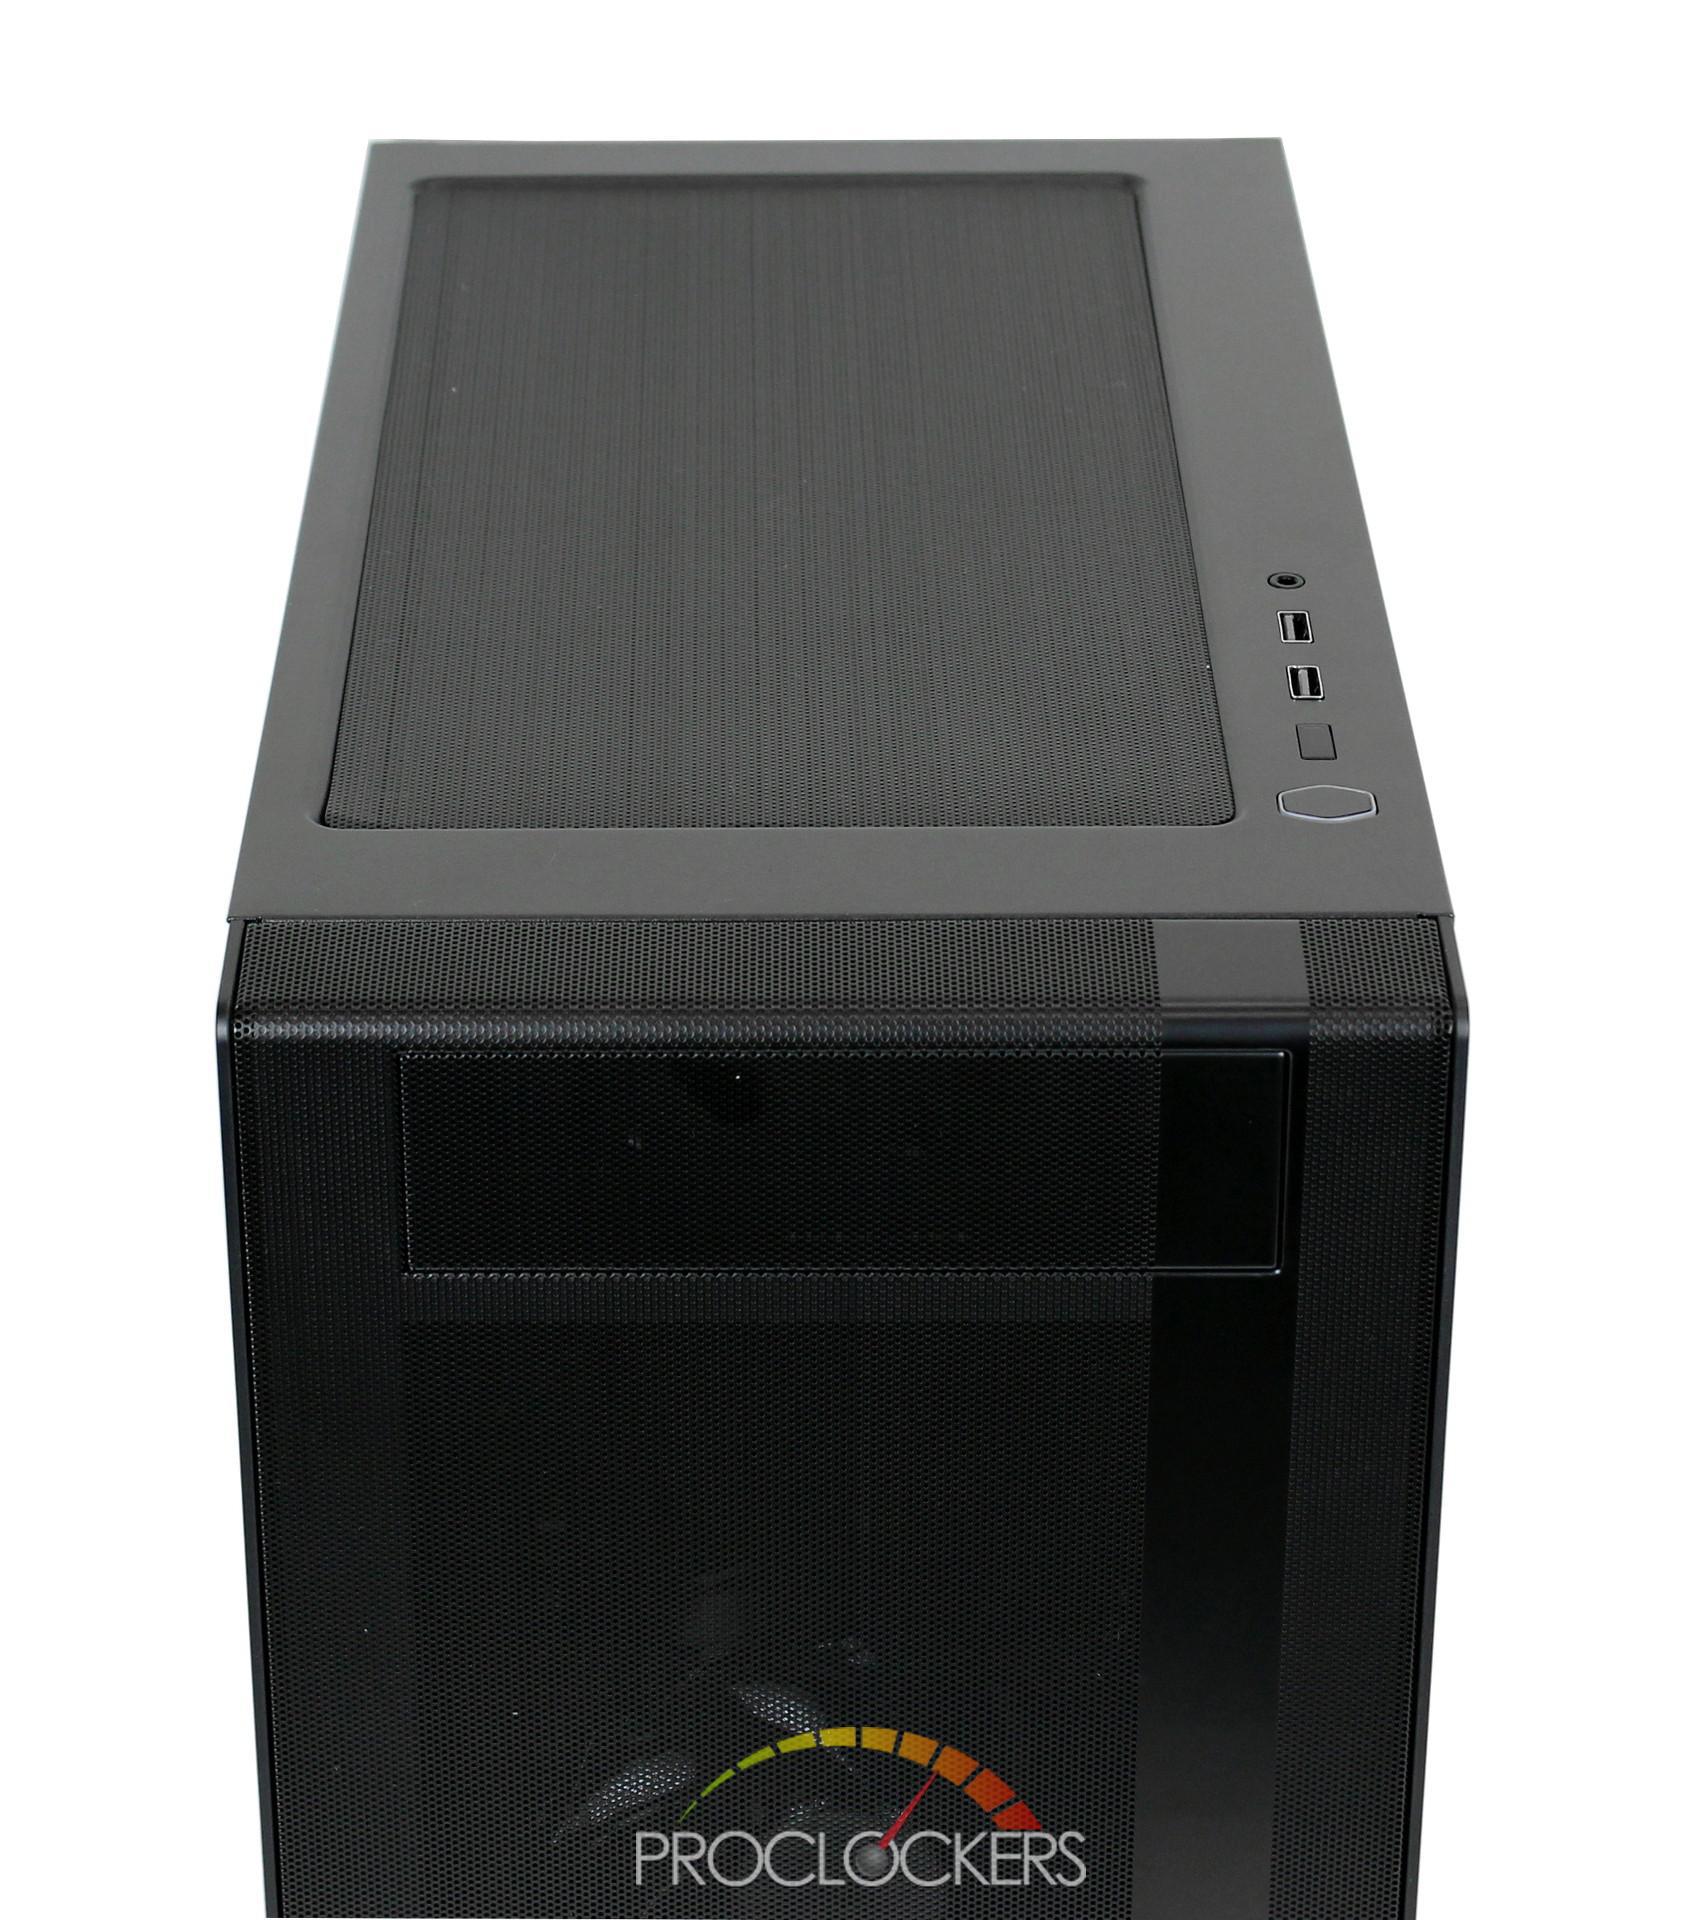
The top of the NR400 includes a detachable magnetic dust filter with the cases I/O to the right.
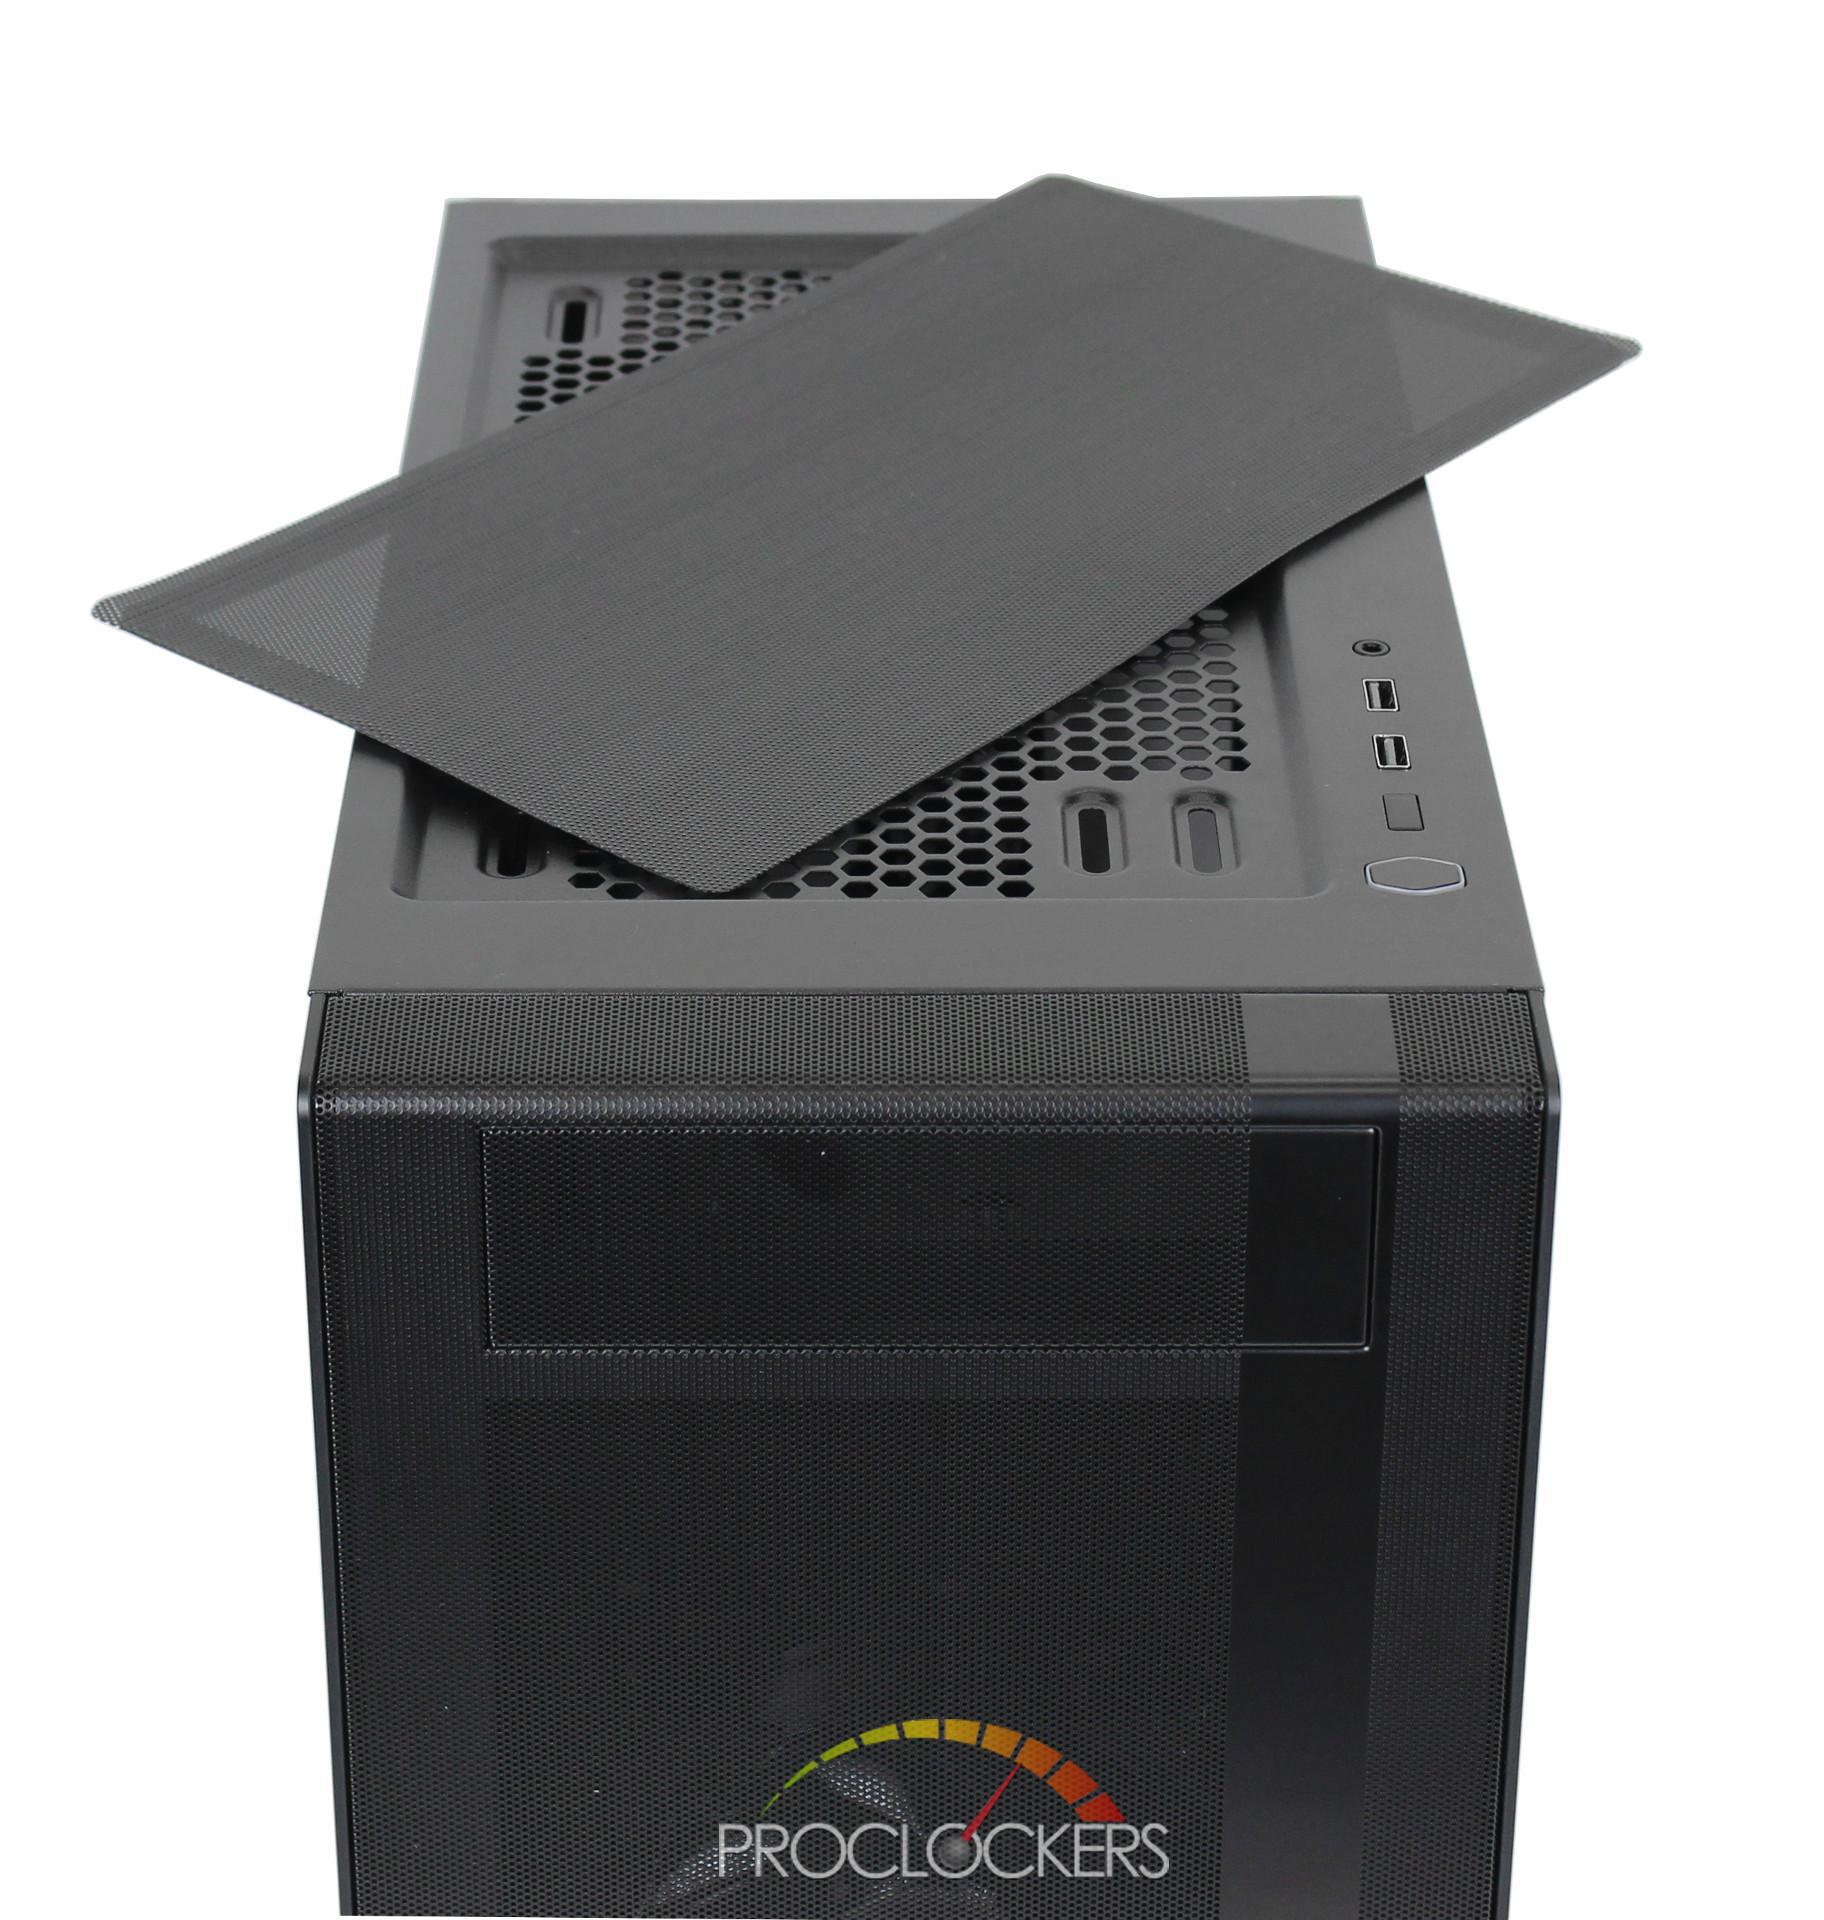
Removing the dust filter from the top reveals hexagon cutouts for air flow and mounting points for fans/radiators. Cooler Master has gone with rails as opposed to predrilled holes to maximize component compatibility.
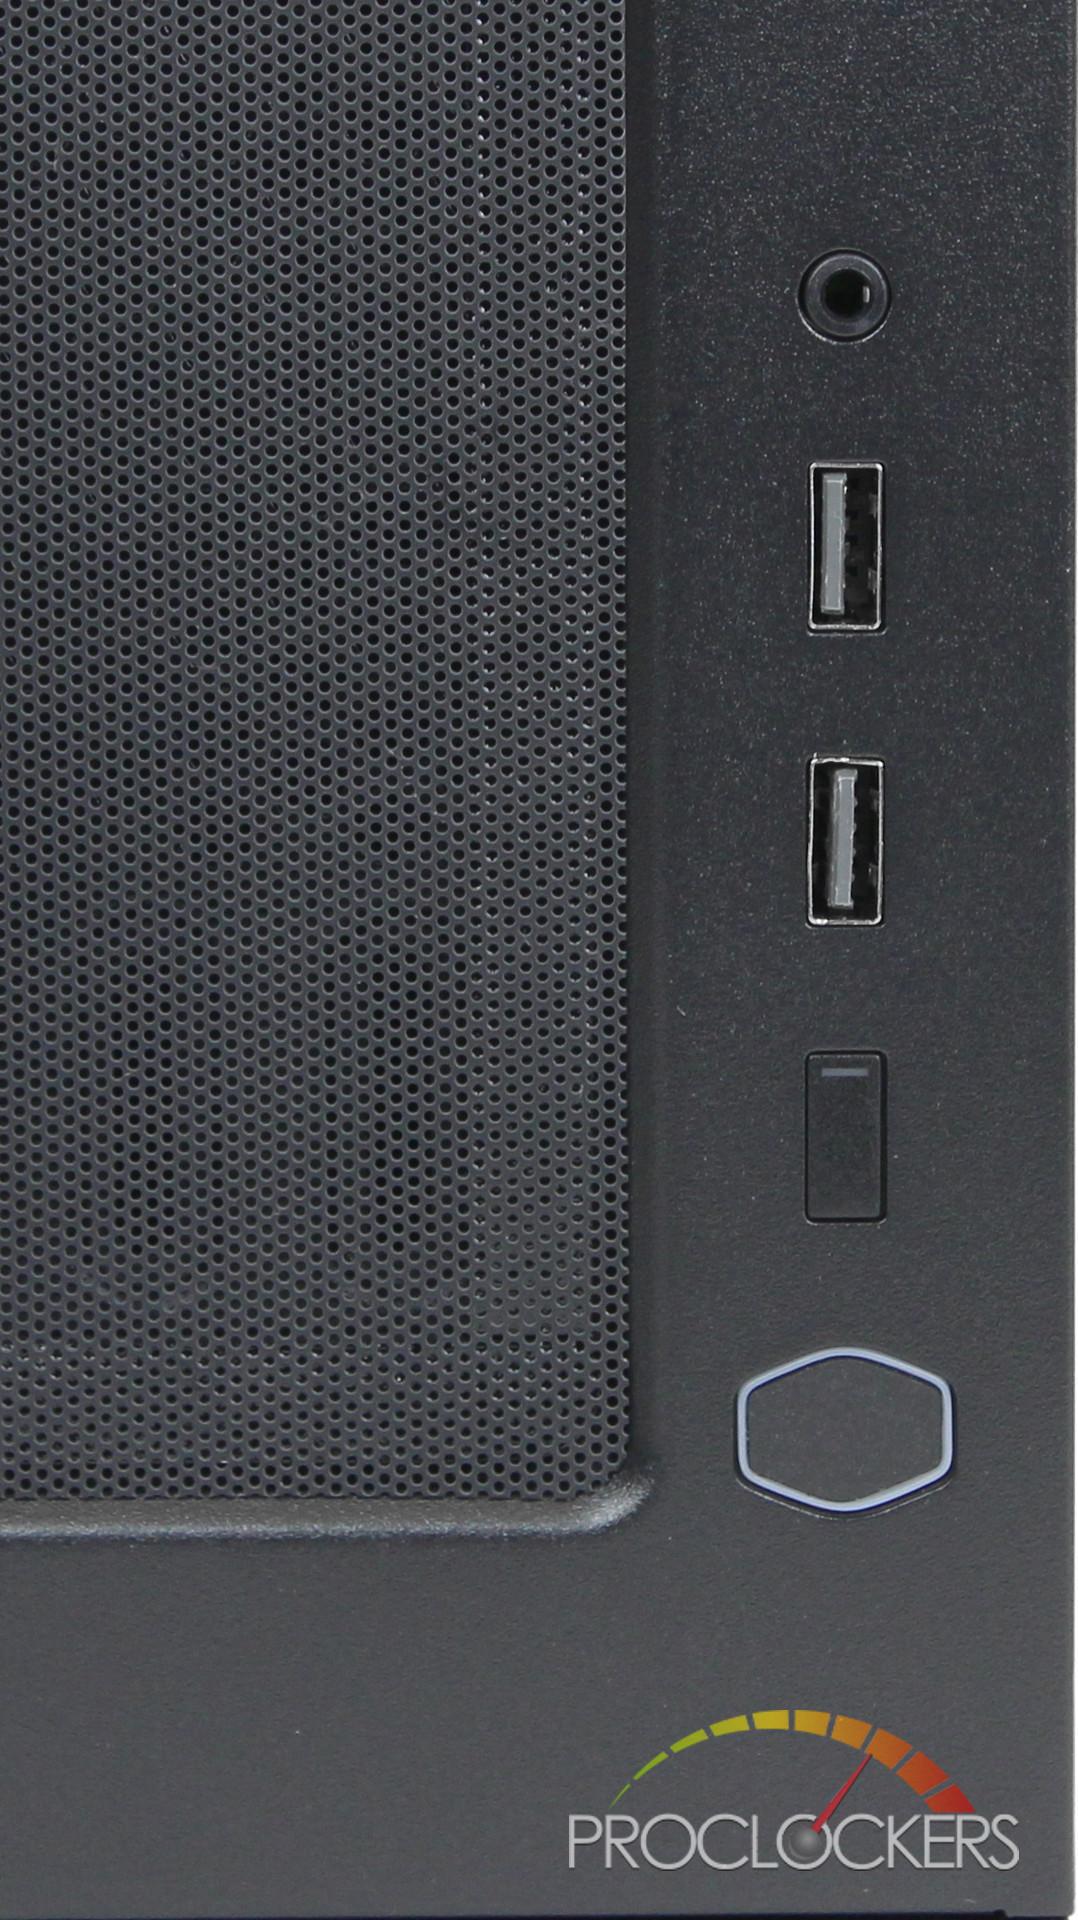
The top I/O consists of one 3.5mm audio jack, two USB 3.0 ports, a reset button, and a Cooler Master logo as the power button.
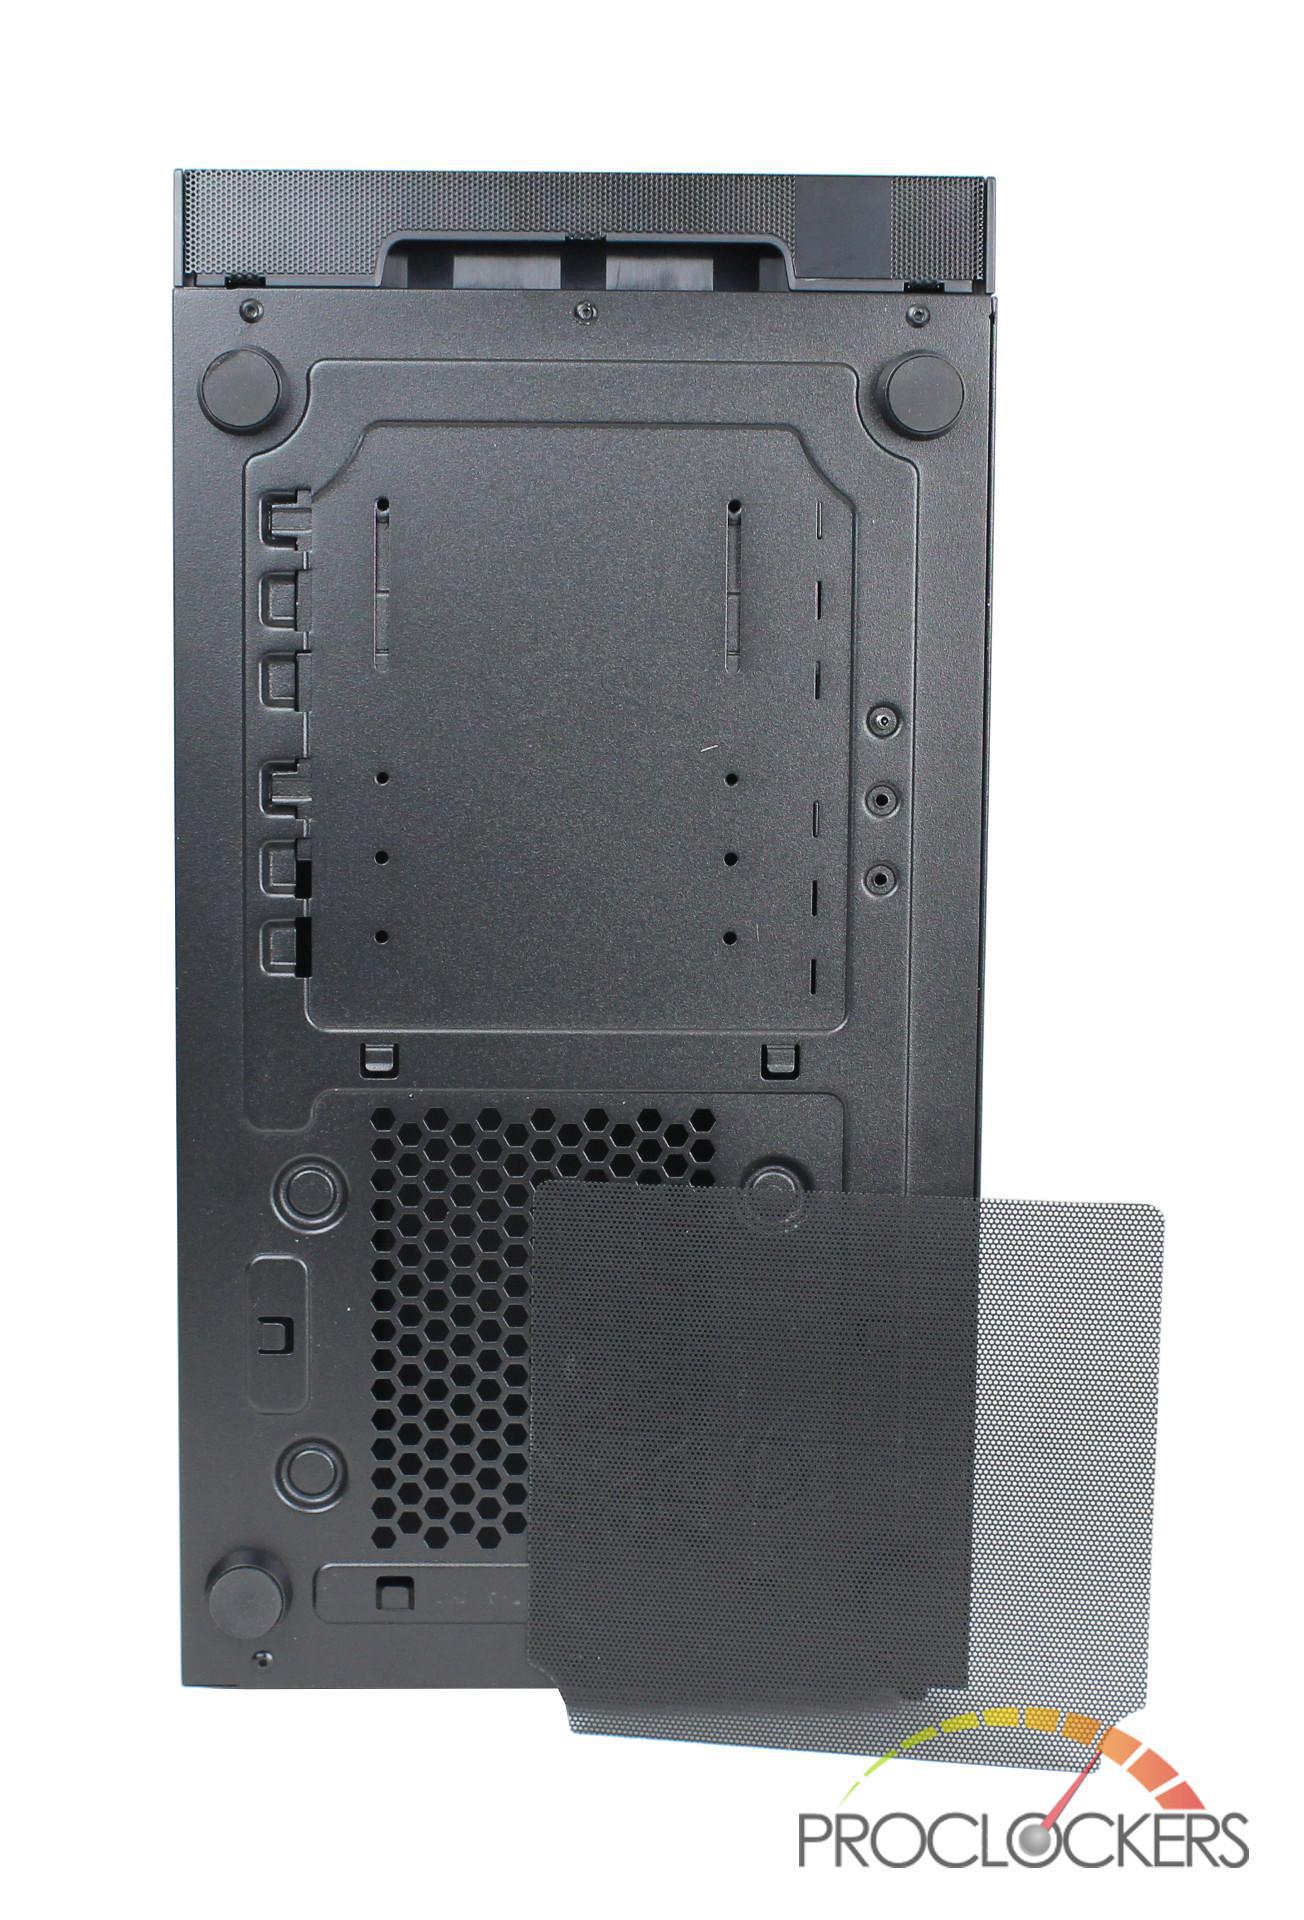
Flipping over the case, the NR400 has 4 rubberized feet and a removable dust filter for the PSU’s intake fan.

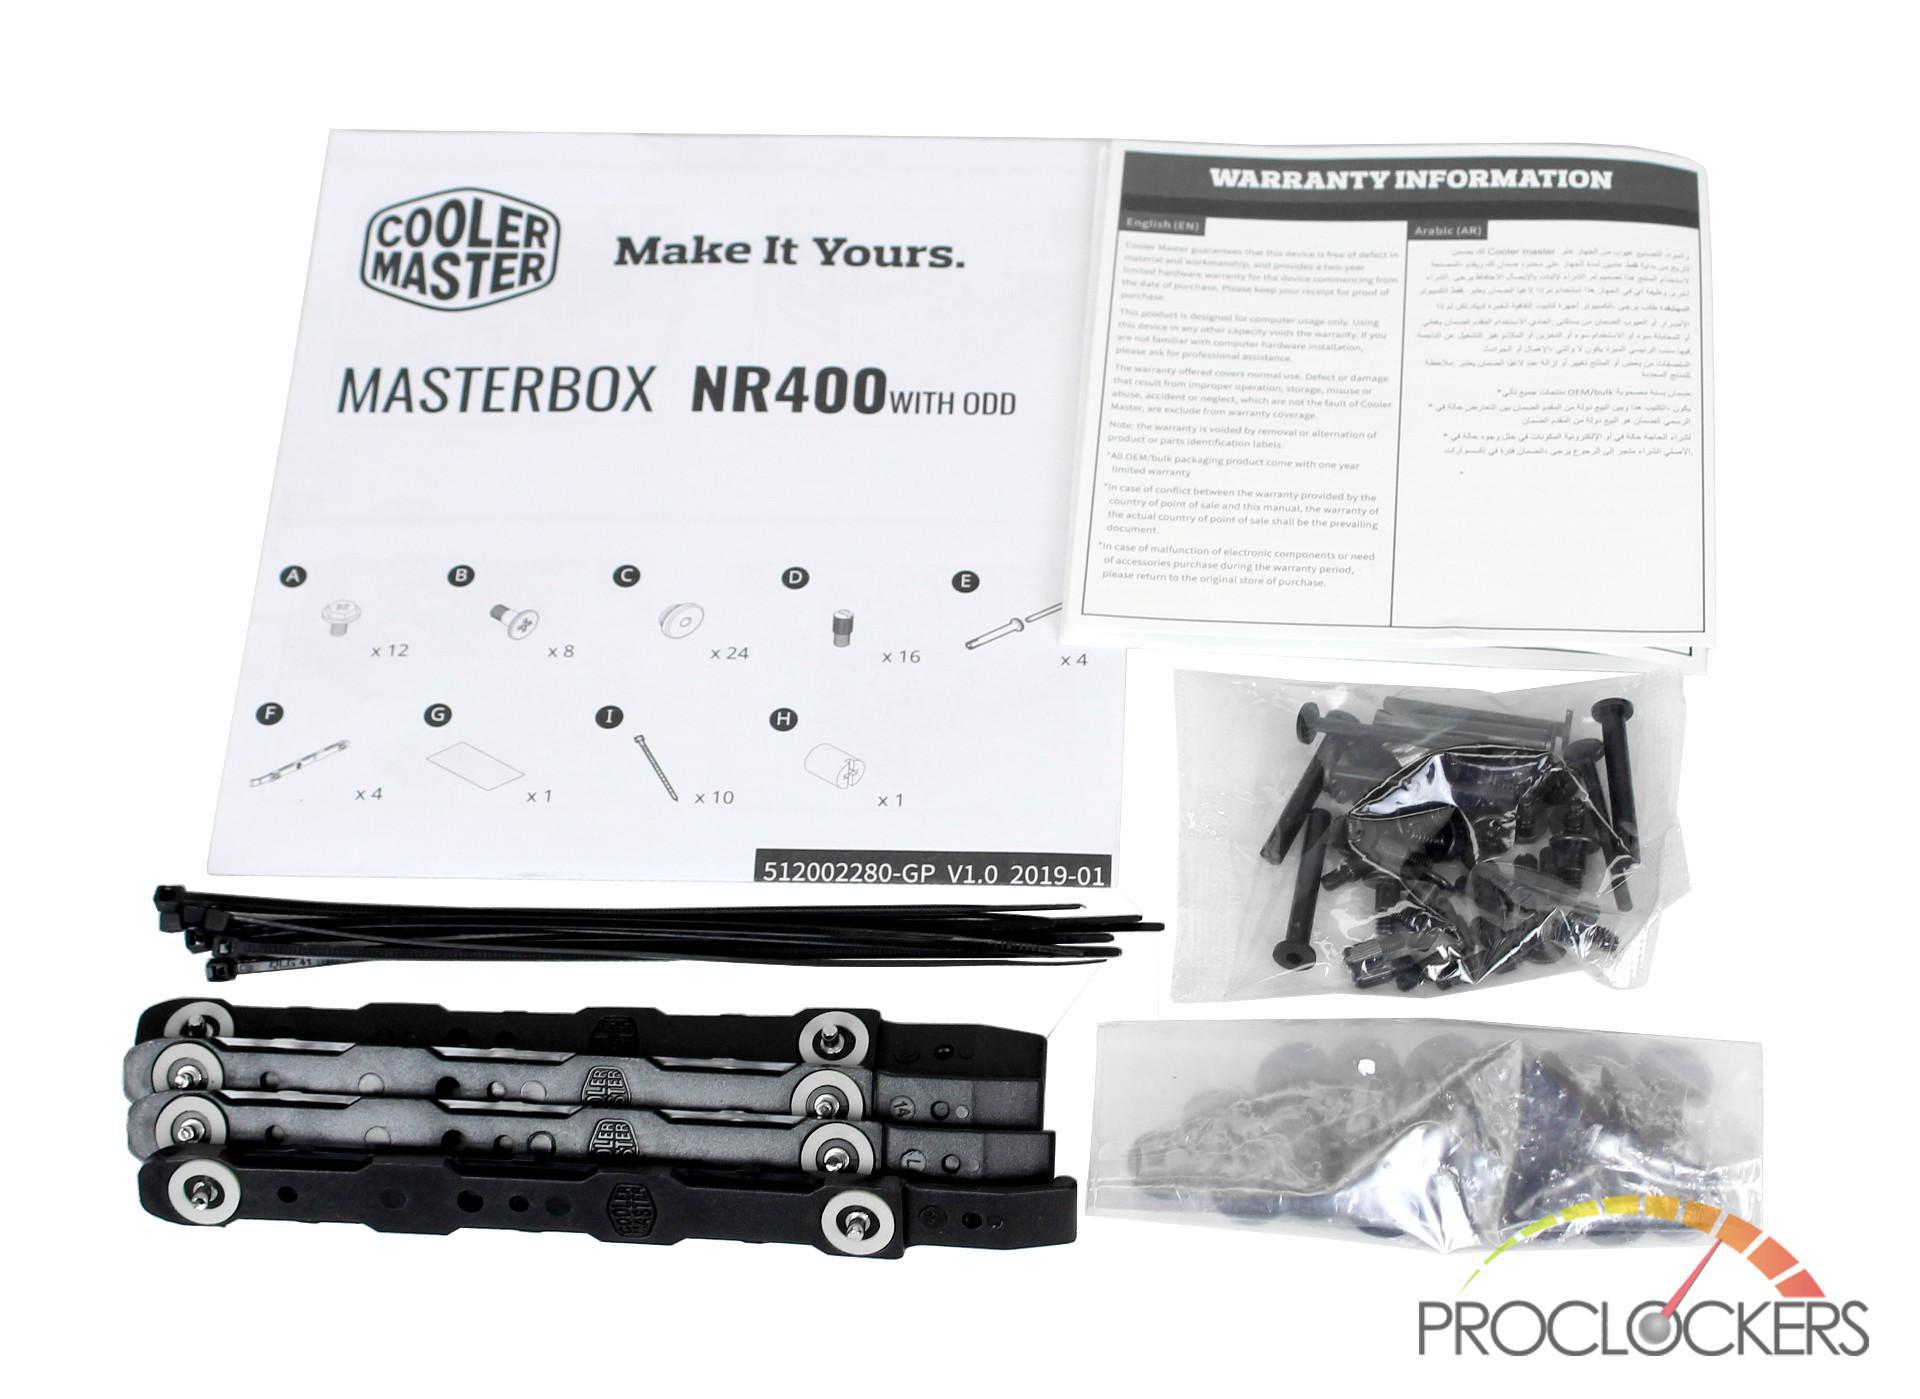
Packaged within the NR400 was an installation guide and warranty booklet as well as an accessory bag which includes:
- Various mounting screws
- SSD grommets / screws
- Zip ties
- Tool-less drive rails
- Standoff socket
A Closer Look: Interior
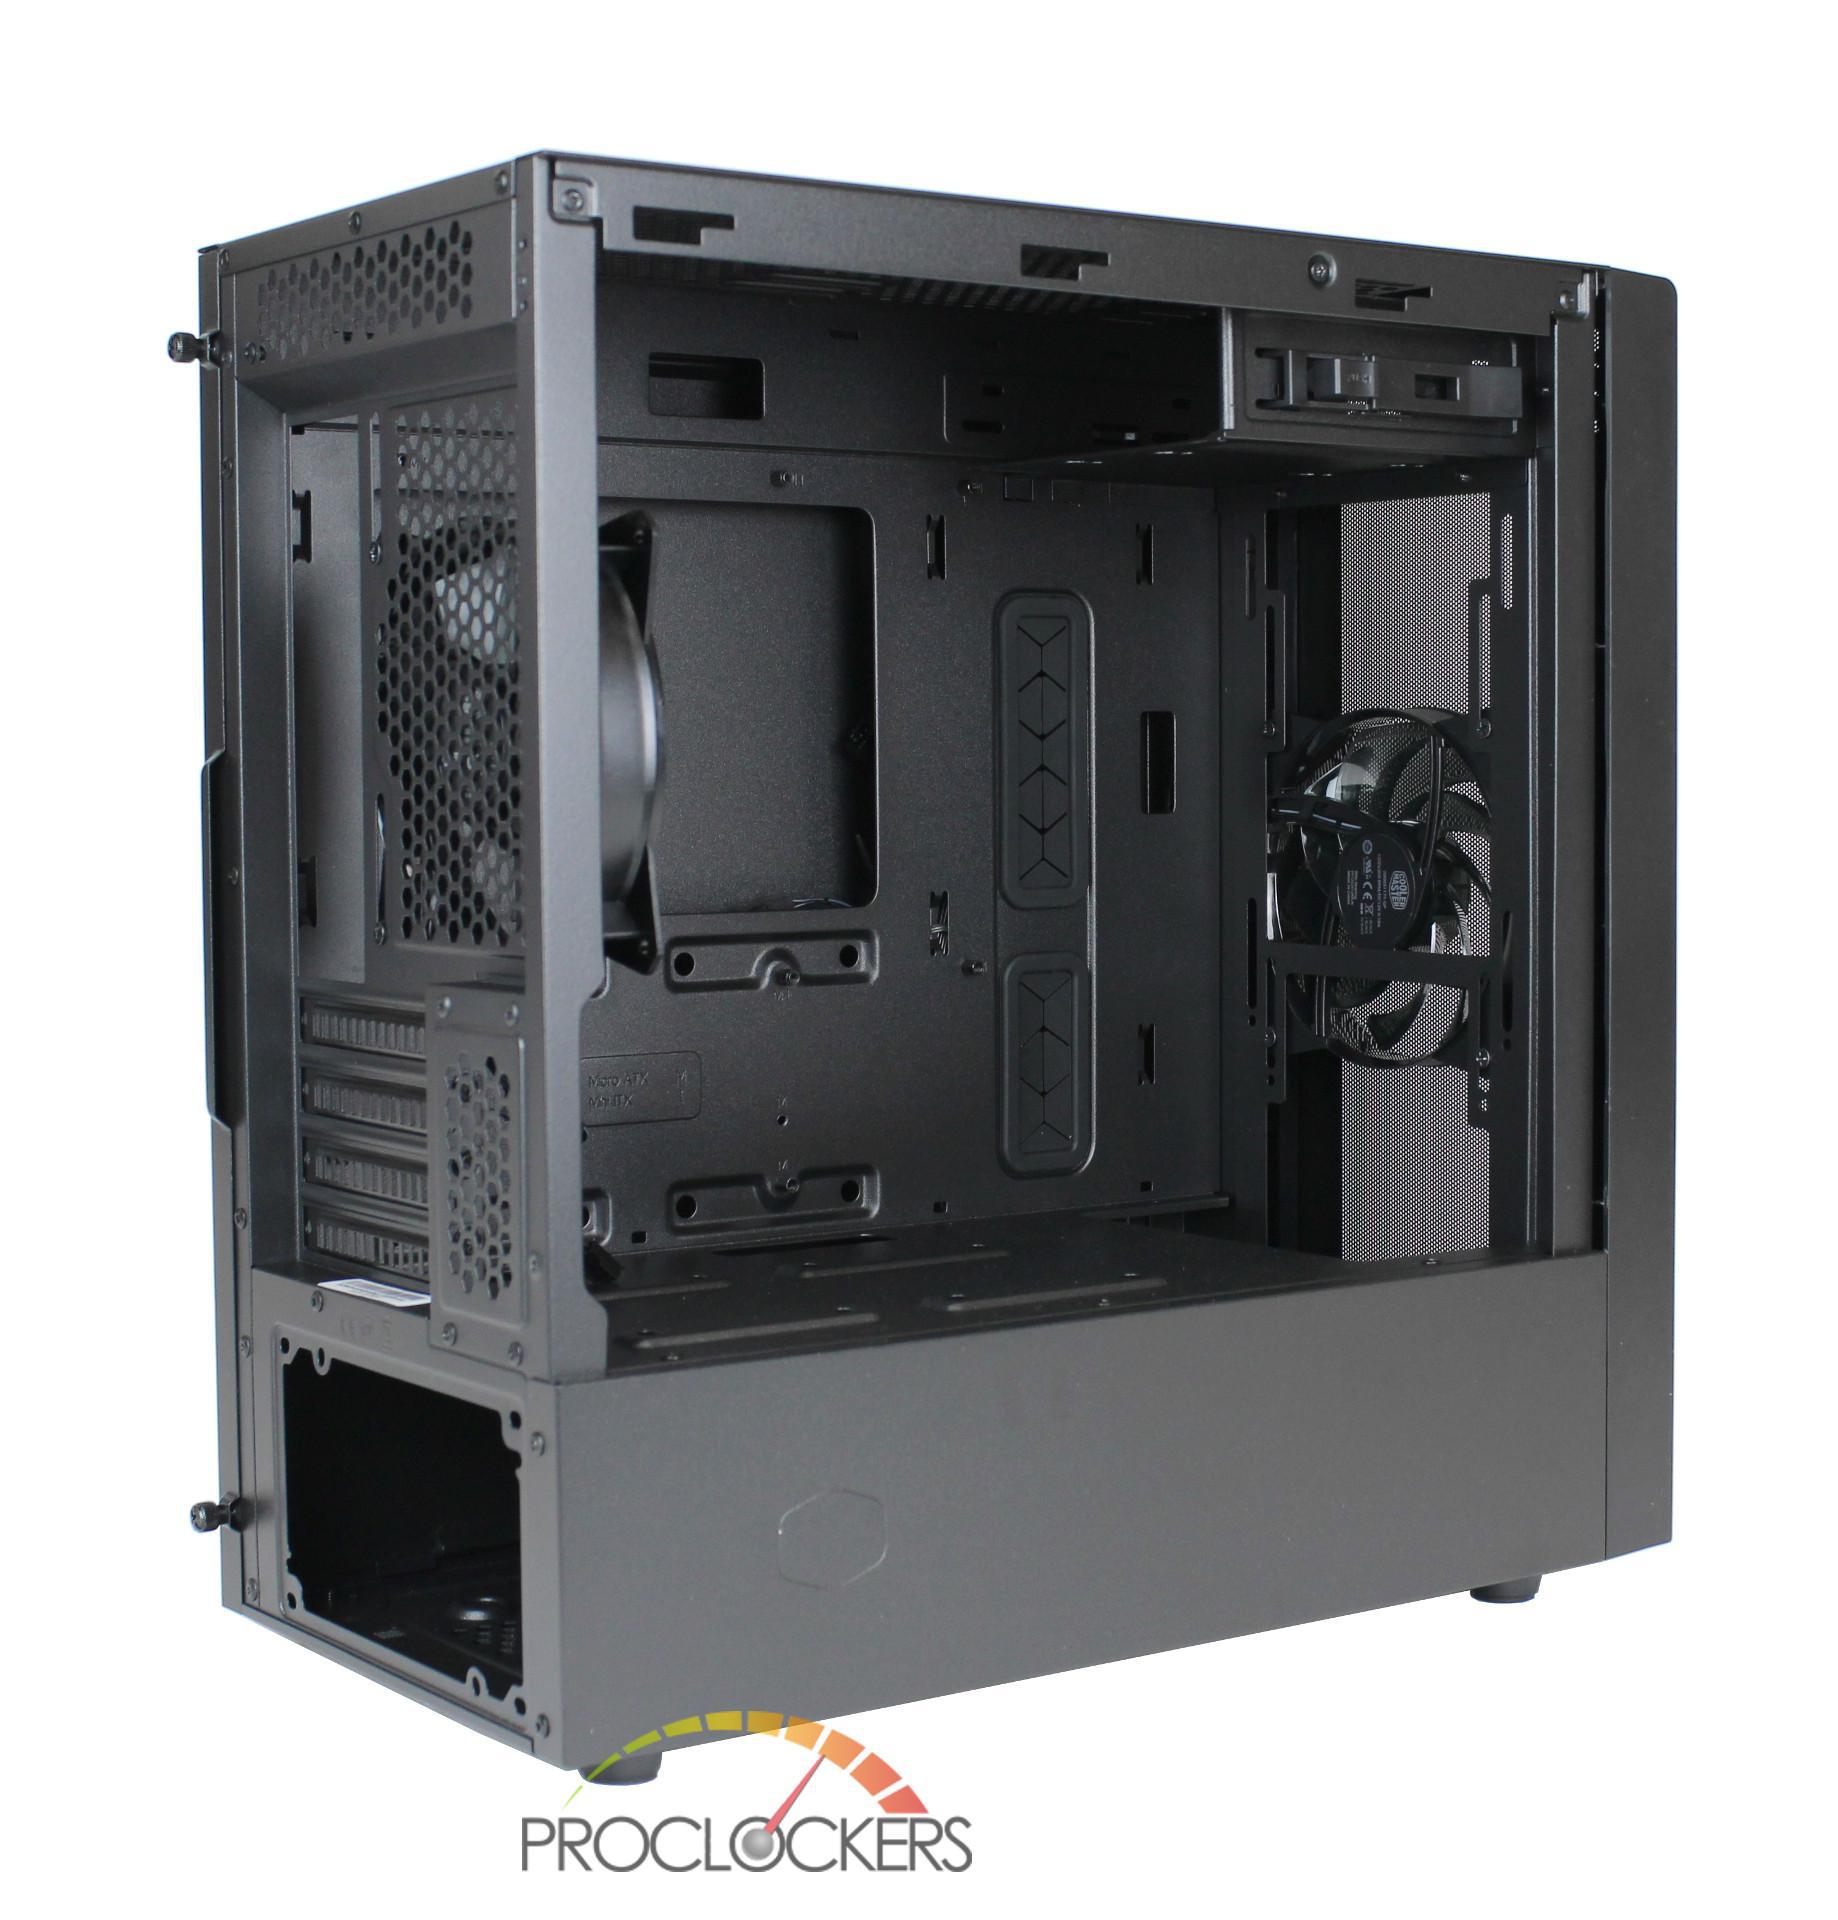
Moving to the interior of the NR400, the matte black found on its exterior continues to the inside as well. The NR400’s motherboard tray supports both Mini-ITX and Micro-ATX boards and has two smaller cutouts at the top and two oversized grommets on the right. Looking at the ODD bay, it’s nice to see that Cooler Master included a tool-less mechanism that should make installing a disk drive a breeze. The bottom of the NR400 also includes a full-length PSU shroud which includes two 2.5” mounts on the top.
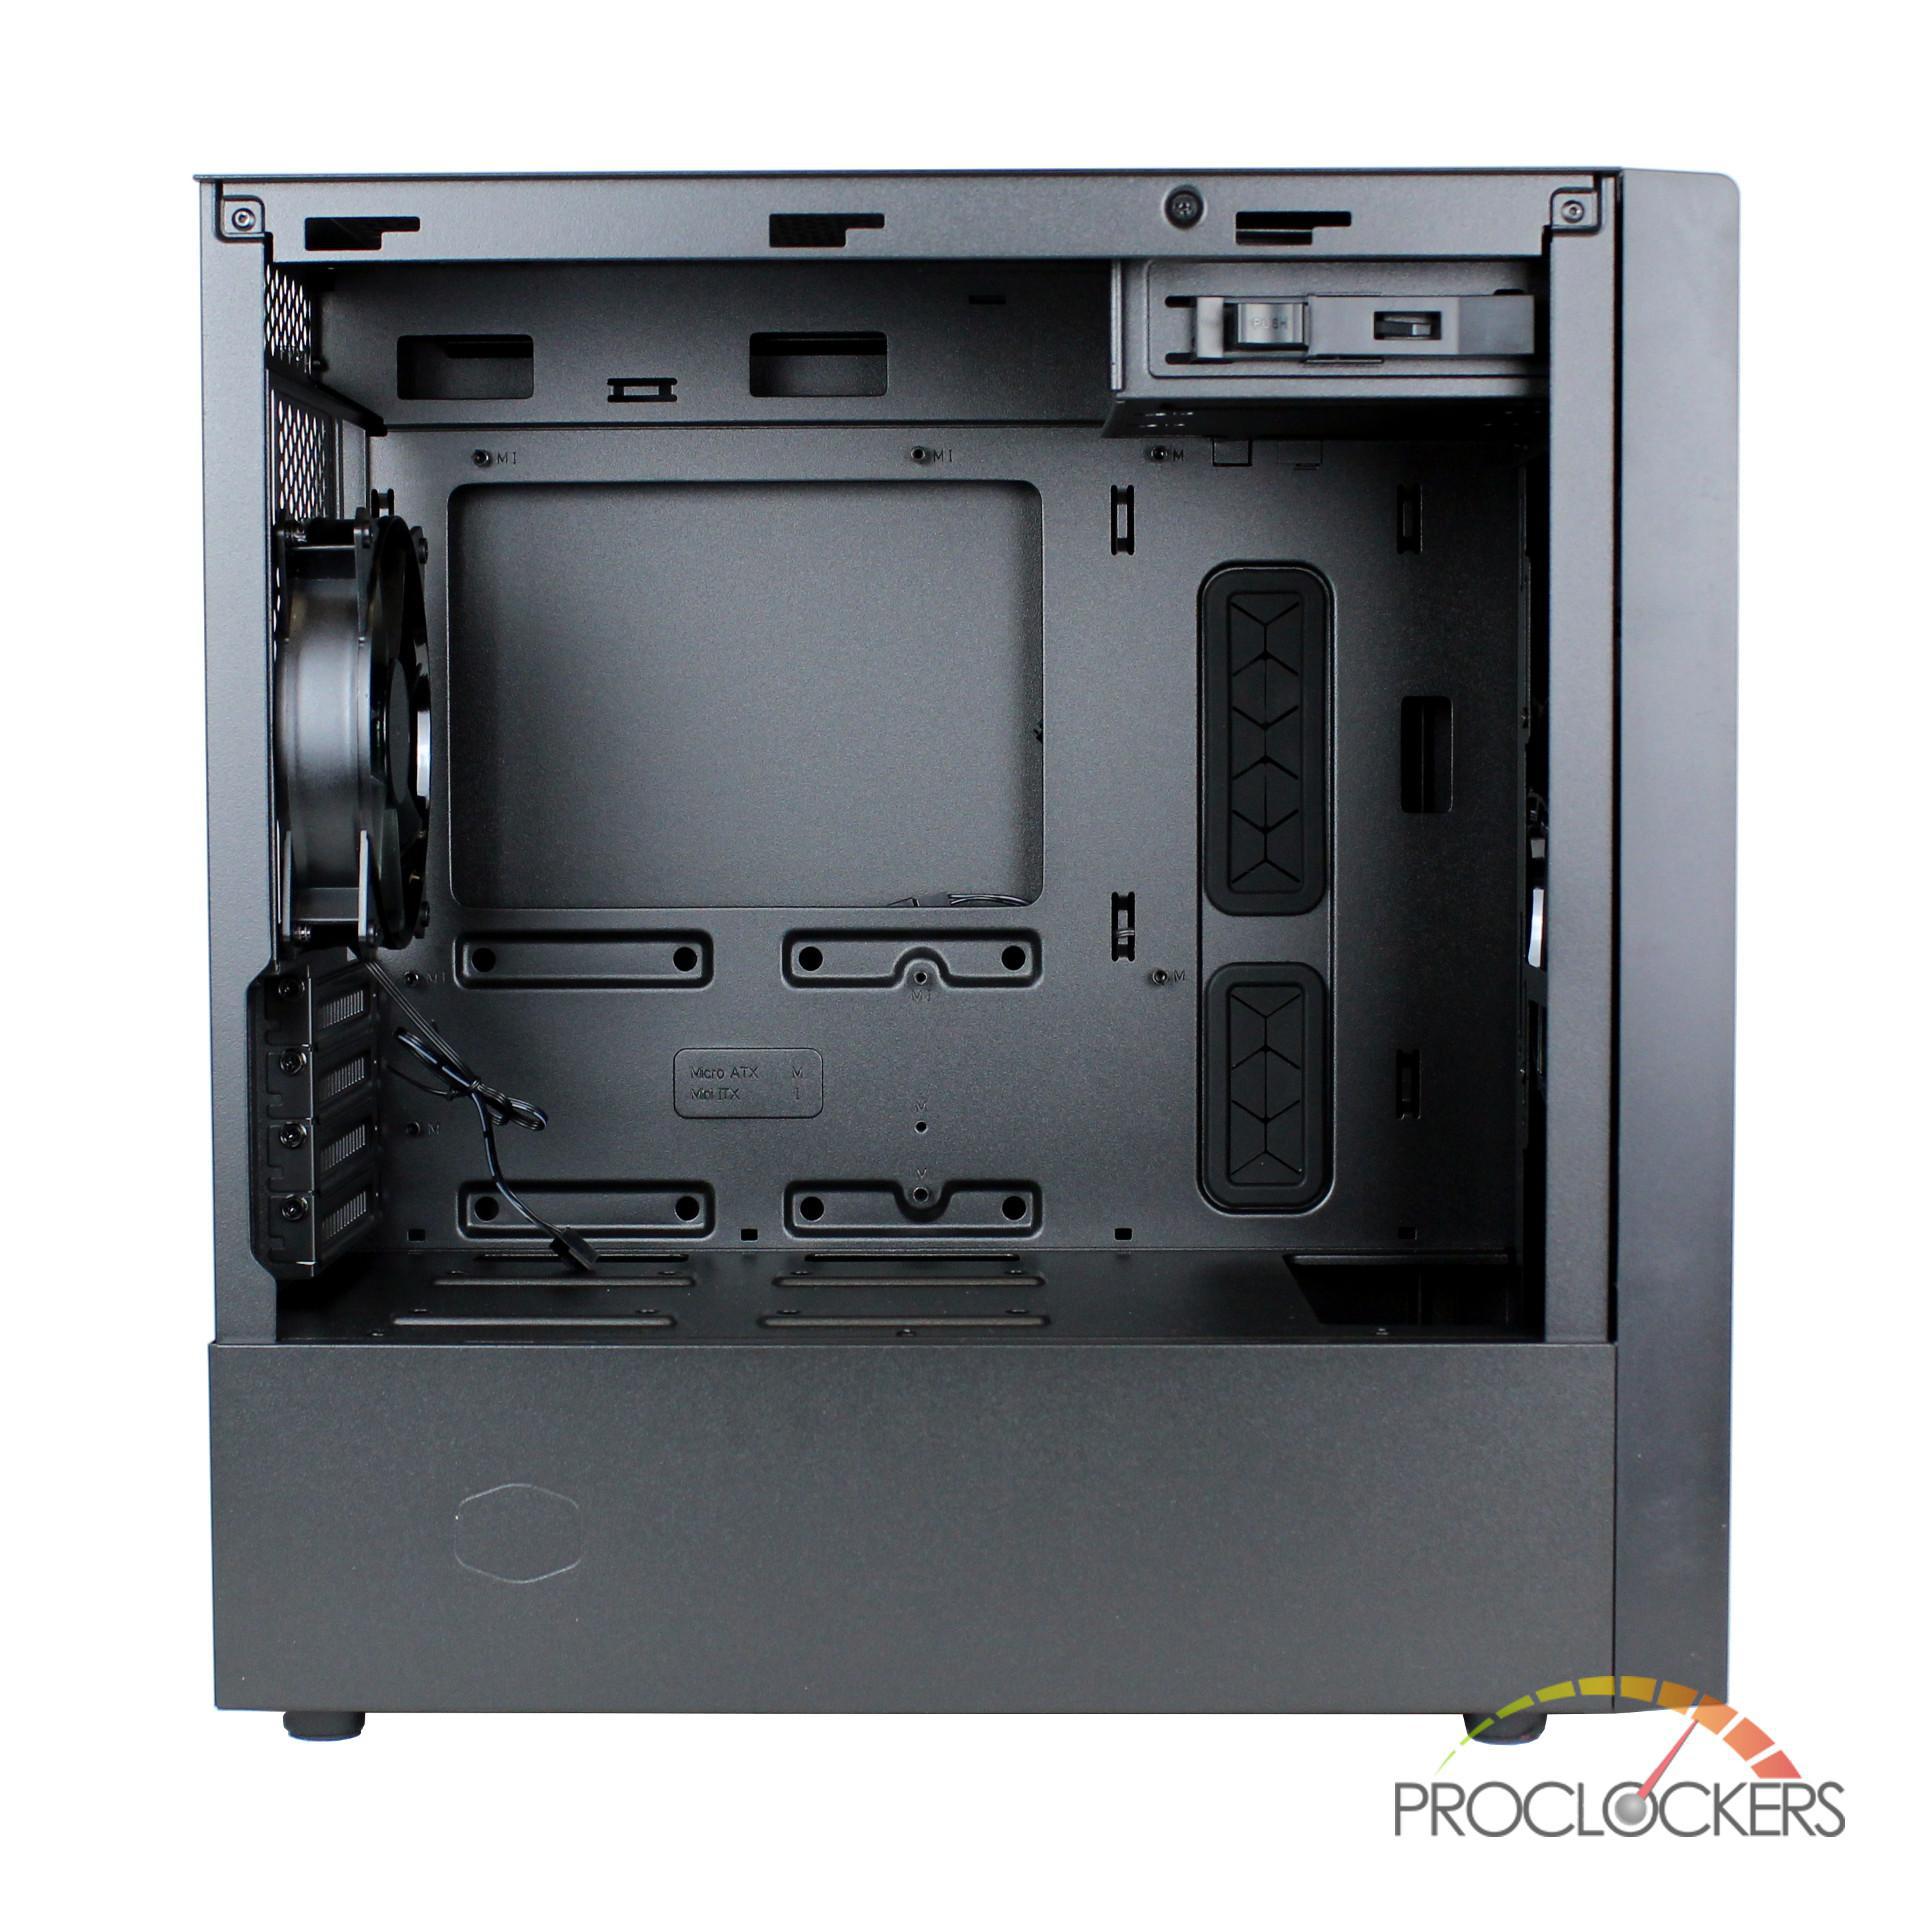
Toward the front of the case, there are more rail mounts which support up to a 280mm radiator and comes preinstalled with a 120mm fan. If you are planning on installing a radiator at the front of the NR400, the PSU shroud contains a cut large cutout with about 70mm of clearance.
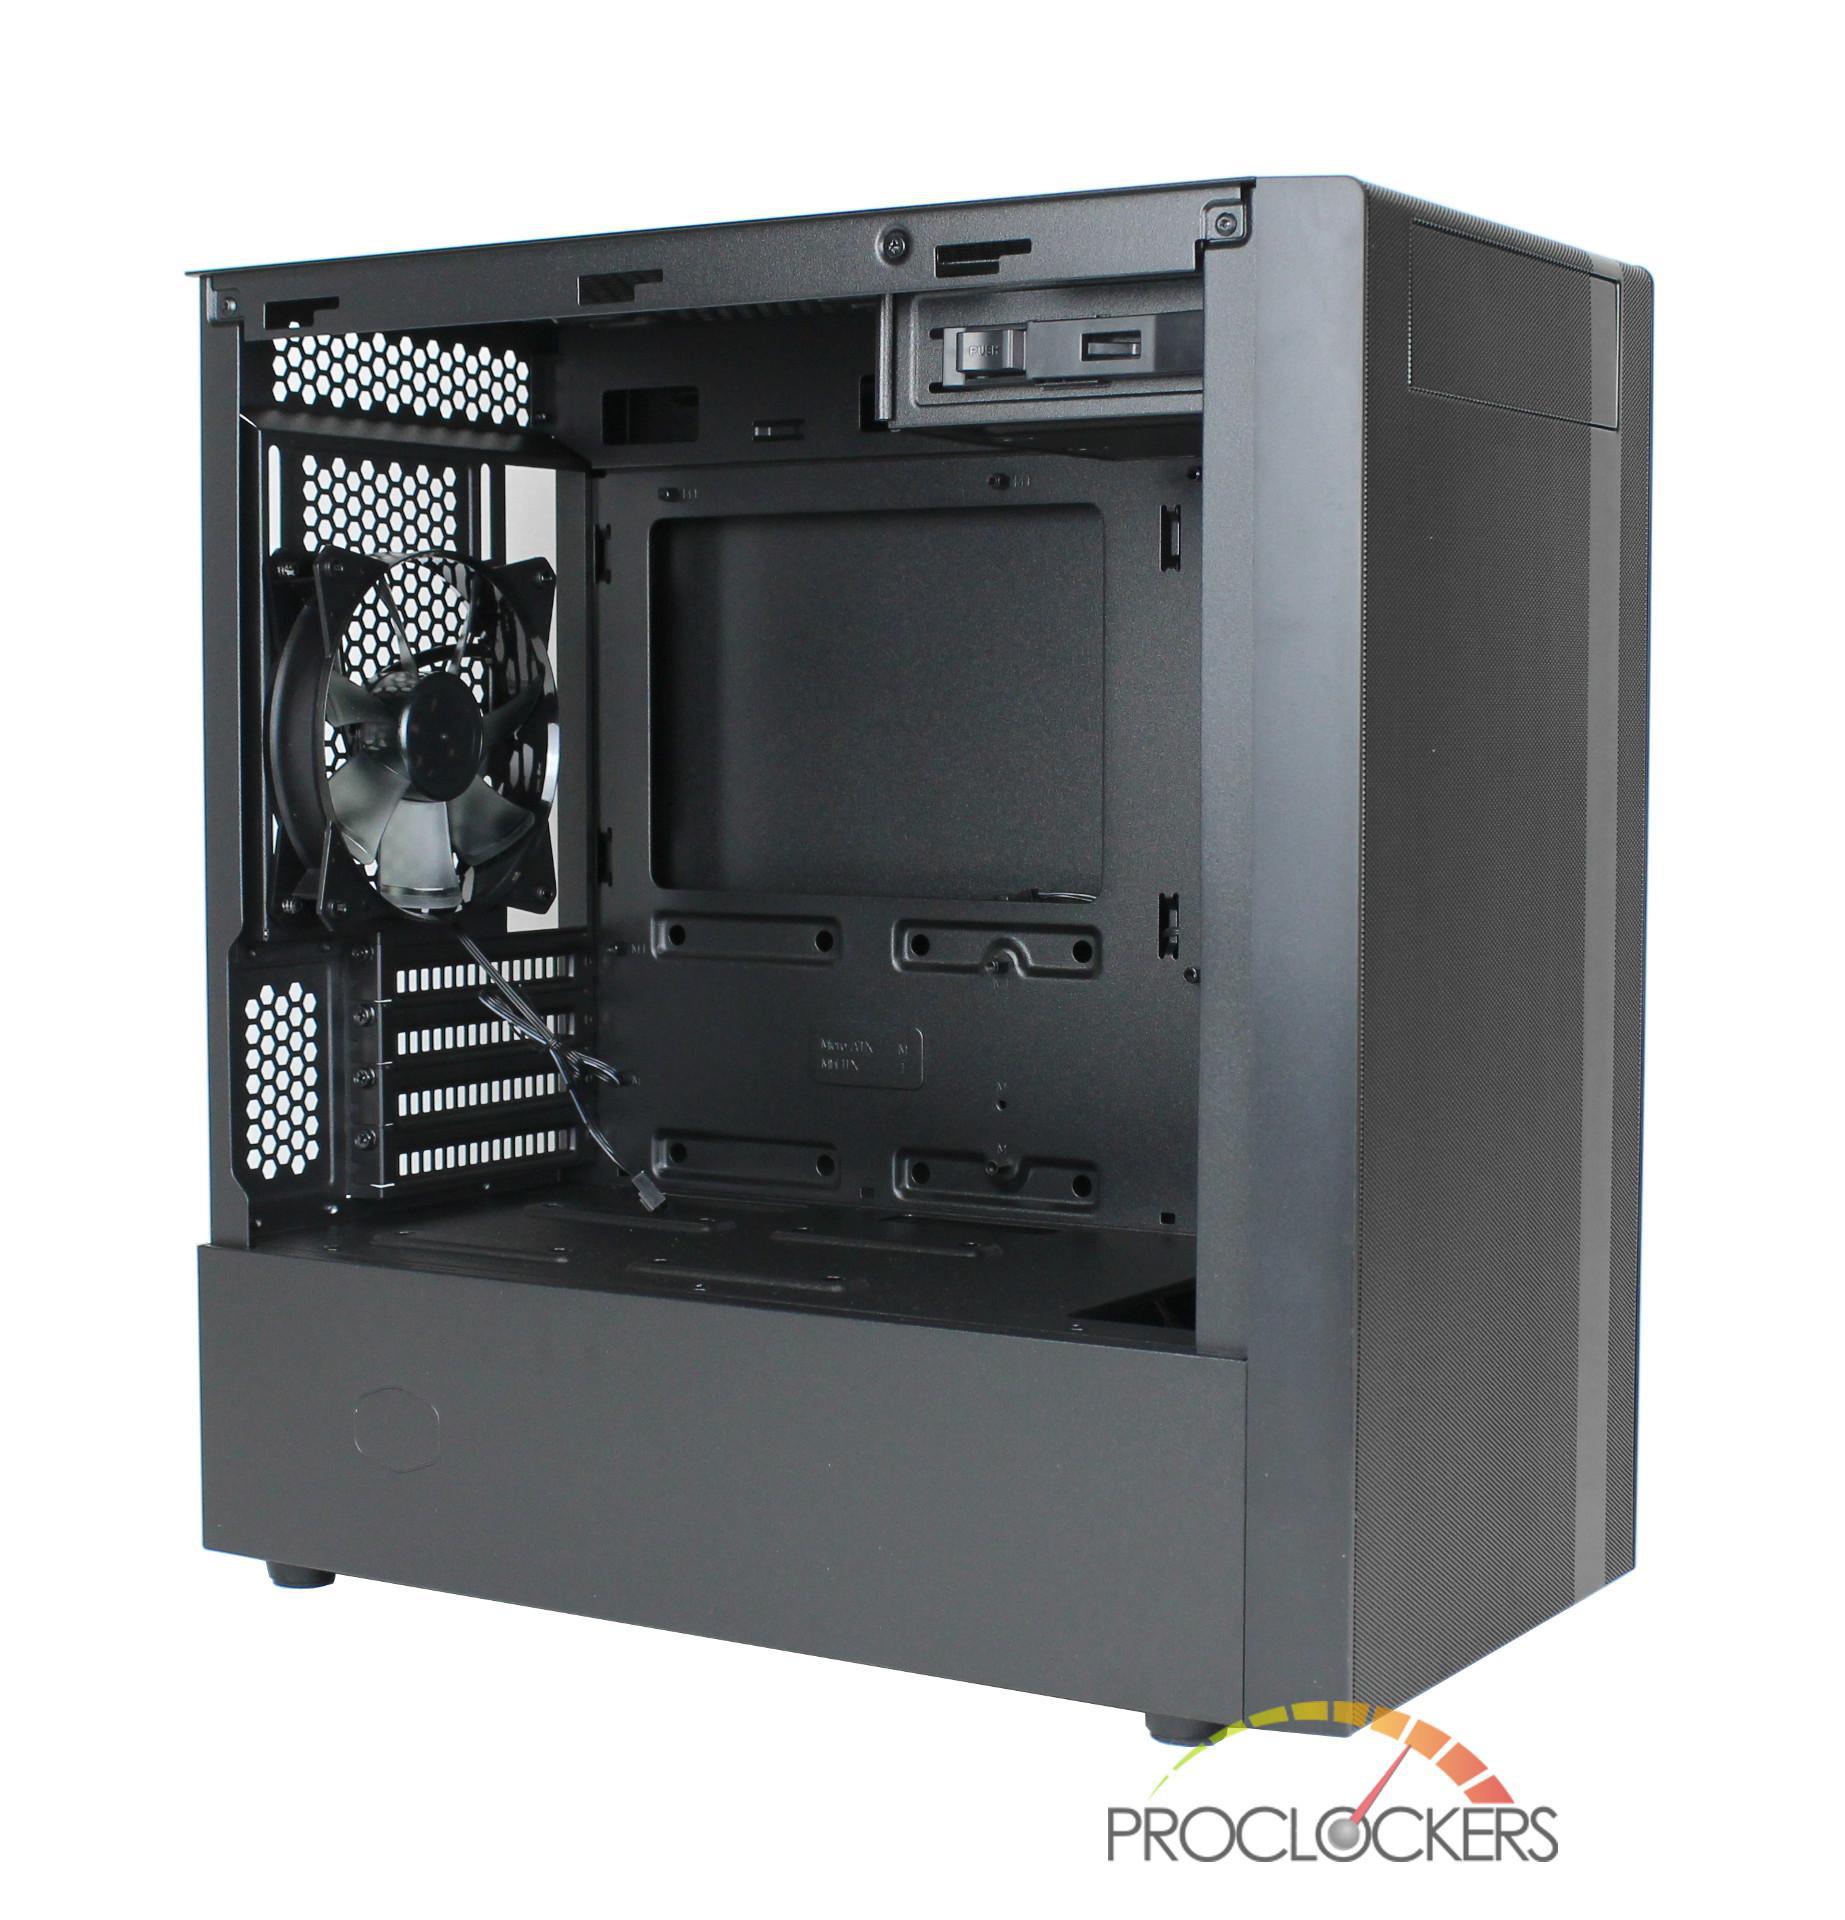
The rail mounting system is continued on the back of the NR400 with a second preinstalled 120mm fan.
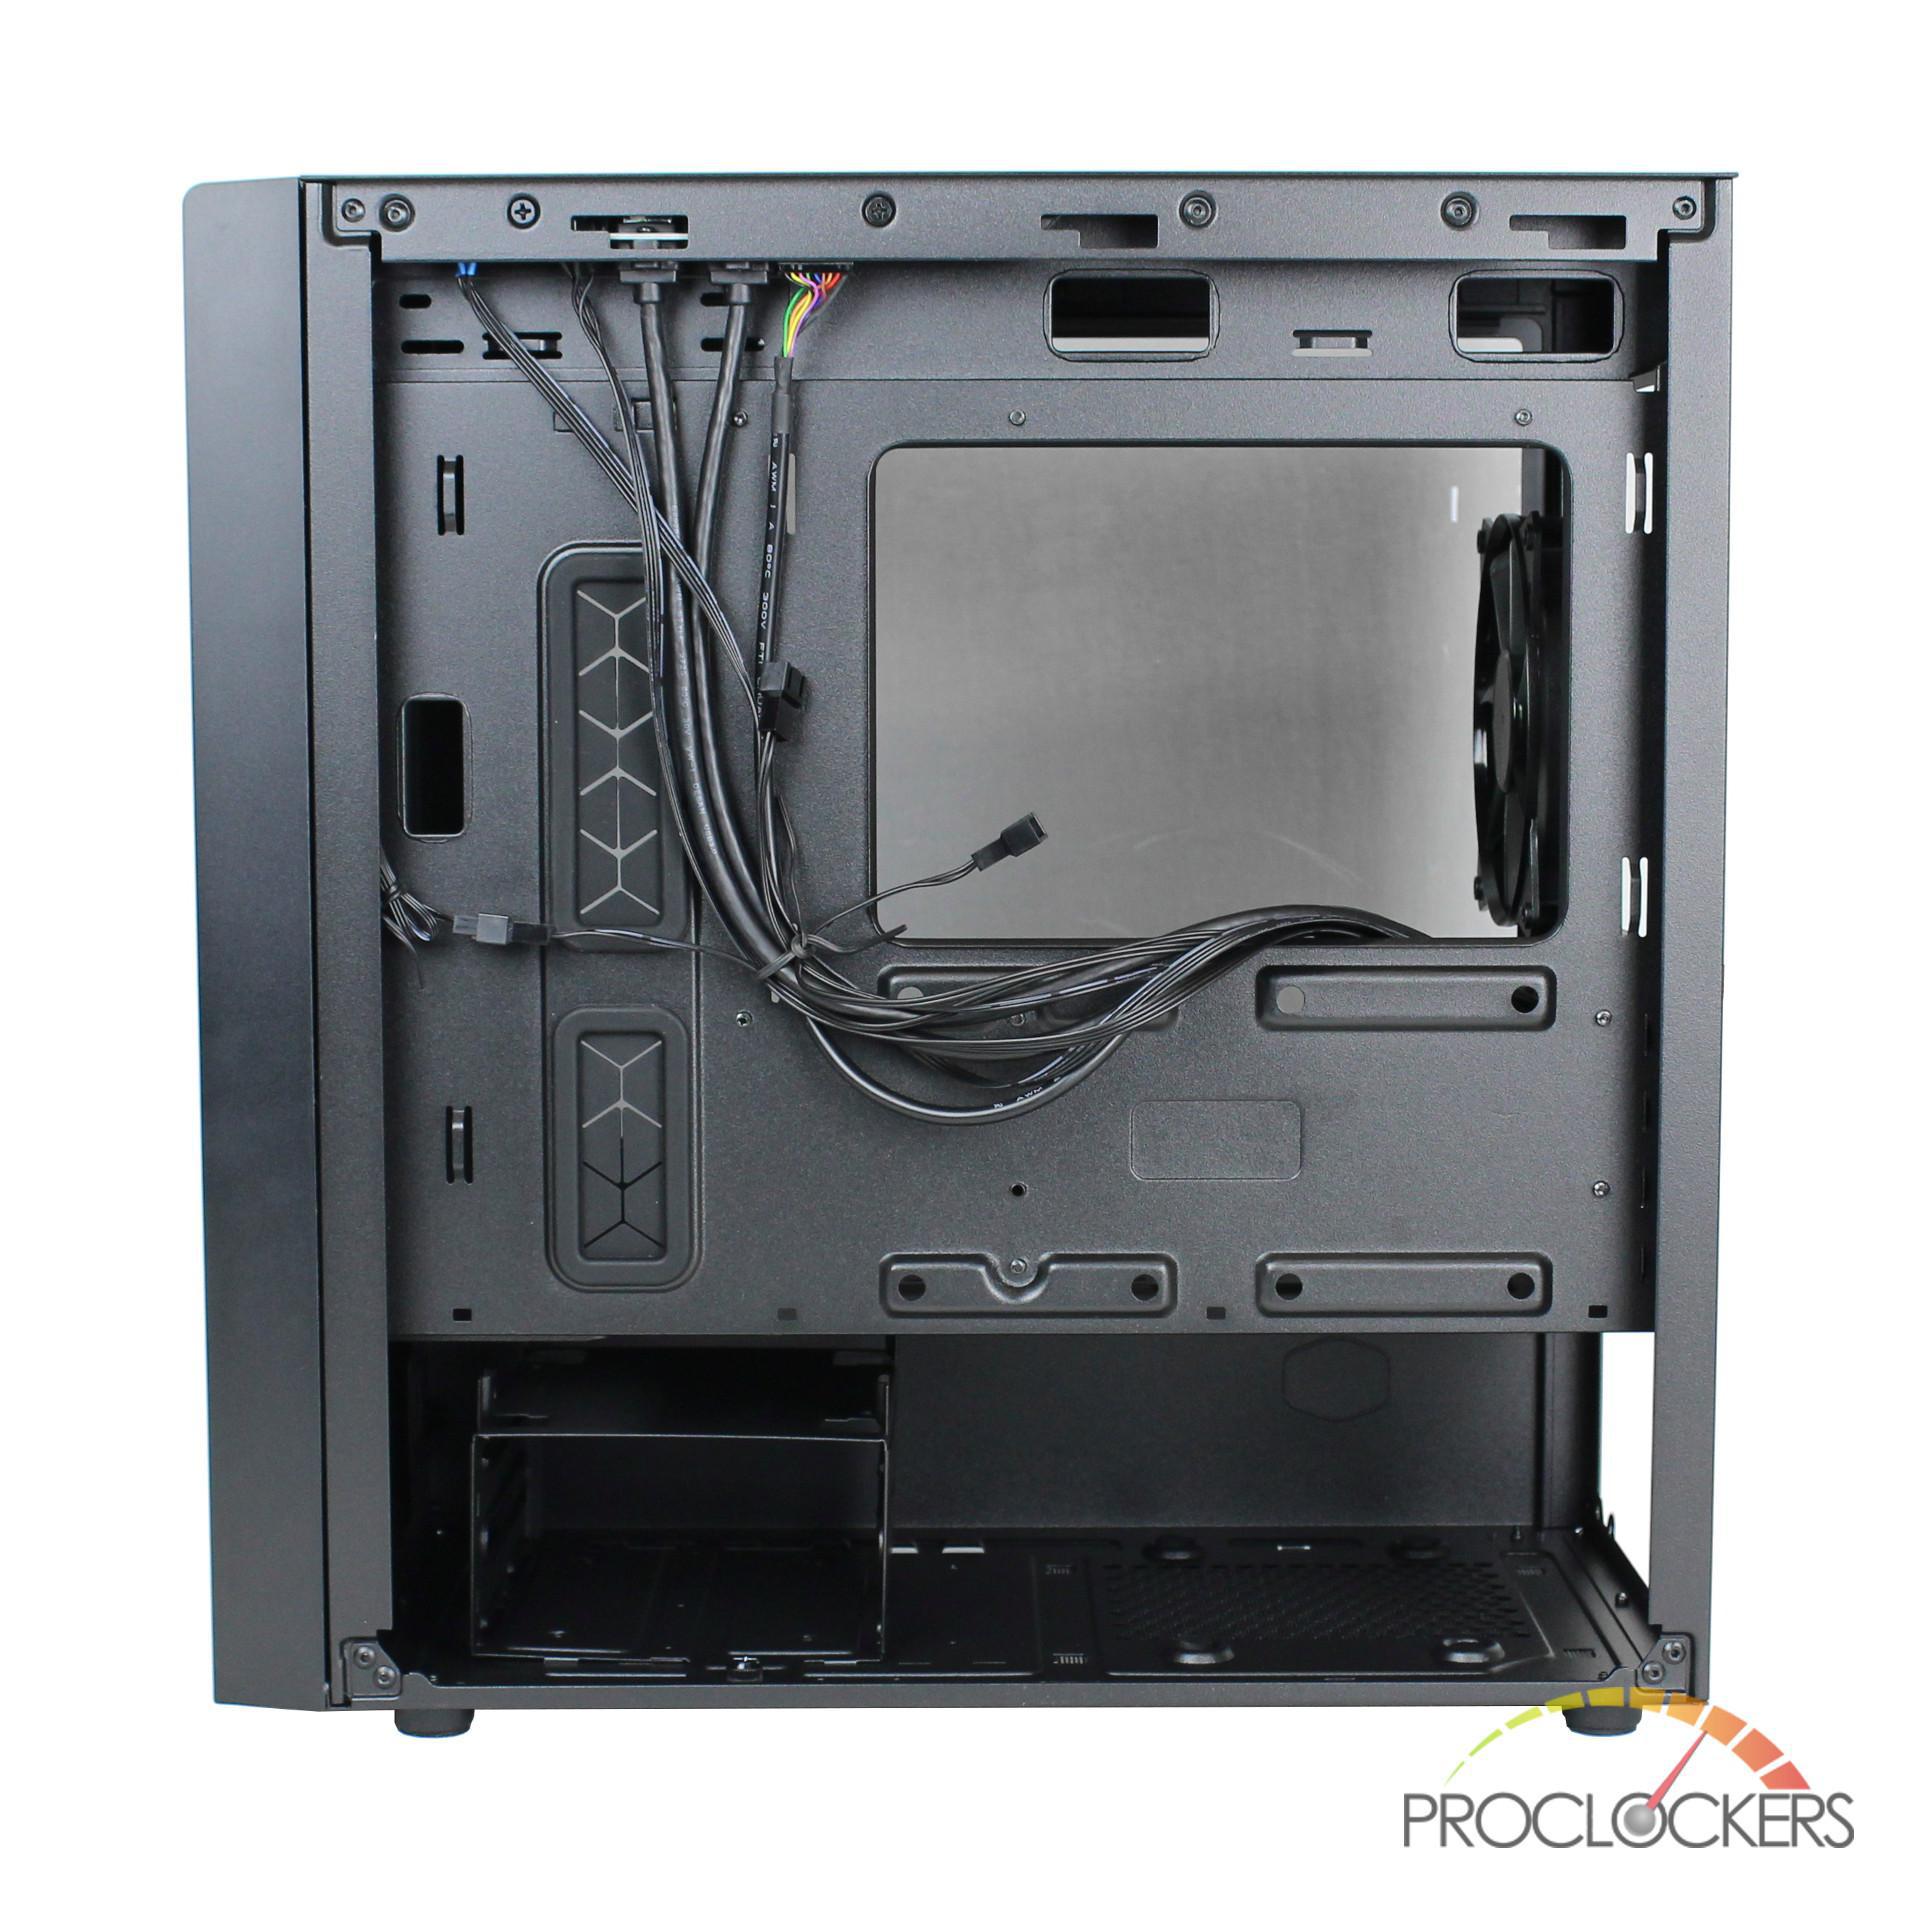
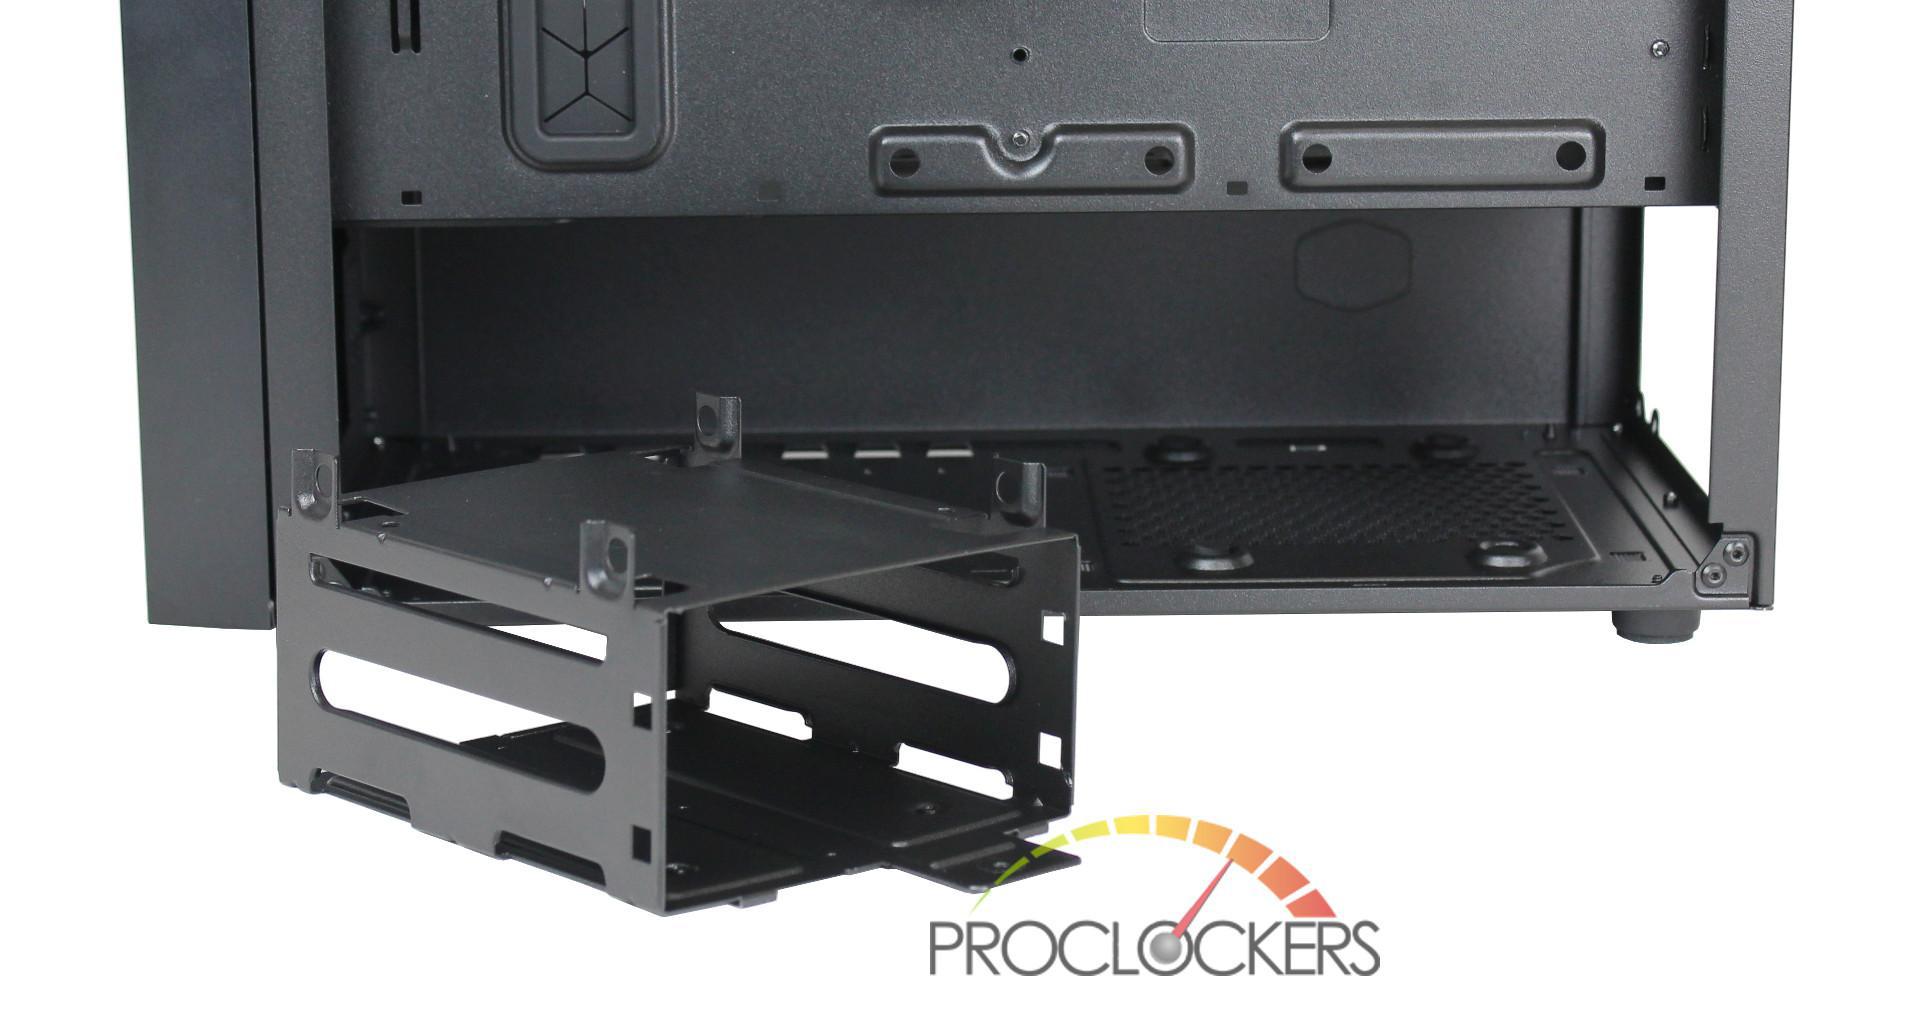
Looking to the back of the motherboard tray, it contains plenty of tie downs on both sides and two tool-less SSD mount points below the processor cutout on the right. Within the PSU shroud of the NR400 is a removable HDD tray which supports up to three 3.5” or two 2.5” drives and can be mounted in one of three positions.
System Build and Installation
Below is a list of the hardware included in this build:
- MSI H310I Pro
- Intel i5-8600K
- Cooler Master Hyper 212 RGB Black Edition
- 2 x 8GB Team Group Vulcan TUF Gaming Alliance DDR4
- Gigabyte RTX2060 OC Pro
- Corsair HX750i
- LG 24x DVD Burner
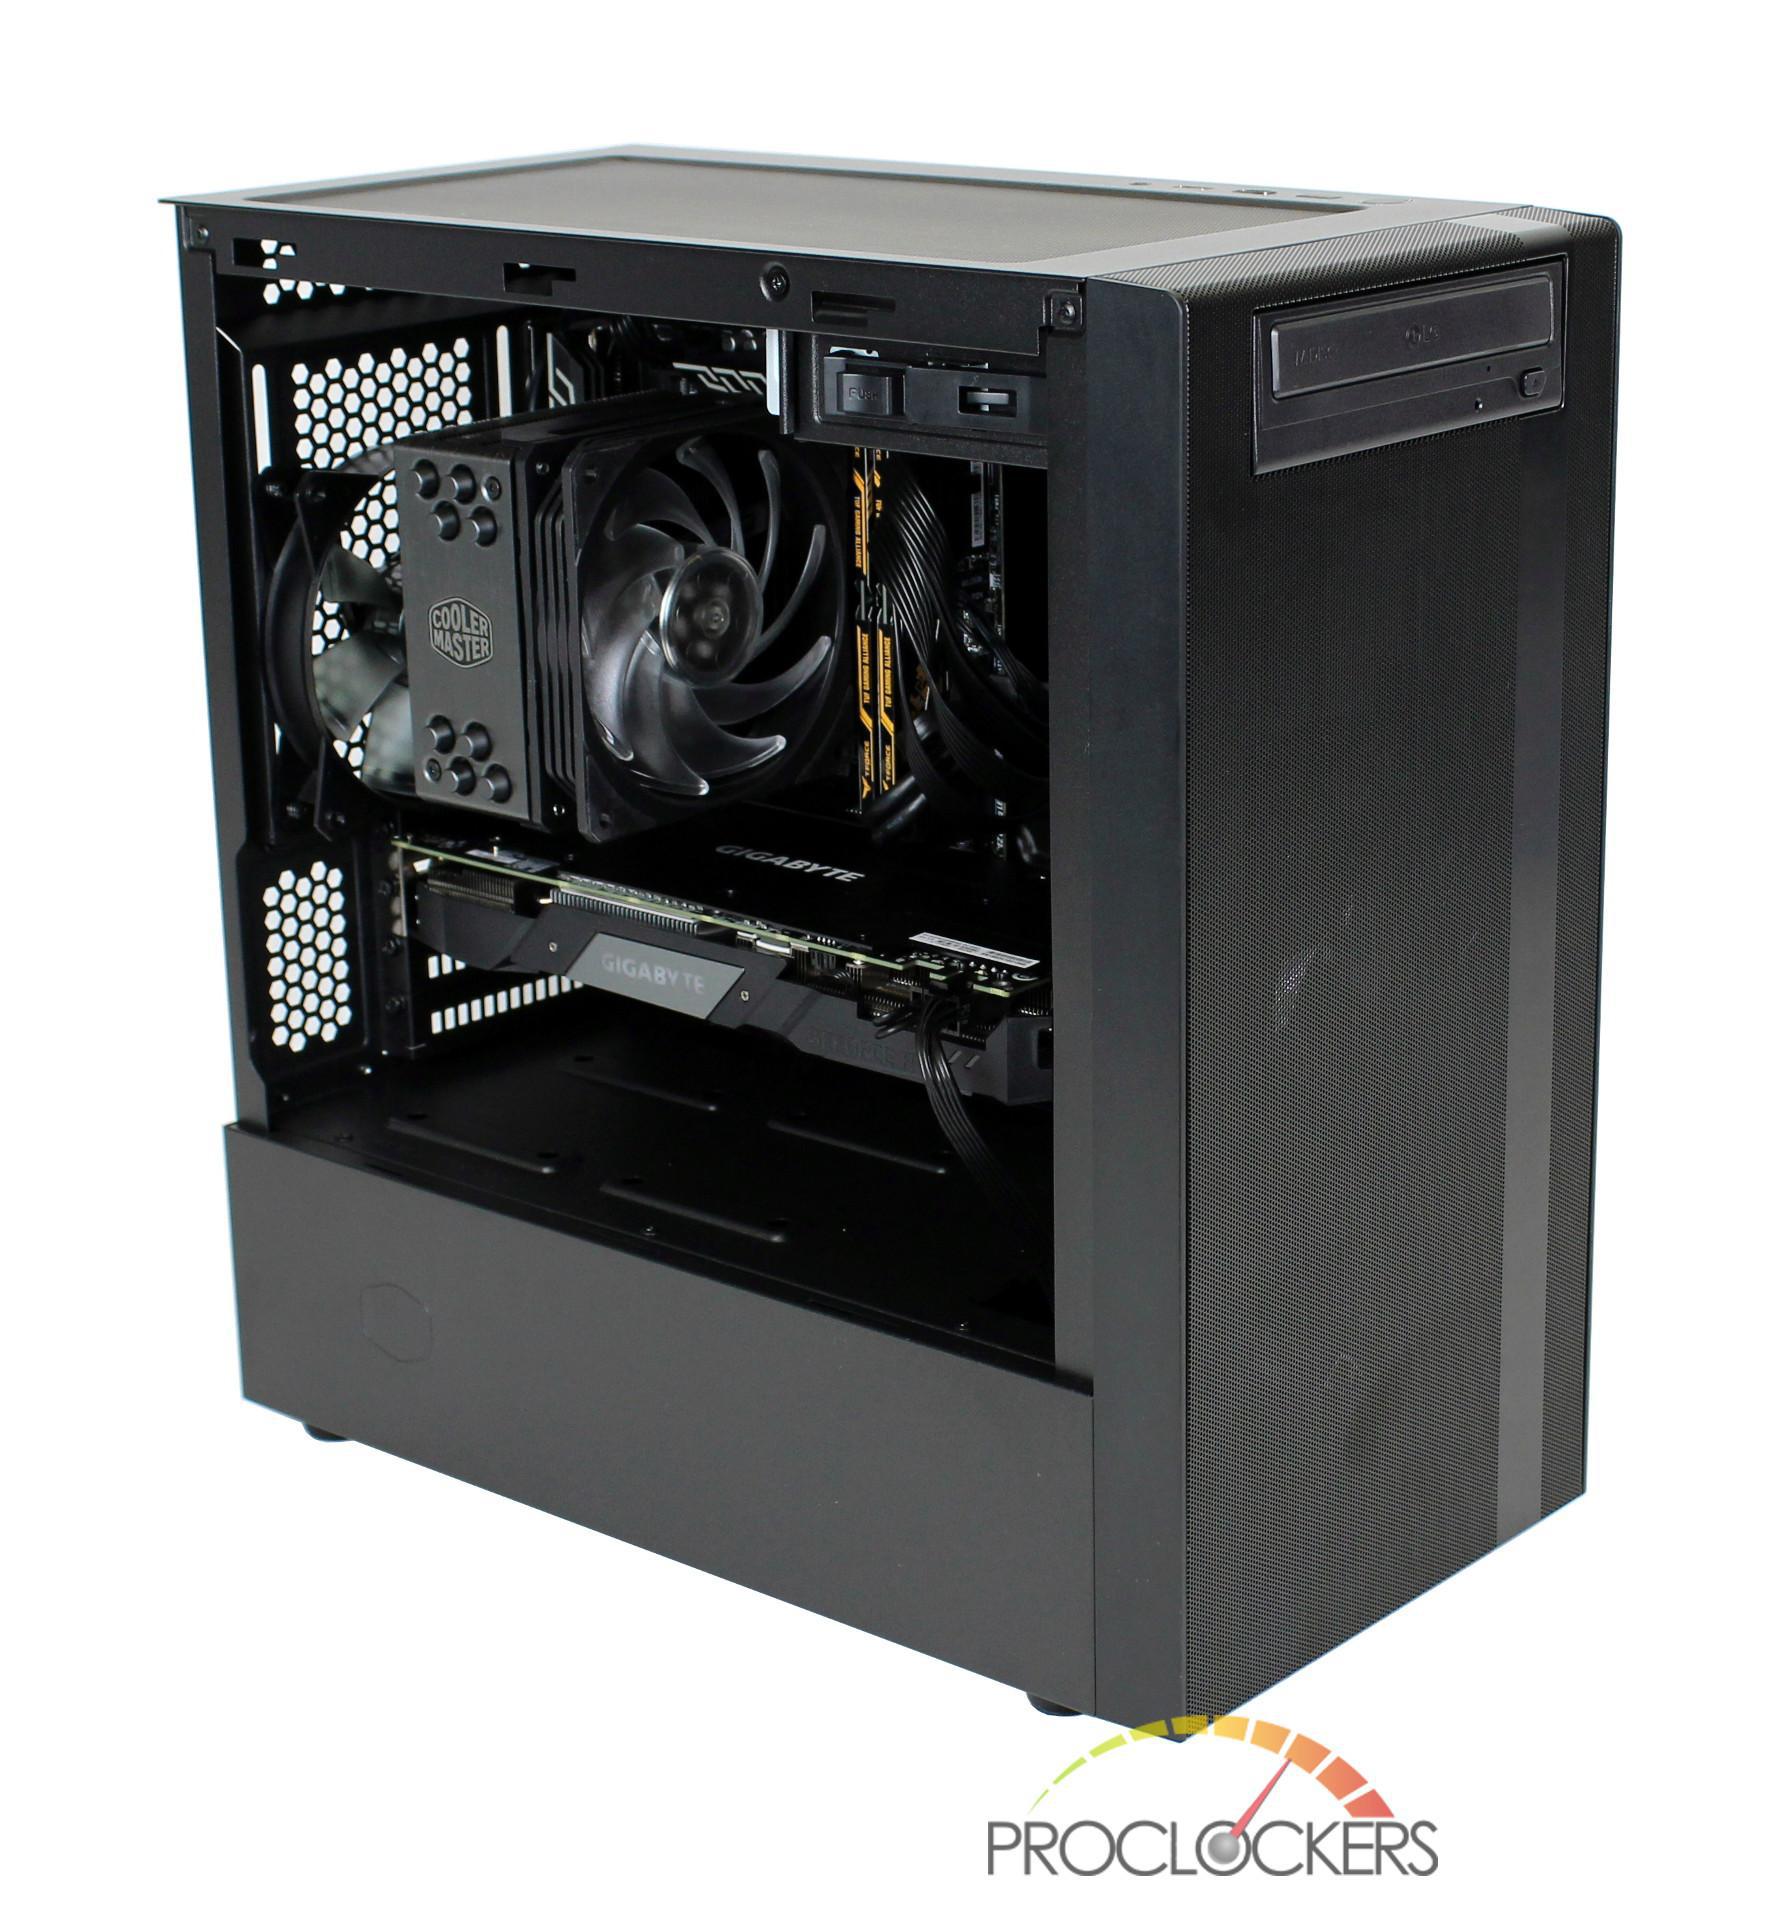
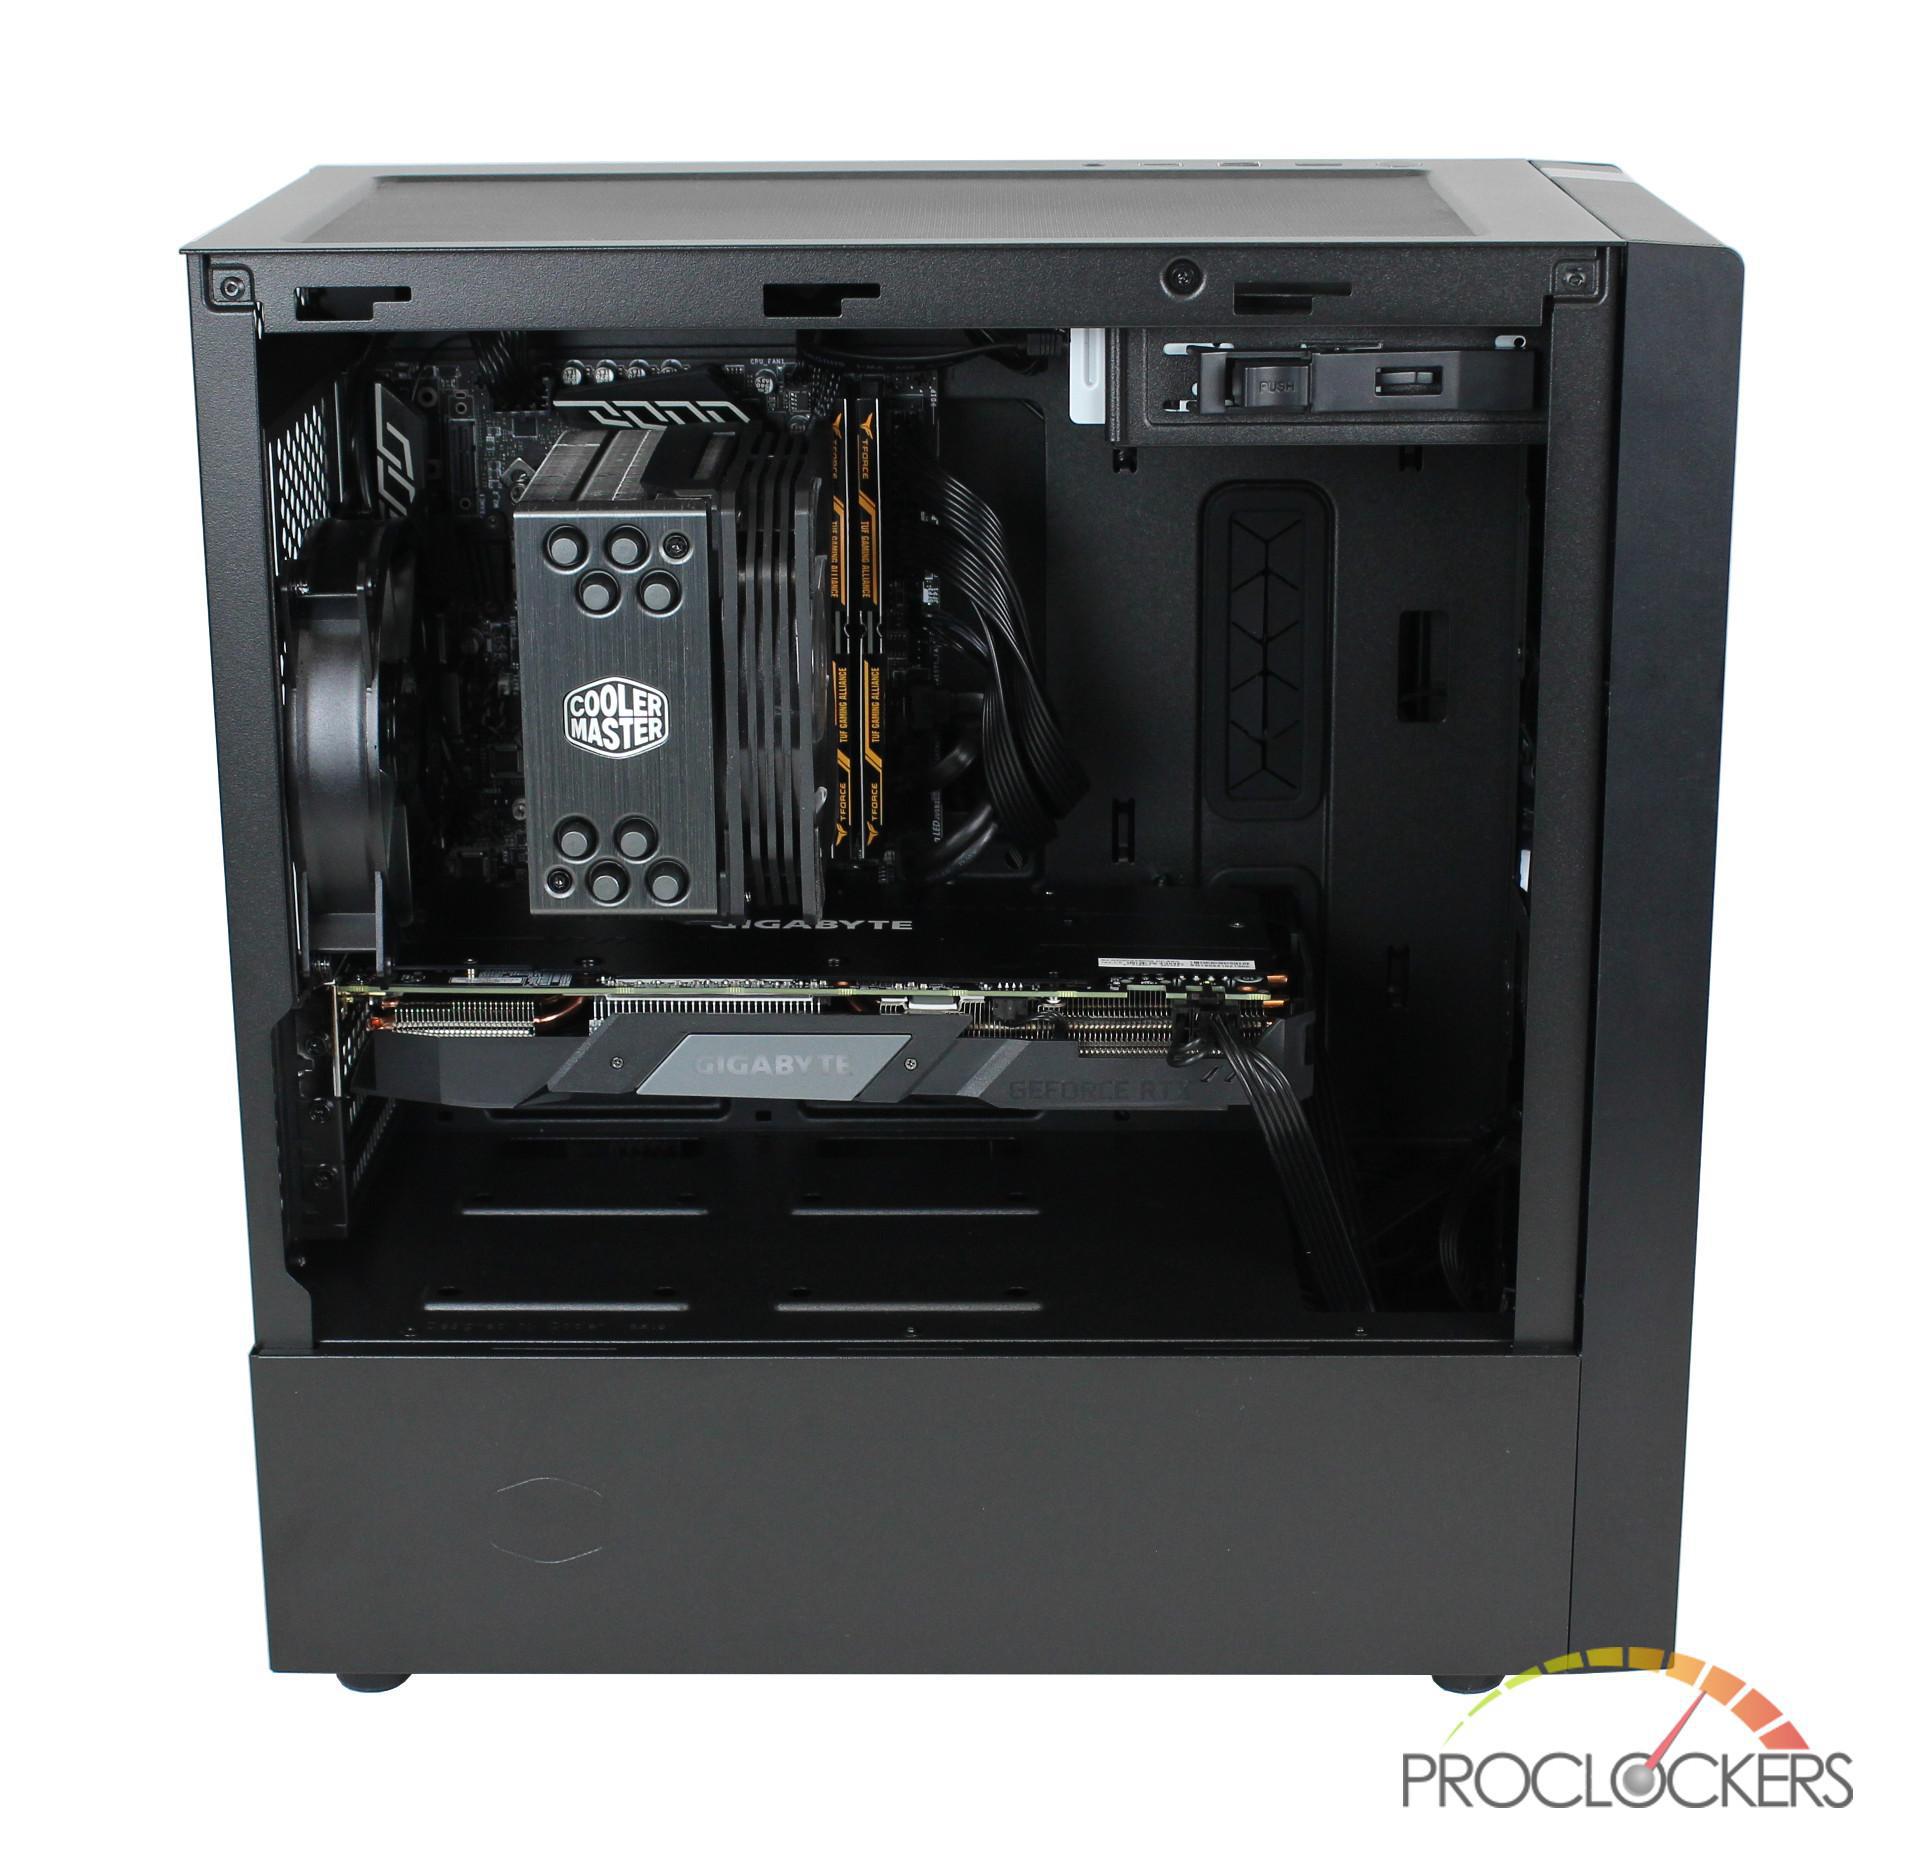
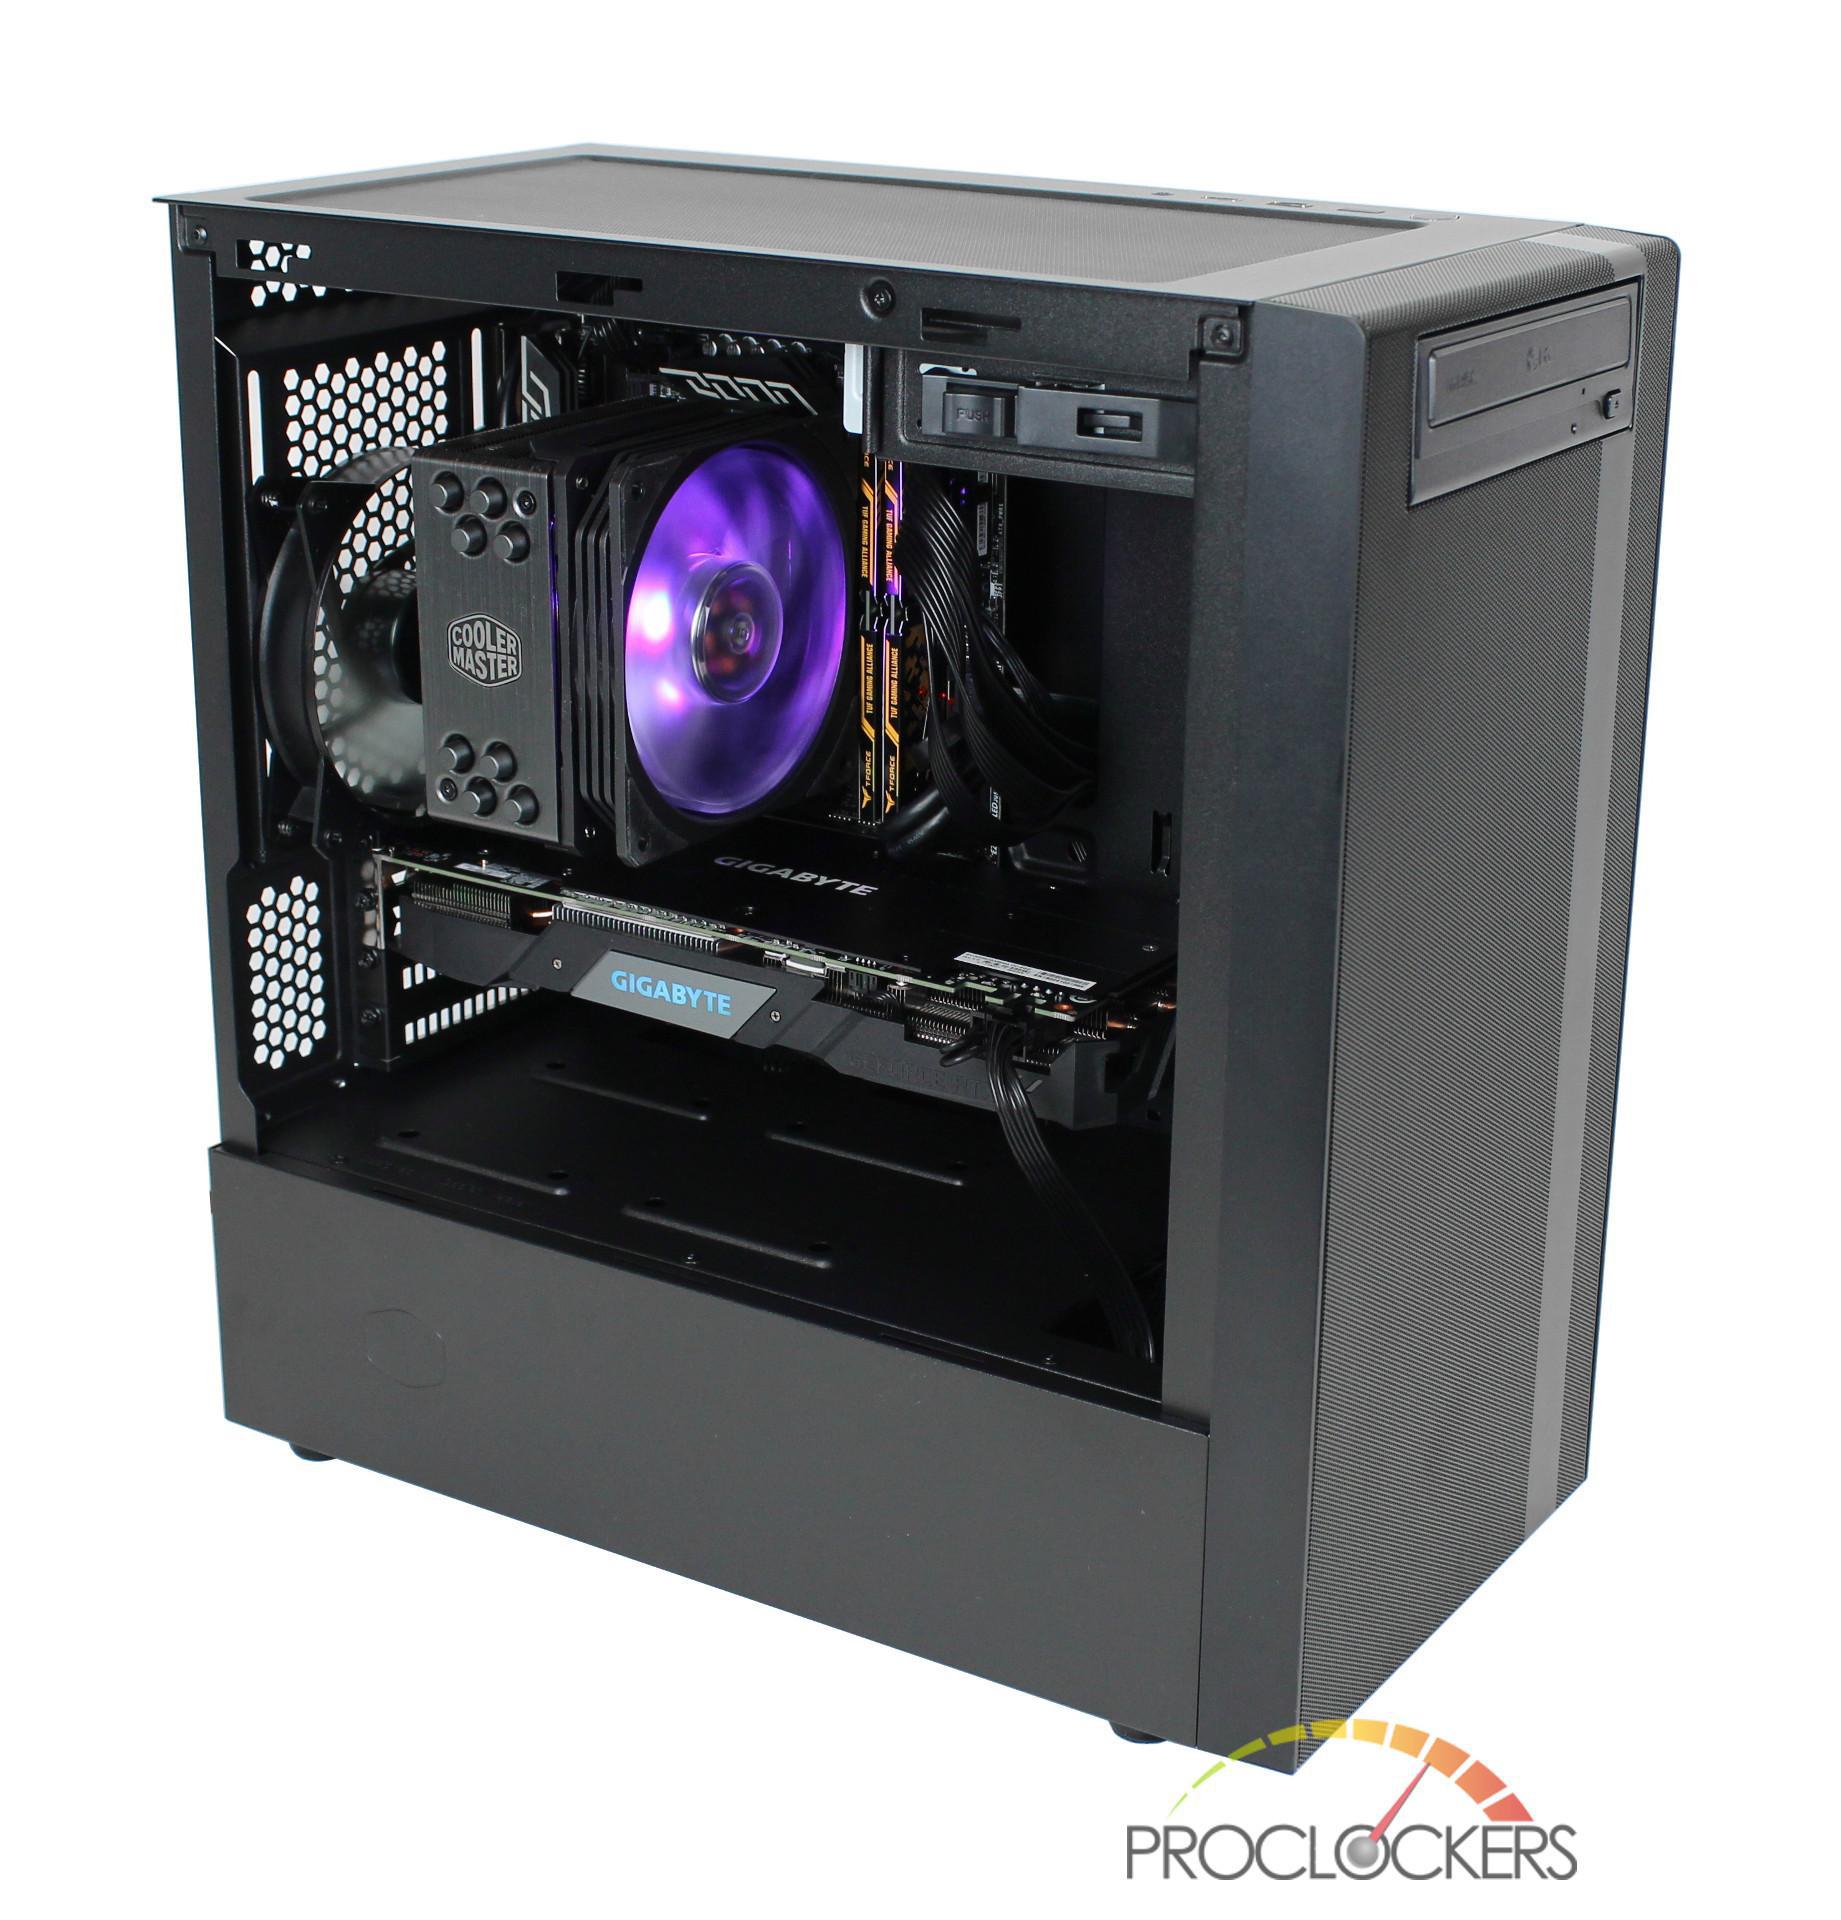
Building in the NR400 was a breeze and even after my mITX build was complete, I had plenty of room to spare. I had no clearance issues with Cooler Master’s Hyper 212 cooler and had ample space for my full-length RTX 2060. Even though I decided on a complete air-cooled build I feel there is easily enough room for a full custom loop. Since I went with an mITX board I didn’t need to use the included grommets for the majority of my cables. The oversized processor cutout gave me enough space between the motherboard and cutout, which allowed me to neatly route cables to the motherboard and maintain an extremely clean build.
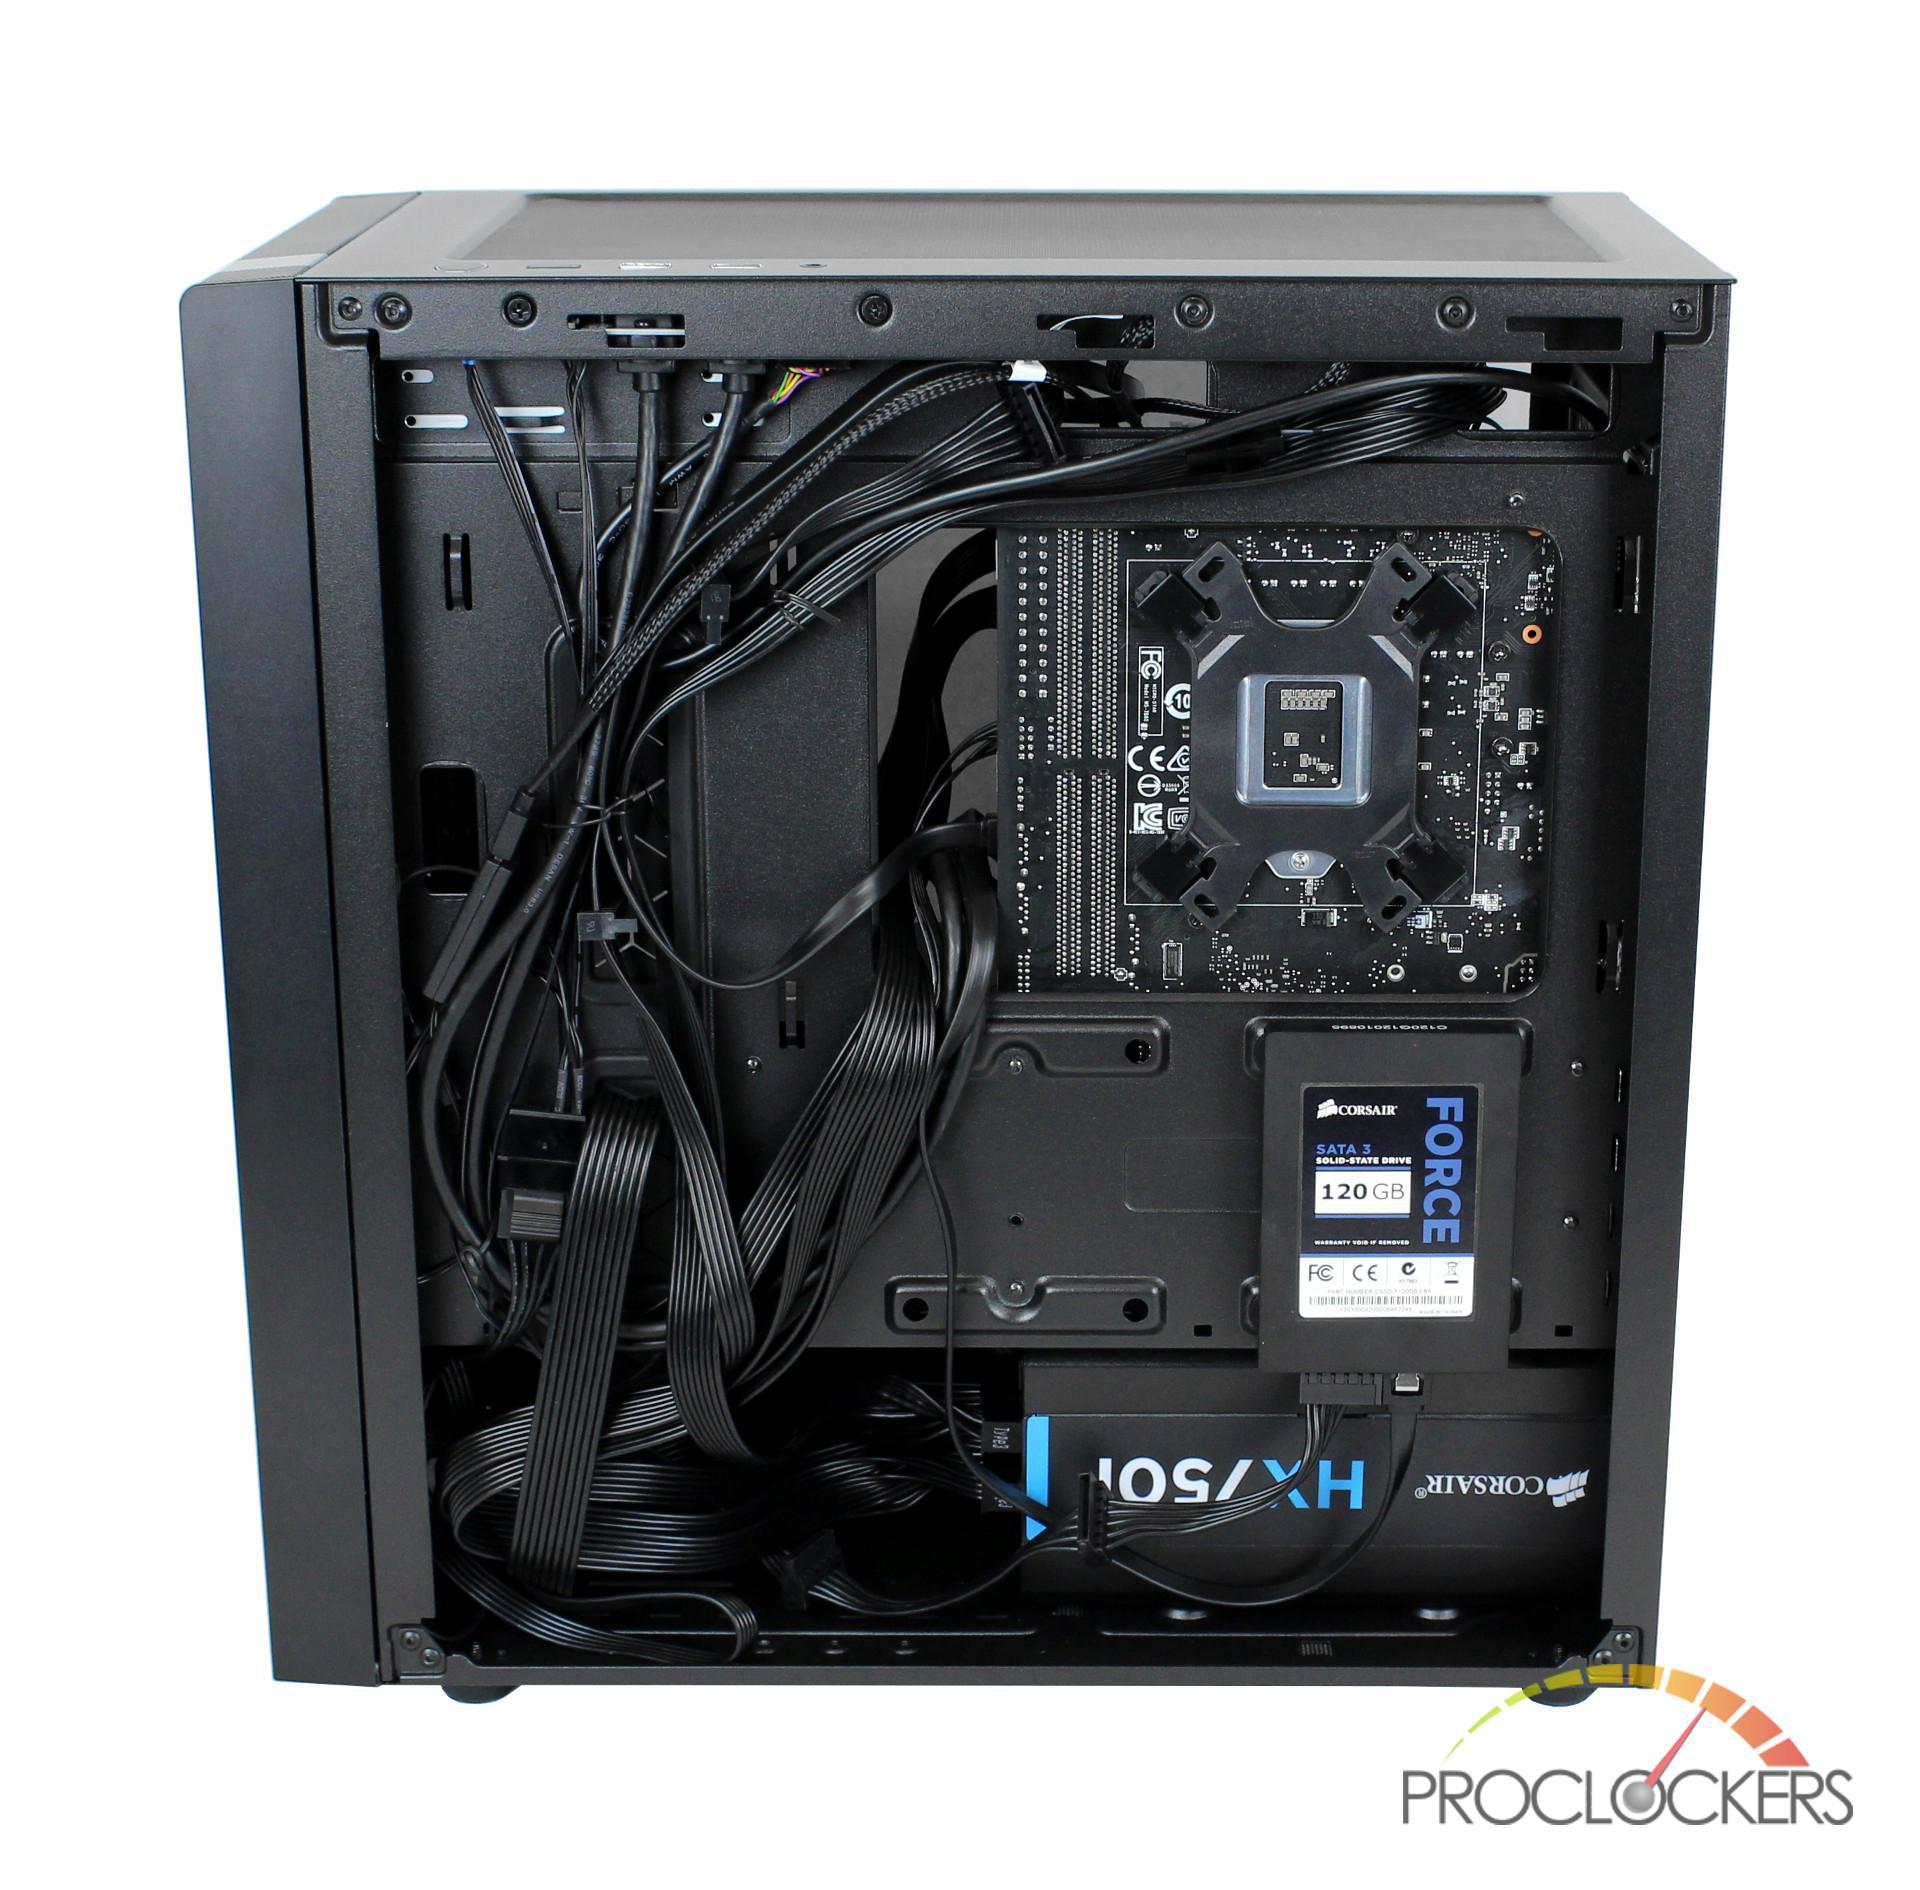
Moving to the back of the NR400, I also kept the cable management fairly clean with the available tie-downs. To help with the extra slack of the PSU cables, I removed the included HDD cage and chose to install an SSD below the motherboard cutout. The NR400 has 22mm of cable clearance between the motherboard tray and side panel so even with the extra SATA cables for the ODD, they had no trouble reattaching the panel.
Final Thoughts & Conclusion
Normally, building an mATX case is quite challenging due to the space restrictions but this wasn’t the case with Cooler Master’s NR400. Being a smaller case, I was pleasantly surprised by the amount of space I had during my build. There was plenty of room for all my components and even more to spare if I choose to water cool down the road.
In addition to the amount of room in the NR400, some of my favorite features of the case include its minimalistic design, mesh front panel for excellent airflow, and the mounting rails giving you more options for components. Also, whether you require the use of an ODD or not it’s nice to see Cooler Master offering the NR400 with or without a drive bay.
Typically, when looking for a case I tend to go for a mid-tower, but after building in the NR400 I may have to rethink that. This case has exceeded my expectations and I highly recommend anyone looking for a smaller chassis to check out the NR400.
Great job Cooler Master!


The 25 Best Anime Cats, Ranked
What are the best anime cats? Cats are something you either love with every fiber of your being or vehemently...


The 25 Best Anime Teachers, Ranked
Who are the best anime teachers? With high school being such a prevalent setting in anime, it makes sense that...


The 25 Best Orange Hair Anime Girls, Ranked
Who are the best orange hair anime girls? Orange hair is interesting in anime because it can either be a...