
Hardware
Cooler Master MasterBox TD500L Review
Introduction
Cooler Master is a staple in the world of DIY computer building. One of the most important decisions to make about a computer build is what chassis you are going to use. It dictates a lot about the contents and limitations of a system – motherboard form factor, GPU height/length, tower cooler size, and water cooling options just to name a few.
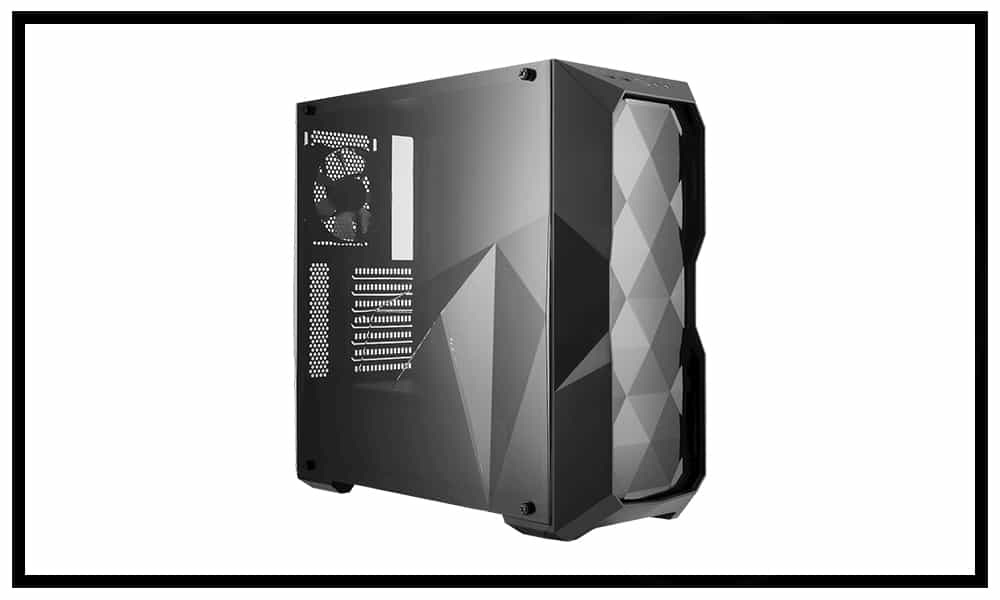
We have always been fans of Cooler Master chassis, and the Cooler Master MasterBox TD500L ATX mid-tower case is no exception. It checks all the important boxes for an off-the-shelf PC chassis: power supply shroud, windowed side panel, support for water cooling, and an interesting aesthetic, which includes a diamond-cut design on the front and side panels. Its sub $75 price tag (the model with RGB fans is $75) made me prejudge this case before actually getting to take it out of the box… but I couldn’t have been more wrong; it met and even exceeded my expectations. Cooler Master is really stepping up the PC chassis game with this MasterBox offering.
Pro Clockers would like to thank Cooler Master for sending the MasterBox TD500L over to check out!
Features & Specifications
Features
- Style
- An aesthetic diamond-cut design that extends from the front panel to the side panel shows a unique effect for your system.
- Side Panel
- Edge to edge transparent side panel
- The diamond cut design extends to this panel which allows you to see the unique designs from led fans and internal case lighting
- Edge to edge transparent side panel
- Cable Cover
- An additional cable cover allows you to take cable managing up a notch. Gives your system a professional look
- Versatile cooling options
- Has plenty of options to cool your system all while ensuring you do not have to compromise on performance (more detail in specifications)
Specifications
- Available colors
- Black
- Dimensions (LxWxH)
- 493 x 217 x 468 mm (19.40 x 8.54 x 18.43 in)
- Motherboard support
- ATX (up to 272mm width, 10.71 in)
- Expansion slots
- 7
- 5.25” drive bays
- O
- 3.25” drive bay (HDD)
- 2 (max 2)
- 2.5” drive bays
- 4 (max 6)
- I/O Panel
- USB 3.0 x 2
- Audio in / out
- Pre-installed fans
- Rear 120mm Black Fan x 1
- Fan support
- Front: 120mm x 3 / 140mm x 2
- Top: 120/140mm x 2
- Rear: 120mm x 1
- Radiator support
- Front: 120/140/240/280/360mm
- Rear: 120mm
- Top: 120/240mm
- Clearances
- CPU cooler: 166mm, 6.53in
- PSU: 190mm, 7.48in
- GPU: 407mm, 16.02in
- Cable routing
- Behind Motherboard Tray 19mm, .75in
- Dust Filters
- Front
- Top
- Bottom
- Power Supply support
- Bottom mount ATX
No matter whether you plan to air cool, AIO cool, or custom water-cool your system, the Cooler Master MasterBox TD500L has plenty of space and features to support whichever method you choose. Being that it can fit GPUs of up to 16 inches in length, you can use cards that have massive air coolers on them, which has been a popular (and effective) GPU cooling trend that doesn’t show any signs of changing. If you plan to water-cool, the case has an abundance of space to fill with a decent amount of hardware. It can fit up to a 360-mm radiator in the front as well as a 240mm or 280mm at the top. That is plenty of radiator space to tame a high-power CPU as well as dual graphics card configurations. And of course, AIOs are similar too custom watercooling, but without the added bulk of the pump or reservoir, so if you go this route, the case leaves you plenty of interior space, for… you know… activities.
All in all, it is an extremely thought out and balanced platform designed for builds of all calibers as well as systems of all types. Where performance meets aesthetics while not breaking the bank.
Packaging & Unboxing
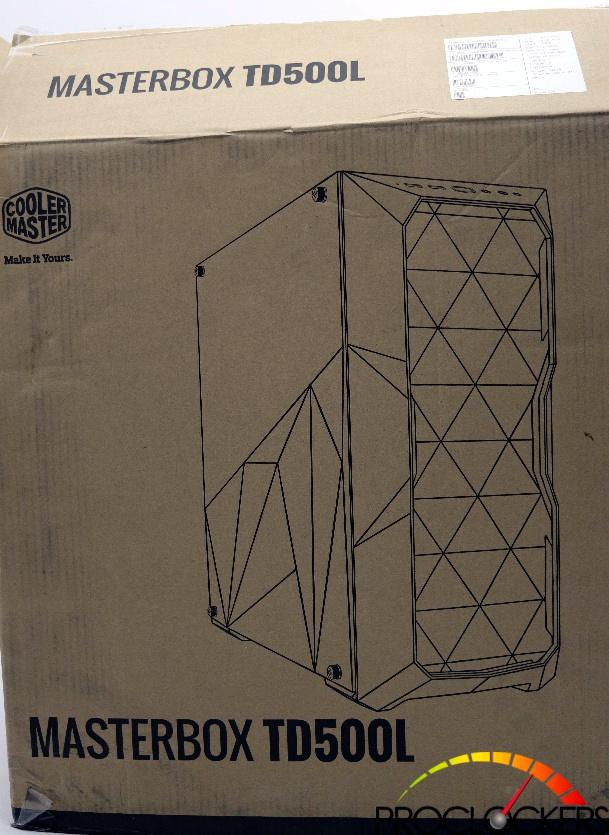
Cooler Master went with a simple design of the box for this case, which is to be expected at the price point, and in my opinion, any case box, for that matter. On the front of the box, we get to see an outline view of the case.
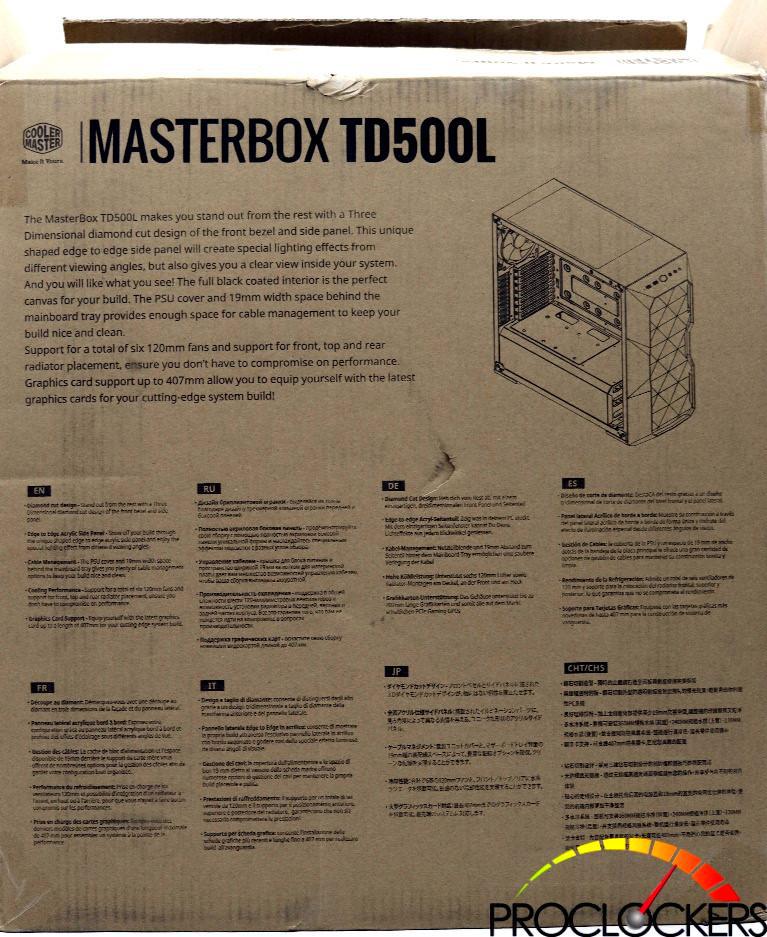
On the back, we get a different outline view as well as some information on the case in multiple languages.
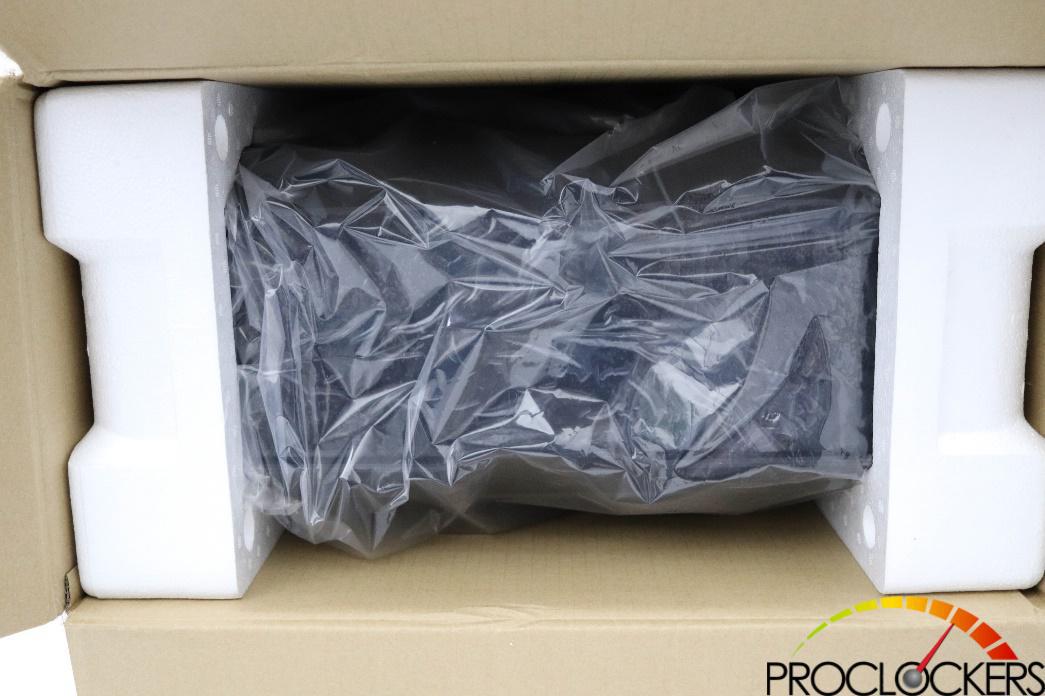
Inside the box, we see the case wrapped in plastic and kept in place but some hard Styrofoam. To some people, this isn’t enough protection, but in my experience, this is an acceptable level that gets the job done. The case was shipped to me directly from Cooler Master. It survived, undamaged. Score 1 for status quo case packaging.
A Closer Look: Exterior
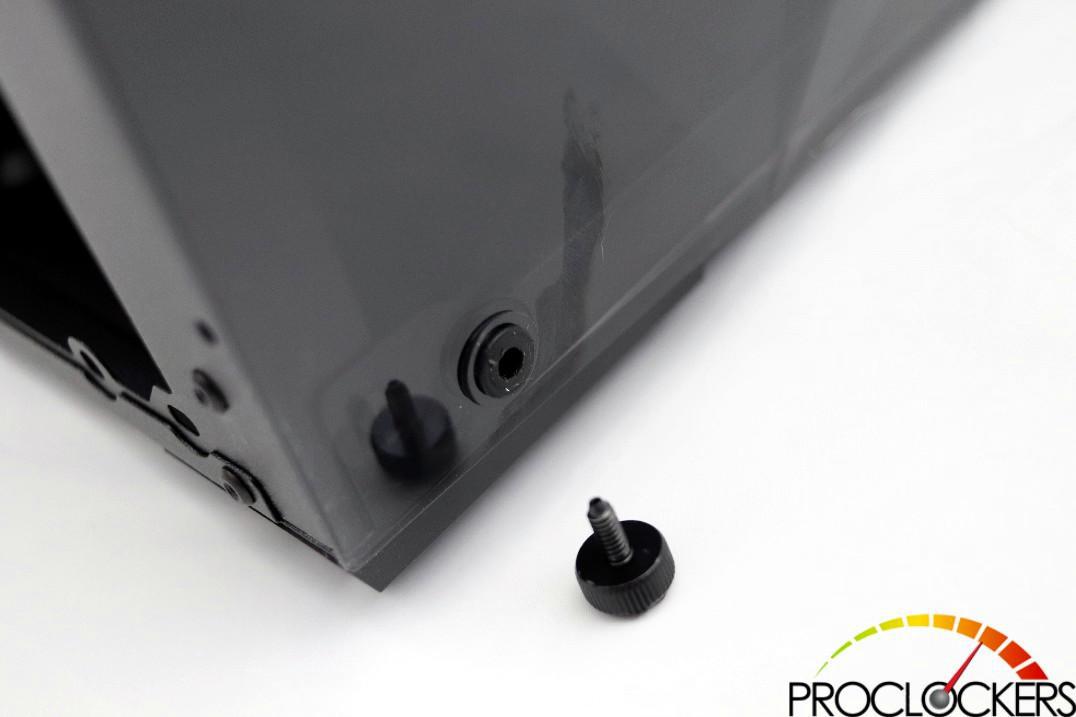
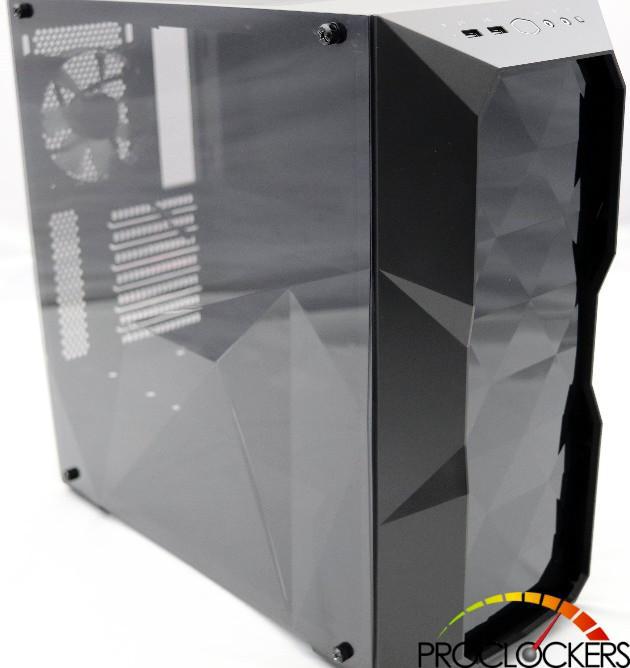
The overall aesthetic of this chassis is very pleasing to the (my) eye; it is obvious Cooler Master wanted it to be eye-catching. The diamond cutting on the front and side panels is definitely a unique design element especially for a case at this price point. While the front panel can be snapped and unsnapped from the chassis, the side panel is held on with oversize thumb screws through rubber grommets, much like so many tempered glass panels on more expensive cases.
The panels themselves are a smoked transparent acrylic which gives the case a more premium look than many of the chassis’ competitors, and the edge-to-edge design of the side panel is a bold choice that pays off for the TD500L. Furthermore, the diamond-cut design adorning the front and side panels is three-dimensional (not just laser etched), which will work with your case/fan lighting to create a truly unique look for your system. Lastly, the angular/tapered design of the front bezel really ties the room… er… the case, together well.
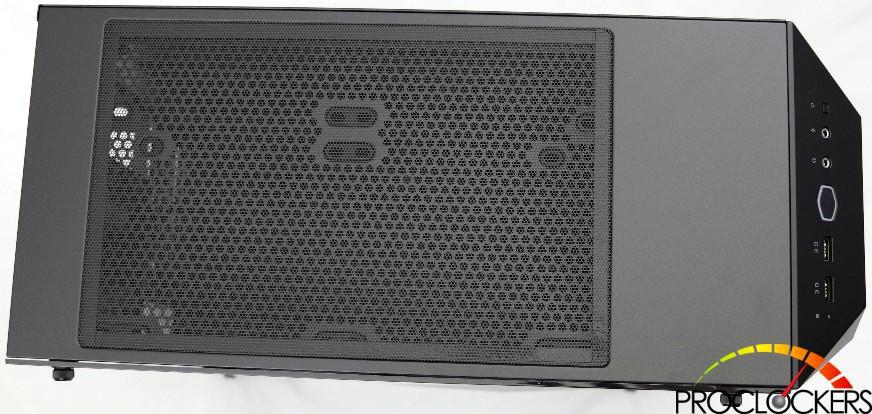
The top grille piece is designed with offset fan/radiator mounts, which means you’ll have good clearance for thicker radiators or even a push-pull configuration. You also get a magnetic dust filter covering the top, to prevent settling dust from entering your system.
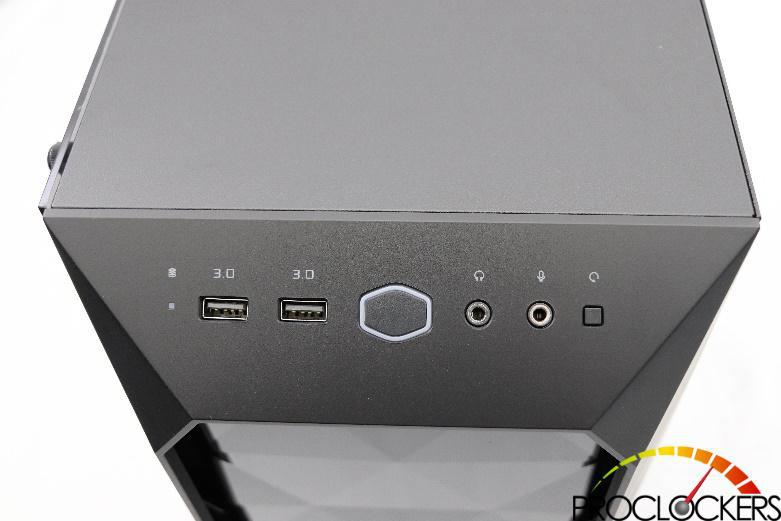
The front I/O is very clean and well organized with a centered power button, reset, drive activity light, and two USB 3.0 ports to round it out.
The rear portion of the case has a 120mm mount for fans or radiators next to the IO cutout. The metal mesh below the fan mount gives you an idea of just how tall of a GPU the case can handle… If I didn’t know any better, it looks like you could fit a vertical GPU there (with some sweet case modding, of course), if you decided you didn’t want to use any of the standard horizontal PCI expansion slots provided.
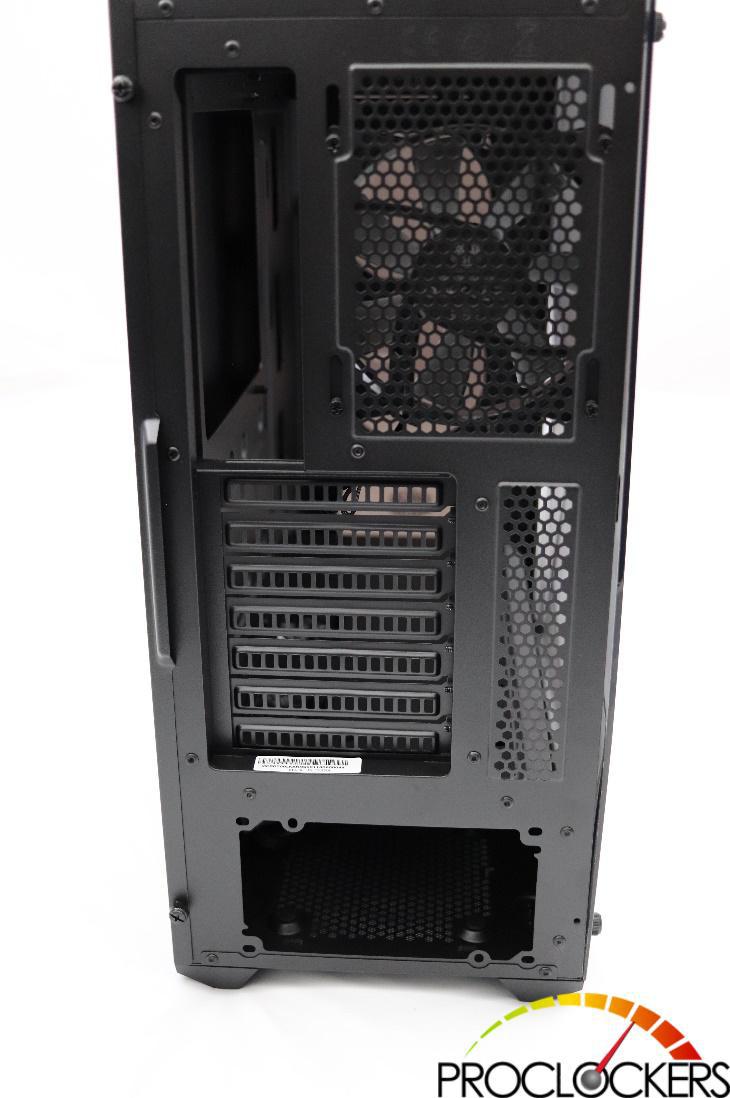
At the very bottom of the chassis, you’ve got room for a standard ATX power supply.
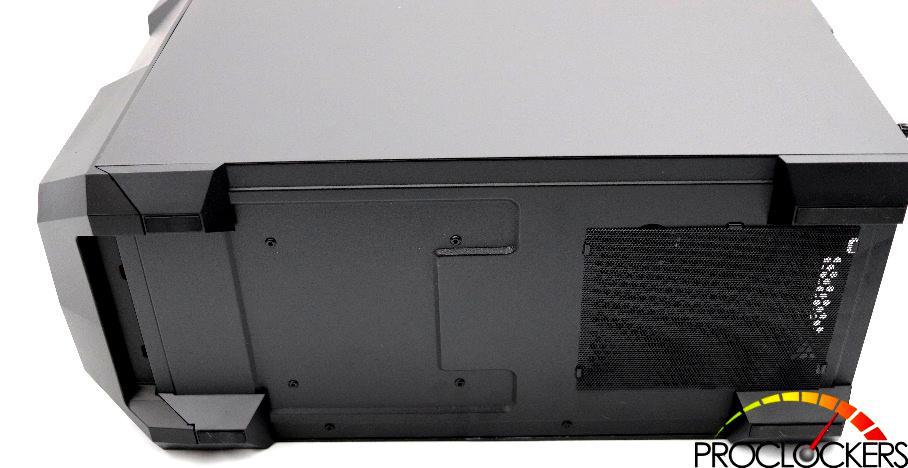
The underside of the case is slightly raised via four stylish corner feet that are somewhat seamlessly integrated onto the case. This is more than just a design element, however. Having the underside raised up like that gives the power supply some breathing room to pull in nice fresh air… through a dust filter no less! The filter is basic but effective, and easy to remove if and when cleaning is required. In this photo, we can also see the chassis is held together with rivets, a very effective (in both strength and cost) manufacturing method for PC chassis.
A Closer Look: Interior
The interior is a rather open layout, which again, emphasizes the fact that there are plenty of options and space for you to build what you want. The motherboard tray accepts mini-ITX, micro-ATX, and full-sized ATX motherboards with up to 7 expansion slots. The power supply shroud is a very nice feature for this price point, as shrouds have come to be expected in any decent case these days. The space at the front of the PSU shroud is deep enough that you can fit a medium thickness radiator with a layer of fans (or maybe even a slim rad with push-pull), which is a thoughtful design choice by Cooler Master.
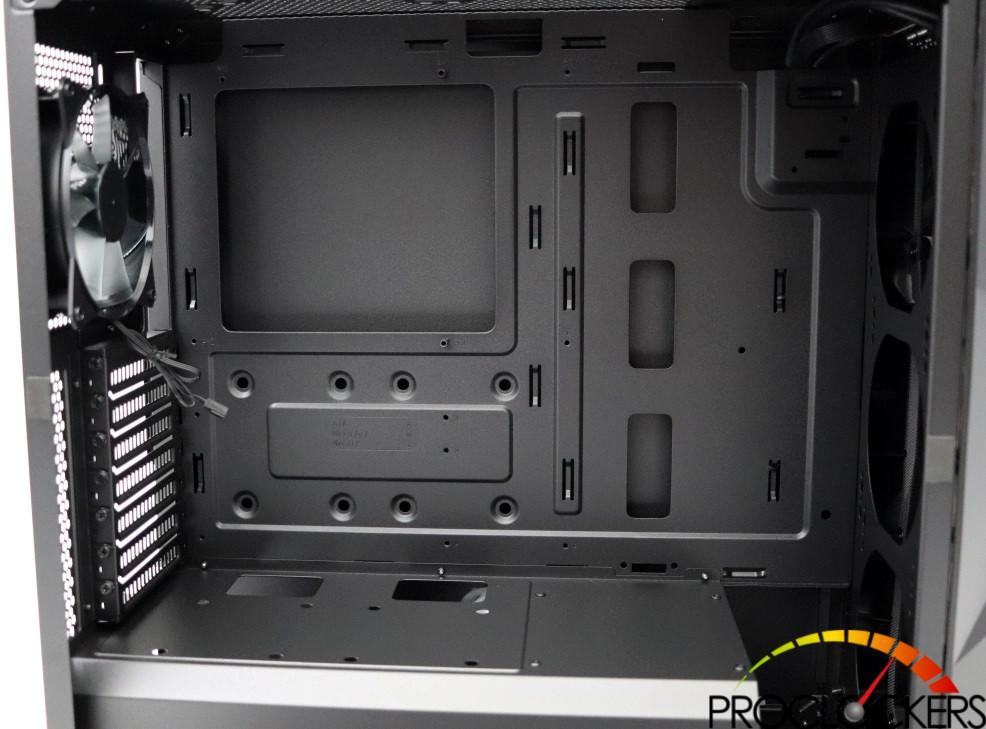
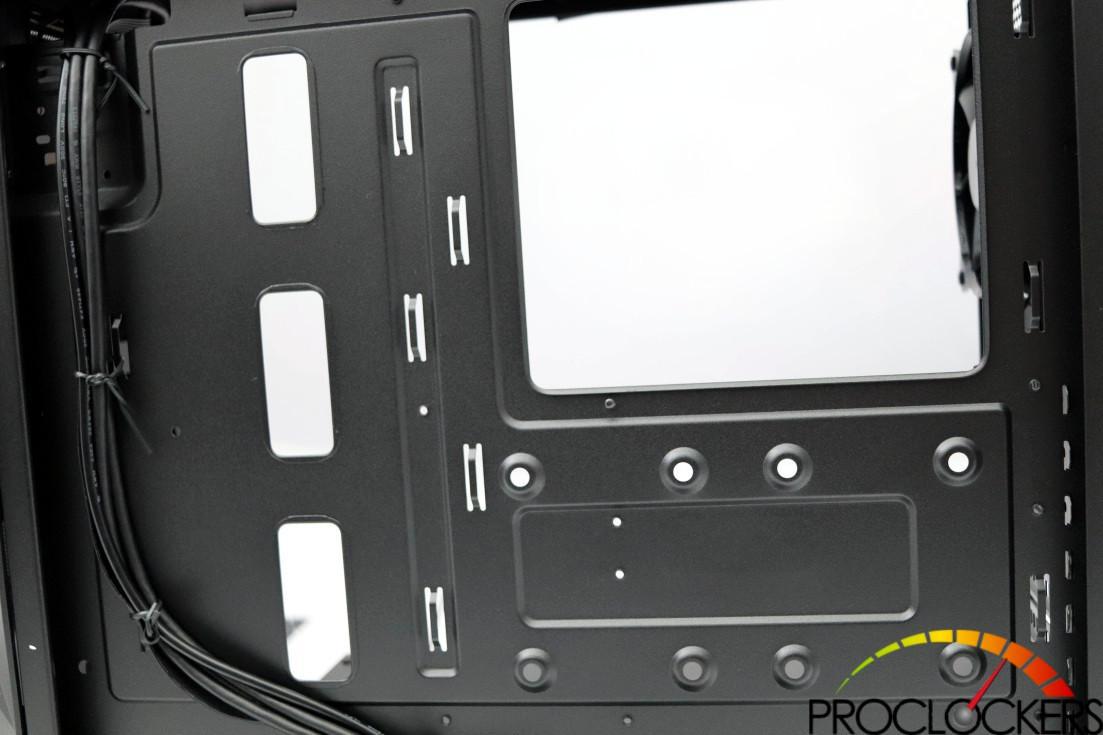
The motherboard tray has some cable routing holes at the top, as well as a pretty massive cutout around the CPU socket, which potentially allows you to change the cooler without having to remove the entire motherboard from the case.
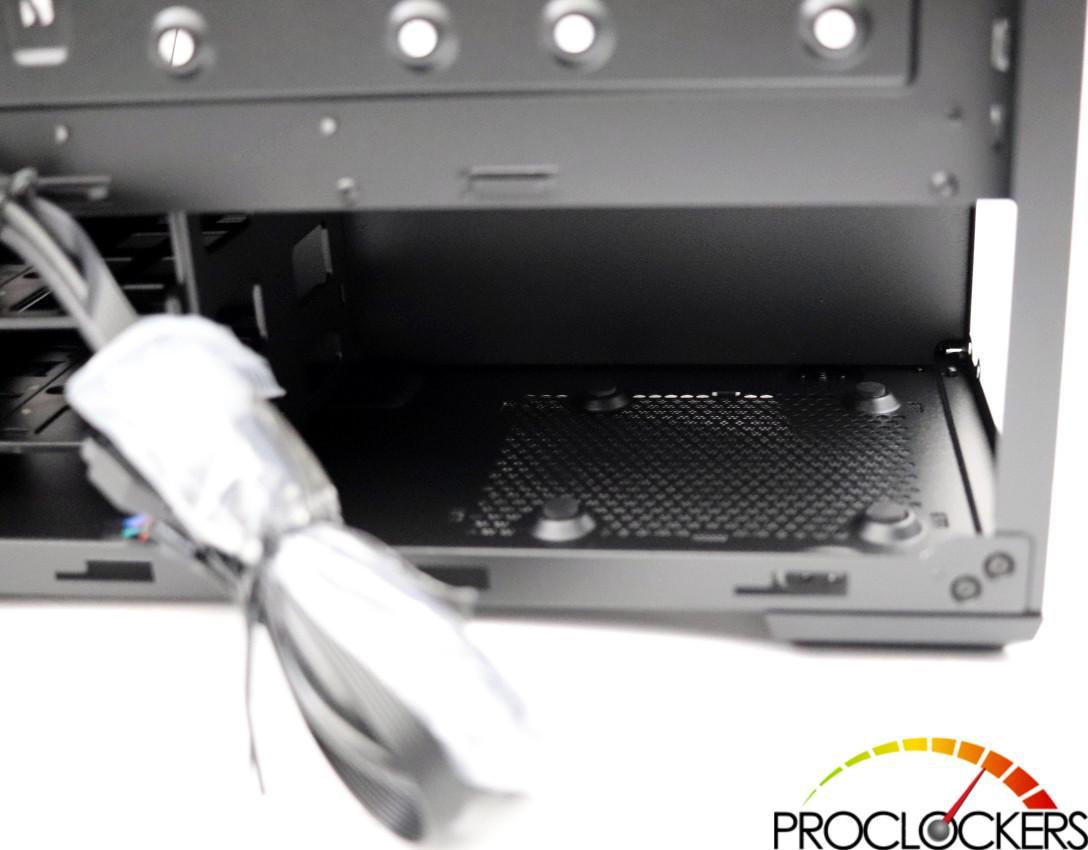
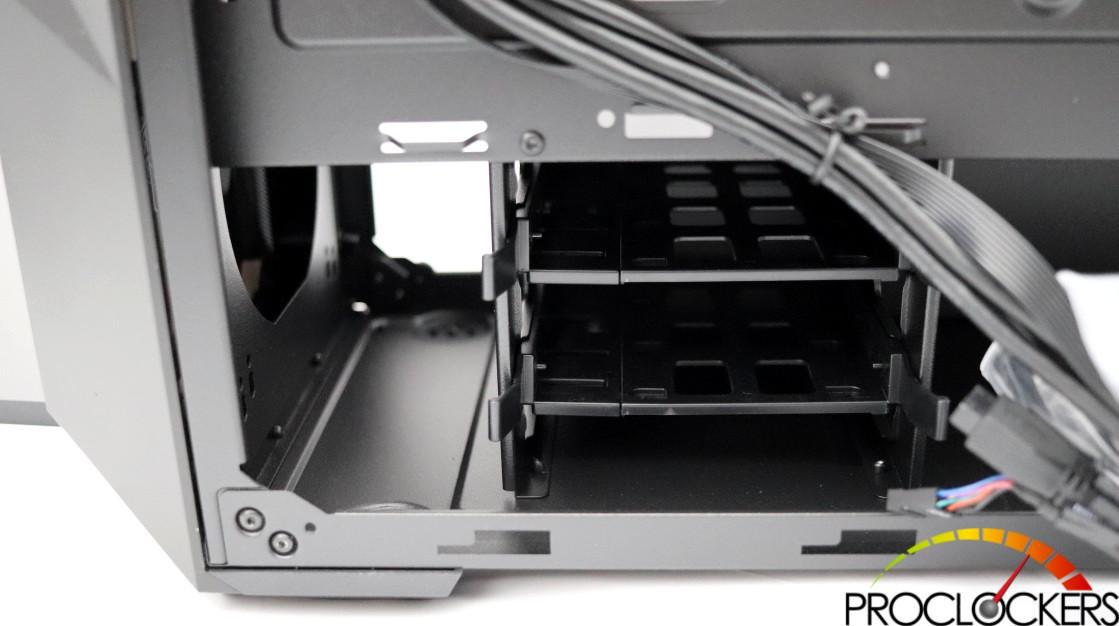
Moving to the nether regions of the chassis, the chamber under the shroud gives you plenty of room for most any length ATX PSU, save for maybe your high wattage Corsair or EVGA units, due to the 3.5” drive cage that is also located under the shroud. This drive cage can hold up to two 3.5” drives, or, if you need the space for a long power supply, or perhaps a water pump, it can be removed by simply drilling out the rivets that secure it to the chassis. It would have been nice if this was held in by screws or bolts so that it could be removed without drilling the case. However, in this budget price range, I’m not surprised that they made a compromise like this.
The backside of the mobo tray has mounting locations for two 2.5” drives and plenty of cable tie-down locations. We also see the three main cable routing holes next to the motherboard. Coming from the front portion, we also have all the front panel header wires, which will plug into the motherboard, and allow those nifty buttons and ports on the front of the chassis to work. Lastly, there is adequate space for your cables to live behind the mobo tray if you don’t try to cram them on top of each other all willy nilly… a little time spent managing cables goes a long way in a case like this.
We also get a little box of accessories with the case, which include the documentation/manual a cleaning cloth, some zip ties, necessary screws, motherboard standoffs, as well as some extra side panel thumb screws and the accompanying rubber grommets.

System Configuration & Build
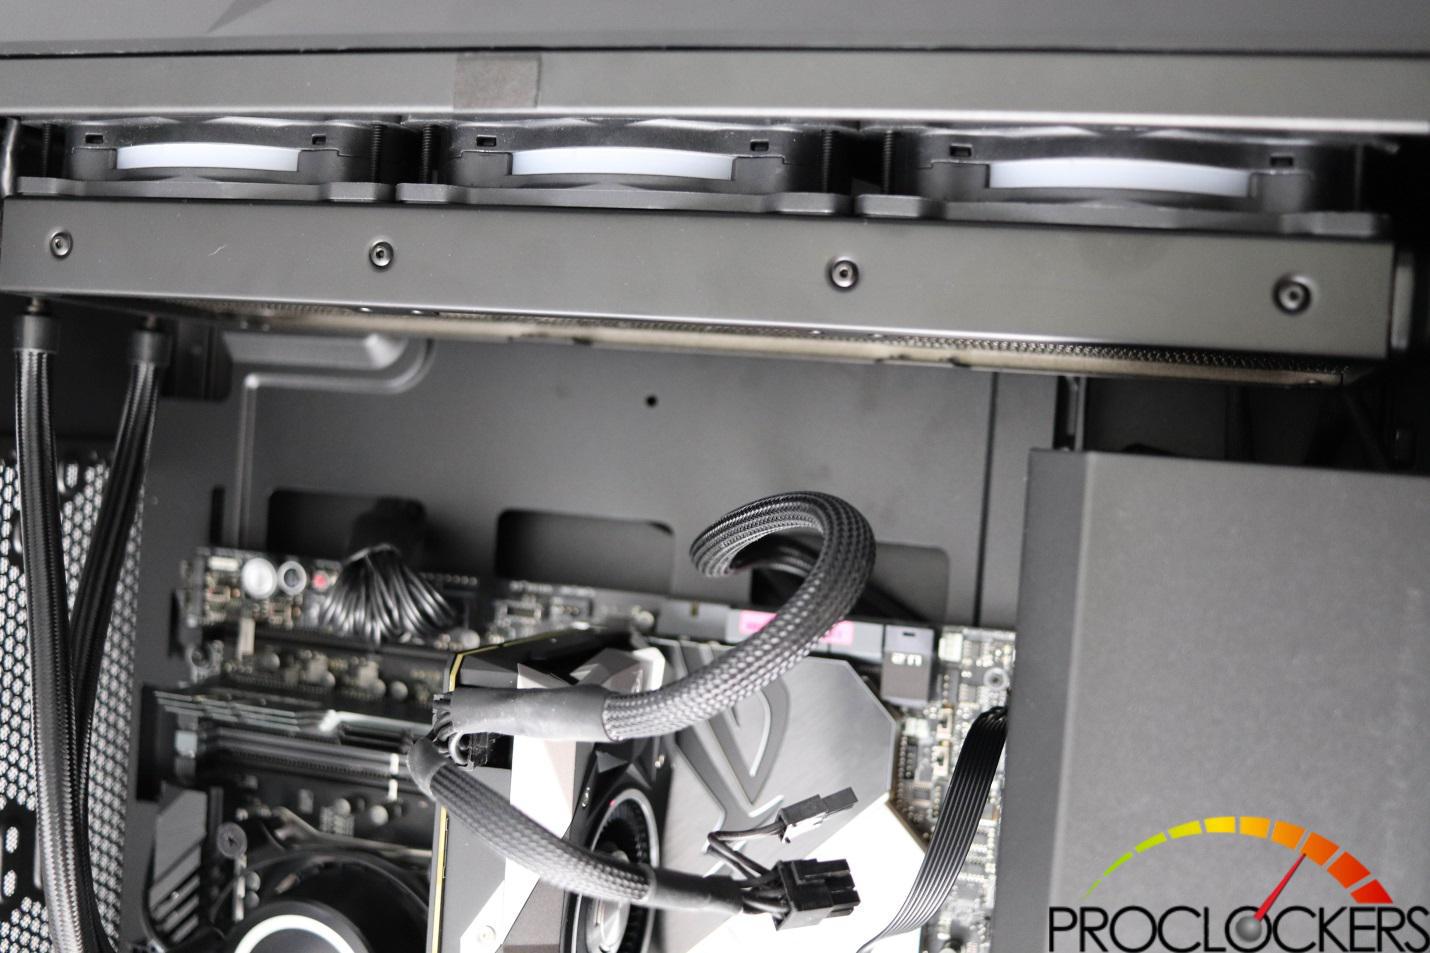
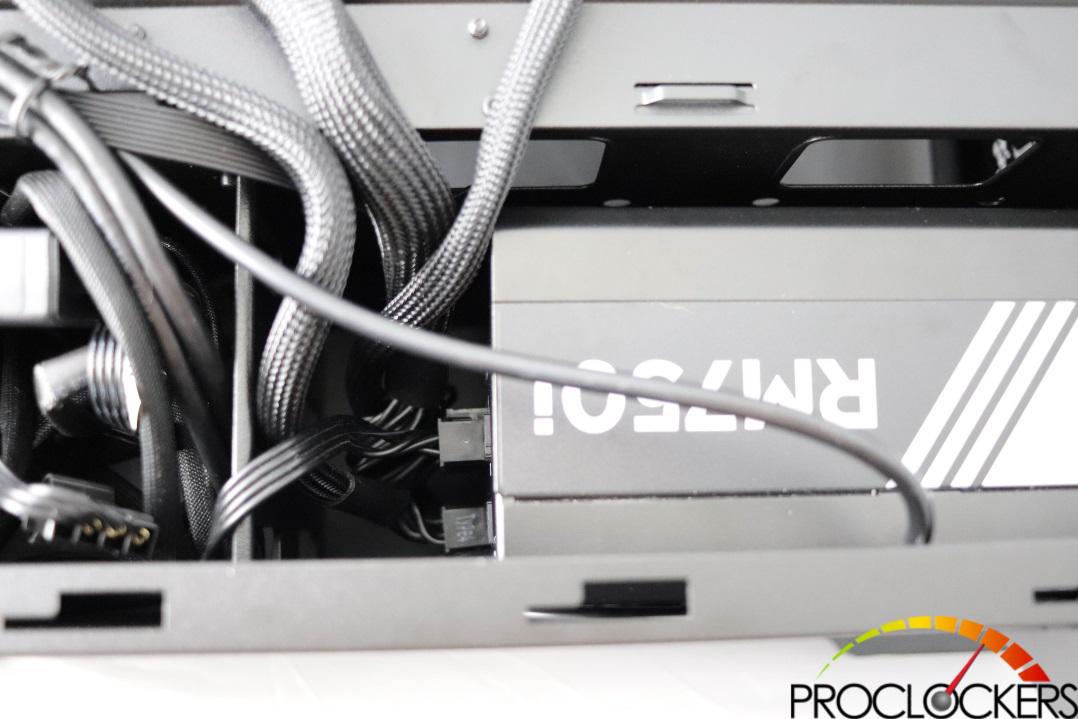
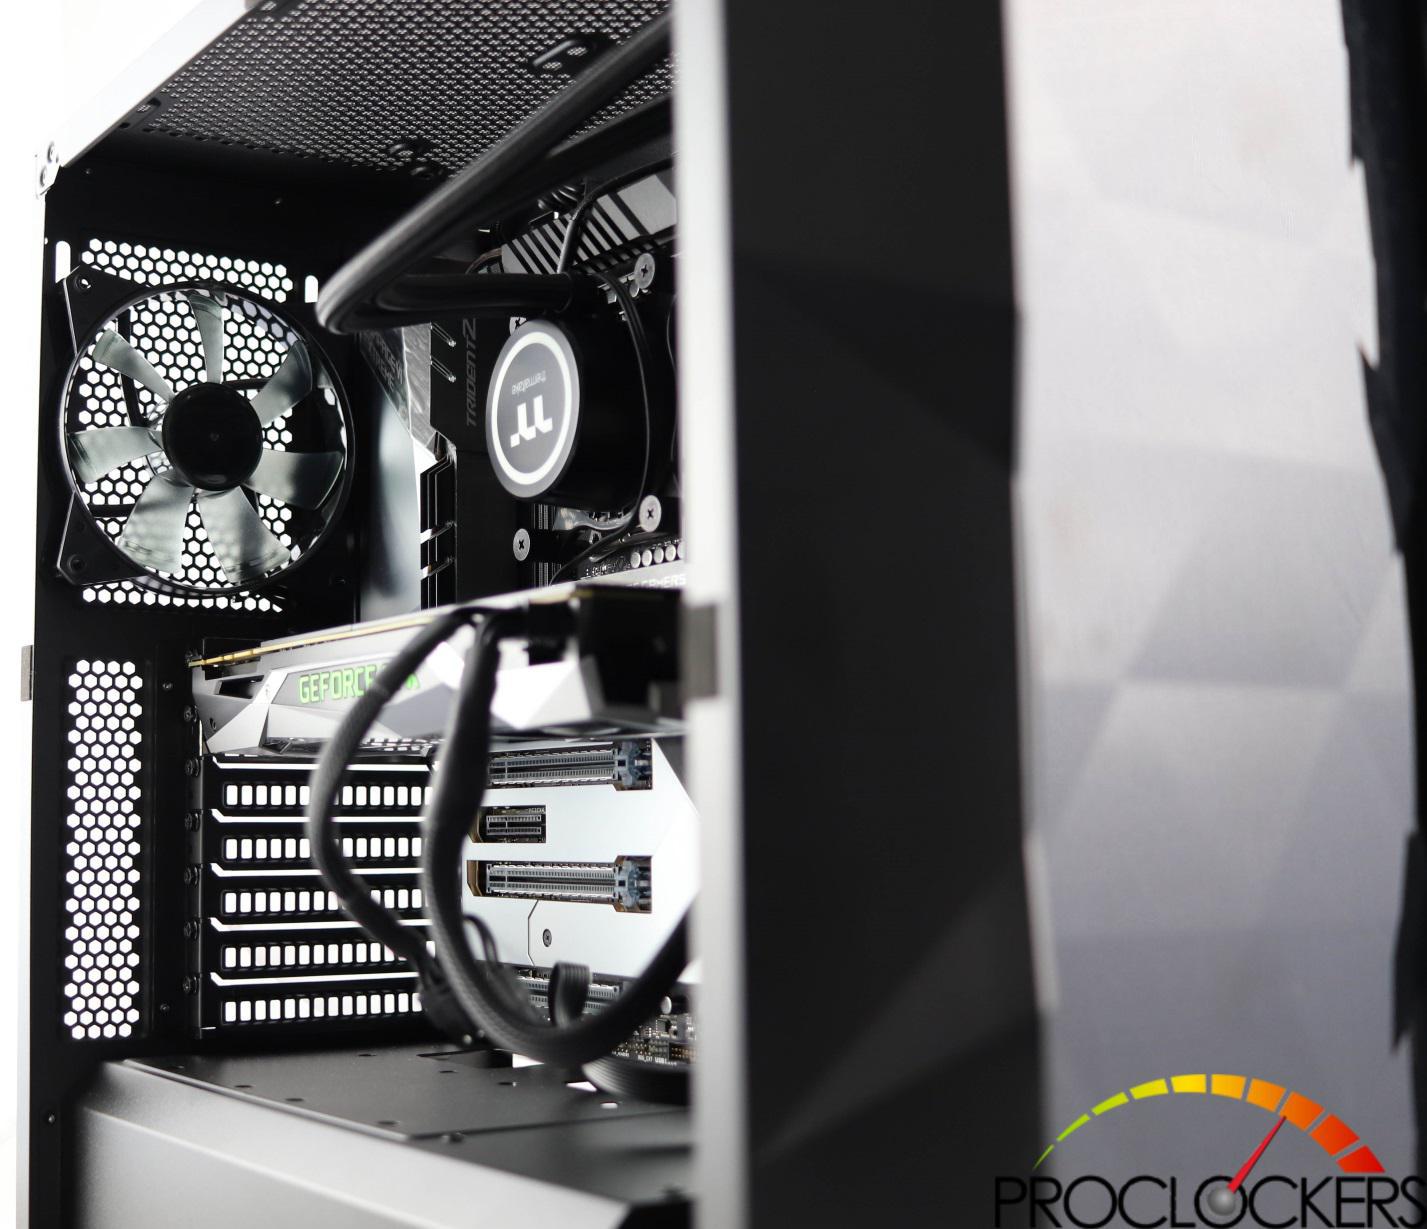
Being that there is a lot of options for a build in Cooler Master TD500L because of how it was designed I decided to do something a little more basic compared to a full on custom water loop.. or 2. For a CPU cooler, I decided to go with the Thermaltake Floe Riing 360. I wanted to show off its capabilities at having a 360mm radiator in the front of the case. I actually used an EATX motherboard to show that it can unofficially support motherboards a little wider than standard ATX size. For the power supply and cables, I went with the rm750i from Corsair using the standard cables. Since so many motherboards support m.2 style of SSD I didn’t include any 2.5” or 3.5” drives because clean sleek builds are becoming more and more what people want and desire. I left the standard 120mm fan in the back of the case as a vent. I also didn’t include any fans at the top of the case because I have adequate cooling and noise levels.
Before we were able to place in the motherboard we had to install the standoffs. Being that we used an EATX motherboard and they share similar holes I was able to mount it like an ATX motherboard with no modifications. The motherboard does start to cover up the cable routing holes so be careful if you go too wide.
After the motherboard installation, I went with the next biggest piece which was the CPU cooler. There was plenty of space to install the rads and fans to the front of the case while also having space to route the fan cables alongside the cooler without being able to see them.
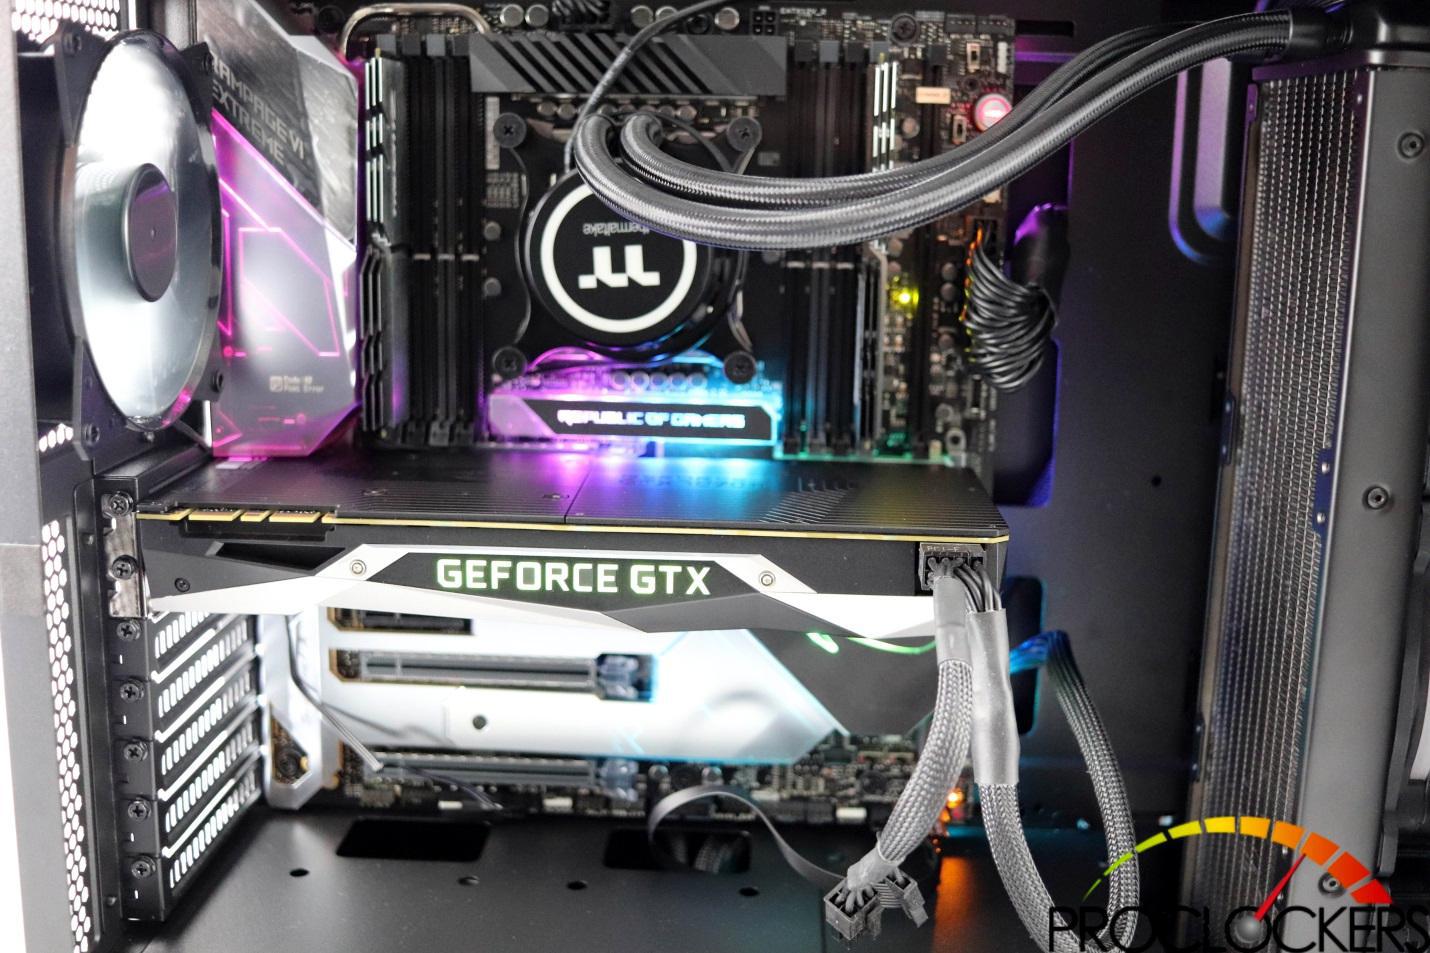
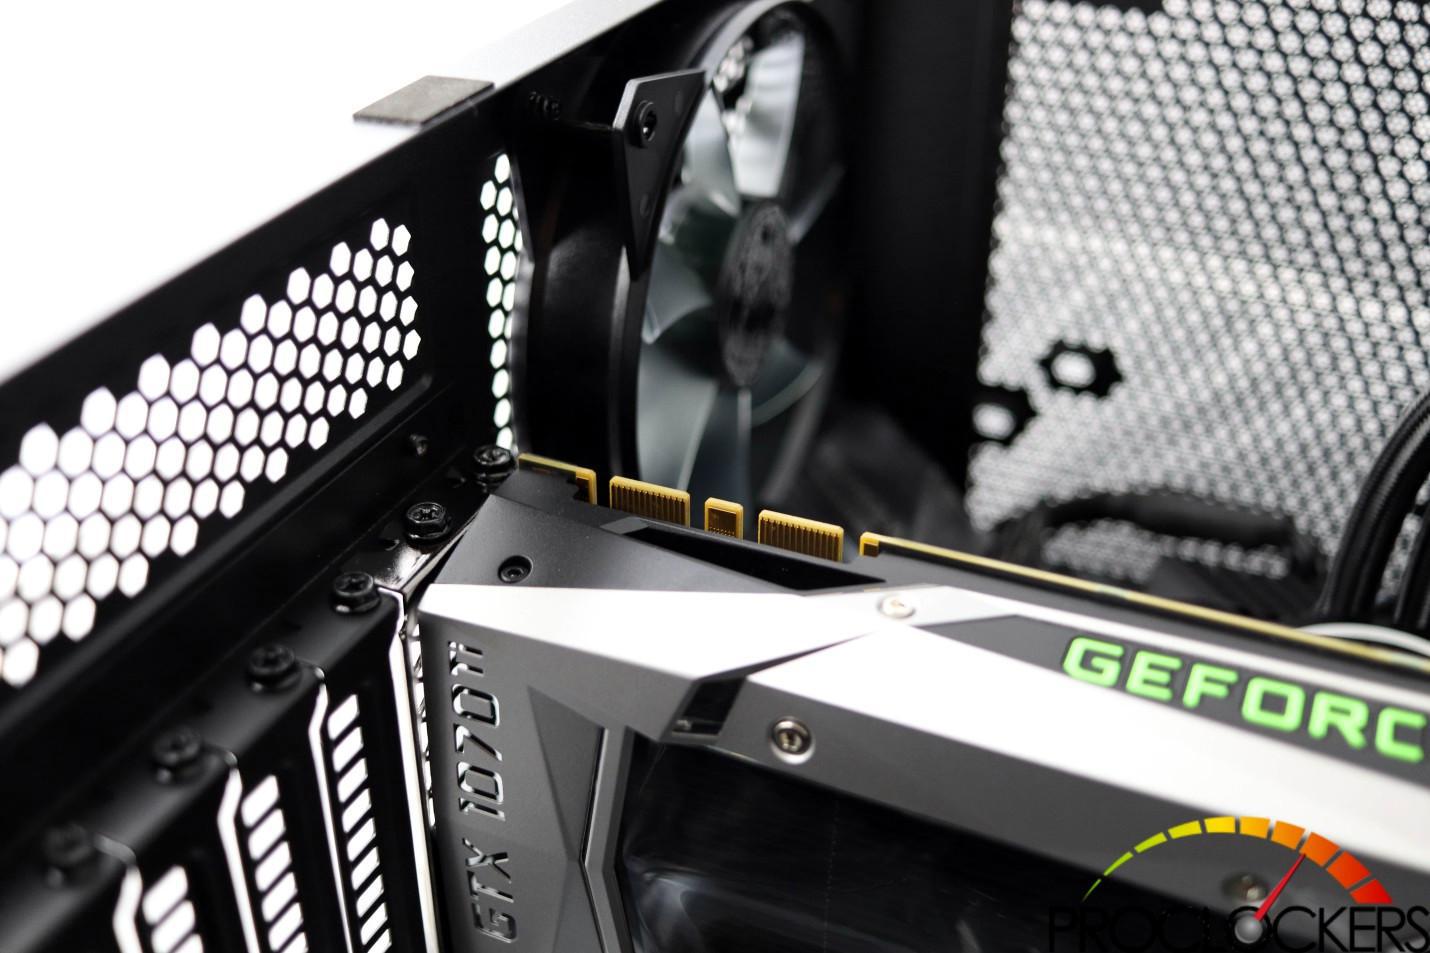
Next, I installed the GPU and it was fairly uneventful as you just need to remove the thumb screws that pertain to whichever expansion slot you want to access.
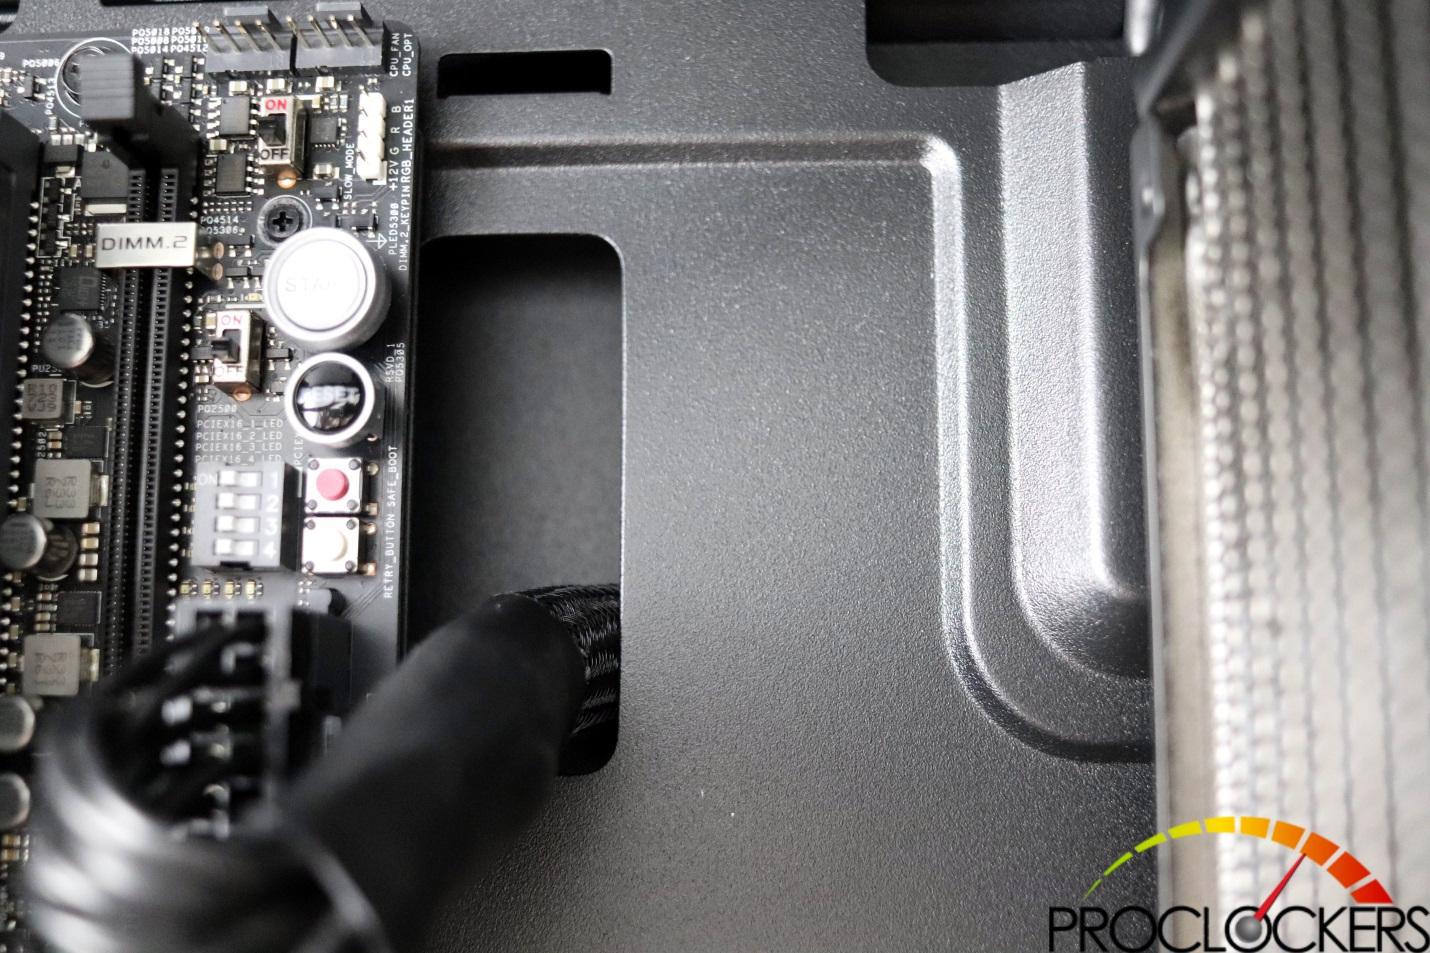
Routing the cables took a little more work than I first hoped. You need to connect the cables to everything in the system and plug them into the power supply while it is outside the case. After that, you just walk it into the case slowly and then screw down. The cables remained snug but not too tight so they all stayed in place well and I didn’t use any of the tie downs.
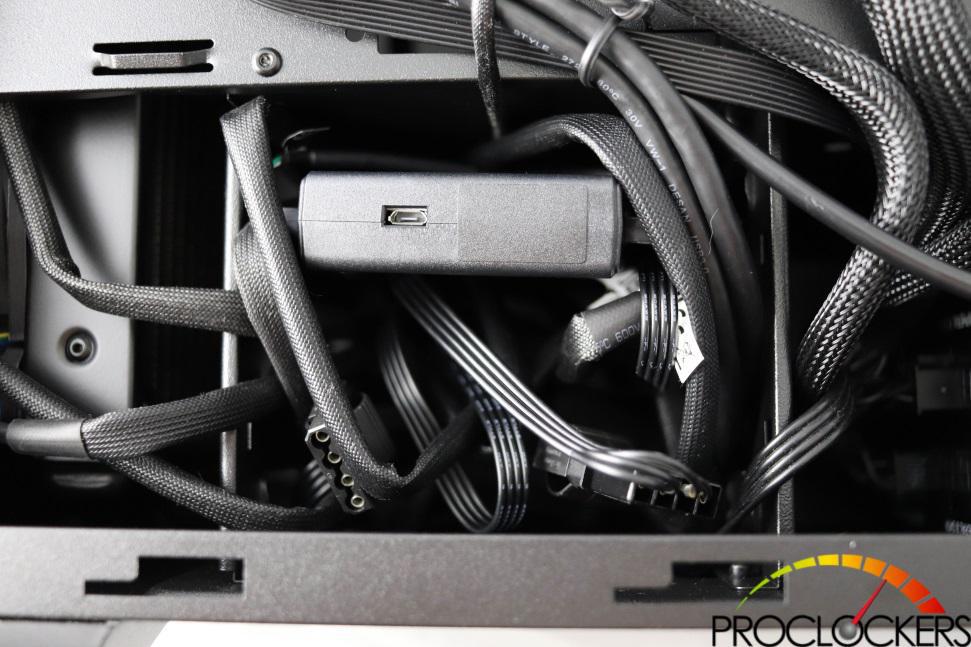
The cables for the CPU cooler are quite lengthy so I removed the 2 Hard Drive trays to make space for a cable cubby (basically just stuffed them in there).
Final Thoughts & Conclusion
In an age of tempered glass and ‘RGB all the things’, Cooler Master decided to release this case. This case has neither by the way, but they do sell one with some RGB fans for about $75. We don’t mind this case coming the way it does. They are sending you a shell to do with as you please. A blank canvas. We prefer it this way. Instead of tempered glass, we get some 3 dimensionally shaped smoked acrylic.
This case is simple, clean and very much functional. It offers more than enough for people to be able to play around with and not get bored. Since some people like us don’t necessarily like everything RGB, we are glad that it doesn’t come with RGB fans. Some people wouldn’t use them so they would take them out to use wanted anyway so that’s nice. We would say that the case would be extremely easy for anyone to build in. We could talk on and on and on about this case, but that’s not what the case wants. It wants to look unique and be sleek all at the same time. It accomplishes this mission.
The only thing this case is lacking is some aftermarket cables and better cable management….so I guess the only issue with this case is me. Finally, I’d like to thank Cooler Master for sending us the MasterBox TD500L, it is an awesome case!


The 25 Best Anime Cats, Ranked
What are the best anime cats? Cats are something you either love with every fiber of your being or vehemently...


The 25 Best Anime Teachers, Ranked
Who are the best anime teachers? With high school being such a prevalent setting in anime, it makes sense that...


The 25 Best Orange Hair Anime Girls, Ranked
Who are the best orange hair anime girls? Orange hair is interesting in anime because it can either be a...