
Hardware
Creative Sound Blaster K3+ External Mixer Review
Introduction
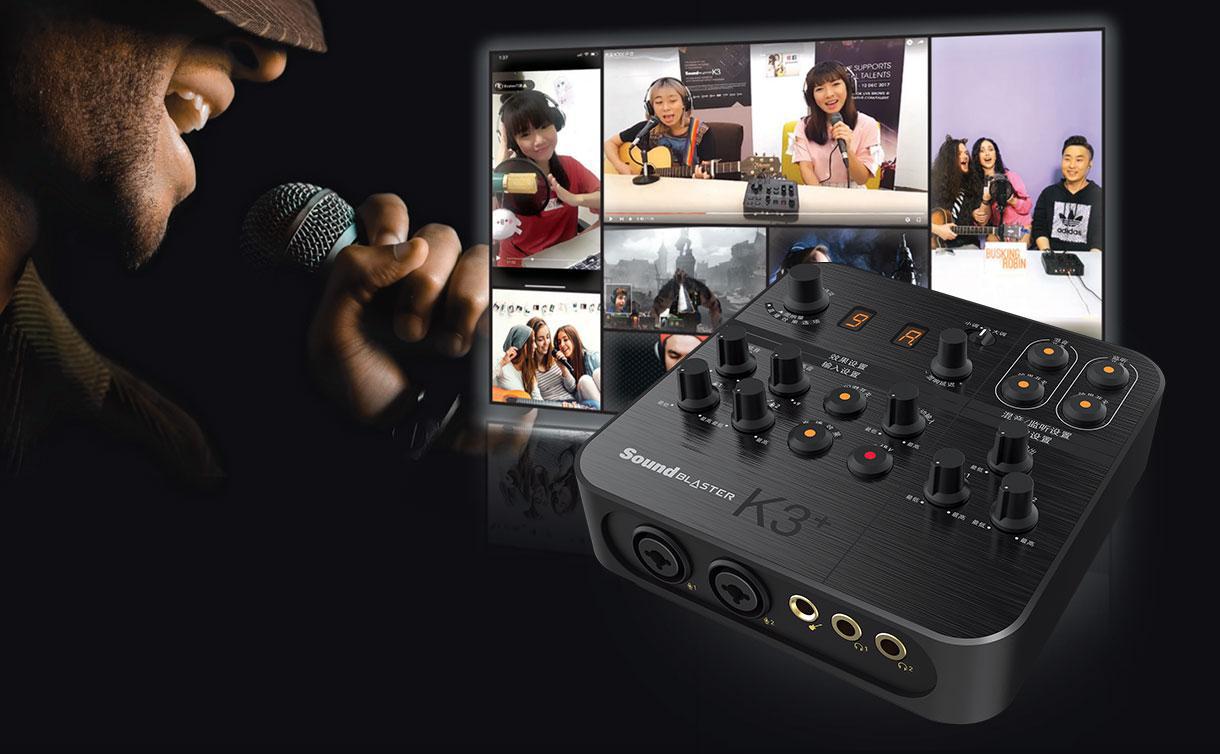
Streaming and content creation, in general, has really grown in popularity over the last few years. Whether its YouTube, Twitch or even Facebook Live. With how large the online community has really gotten; the world has never seemed smaller. But how can you set yourself apart from the millions of people doing the same thing you’re trying to do? One key way is audio. You can have the best quality, 4k content, but if you have bad audio quality, no one will watch your videos aside from your friends. Many people simply use the mic on their when cam or maybe upgrade to a USB mic like a Blue Snowball or Yeti. However, if you really want to get the best audio quality, you really want to use an XLR mic with an audio interface.
This past January, we attended CES. It was there we met with the people at Creative, the makers of sound blaster for the first time. We saw just about everything we had expected to see from a company known for audio products such as soundbars, headsets, and sound cards. We also got to take a look at a few things we never expected like mice and keyboards. We also saw what the focus of this review is, the Sound Blaster K3+ and no, its not just another sound card. The Sound Blaster K3+ is an audio interface that can use up to 2 two XLR microphones. The K3+ is based on their very popular K3 that was only released in the Asian market. However, what is it, if anything that sets the K3+ apart from any other audio interface on the market? Well, let’s take a look at it and see.
Pro Clockers would like to thank our friends at Creative for sending us the K3+ to take a look at.
Creative’s take on the Sound Blaster K3+:
The Sound Blaster K3+ is an external sound mixer module with hardware audio processing such as reverb, bass/treble tuning, and soundboard effects. It boasts multiple connectivity inputs, supports 48V phantom powered condenser microphones and features individual input/output gain control. Practical and user-friendly, the Sound Blaster K3+ is perfect for streamers and musicians alike.
Features & Specifications
Sound Blaster K3+
USB-Powered Recording and Streaming Mixer with Sound Effects Processing and Soundboard

The Sound Blaster K3+ is an external sound mixer module with hardware audio processing such as reverb, bass/treble tuning, and soundboard effects. It boasts multiple connectivity inputs, supports 48V phantom powered condenser microphones and features individual input/output gain control. Practical and user-friendly, the Sound Blaster K3+ is perfect for streamers and musicians alike.
6 Modes of Operation
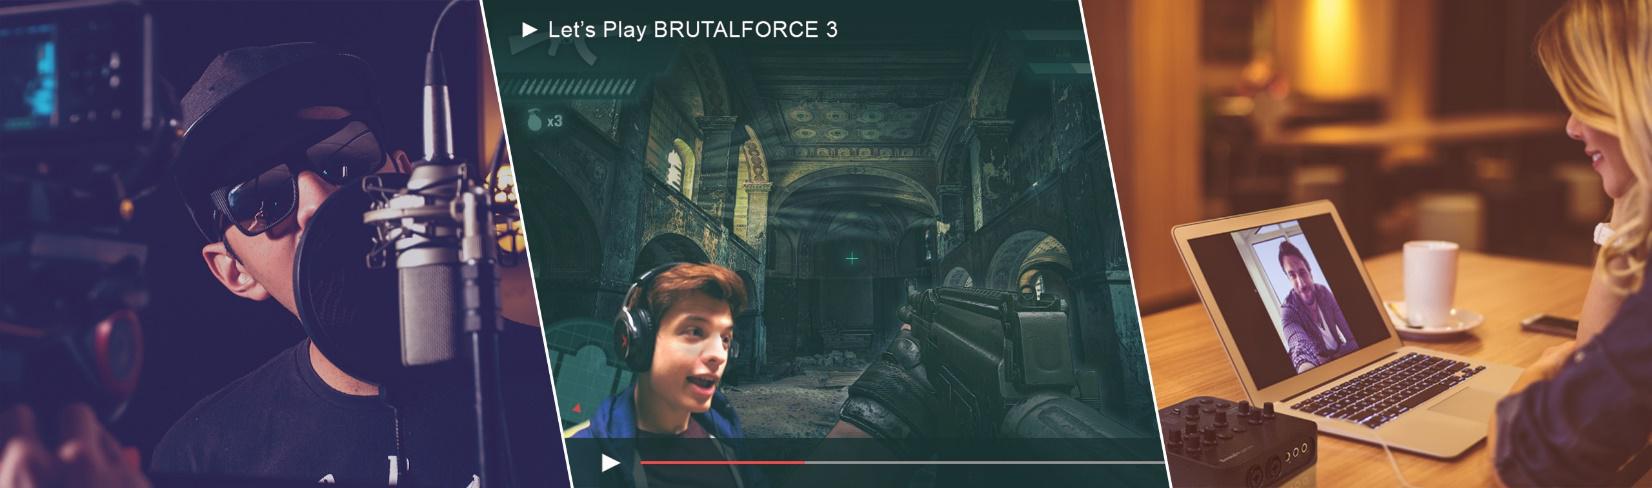
The Sound Blaster K3+ supports up to six different usage scenarios, including music playback, recording, broadcasting, web chat, karaoke and DJ hosting. Features such as voice over and reverb effects can be triggered and combined to produce the ideal recording quality needed for your individual use case scenario.

PLUG-AND-PLAY CONNECTIVITY FOR PC, MAC, PHONES AND TABLETS
With no driver installation necessary, connectivity to PCs and Macs is incredibly simple via USB. The Sound Blaster K3+ can also be connected using a 4-pole 3.5mm audio jack, giving users full control when using streaming and recording apps on their smartphones or tablets.
Audio Effects Processing in Real-Time
The Sound Blaster K3+’s powerful built-in audio processor allows users access to real-time audio effects, including reverb, soundboard effects, and bass/treble tuning. The effects work on both PCs and mobile devices!

CONNECTIVITY
The Sound Blaster K3+ was developed in part by a number of singers, musicians, gamers, and audio engineers. Their feedback has allowed us to understand various recording needs, and has resulted in a practical, professional recording interface that boasts incredible connectivity options.
XLR / TRS Combo Inputs and Outputs
The K3+ has two XLR / TRS combo inputs which are compatible for most microphones in the market. There’s also a built-in microphone amplifier that allows for high-quality voice output for live commentary or singing.

System Requirements
Windows
- Intel® Core™2 Duo or AMD® equivalent processor (2.8 GHz or faster recommended)
- Intel, AMD or 100% compatible motherboard
- Microsoft® Windows 10 32/64 bit, Windows 8.1/8.0 32/64 bit, Windows 7 32/64 bit
- 1GB RAM
- USB 2.0 / USB 3.0 port
Mac® OS
- Mac OS X® 10.9 or higher
- 1GB RAM
- USB 2.0 / USB 3.0 port
Package Contents
- Sound Blaster K3+
- Quick Start Leaflet
- Warranty Leaflets
- Micro USB Cable 1.5m
Warranty
1-year Limited Hardware Warranty
Packaging & Unboxing
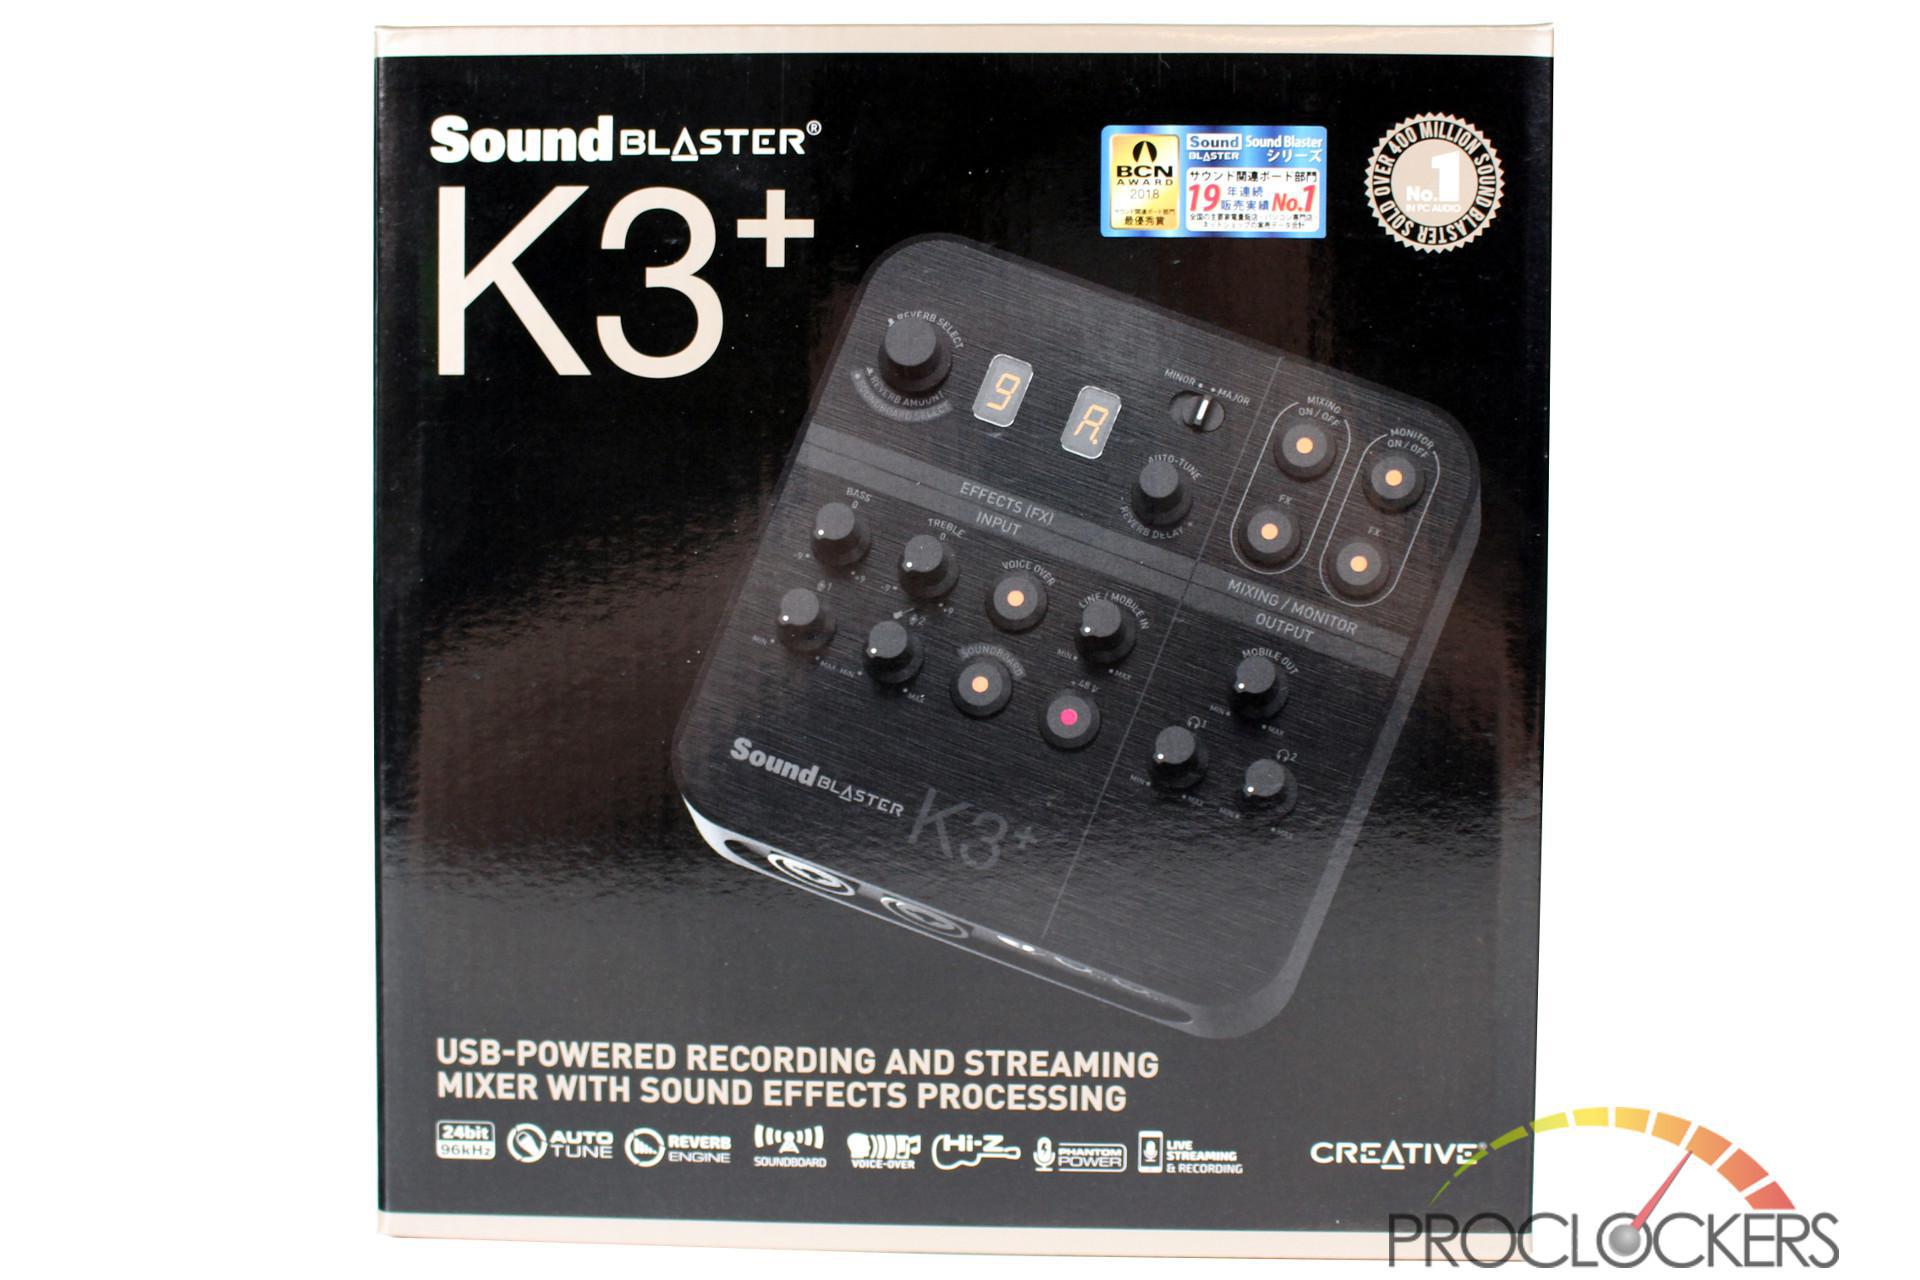
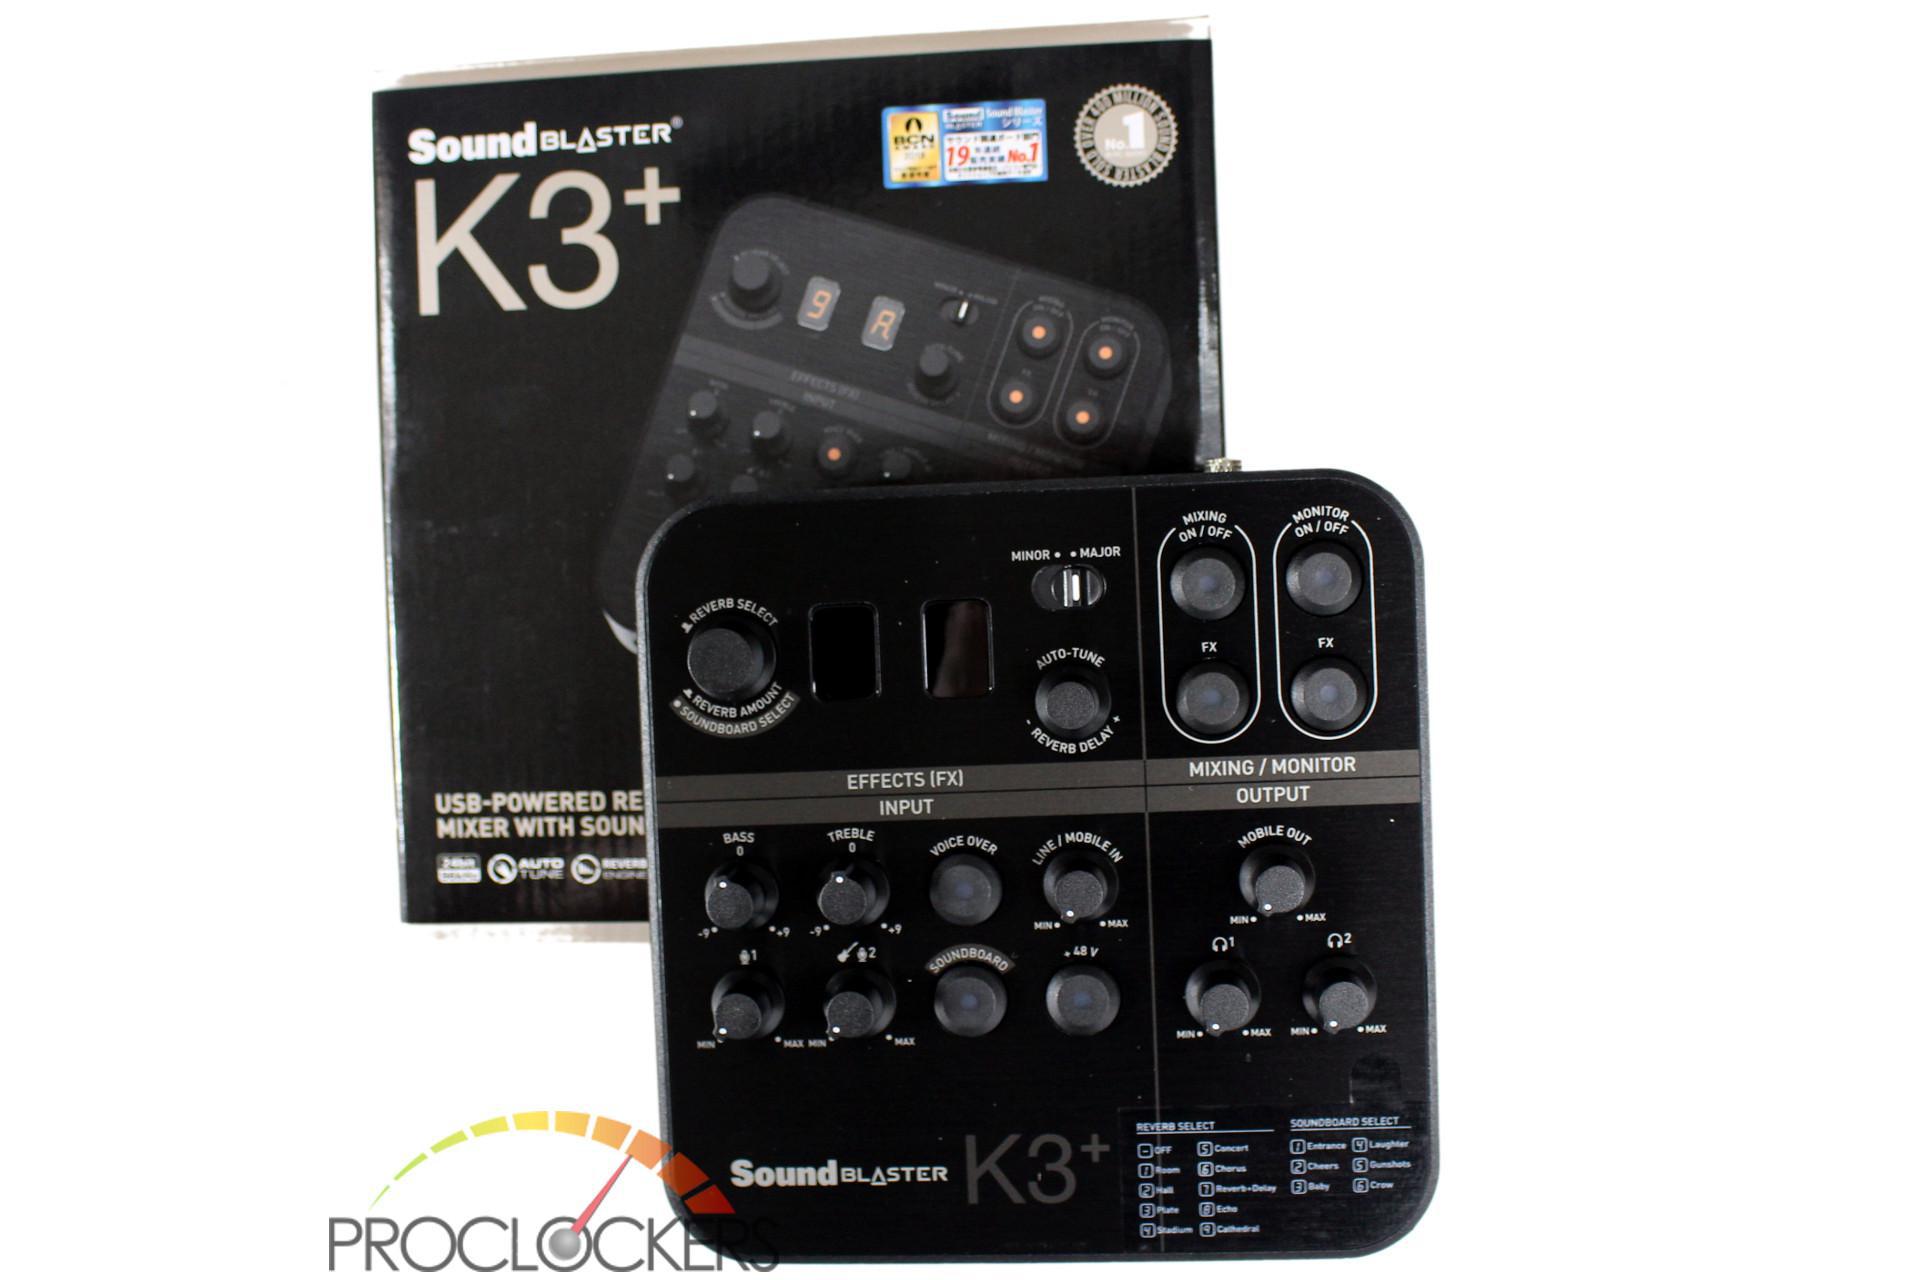
The front of the package has the Sound Blaster logo and K3+ branding on the top left corner of the box. On the top right, there are badges from several awards the K3+ has won since its launch. In the center is a top-down image of the K3+. Across the bottom, there are badges for some of the main features of the Sound Blaster K3+ followed by the Creative Logo.
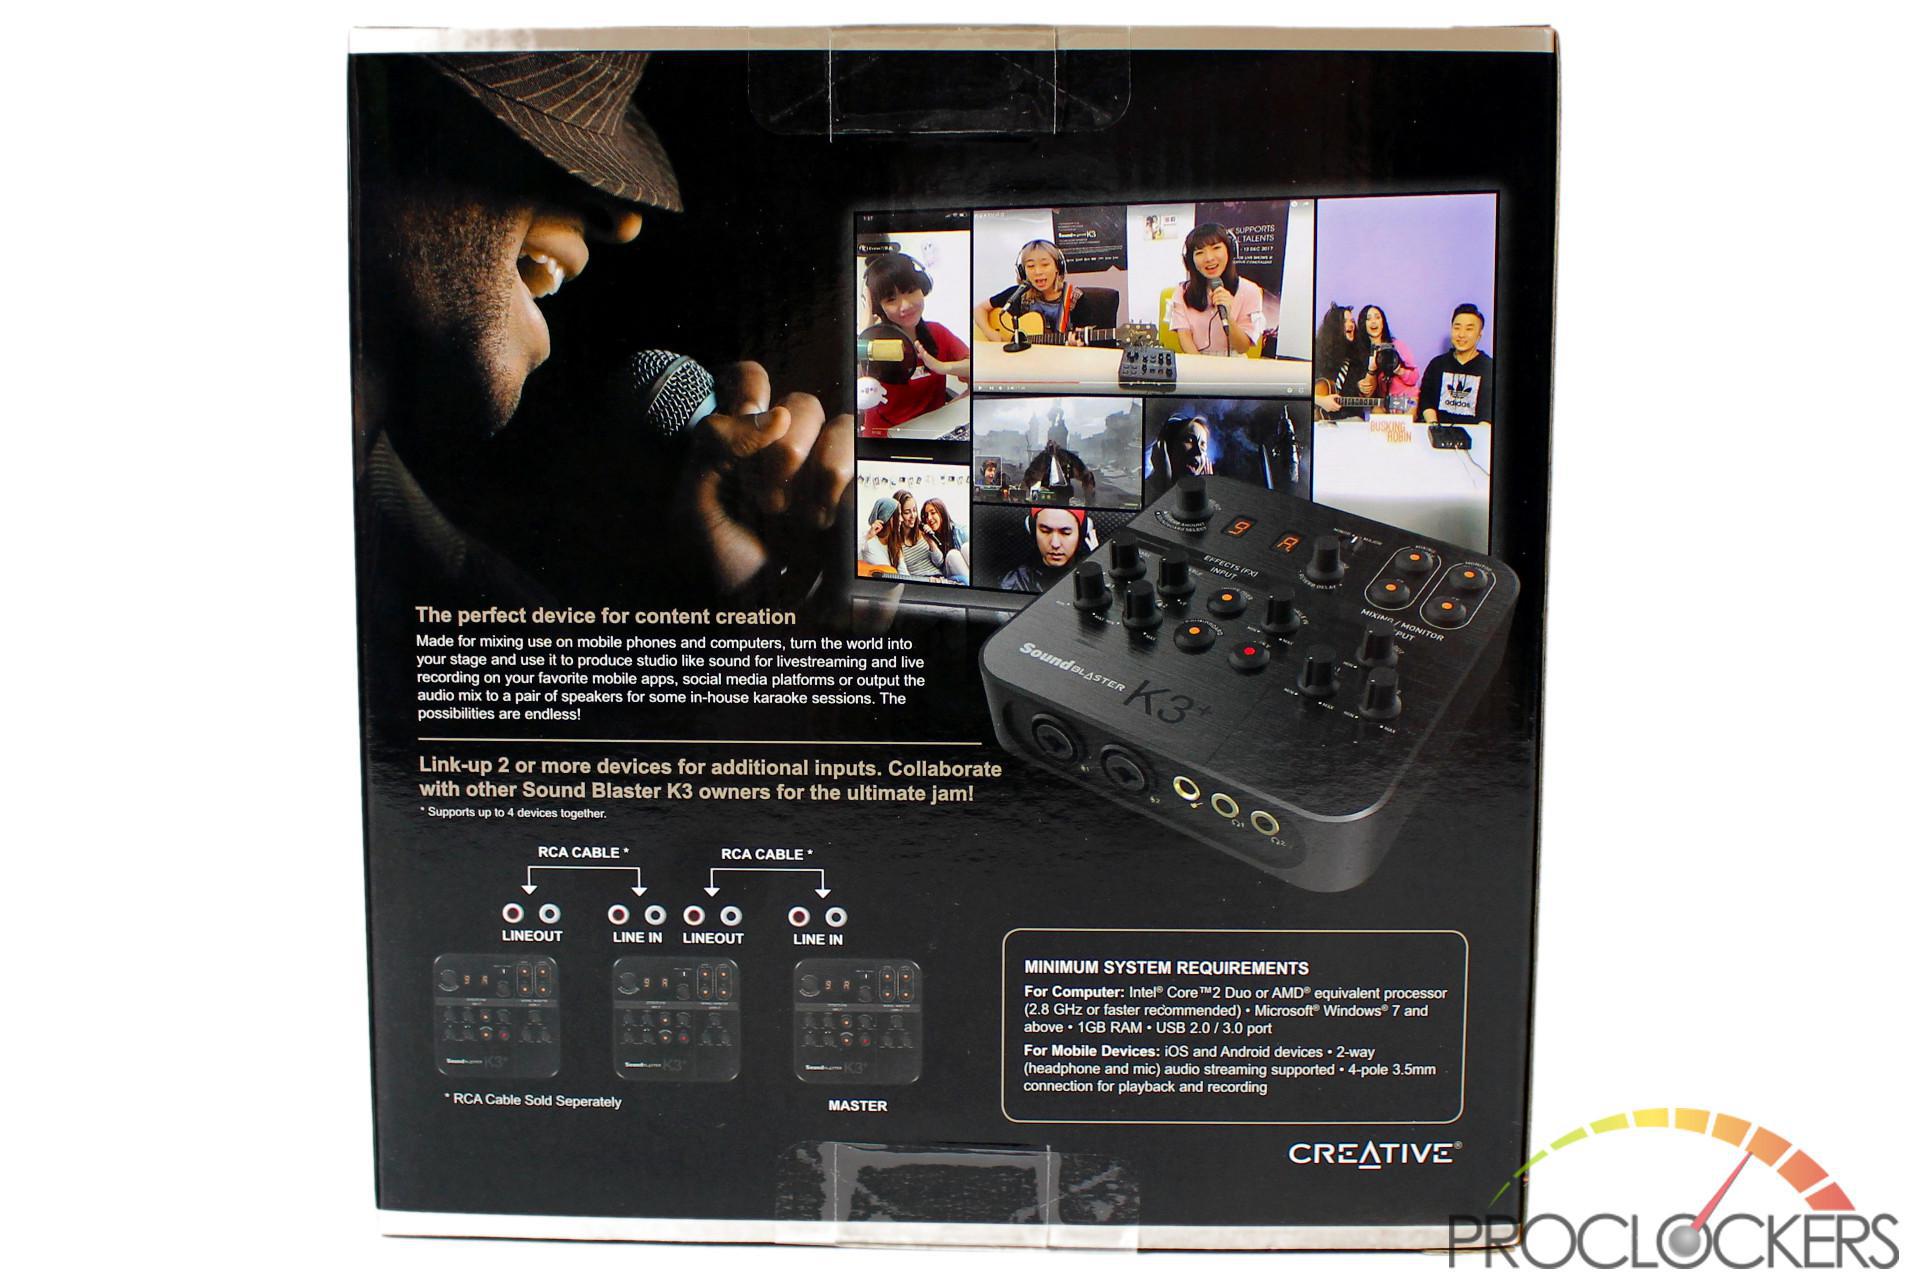
The rear of the box has several images of people using the K3+ in different ways. You’ll also find another image of the K3+ and a brief description of the interface. At the bottom is a diagram showing how to connect multiple interfaces together. There is also a list of the minimum system requirement, and the creative logo.
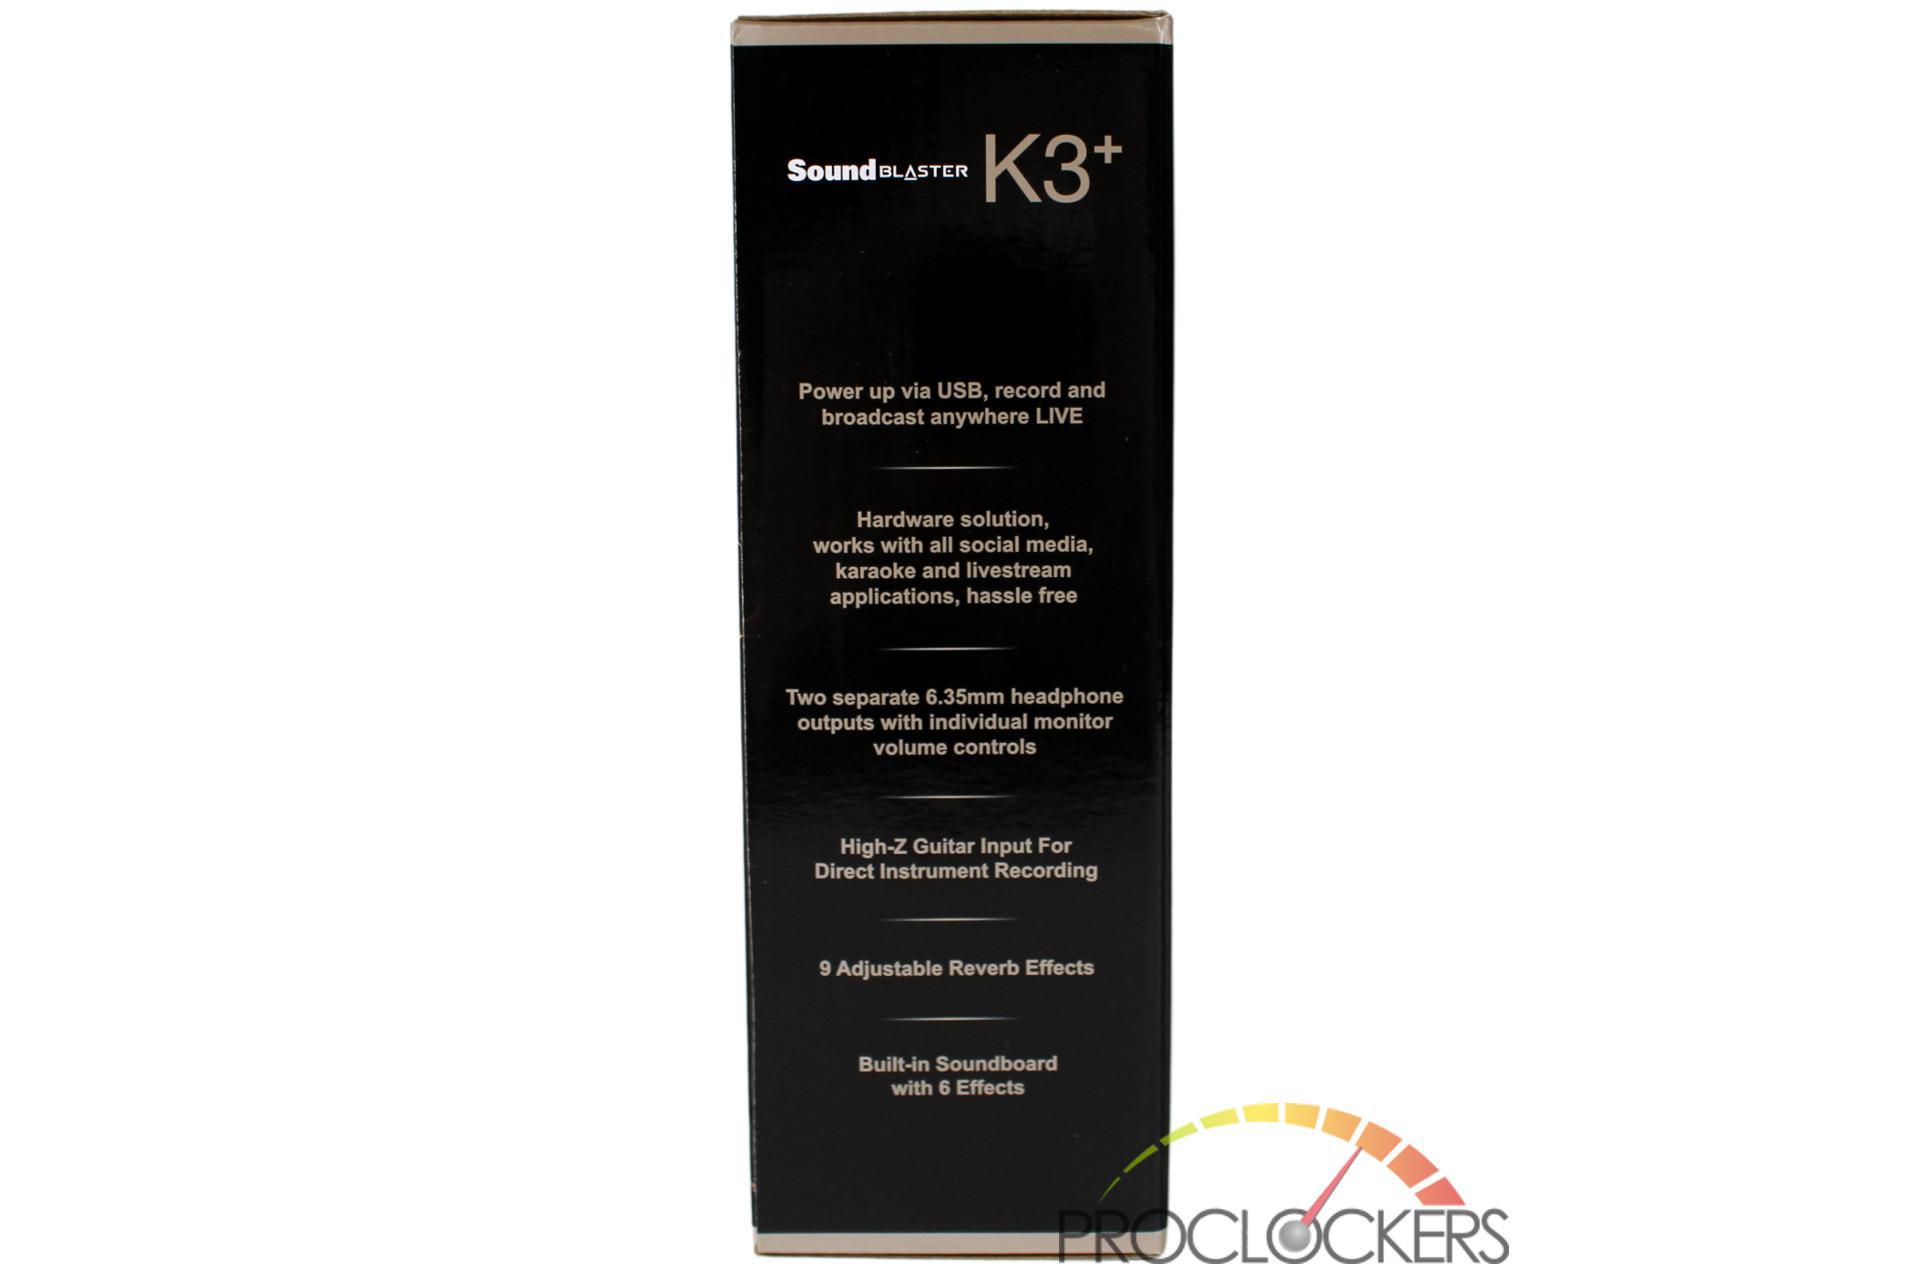
Both the left and right side of the box have lists of several features of the K3+ listed. Each side with different features.
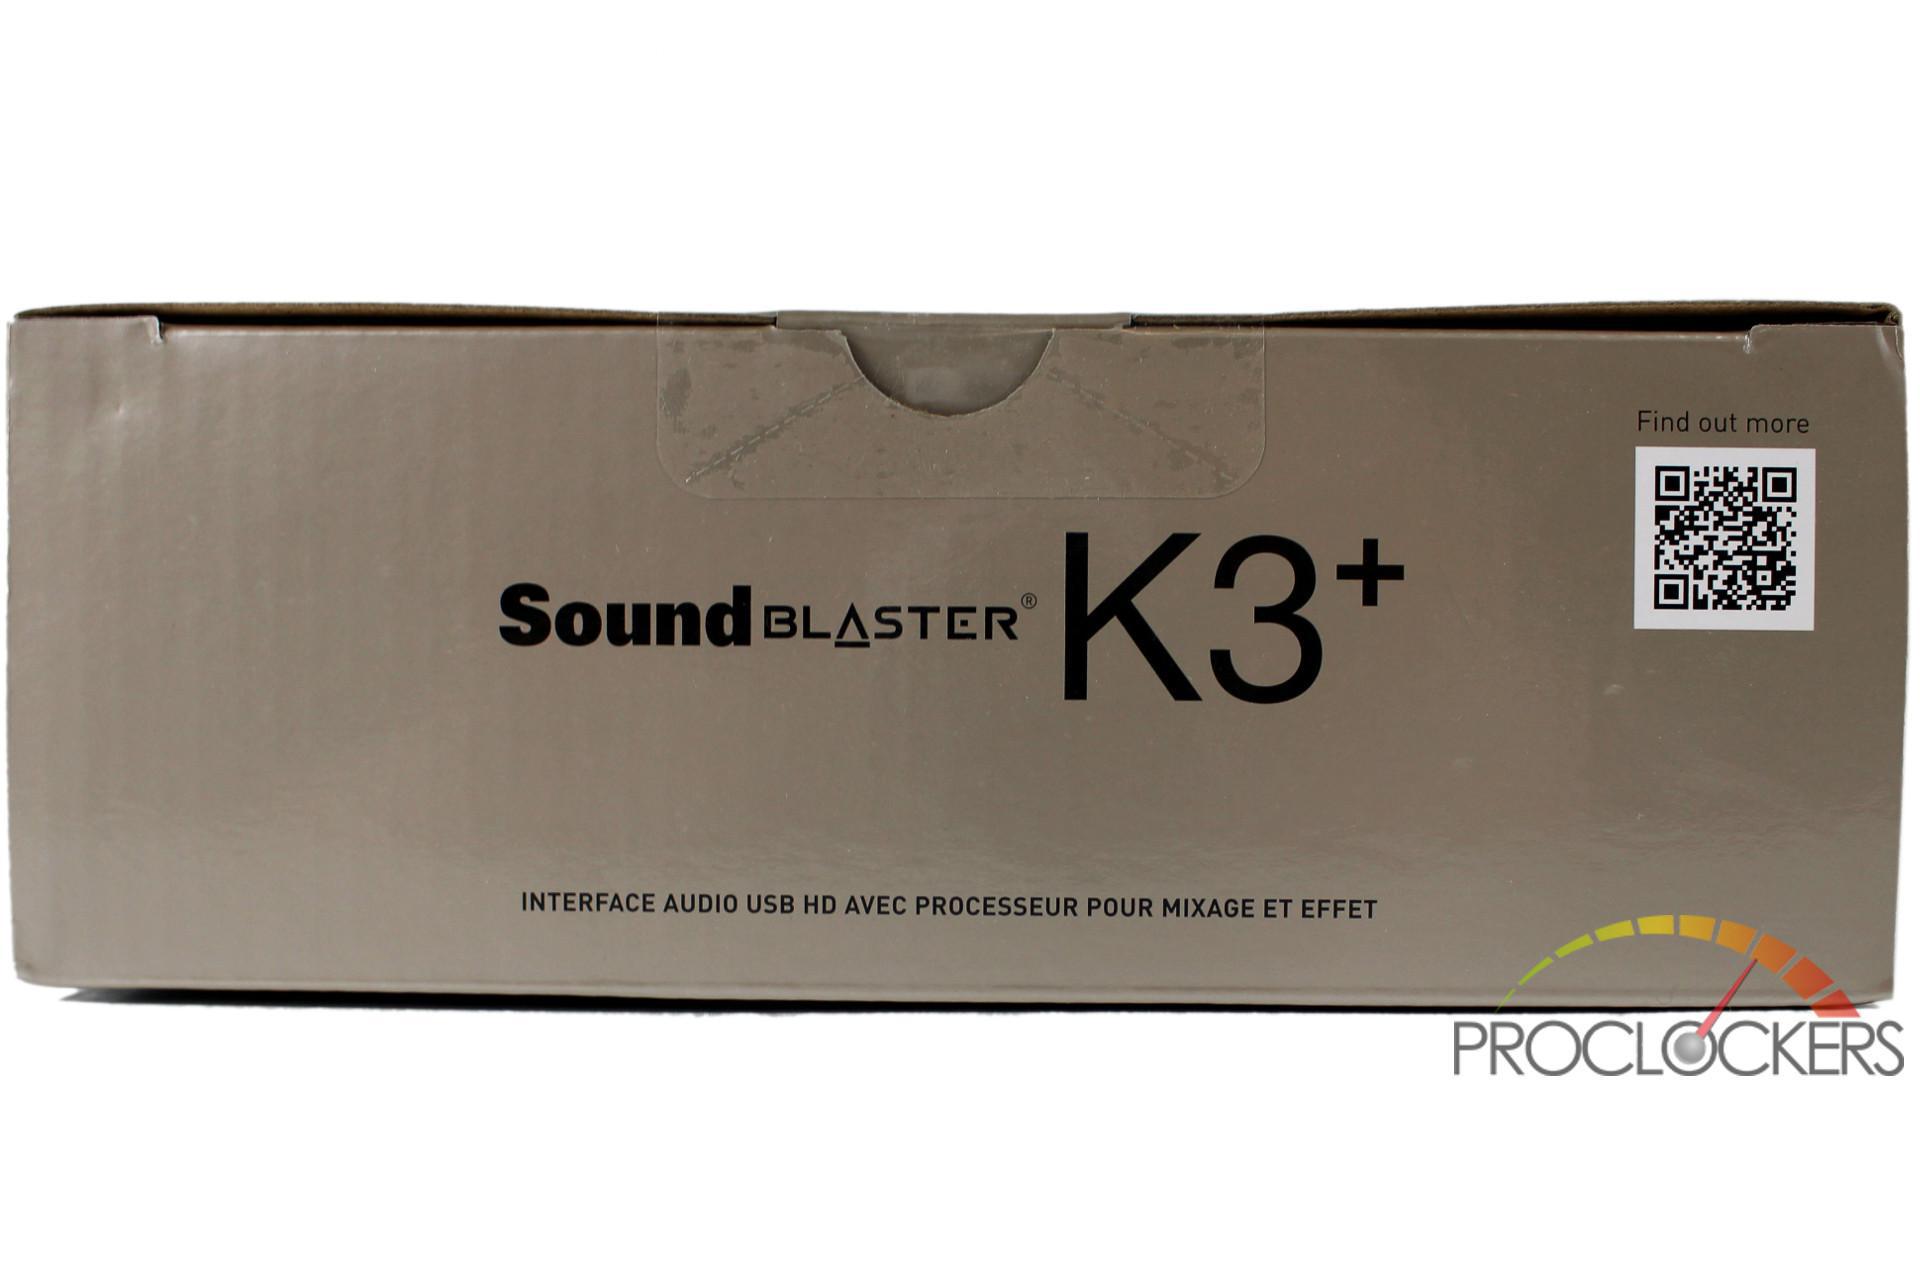
The top has the Sound Blaster logo and K3+ product branding in the center. To the right id a QR code that brings you to the product page for the K3+.
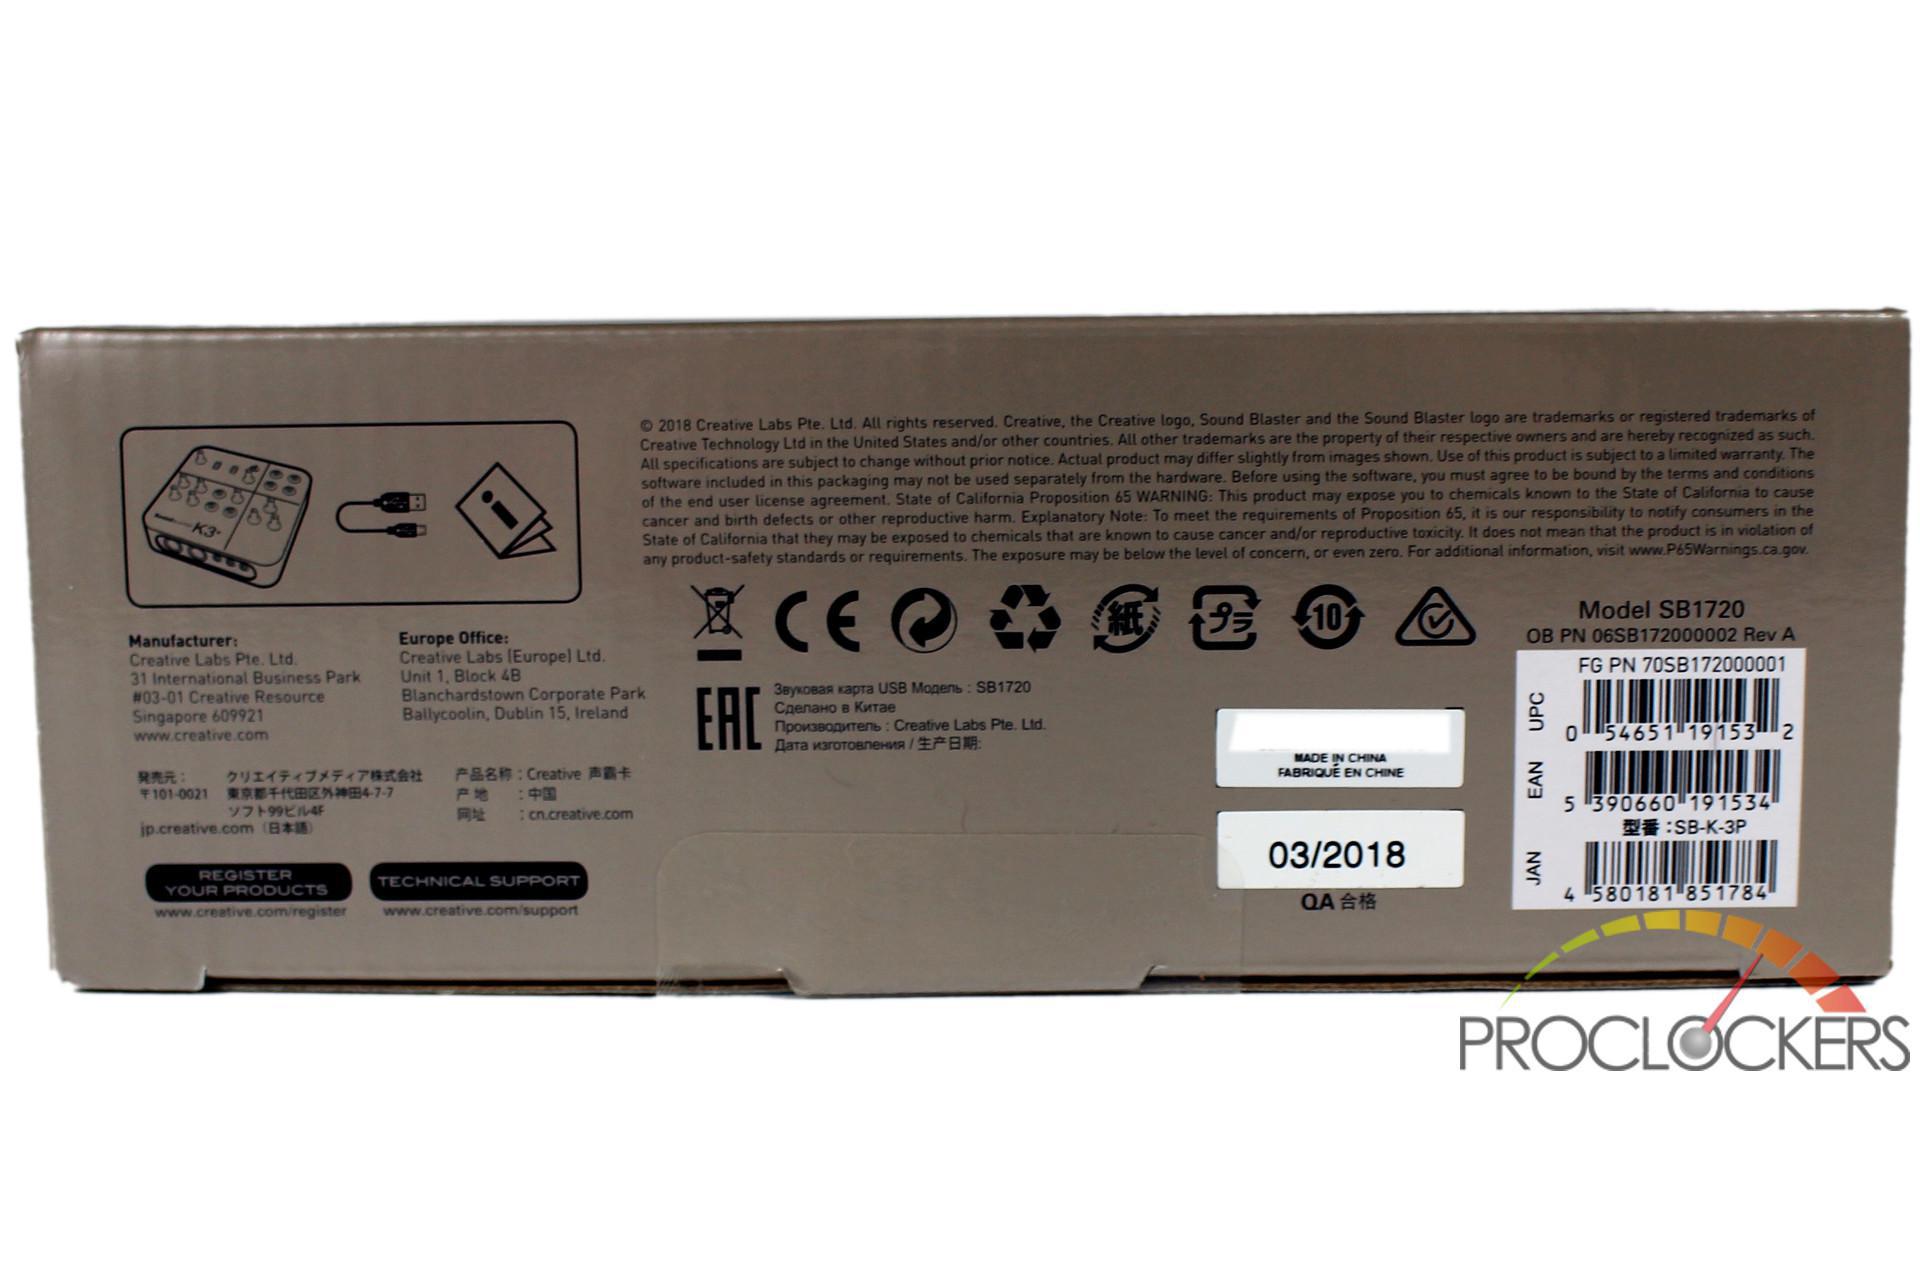
The bottom has the addresses and phone numbers of the Creative offices. This is also where you’ll find the serial number, model number, UPC codes and the various certifications of the K3+.
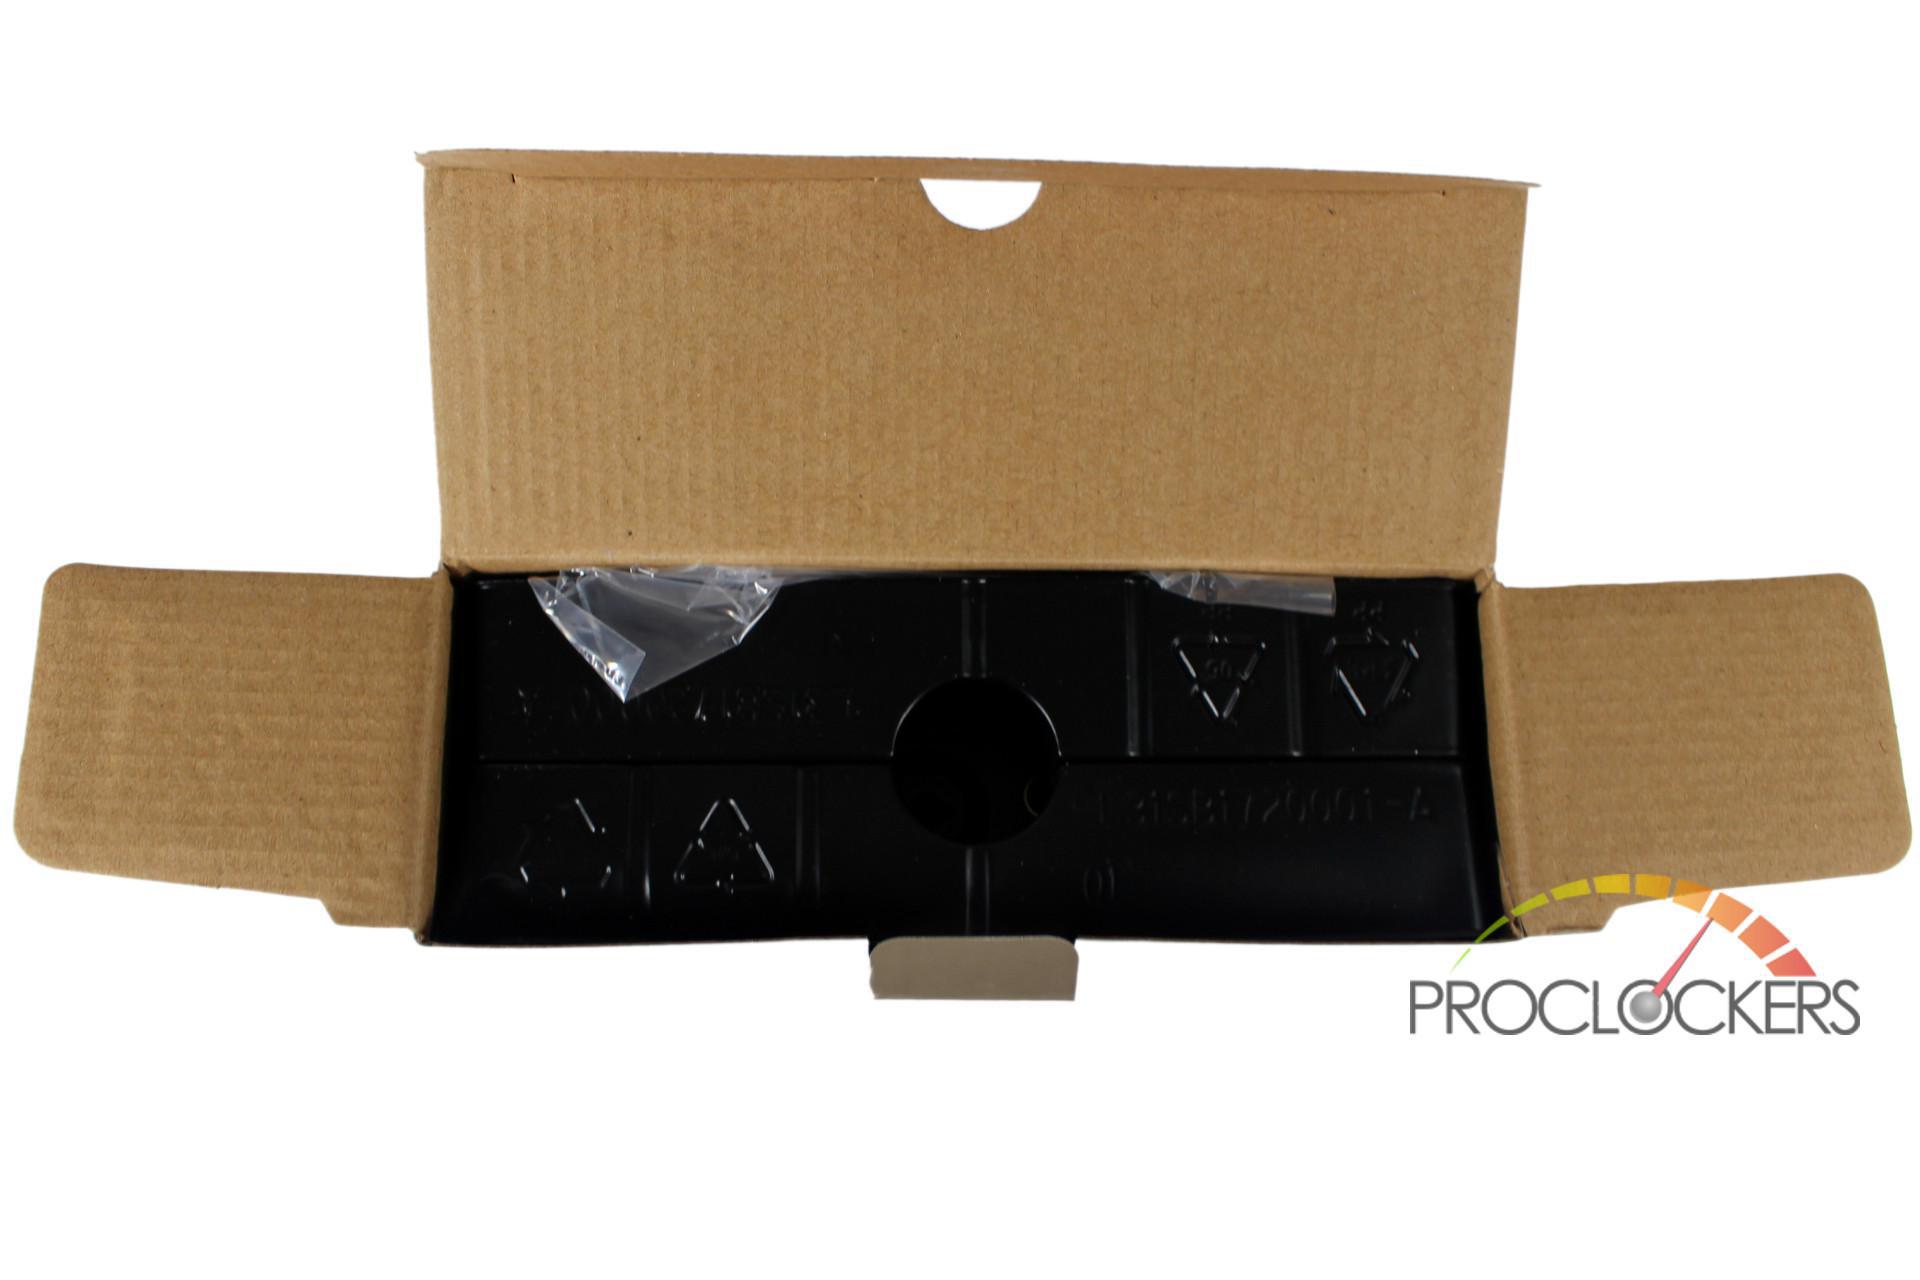
The K3+ comes packed in a two-piece, plastic clamshell style packing material.
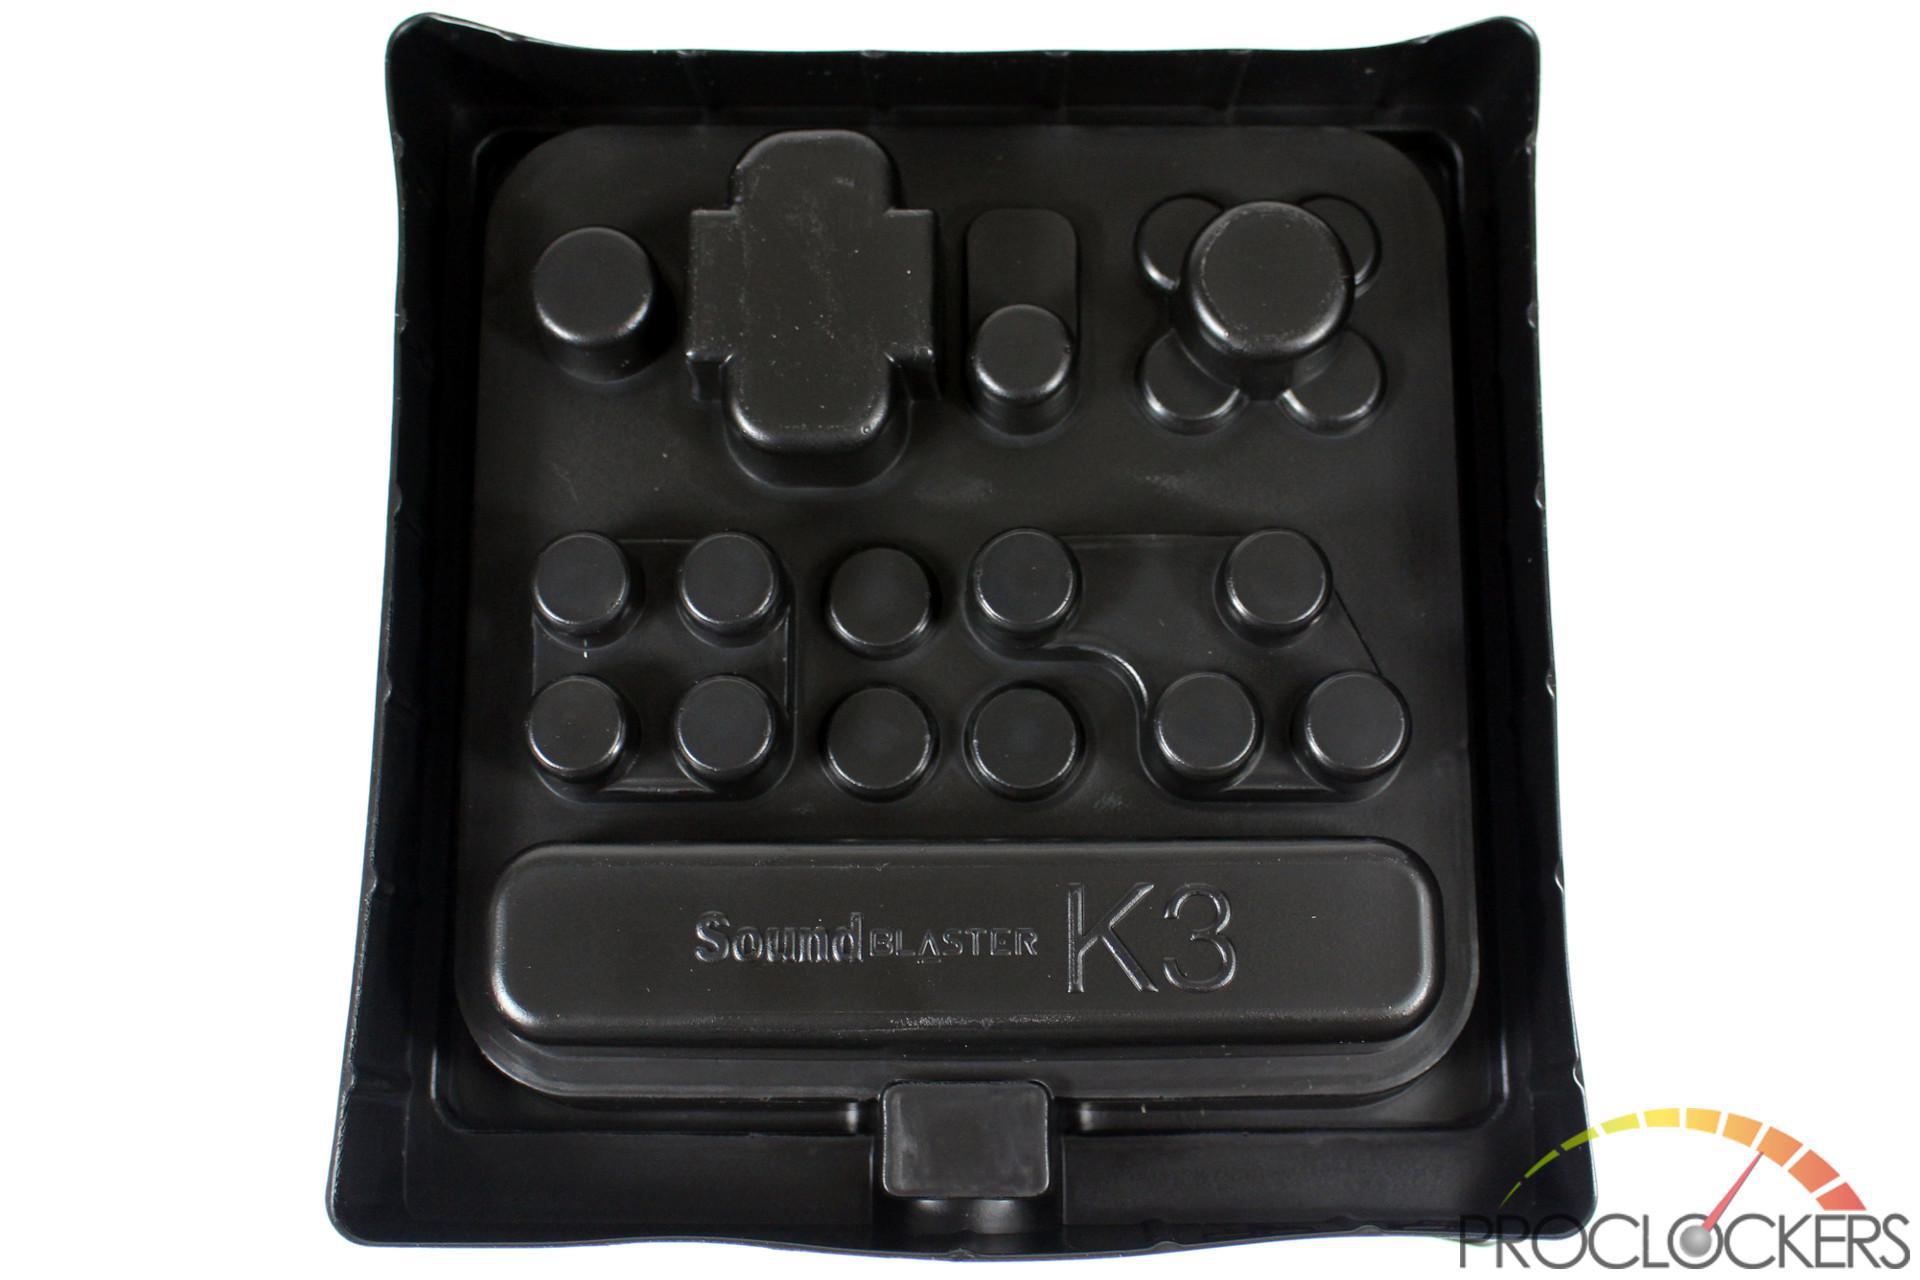
The plastic is formed to the shape of the K3+ and should protect is pretty well during shipping.
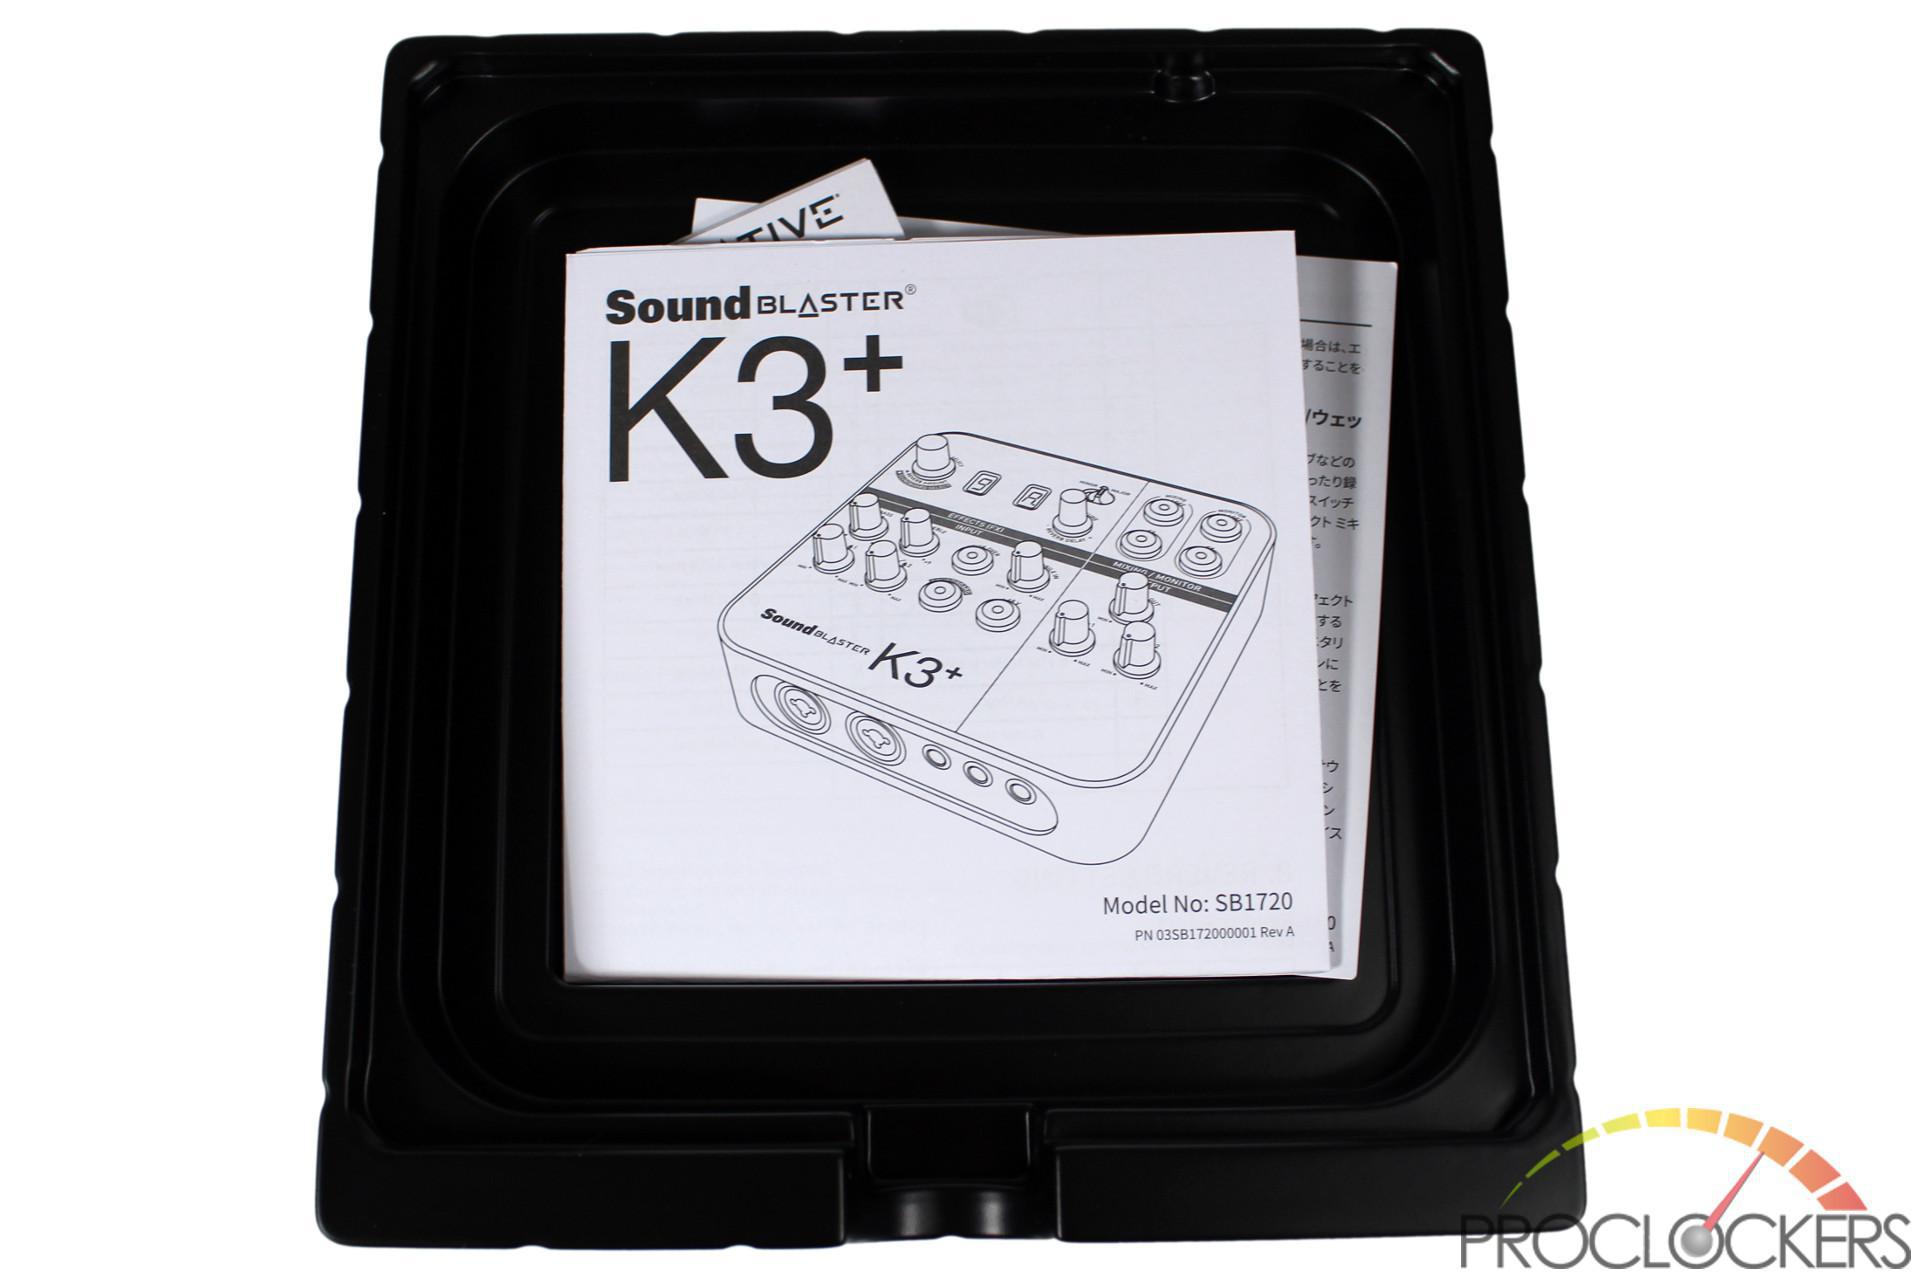
As for the contents of the package, there isn’t much to talk about.
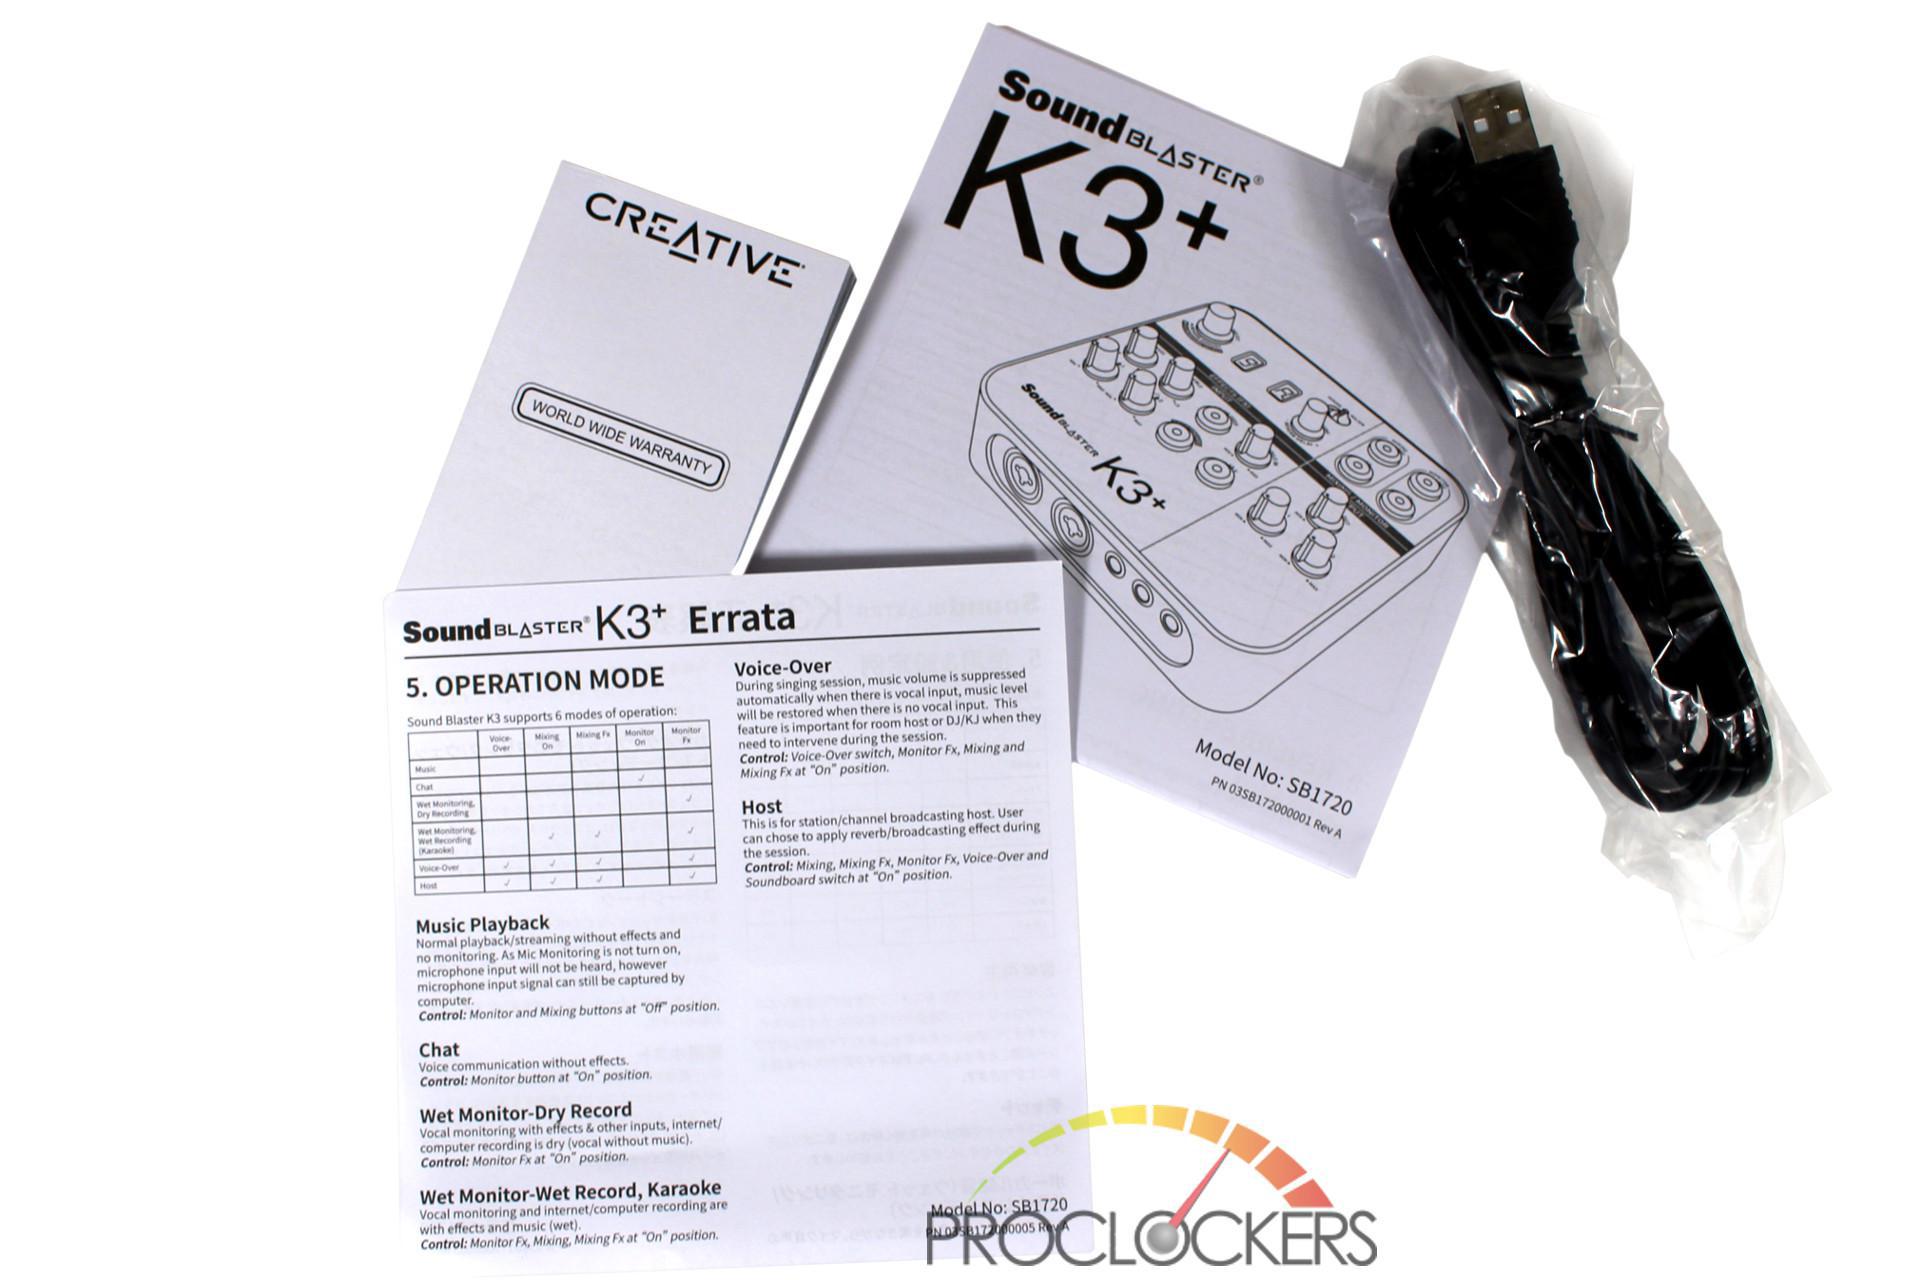
In the box, you’ll find the K3+, warranty information, a quick start guide and a 1.5 meter, or about 5 foot micro USB cable.
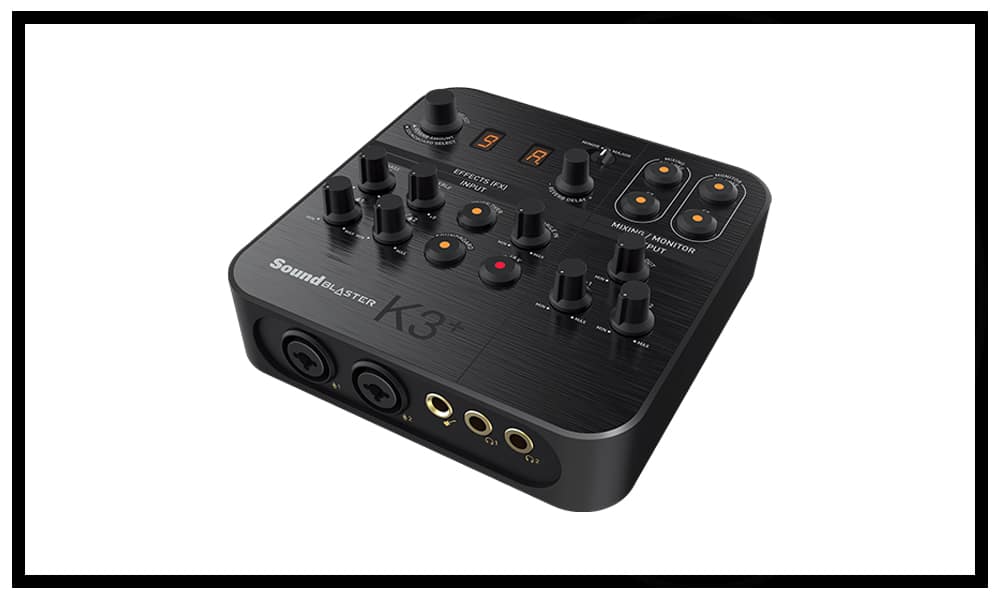
A Closer Look
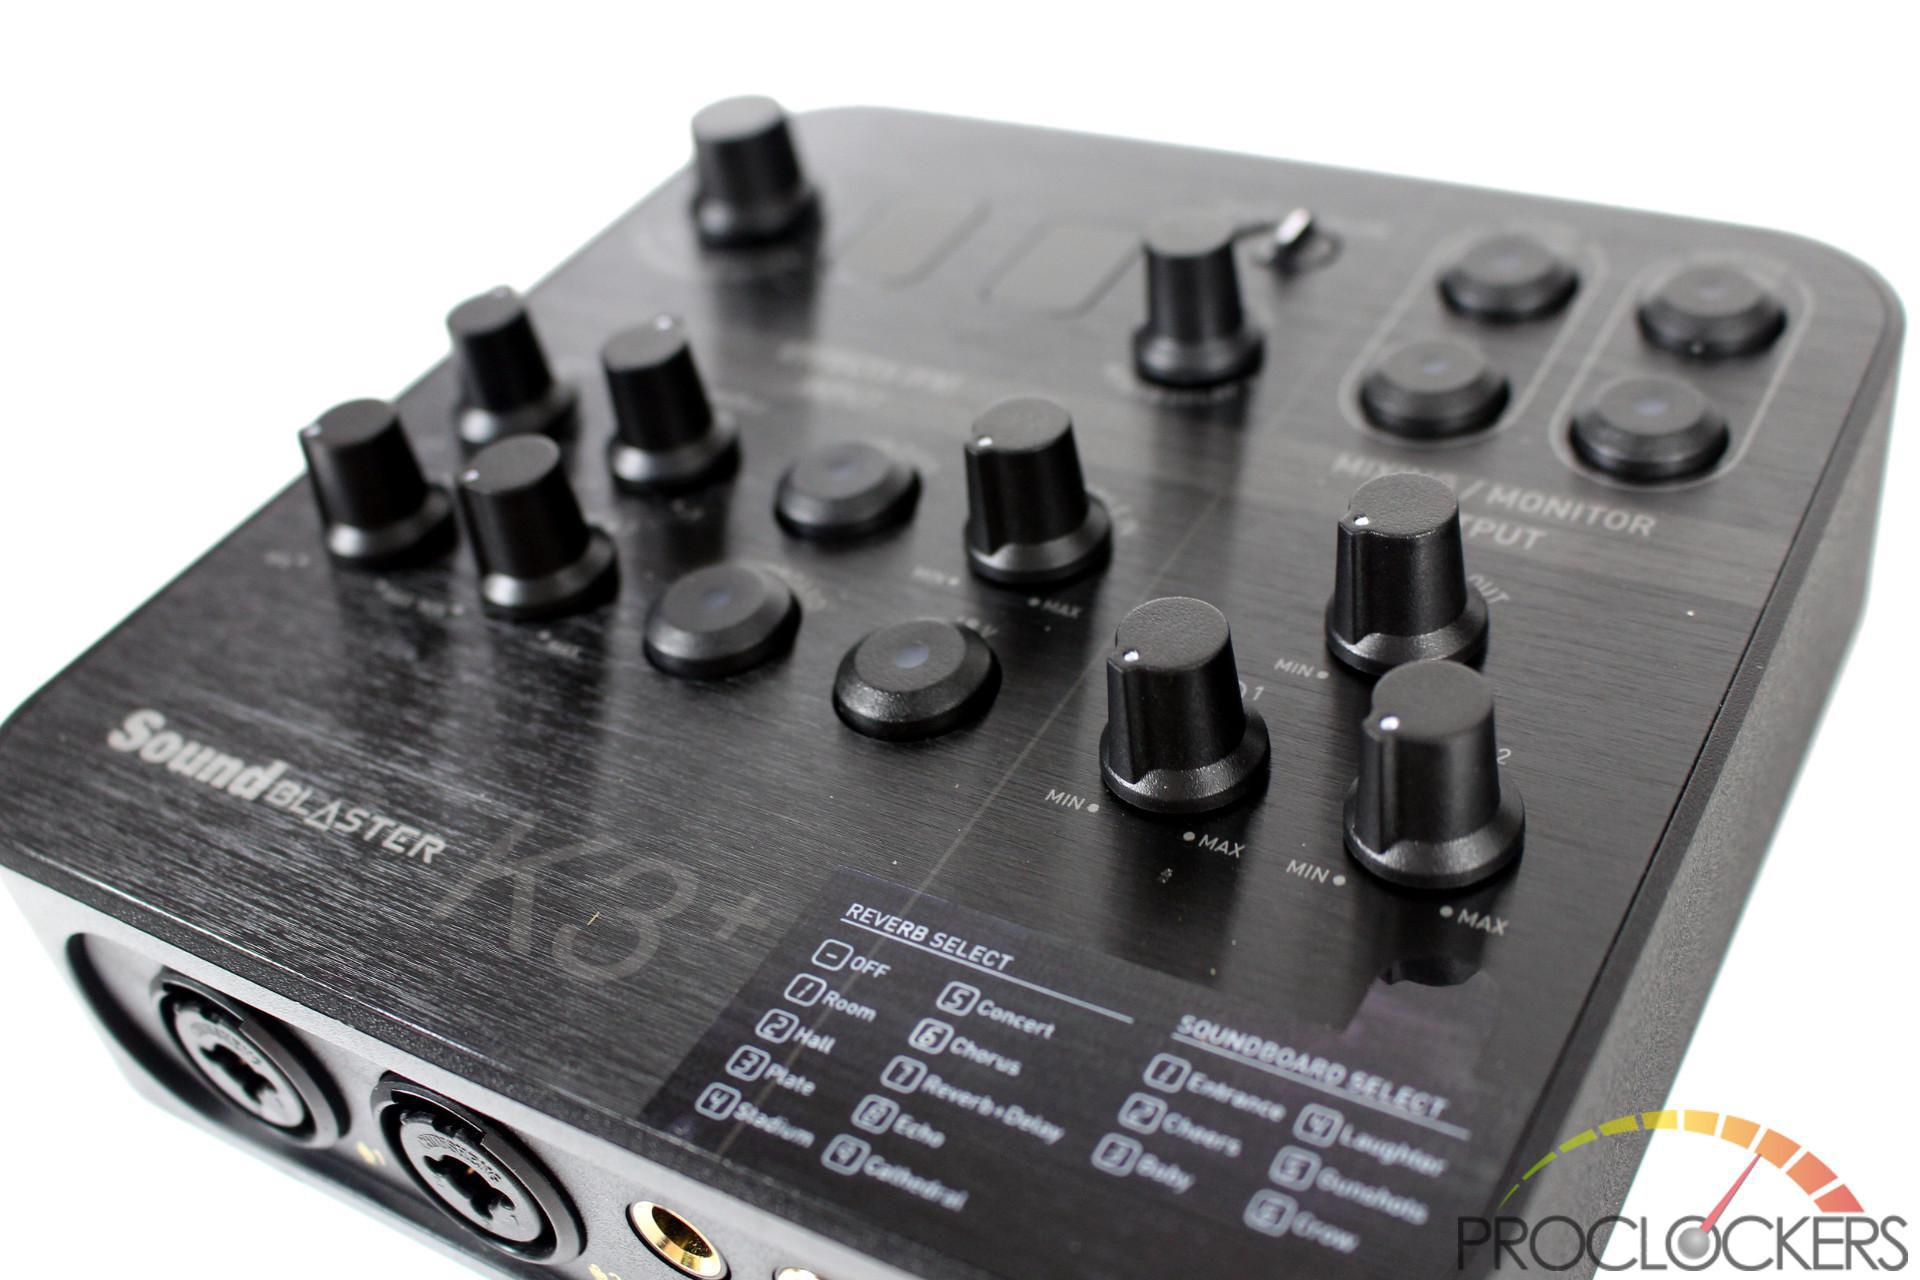
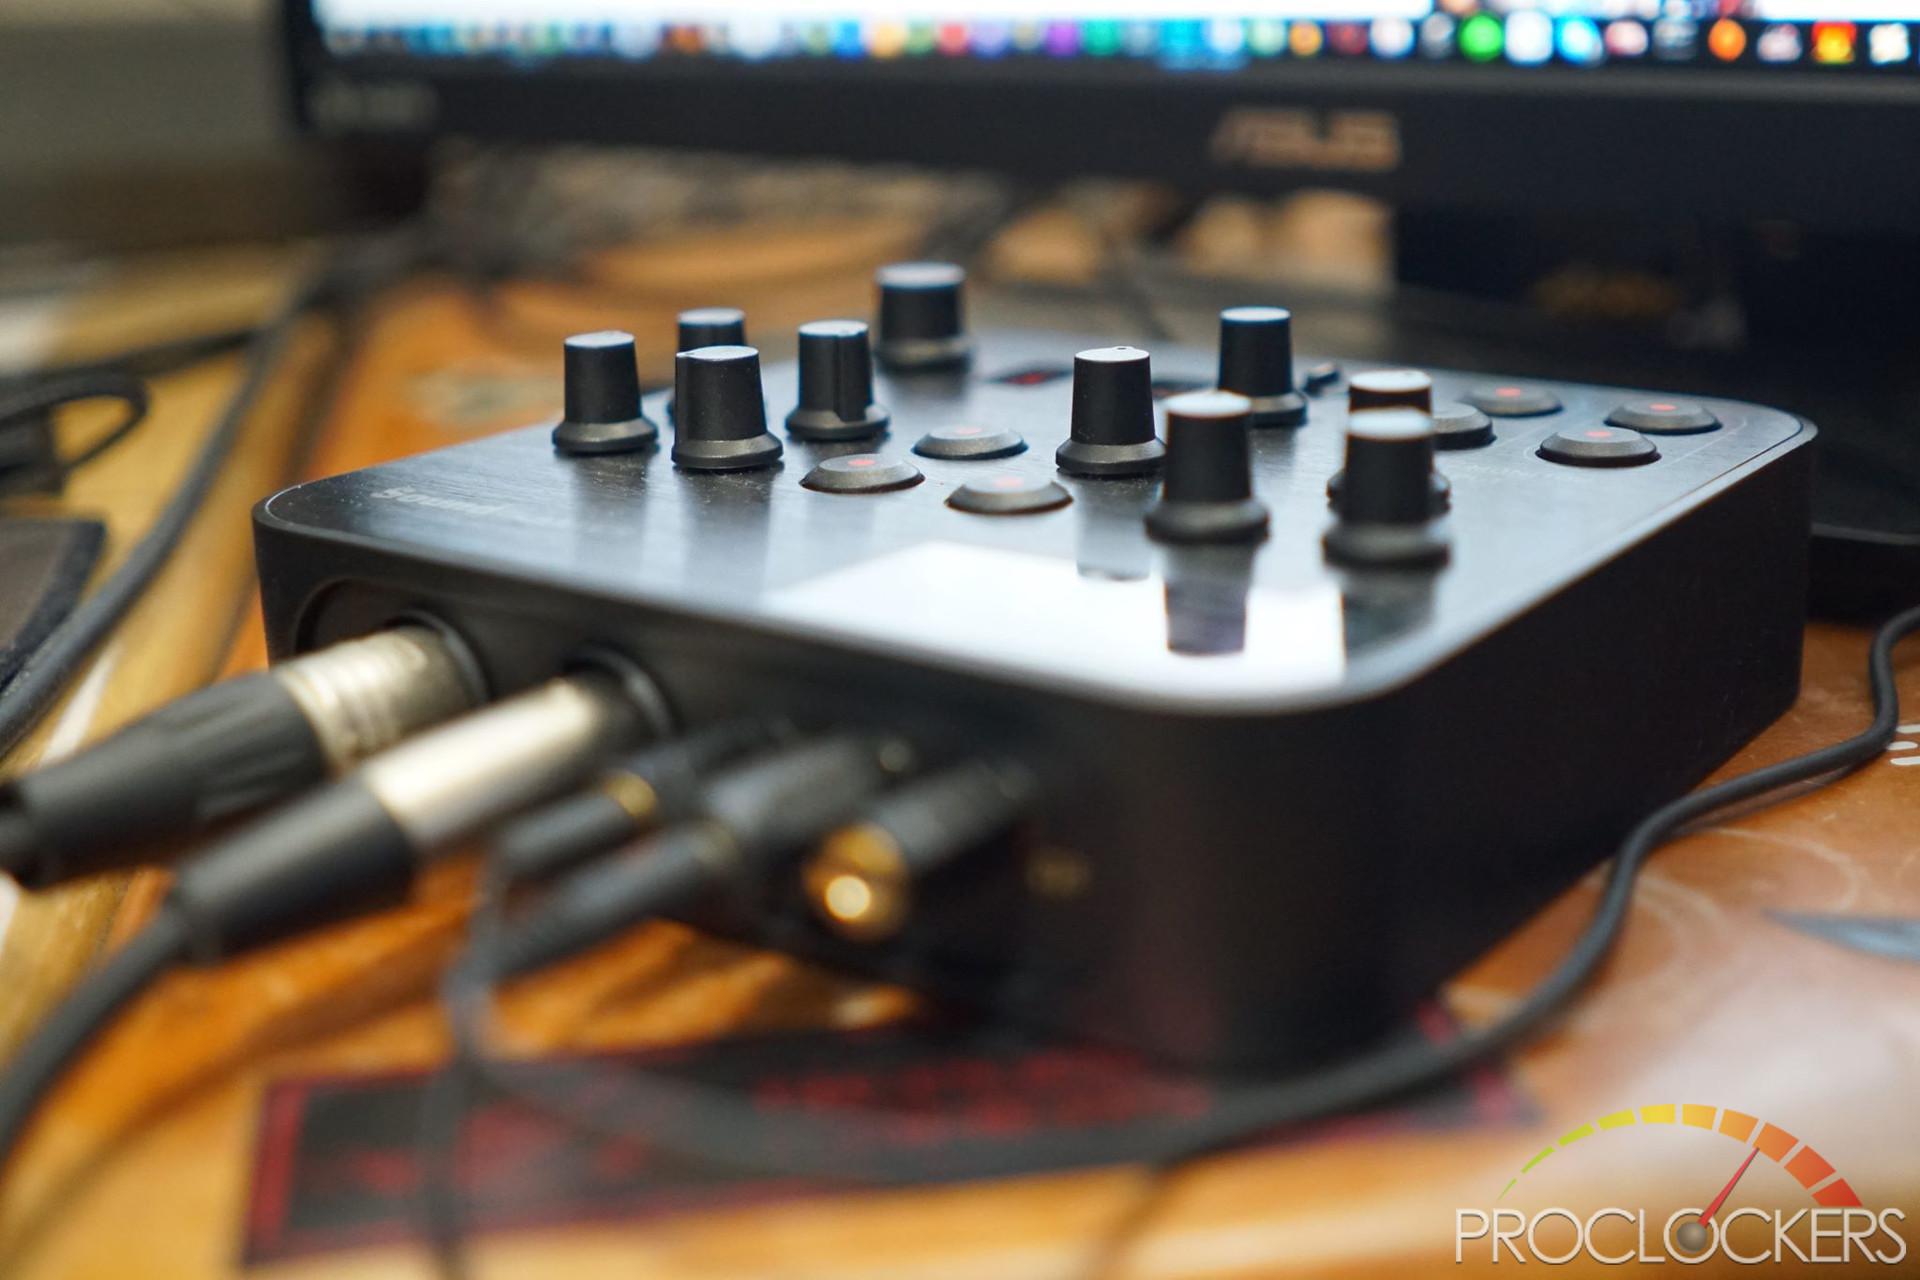
First thing we noticed about the Sound Blaster K3+ is how compact and light it is. At first glance, it may look intimidating with its array of knobs and buttons. However, once you learn the controls on the K3+, it’s very easy to use and even someone new to this type of hardware can get up and going really quick.
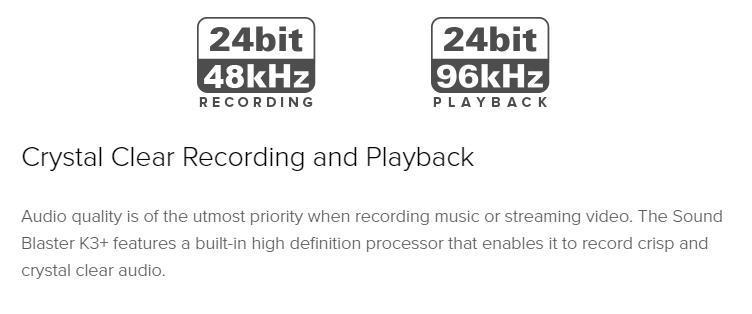
The Sound Blaster K3+ has up to six different main functions. These functions include music playback, recording, broadcasting, web chat, karaoke and DJ hosting. It’s a very versatile interface. The K3+ has excellent audio quality with 24 bit, 48 kHz recording and 24 bit, 96 kHz playback.
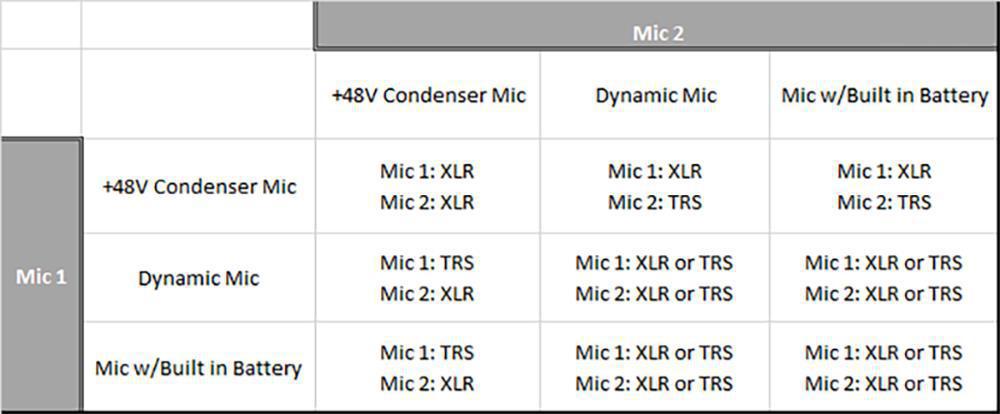
The K3+ provides 48-volt phantom power which is really awesome considering it is only powered from a 5V USB port. The Sound Blaster K3+ supports both dynamic and condenser microphones. The +48 volt phantom power should only be on when using a condenser mic that required +48 volt phantom power. Using phantom power when not required can damage or destroy your microphone. Below is a chart that breaks down the different configuration of microphones you can use with the K3+.
The K3+ is also plug and play meaning there are no drivers or software required. This is both a positive and negative thing at the same time. But, more on that later. Since it requires no software, it can work without a PC, MAC or laptop. The Sound Blaster K3+ requires a single micro USB for power. So, you can plug it into any USB port to work. Even a wall outlet or power strip.
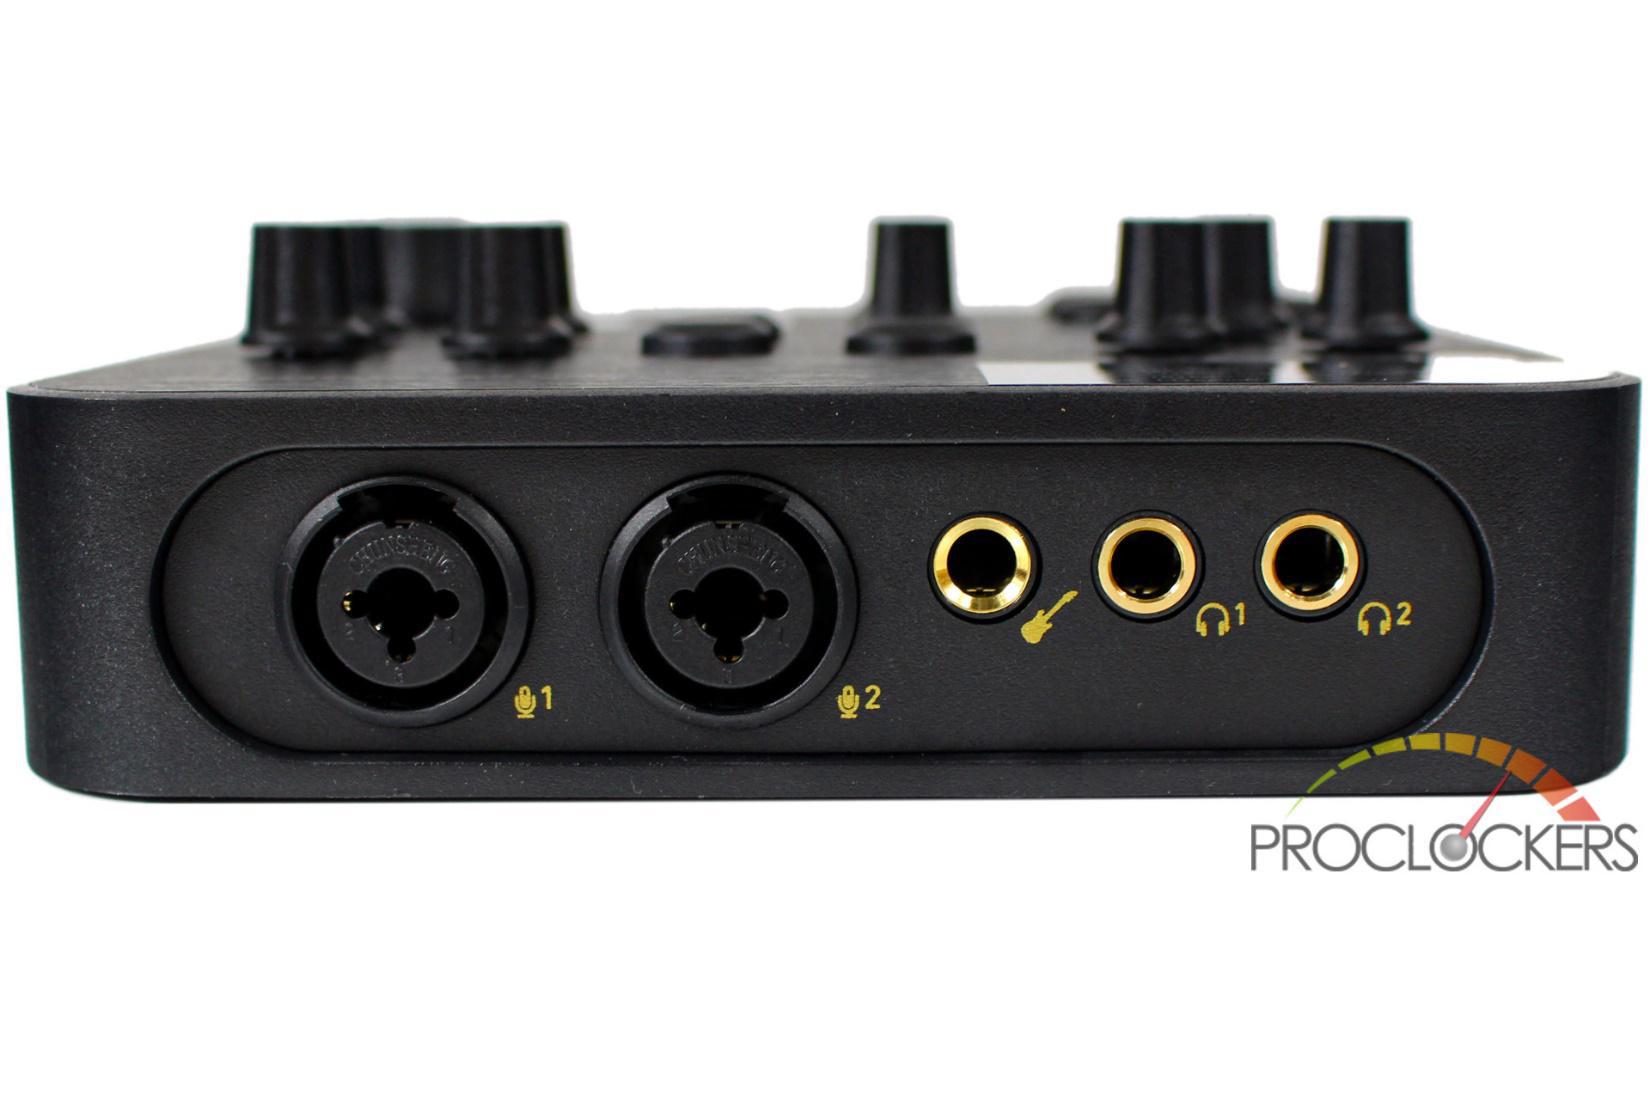
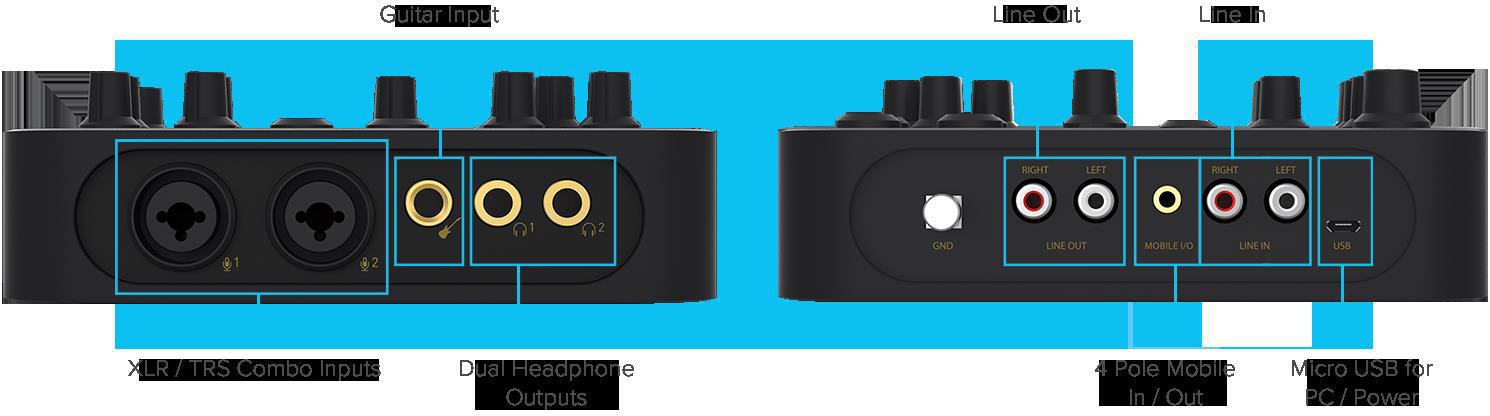
On the front of the K3+, there are 2 XLR ports that double as a 1/4” jack. So, you can use either an XLR (External Line Return) or a TRS(Tip-Ring-Sleeve), microphone on the K3+. For example, the main microphone used on our K3+ sample is the Audio Technica AT2035 XLR mic. However, if we could also use a Rode Video mic by simply plugging in a ¼” to 3.5 mm adapter into the center of the XLR port.
Next, to the dual XLR ports, there are three ¼’ jacks. The first one is designed for an instrument such as a guitar, keyboard or any other instrument. The next two 1/4” jacks are for headphones. This is one of my favorite features of the K3+. The dual XLR ports and dual headphone jacks make the K3+ the perfect interface for podcasting with a friend or guest in the studio or on site. The K3+, at the time of launch, was the only USB XLR audio interface that supports dual headphones. To our knowledge, at the time of this review, that’s still the case.
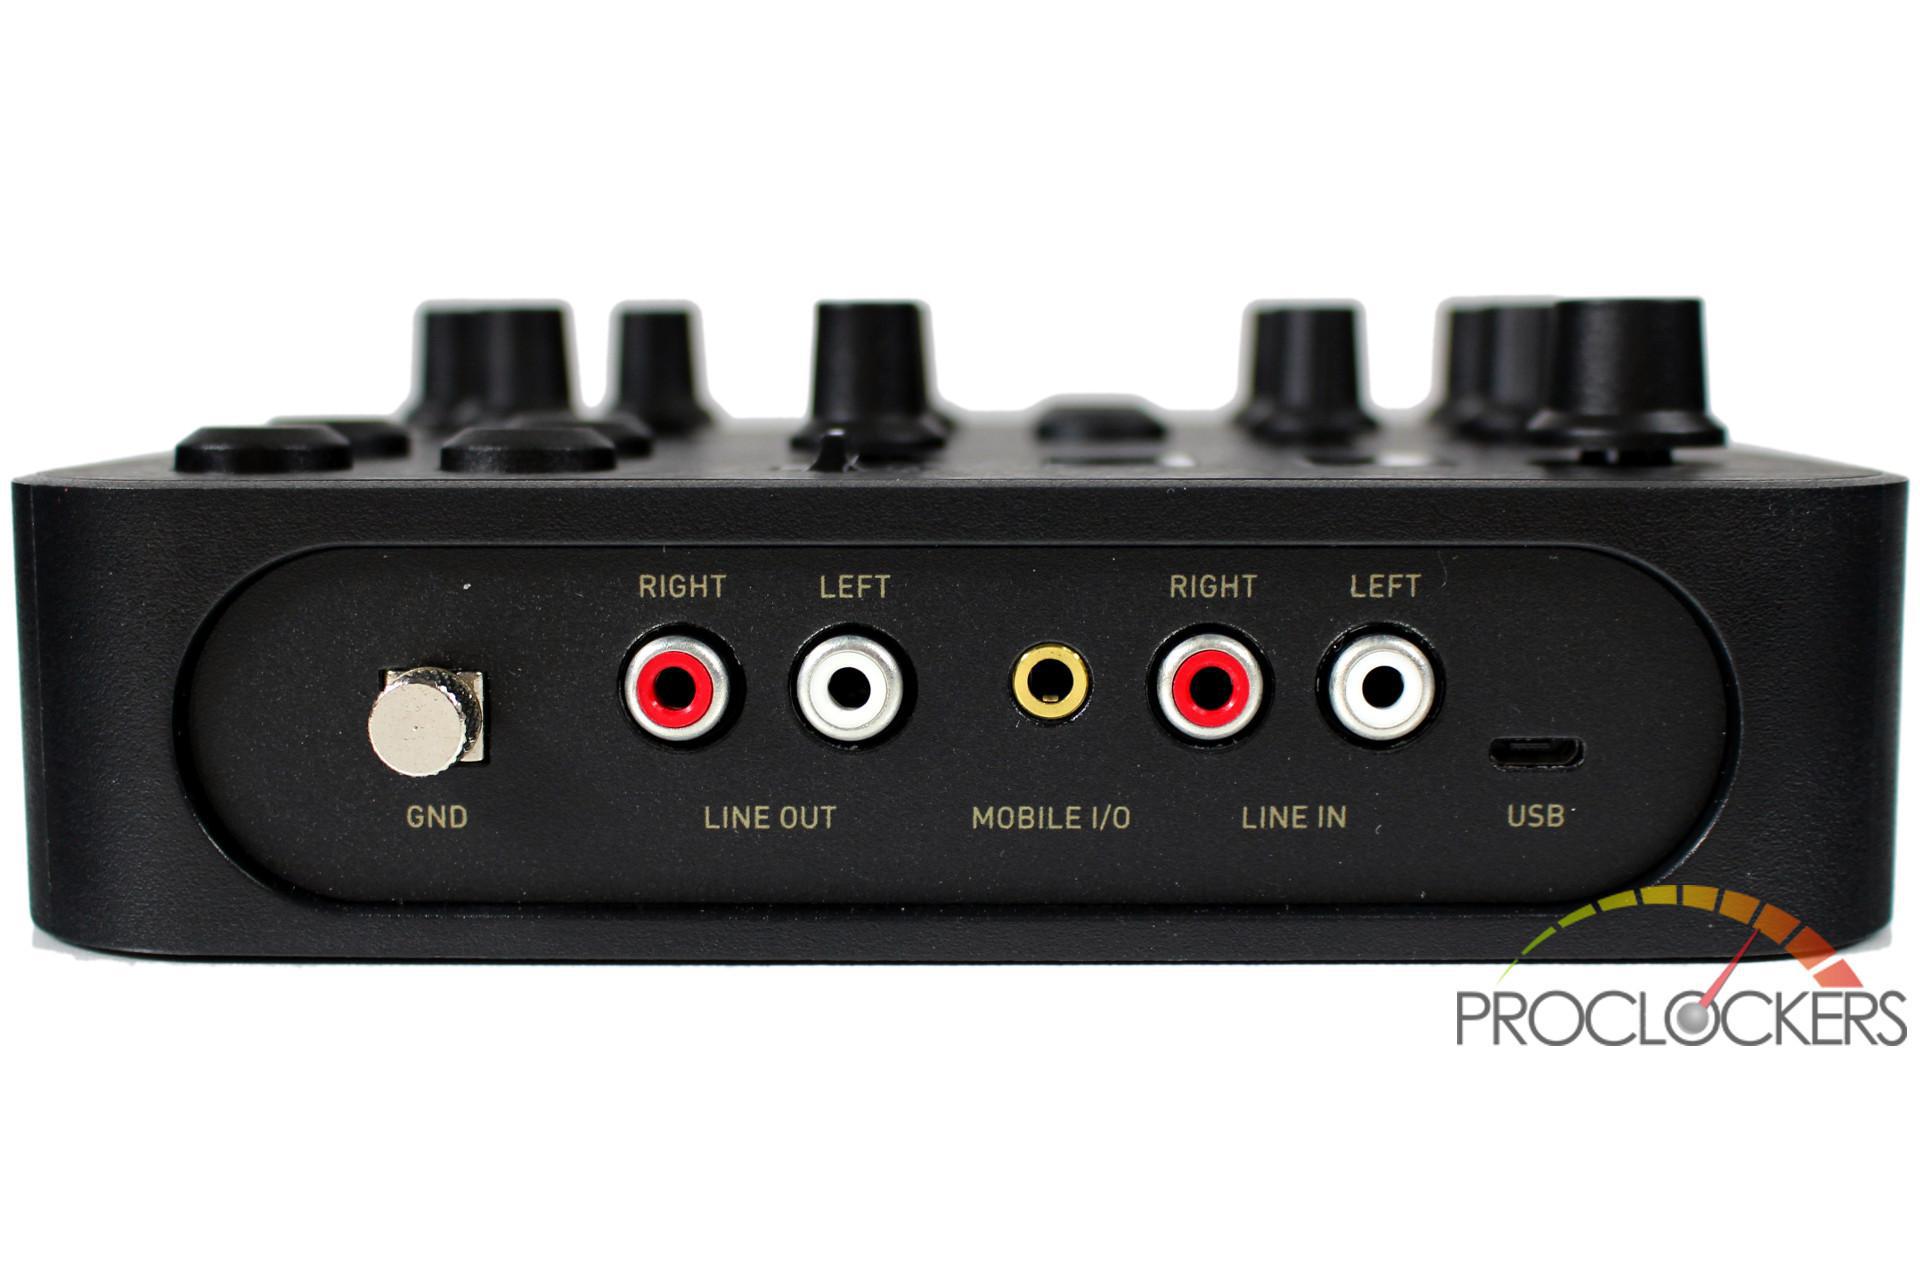
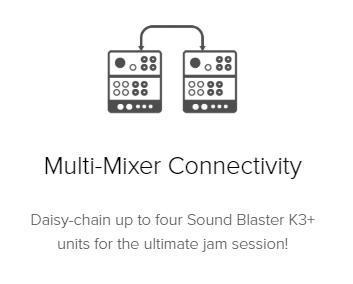
Going around to the rear, there is a metal knob to ground the K3+ to your PC or desk. Next, there are two set s of red and white RCA jacks. This allows you to plug left and right channel speakers into the K3+. You can also use the RCA jacks to daisy chain up to four K3+ interfaces together. This can allow you up to eight people, each with separate mics and headphones. In between the RCA jacks, you’ll find a single 3.5 mm jack. This is designed to plug a phone, iPod or other MP3 player into. Last, there is a single micro USB for both power and data, pending its plugged into a PC.
Since the K3+ requires no drivers, it can be used as a mini karaoke machine. Simply hook up speakers to the RCA jacks on the back and power it to the wall. You can then hook up your phone, iPod or MP3 player to the K3+ to the 3.5 mm jack to play music and up to two microphones. There is more you can do with the 3.5 mm jack, especially if you’re into podcasting. Simply plug your phone into the 3.5 mm jack on the rear of the K3+ and you’re all set up to take phone calls on stream. We’ve tested it and the quality of the call depends highly on the quality of your phone. But it works either way.
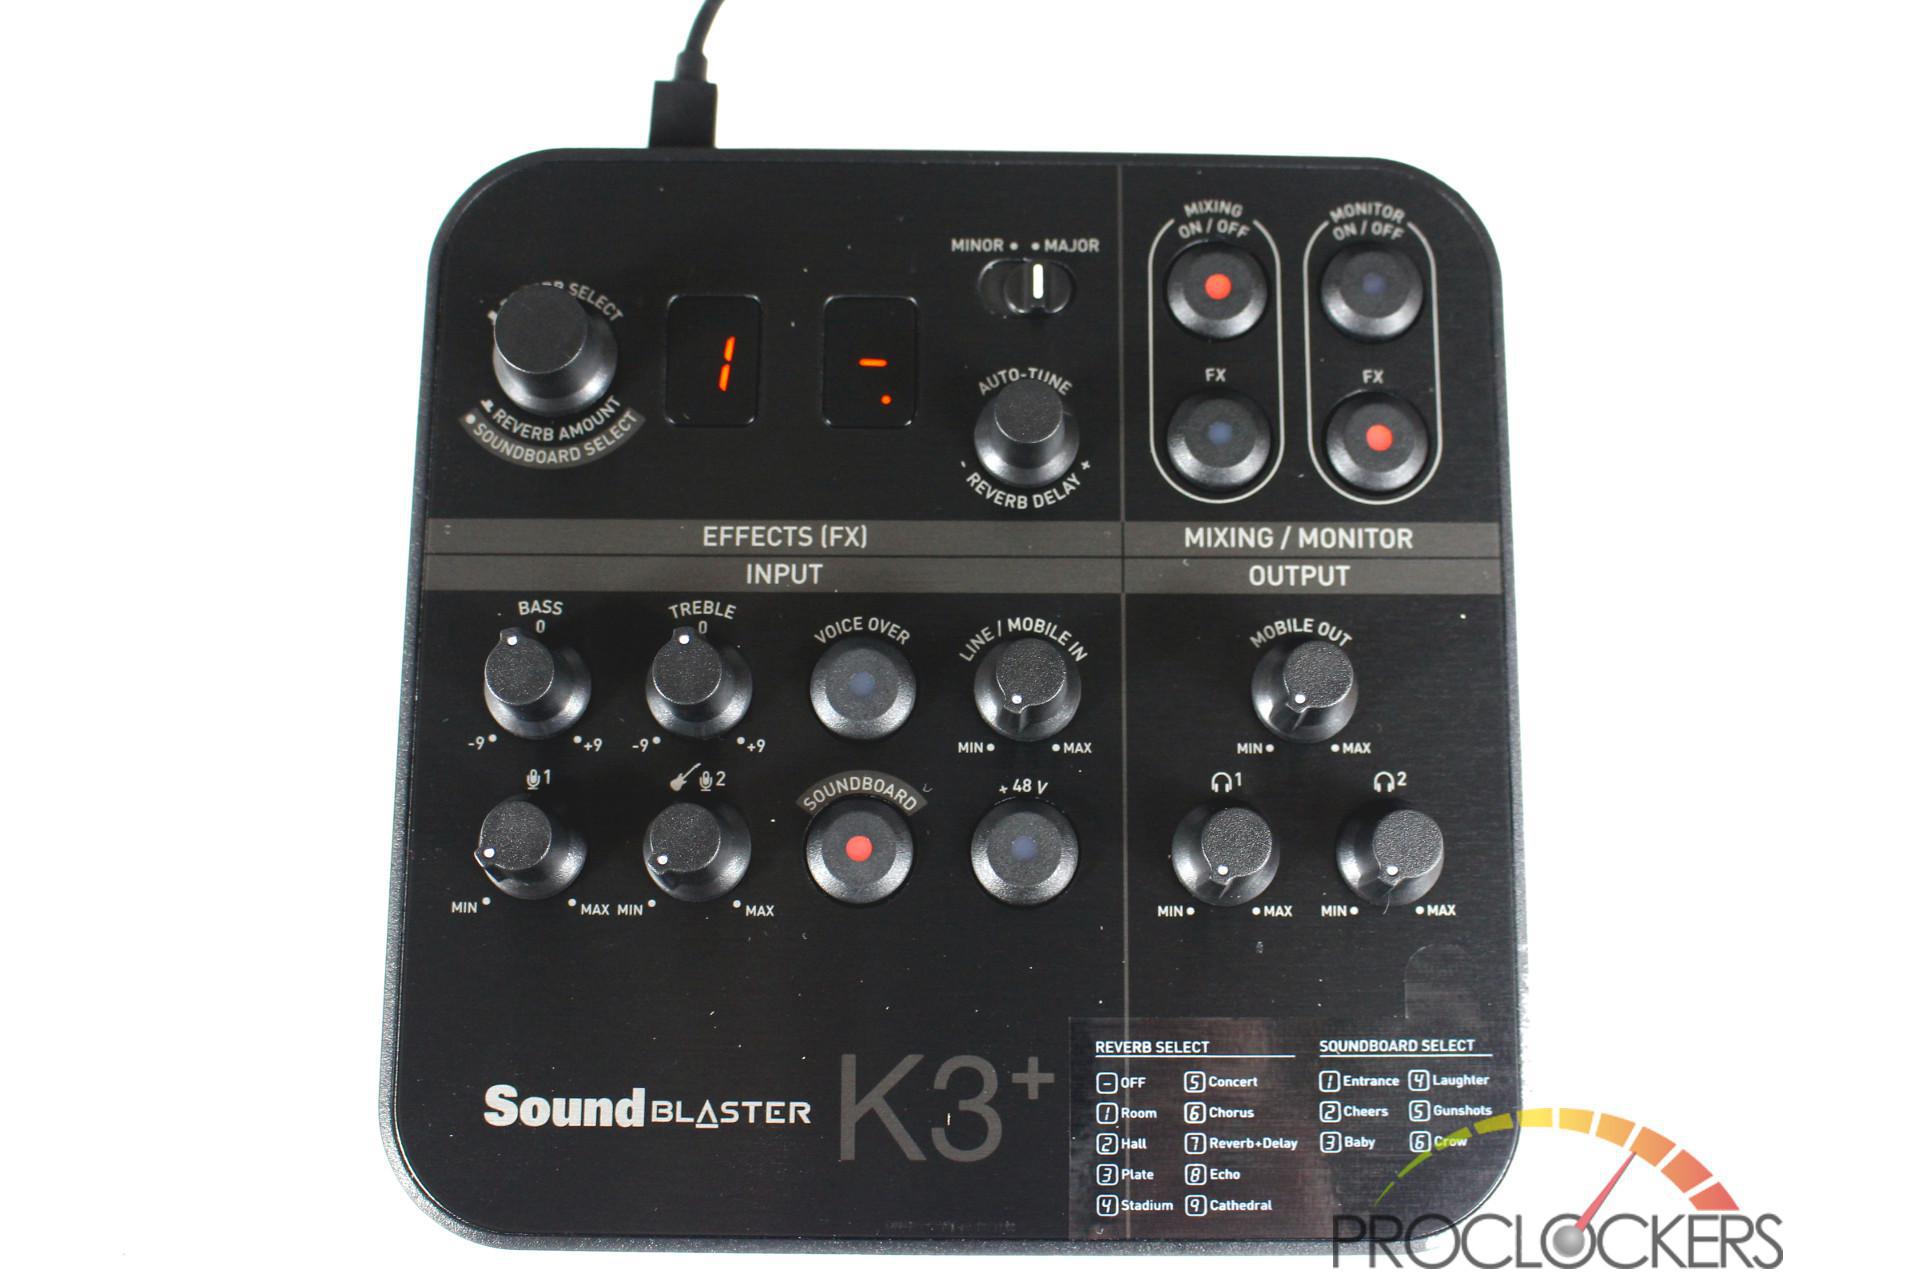
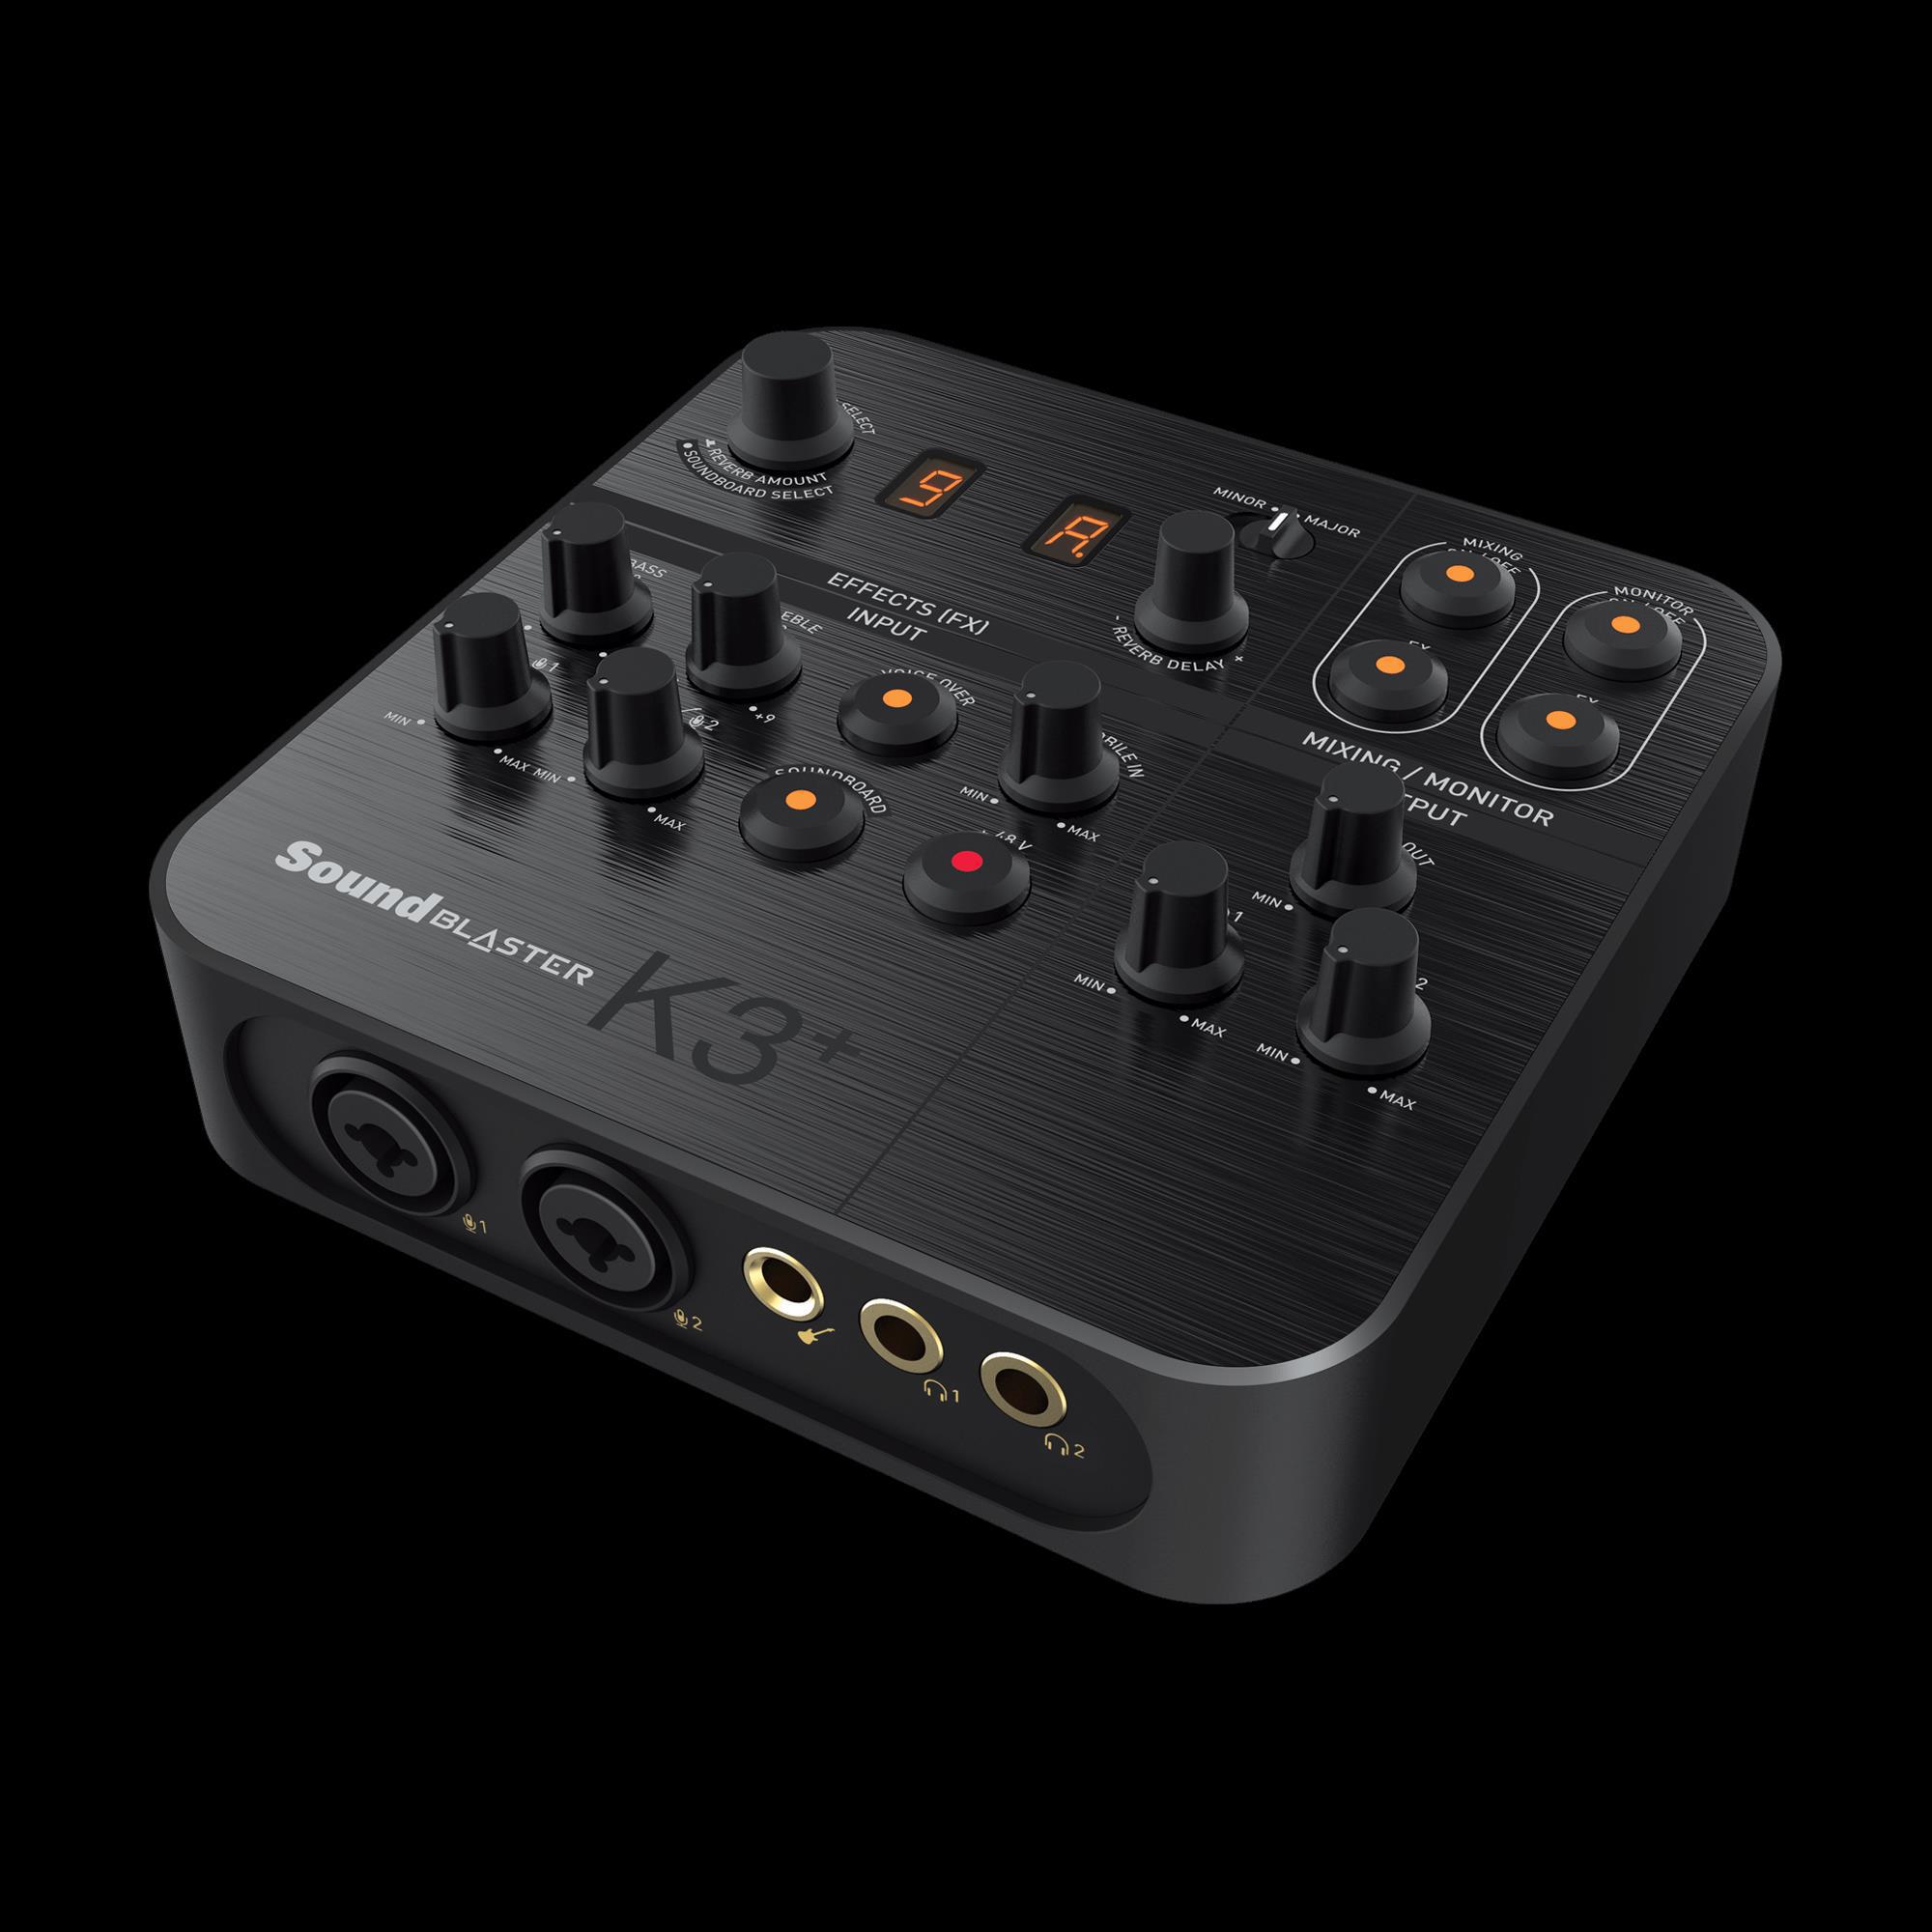
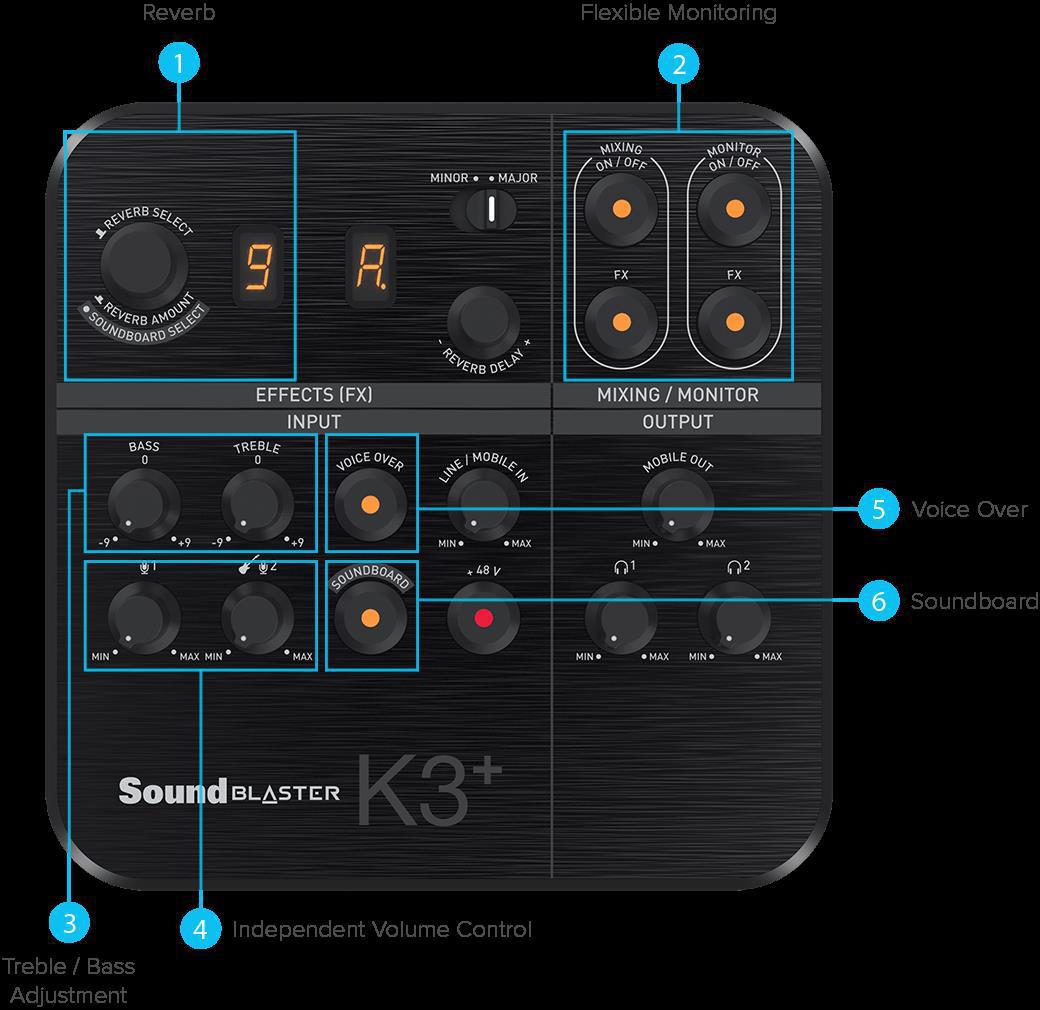
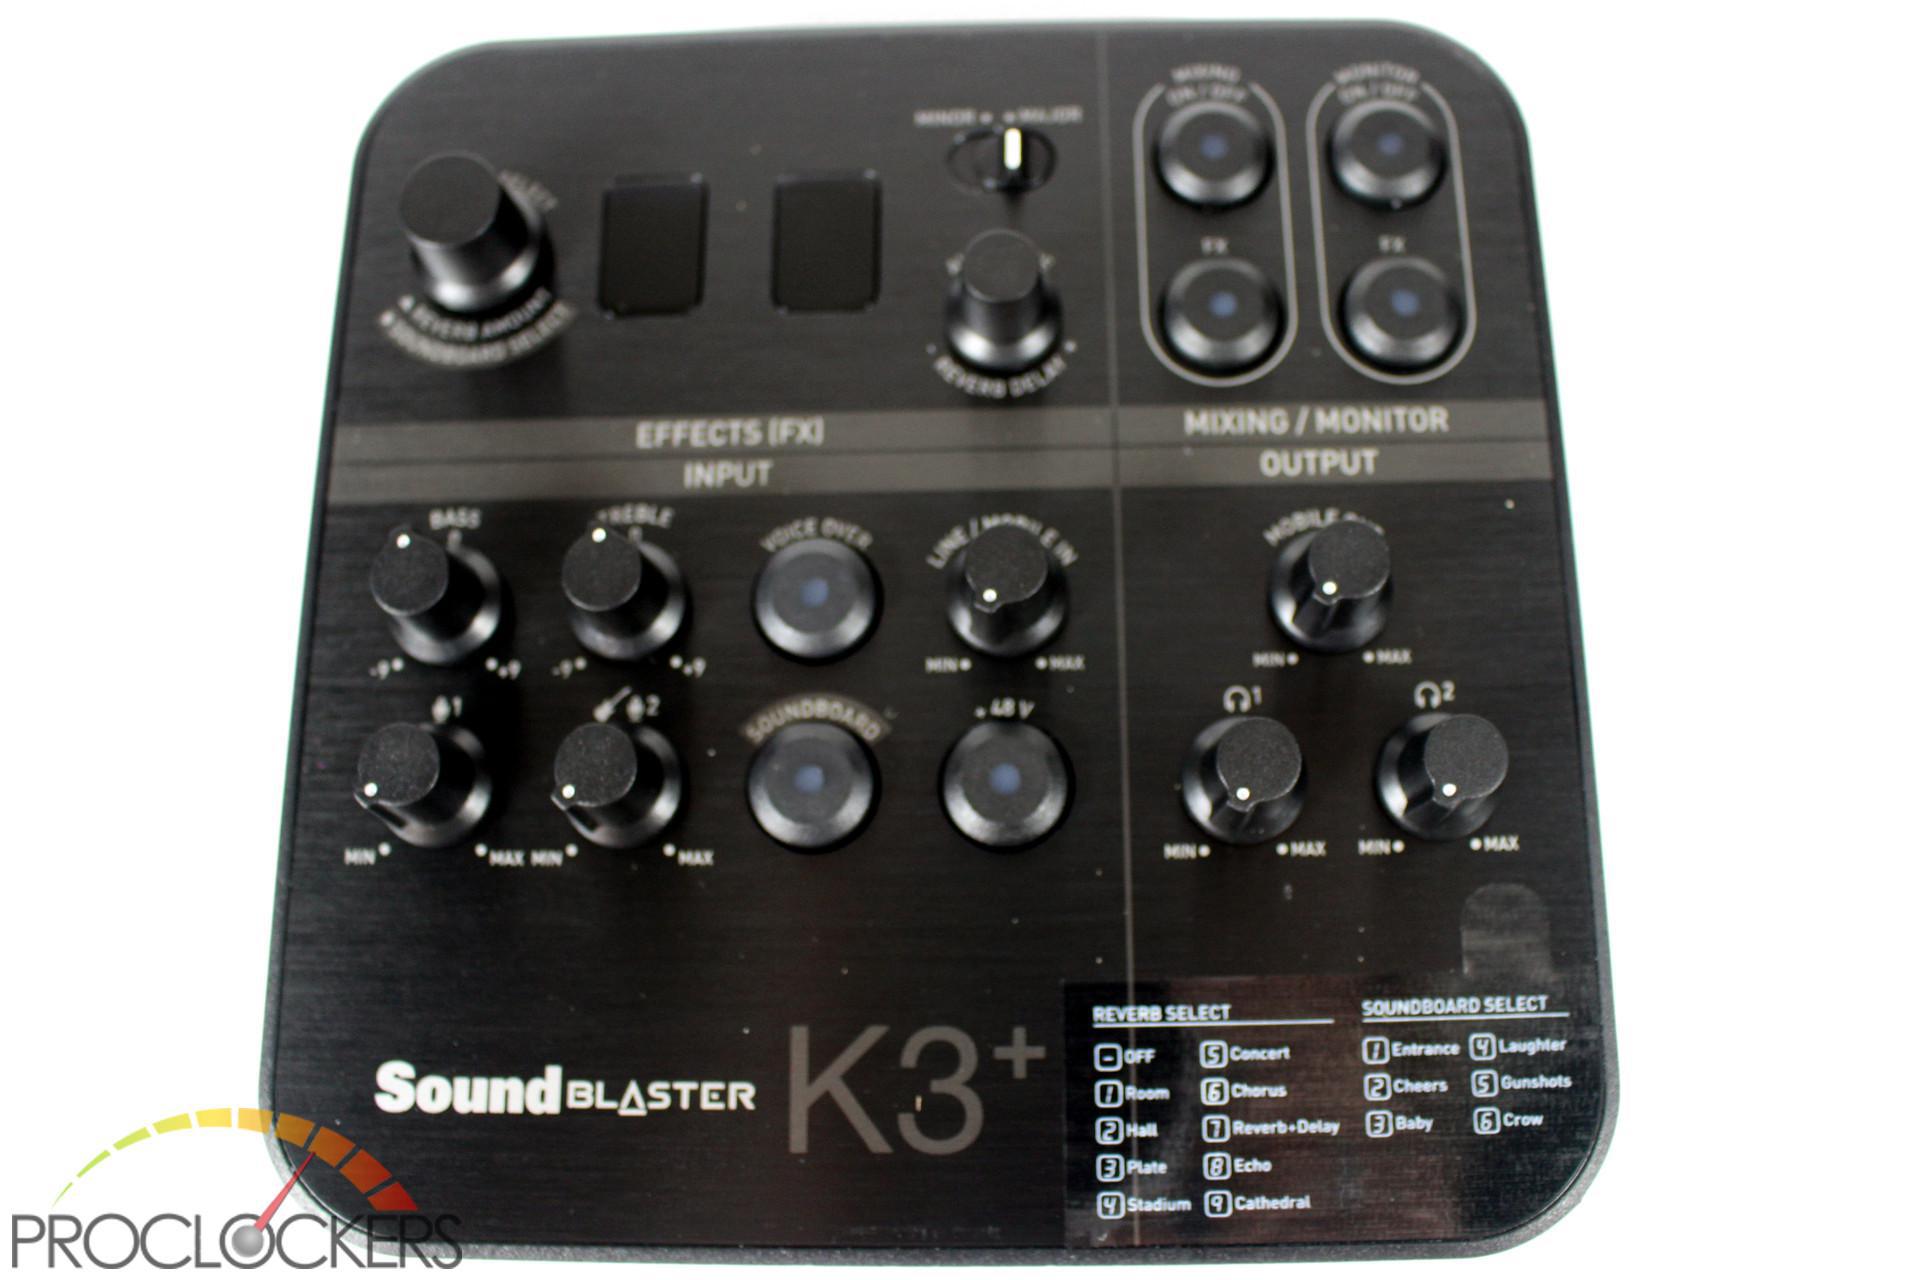
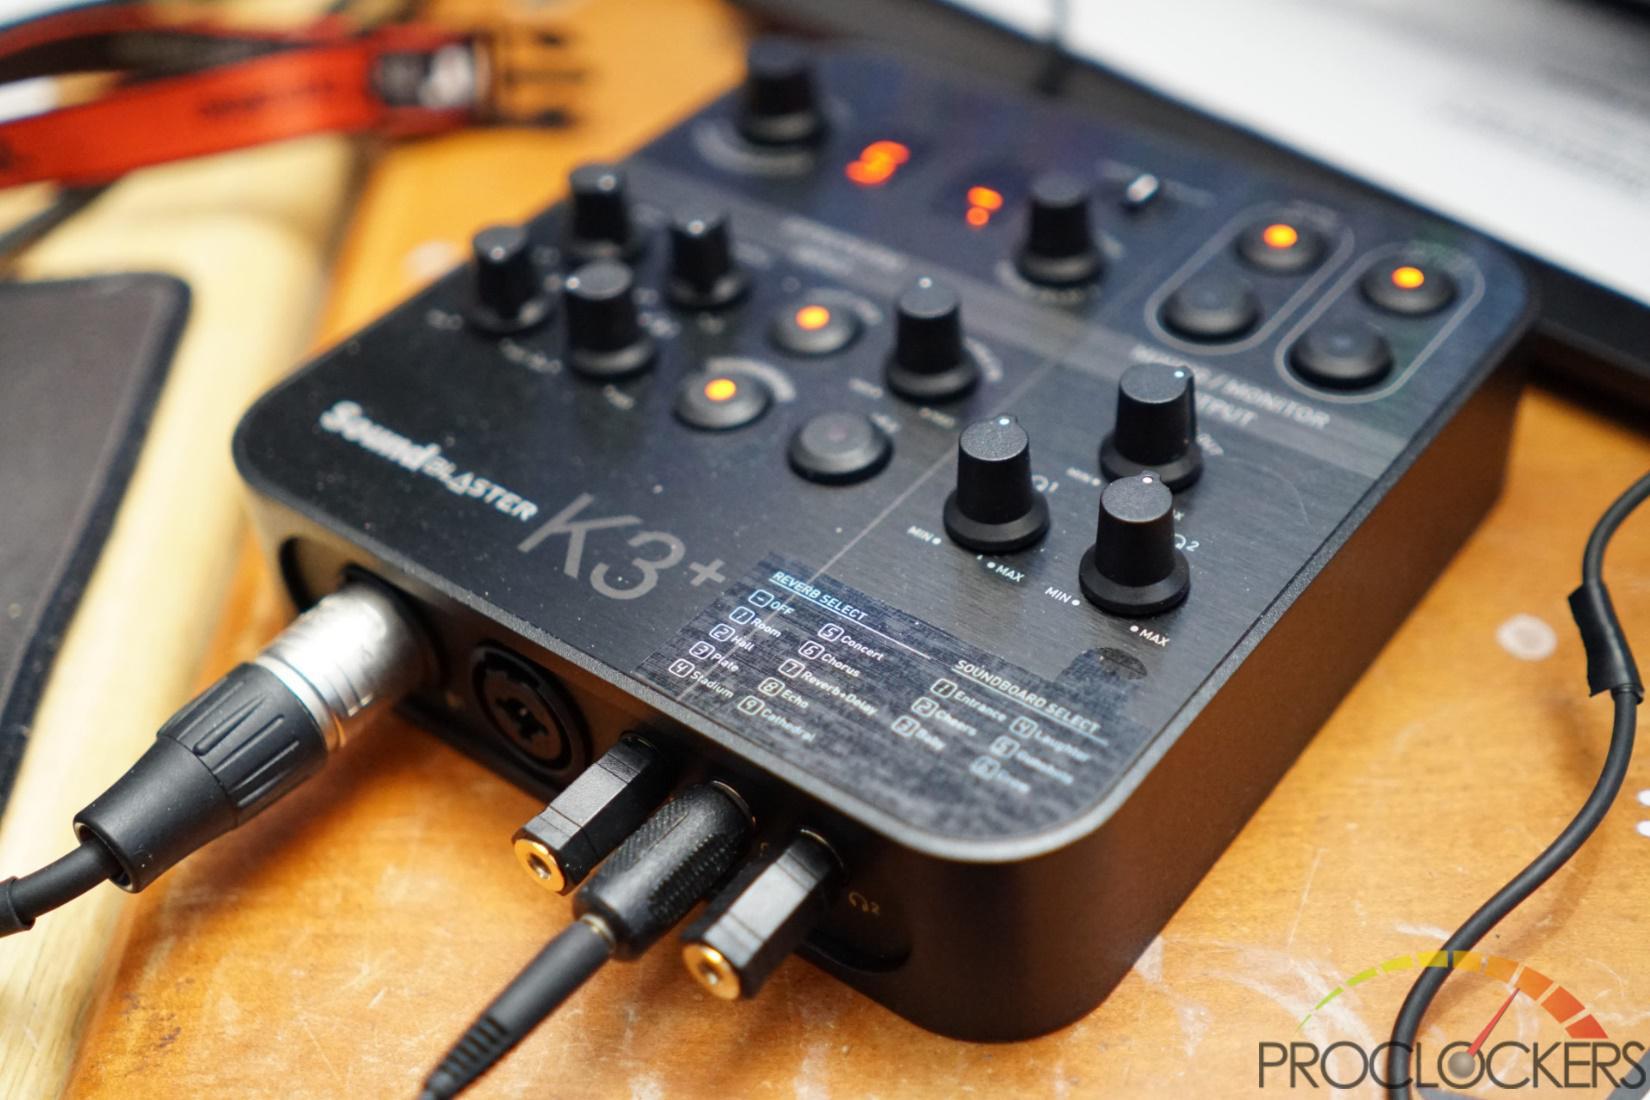
On the top, there is a lot going on. We’ll go left to right and top to bottom to go through the controls on the K3+.
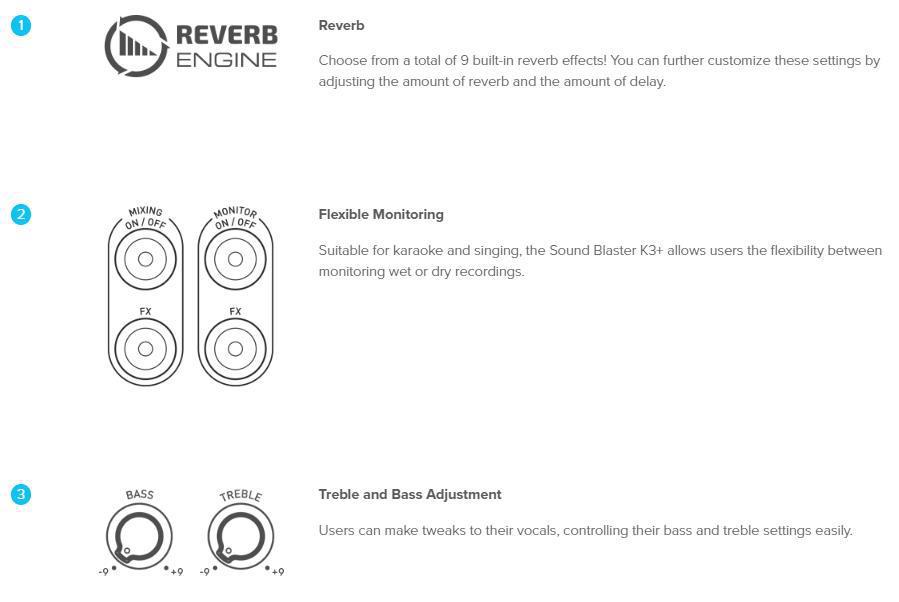
On the top left, there is a knob that doubles as a button. This selects and controls the different types of reverb on the K3+. In total, there are 9 reverb settings. These settings are listed below.
- Room
- Hall
- Plate
- Stadium
- Concert
- Chorus
- Reverb + Delay
- Echo
- Cathedral
Next to the reverb control are two small displays like the one on a motherboard that displays POST codes. Each display has multiple functions that are shown using symbols that look like numbers or letters. The different display modes are Reverb Amount, Reverb Select, Sound Board, Reverb Delay, and Auto-Tune. The user manual has a chart that shows the symbol for each setting.
One of the functions of the left display is to show the reverb setting you’ve selected. It displays the numbers 1-9. The setting corresponds to the number listed above. The right display shows the reverb delay amount. It ranges from 0-9. With 0 being 0%, the minimum and 9 being the max setting, 100%.
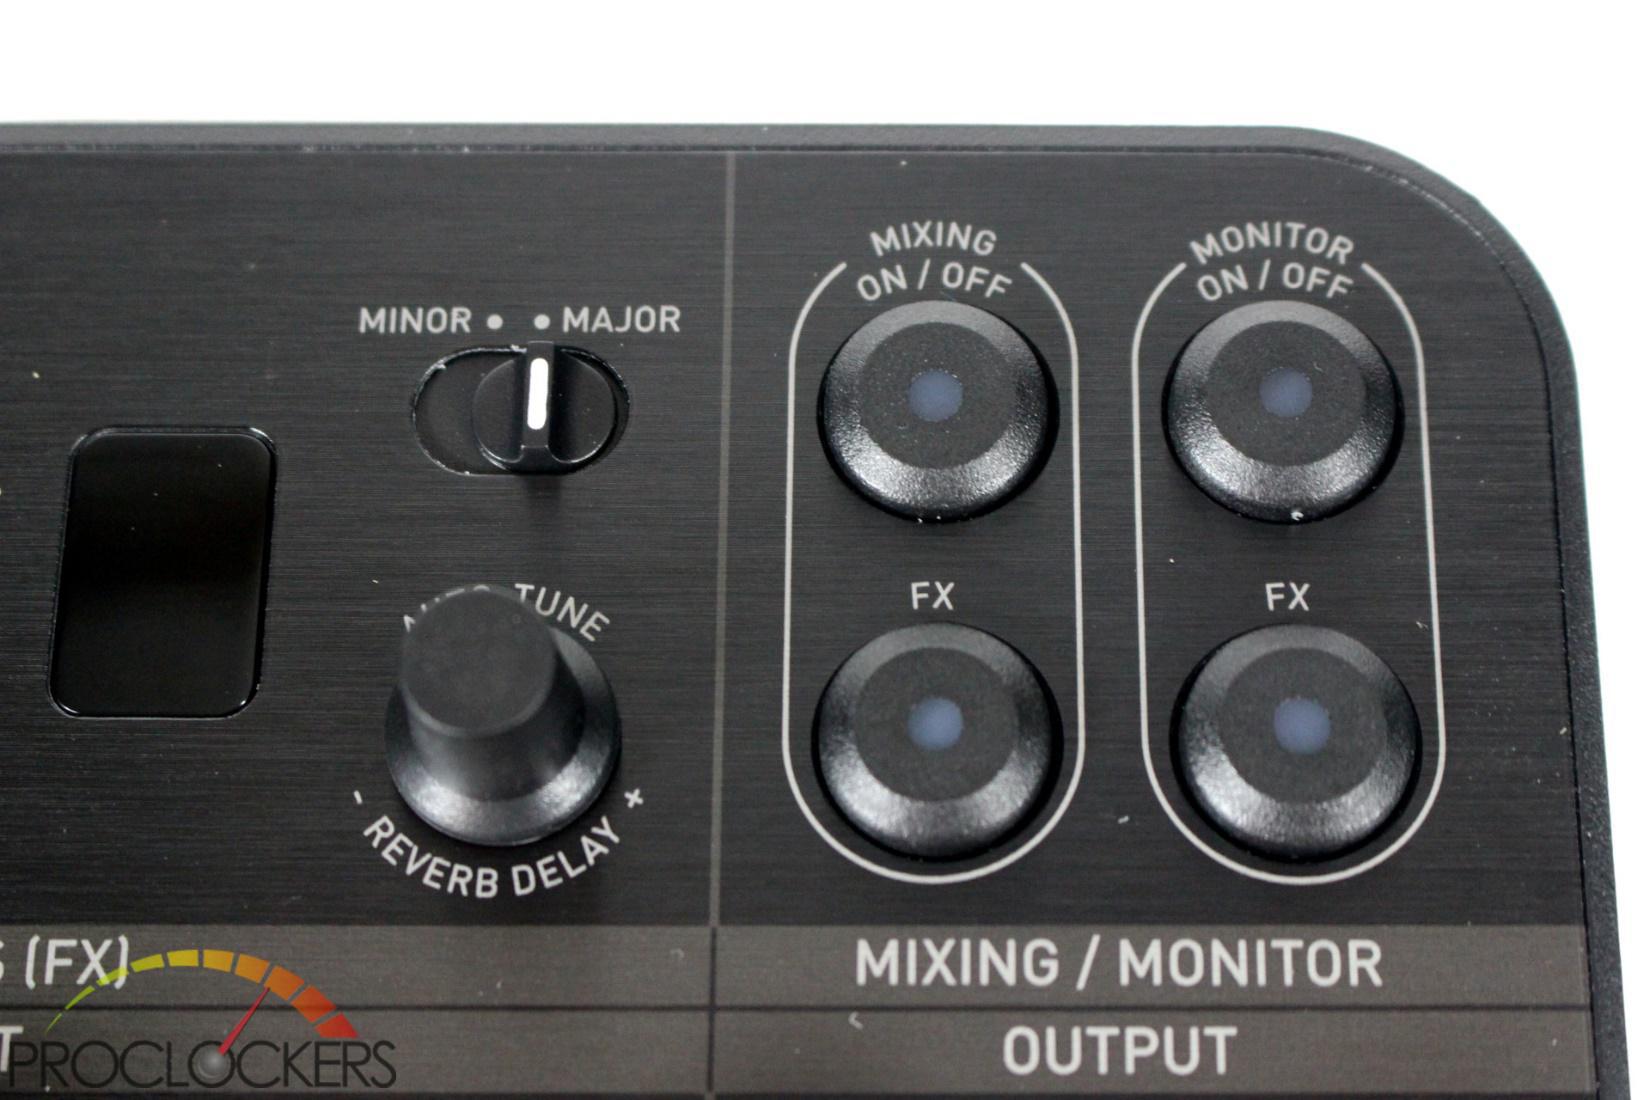
Next to the displays are the Auto-Tune knob/button. Just above that is the Minor-Major switch. The K3+ allows you to use auto-tune in minor, minor-flat, major and major-flat, in every key from A to G. More on that later. Next, we have the mixing and monitoring buttons, each with a separate FX button. This allows you to monitor both wet and dry recordings. A dry recording is one without any effects where a wet recording has effects.
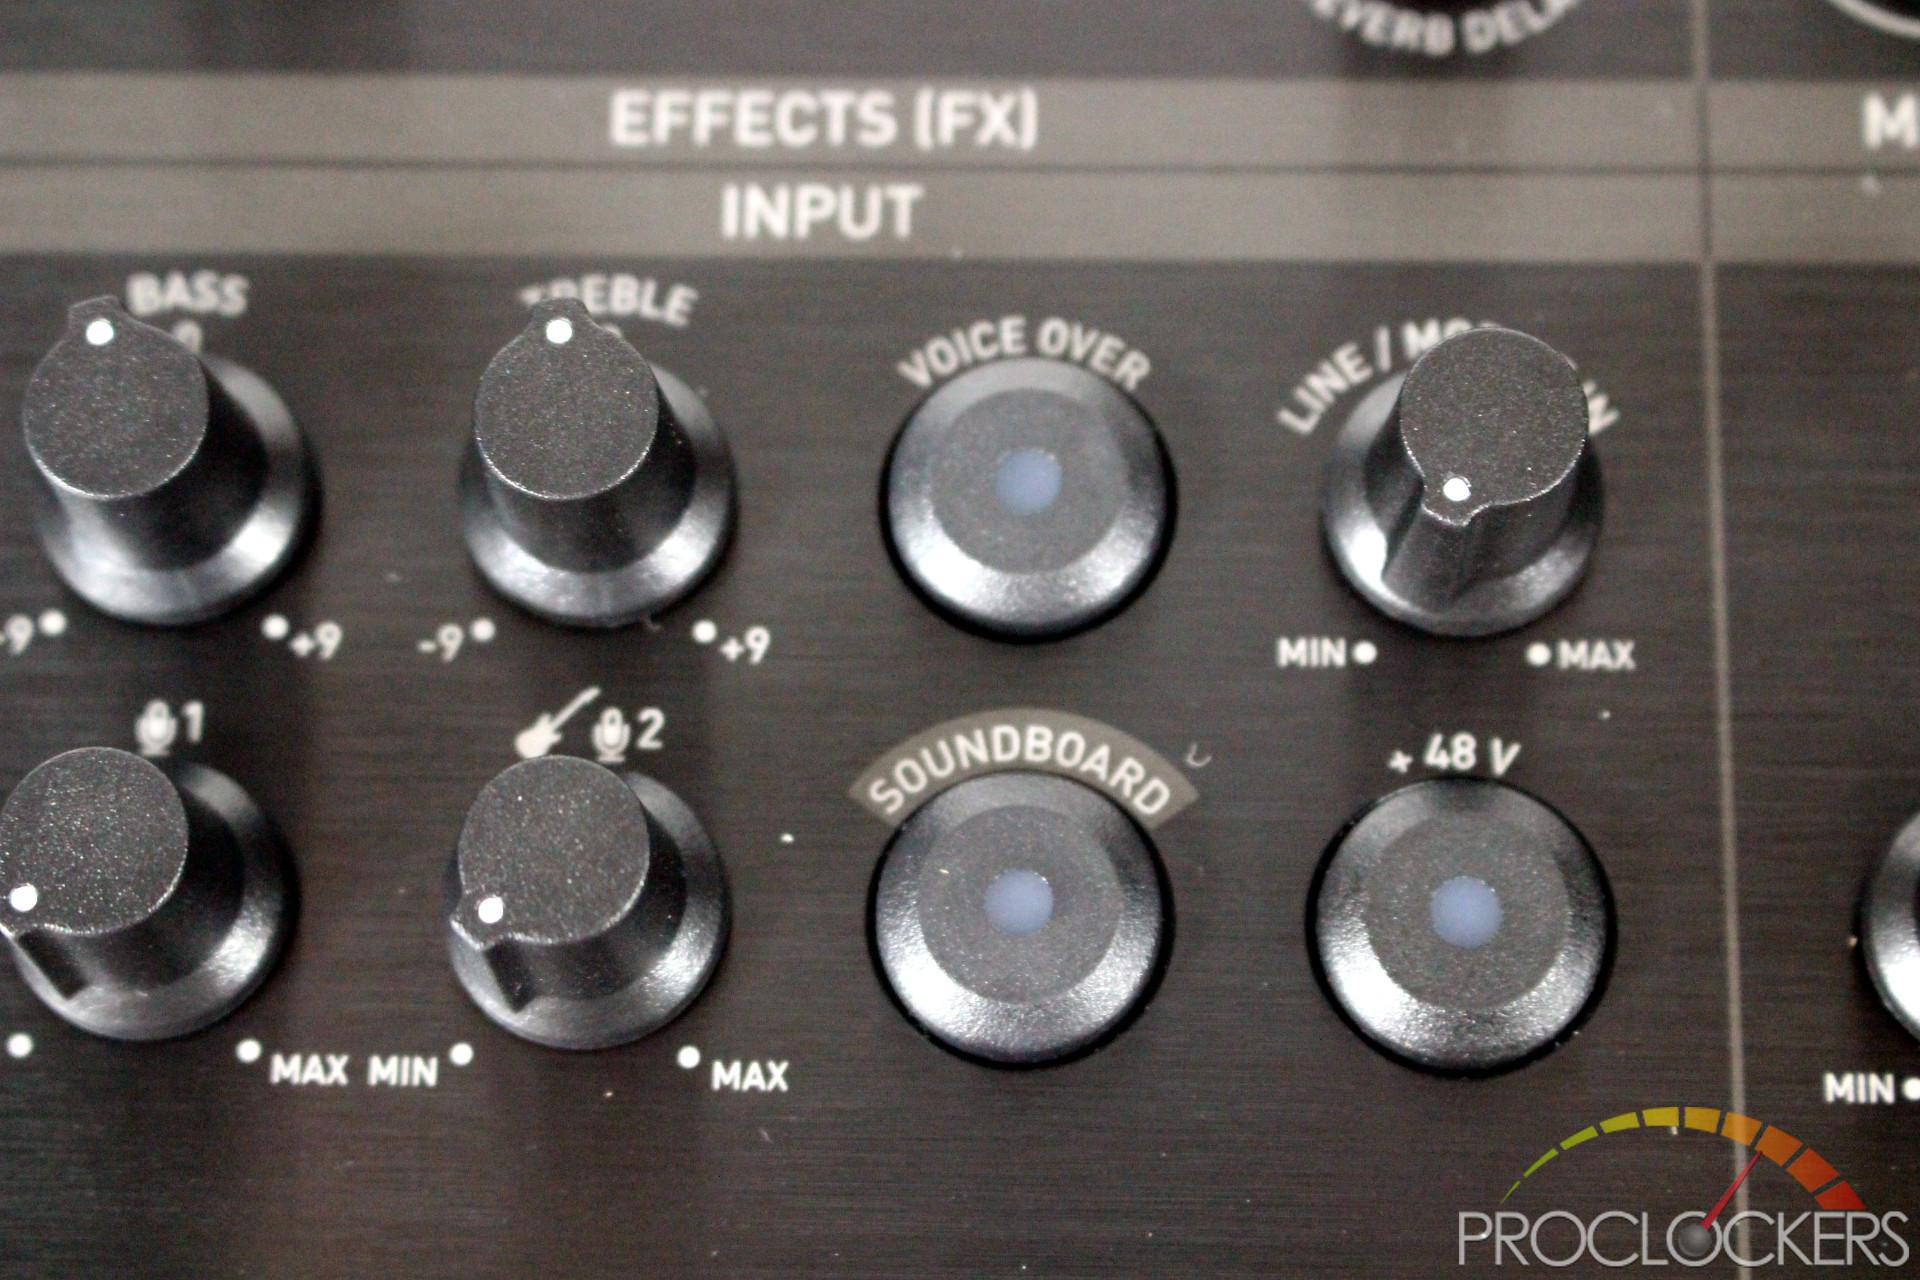
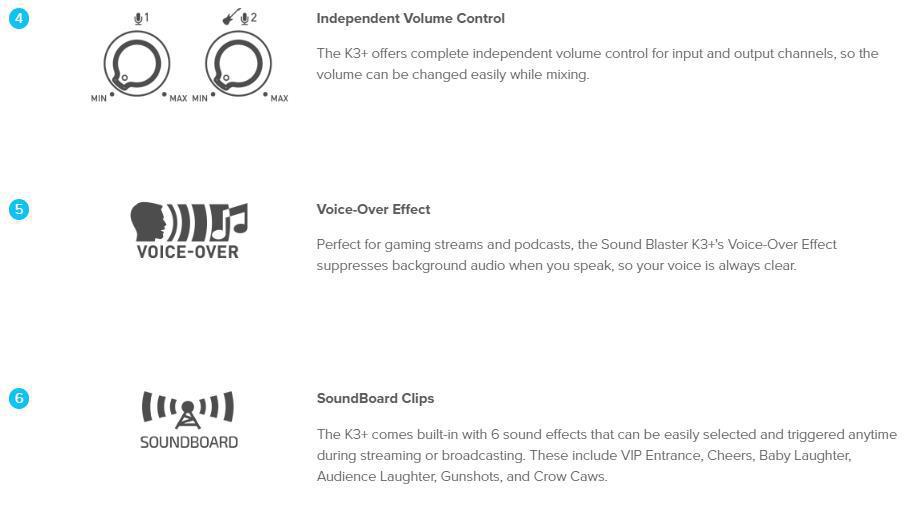
Going to the bottom left now, we have bass and treble control knobs. This allows you to tweak the bass and treble setting on your vocals. Just below the bass and treble controls are independent gain controls. The left know controls the volume for the first mic. The second knob has dual functions. It not only controls the volume of the second mic but also whatever instrument you may have plugged in.
The next button is a great feature to have if you play music in the background of your videos or recordings in general. This is the voiceover button. For those of you who edit in Premiere Pro, the voiceover button works much like audio ducking works. Essentially, it lowers the background music when it detects your voice. This is a great feature to have and can save time when editing videos. You also won’t have to worry about being drowned out by the background music.
One of my personal favorite features of the K3+ has to be its built-in soundboard with six prerecorded sounds. These sounds are listed here:
- Entrance
- Cheers
- Baby
- Laughter
- Gunshots
- Crow
When the soundboard is on, its controlled by the knob on the top left of the K3+. These sound can be useful and amusing when on stream. For example, if you’re in a discussion stream or an interview that gets out of hand, people shut up at the sound of gunshots. The crow sound is perfect if someone makes an unfunny joke. Overall, it’s a good way to get a debate or discussion back on track.
Next to the soundboard button is the +48volt phantom power button which we covered earlier. Above that is the Line in/Mobile volume control. If you have an MP3 player plugged into the K3+, this knob will control the volume of the sound coming from your mobile device. To the right of the Line in knob is the Line Out volume control. If you’re on a phone call using the K3+ through the 3.5 mm auxiliary port, this will control the volume going out to your mobile device.
Last, we have the two knobs that control the headset volume independently from each other. This is a great feature to have, especially if you’re into podcasting. Say you have a friend in the studio or just on stream. You can both have your own headset. The K3+ also allows each user to control their own volume. So, if you’re deaf like me, you won’t have to blow out your cohosts eardrums, just so you can hear.
Subjective Testing
As with any audio product, the actual audio testing of the K3+ is very subjective. I can say without a doubt that overall, XLR microphones just sound better than USB microphones do. Sure, it may be more expensive to get an interface and an XLR microphone. However, audio is one of, if not the most important part of content creation. Sure, you can have 4k video at 60 FPS. But if you have terrible audio quality, no one will watch your videos.
The Blue Yeti USB mic is one of the most used microphones by streamers and YouTubers. It’s also one of, if not the most sensitive mics I’ve personally ever used and there is little to no control over that. I’ve had times where I was on-stream near a window, the Yeti picked up people outside talking, With the K3+, regardless of what mic is hooked up to it, you can control the gain of each mic separately. We tested this by having someone stand a few feet behind me talking and clapping while recording a clip. I was able to adjust the gain low enough that you couldn’t hear any ambient noise but could hear my voice clearly.
I attached an auxiliary cable to the back of the K3+ to try talking some phone calls while I was gaming. I’m happy to say it worked well. Again, this depends on the quality of the phone you’re using. This is the same for your caller. I had a friend call in using a cheaper LG smartphone and there was a bit of static and their volume was rather low. Then I took a call from an iPhone X and the call was crystal clear.
When running benchmarks on my test bench, I try to not use any other programs at all. This is so nothing affects my benchmark results. But it can get boring watching Firestrike a dozen times in a row. Now, I just plug my phone into the K3+ and use it to watch Netflix, YouTube or Hulu. I can even take phone calls through the K3+. Overall, it’s a very versatile audio interface and the sound quality through the K3+ was excellent.

The Auto-Tune effects aren’t anything I’d personally use. However, it’s a great feature for recording artists. If you’re a musician of any kind, the K3+ can add some cool effects to your music. My kids had fun playing with the auto-tune features when using the K3+ as a karaoke machine. The soundboard is great to use on stream. However, this is where I think software would actually be a good thing. I would have loved to be able to either record my own sounds or at least be able to download different sounds from either Creative or a third party.
Final Thoughts & Conclusion
My overall experience with the Sound Blaster K3+ was great. I love how compact and light the K3+ is. This makes it easy to transport for recording and streaming on site. It also doesn’t take up much room on your desk. The fact it has no software makes it easy to plug into any PC or laptop without messing with drivers and software. I would like to see some optional software integrated in the future, or on another similar model that may be released someday. The soundboard is my favorite feature, but I would have liked to expand on it. Recording custom sound bites would be amazing to use on stream or just in videos. Even being able to download different sounds would be cool. Where a couple of the sounds fit into what I do, others don’t. I’m sure many other people would feel the same way.
Having a second mic and headset that can be controlled separately is an excellent feature. When we go to conventions, or even if I have a friend in town, it makes for the perfect set up to have guests on stream. It also works great for if you have multiple cameras set up to the same PC in the studio or where ever you record. You can easily change to a different camera angle and still have the same quality sound. Say you have a spot for talking head videos and a separate one for game streams. You can record to the same PC without moving equipment around.
The best part of the K3+ has to be its price. I’ve used other USB interfaces with a fraction of the features that cost upwards of $150-$200 USD. However, at the time of this review, you can get the Sound Blaster K3+ from Creative for only $129.99 on the Creative website and online retailers such as Newegg and Amazon.
The combination of the features, size, and the price has won the Sound Blaster K3+ the Proclockers Editors Choice award. If you’re serious about streaming and content creation, the Sound Blaster K3+ is a must have.


The 25 Best Anime Cats, Ranked
What are the best anime cats? Cats are something you either love with every fiber of your being or vehemently...


The 25 Best Anime Teachers, Ranked
Who are the best anime teachers? With high school being such a prevalent setting in anime, it makes sense that...


The 25 Best Orange Hair Anime Girls, Ranked
Who are the best orange hair anime girls? Orange hair is interesting in anime because it can either be a...